demo chinese text binary classification with bert
1.0.0

Last year, I was very excited as soon as Google’s BERT model was released.
Because I was using fast.ai's ULMfit to do natural language classification tasks at that time (I also wrote a special article "How to use Python and deep transfer learning to classify texts?" to share with you). ULMfit and BERT are both pre-trained language models and have many similarities.
The so-called language model uses deep neural network structure to train on massive language texts to grasp the common features of a language.
The above work is often only possible for large institutions to complete. Because the cost is too great.
This cost includes but is not limited to:
Pre-training means that they open up this result after they are trained. We ordinary people or small institutions can also borrow the results and fine-tune our own text data on our specialized fields so that the model can have a very clear understanding of the text in this specialized field.
The so-called understanding mainly refers to the fact that you block certain words, and the model can guess more accurately what you are hiding.
Even if you put two sentences together, the model can determine whether they are closely connected contextual relationships.

Is this "knowledge" useful?
Of course there is.
BERT tested on multiple natural language tasks, and many results have surpassed human players.

BERT can assist in solving tasks, of course, also include text classification, such as emotion classification. This is also the problem I am currently studying.
However, in order to use BERT, I waited for a long time.
The official Google code has been open. Even the implementation on Pytorch has been iterated for many rounds.
But I just need to open the sample they provide and I feel dizzy.
The number of lines in that code alone is very scary.
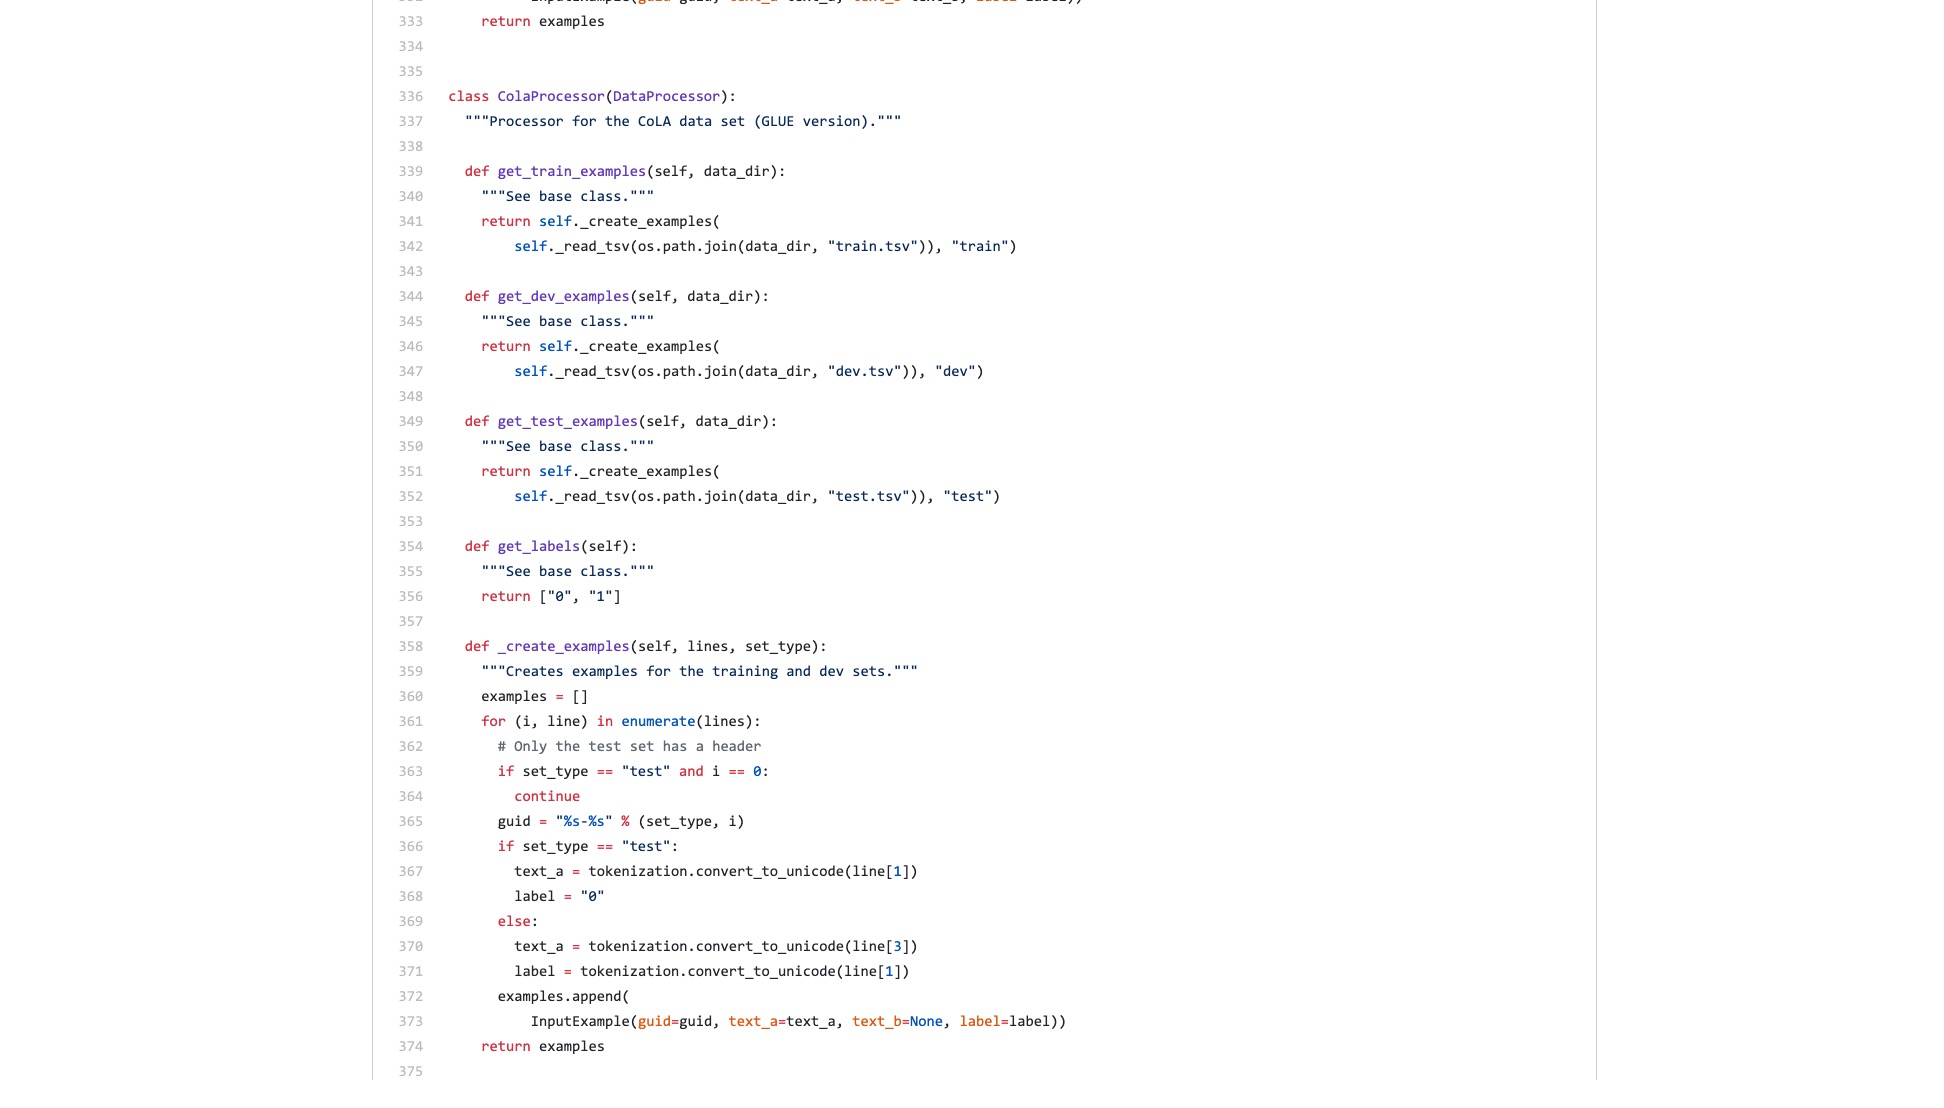
Moreover, a bunch of data processing processes (Data Processors) are named after the data set name. My data does not belong to any of the above, so which one should I use?
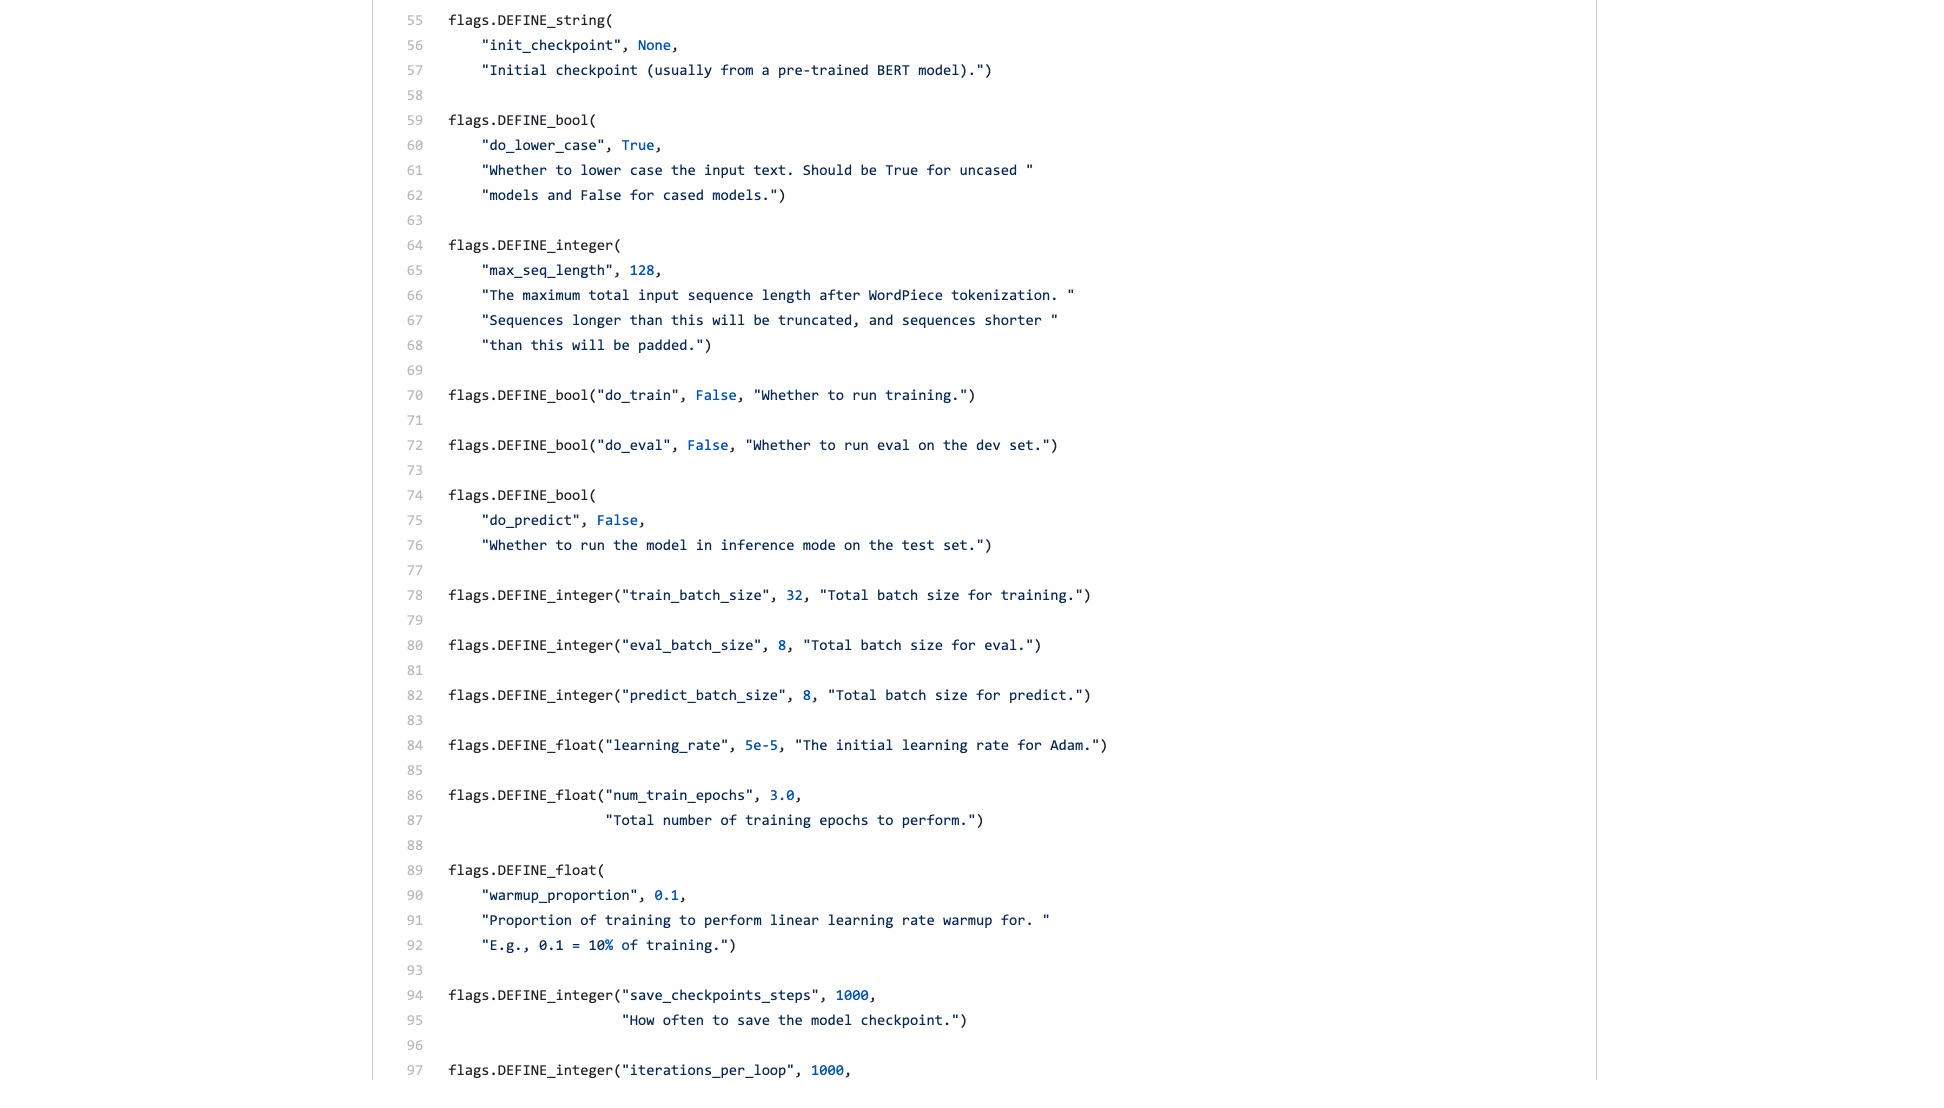
There are also countless flags (flags) that are inexplicably troublesome.
Let's compare what the syntax structure in Scikit-learn looks like when doing classification tasks.
 from sklearn . datasets import load_iris
from sklearn import tree
iris = load_iris ()
clf = tree . DecisionTreeClassifier ()
clf = clf . fit ( iris . data , iris . target )
Even if the data throughput of image classification is large and requires many steps, you can easily do it with a few lines of code using fast.ai.
!g it clone https : // github . com / wshuyi / demo - image - classification - fastai . git
from fastai . vision import *
path = Path ( "demo-image-classification-fastai/imgs/" )
data = ImageDataBunch . from_folder ( path , test = 'test' , size = 224 )
learn = cnn_learner ( data , models . resnet18 , metrics = accuracy )
learn . fit_one_cycle ( 1 )
interp = ClassificationInterpretation . from_learner ( learn )
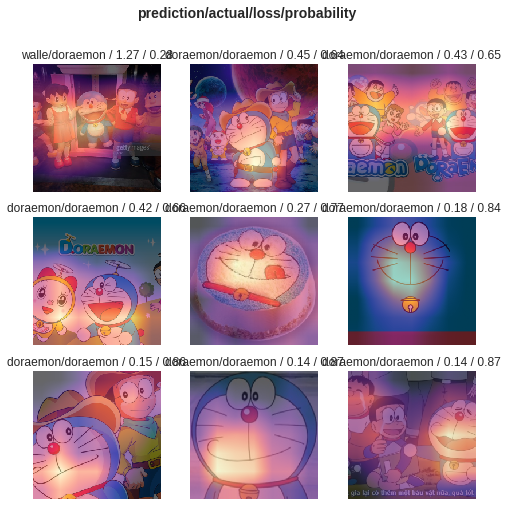
interp . plot_top_losses ( 9 , figsize = ( 8 , 8 ))Don't underestimate these lines of code. It not only helps you train an image classifier, but also tells you where the model is paying attention to in those images with the highest classification error.
Comparison, what do you think is the difference between BERT example and fast.ai example?
I think the latter is for people to use .
I always thought that someone would refactor the code and write a concise tutorial.
After all, text classification tasks are a common machine learning application. There are many application scenarios and are also suitable for beginners to learn.
However, I just didn't wait for such a tutorial.
Of course, during this period, I have also read applications and tutorials written by many people.
Some people can convert a piece of natural language text to BERT encoding. It ended abruptly.
Some people carefully introduce how to use BERT on the official data sets provided. All modifications are done on the original Python script. All functions and parameters that are not used at all are retained. As for how others reuse their own datasets? People didn't mention this at all.
I've thought about chewing the code from the beginning. I remember when I was studying for graduate school, I also read all the C codes of the TCP and IP layers on the simulation platform. I determined the task in front of me, which was less difficult.
But I really don't want to do it. I feel like I'm spoiled by Python machine learning frameworks, especially fast.ai and Scikit-learn.
Later, Google developers brought BERT to Tensorflow Hub. I also wrote a Google Colab Notebook sample specifically.
I was so happy to see this news.
I've tried a lot of other models on Tensorflow Hub. It's very convenient to use. And Google Colab I have practiced Python with Google Colab? 》 is introduced to you in the article ", which is a very good Python deep learning exercise and demonstration environment. I thought that the two swords could be combined, and this time I could handle my own tasks with a few lines of code.
Let's wait.
When you really open it, you will still focus on the sample data.
What do ordinary users need? An interface is required.
You tell me the standard specifications you entered, and then tell me what the results can be. Plug and play, and leave after all.
A text classification task originally gave you a training set and test set, telling you how fast the training rounds are, and then telling me the accuracy rate and the results?
As for asking me to read hundreds of lines of code for such a simple task, and find out where to change it yourself?
Fortunately, with this example as a foundation, it is better than nothing.
I took my patience and sorted it out.
To state, I did not make any major changes to the original code.
So if you don’t explain it clearly, you will be suspected of plagiarism and will be despised.
This sort of organization is not technically difficult for people who know how to use Python.
But because of this, I get angry. Is this difficult to do? Why did Google's BERT sample writer refuse to do it?
Why are there such a big change from Tensorflow 1.0 to 2.0? Isn’t it because 2.0 is for people to use?
You won't make the interface refreshing and simple, your competitors (TuriCreate and fast.ai) will do it, and they do it very well. Only when I can't sit still can I be willing to downplay the noble and develop a useful interface for ordinary people.
A lesson! Why don’t you absorb it?
I'll provide you with a Google Colab notebook sample that you can easily replace on your own dataset to run. You need to understand (including modifying) the code, no more than 10 lines .
I first tested an English text classification task, and it worked very well. So I wrote a Medium blog, which was immediately included in the Towards Data Science column.
The Towards Data Science column editor sent me a private message saying:
Very interesting, I like this considering the default implementation is not very developer friendly for sure.
There was a reader who actually gave this article 50 likes (Claps) in a row, and I was stunned.
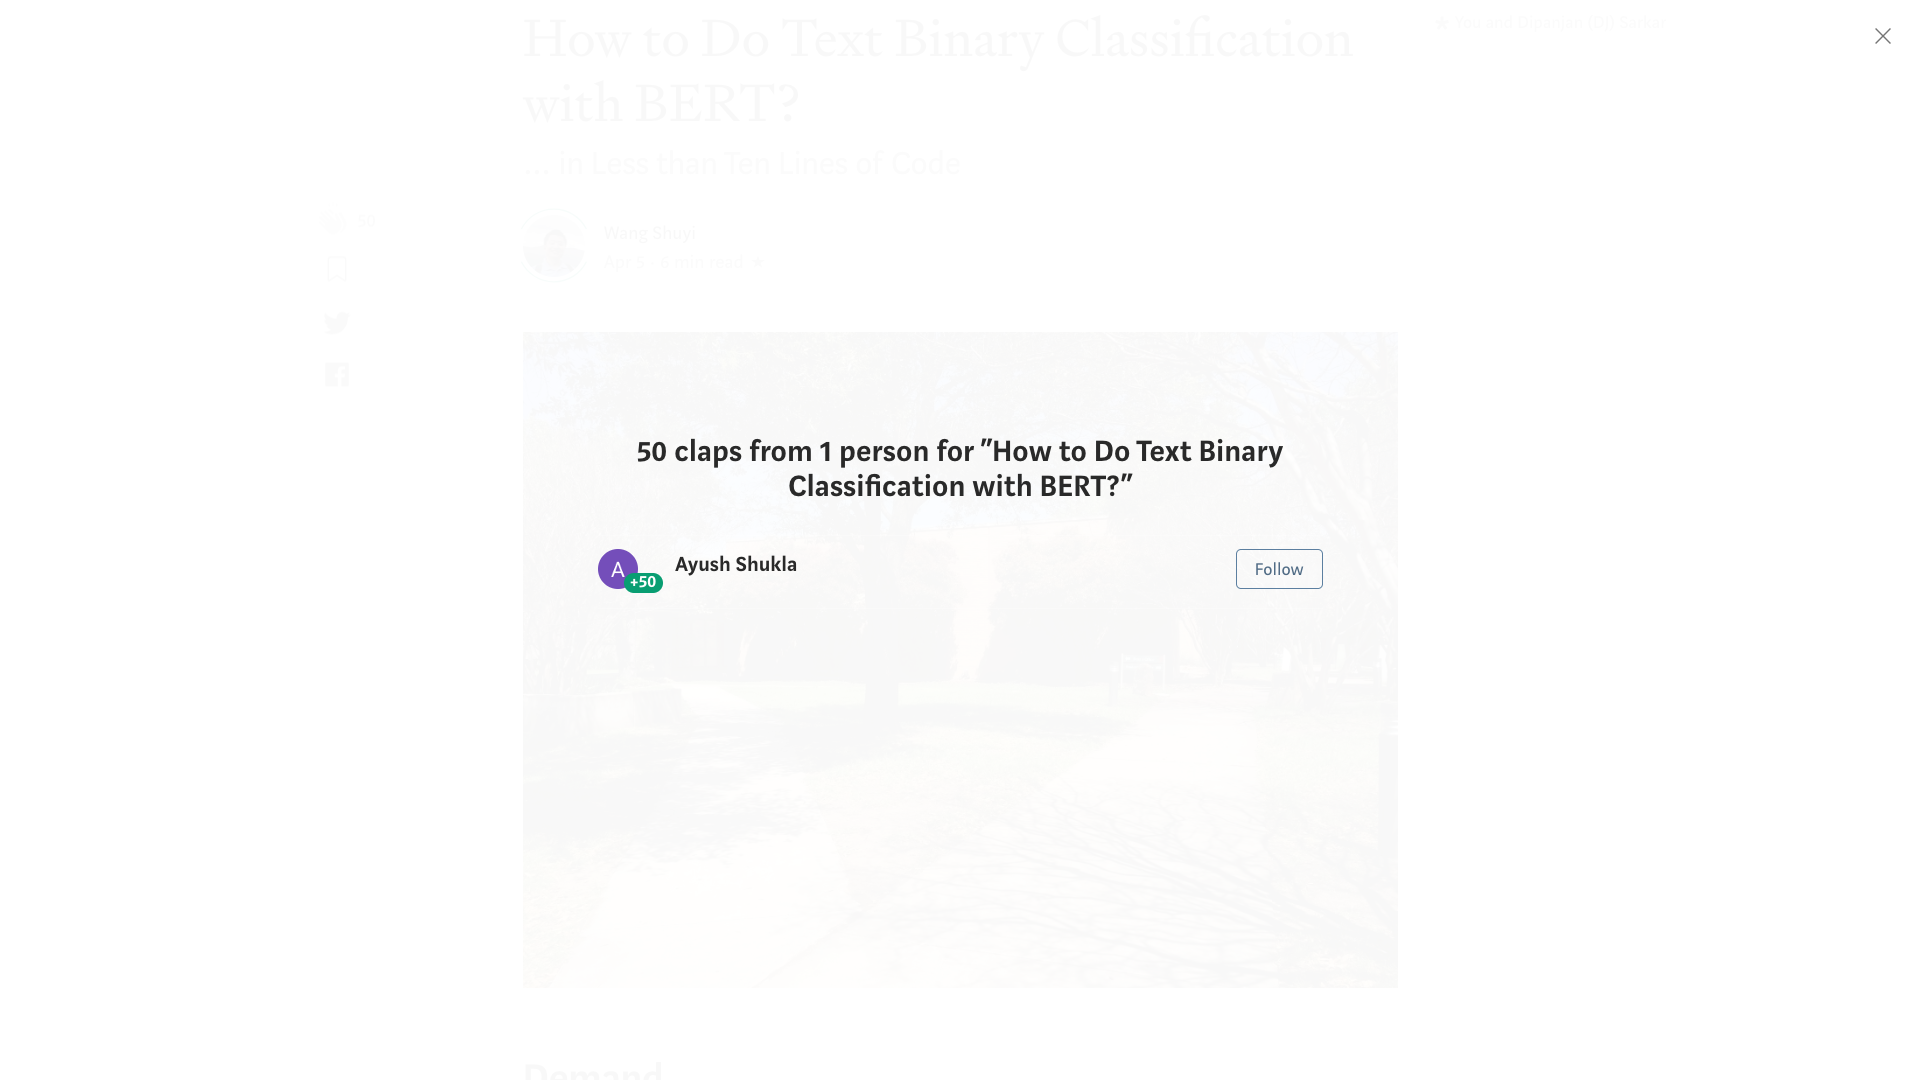
It seems that this long-bearing pain point is not just me.
It is estimated that the Chinese classification tasks may be encountered more in your research. So I simply made another example of Chinese text classification and wrote this tutorial and shared it with you.
Let's start.
Please click this link to view the IPython Notebook file I made for you on Github.
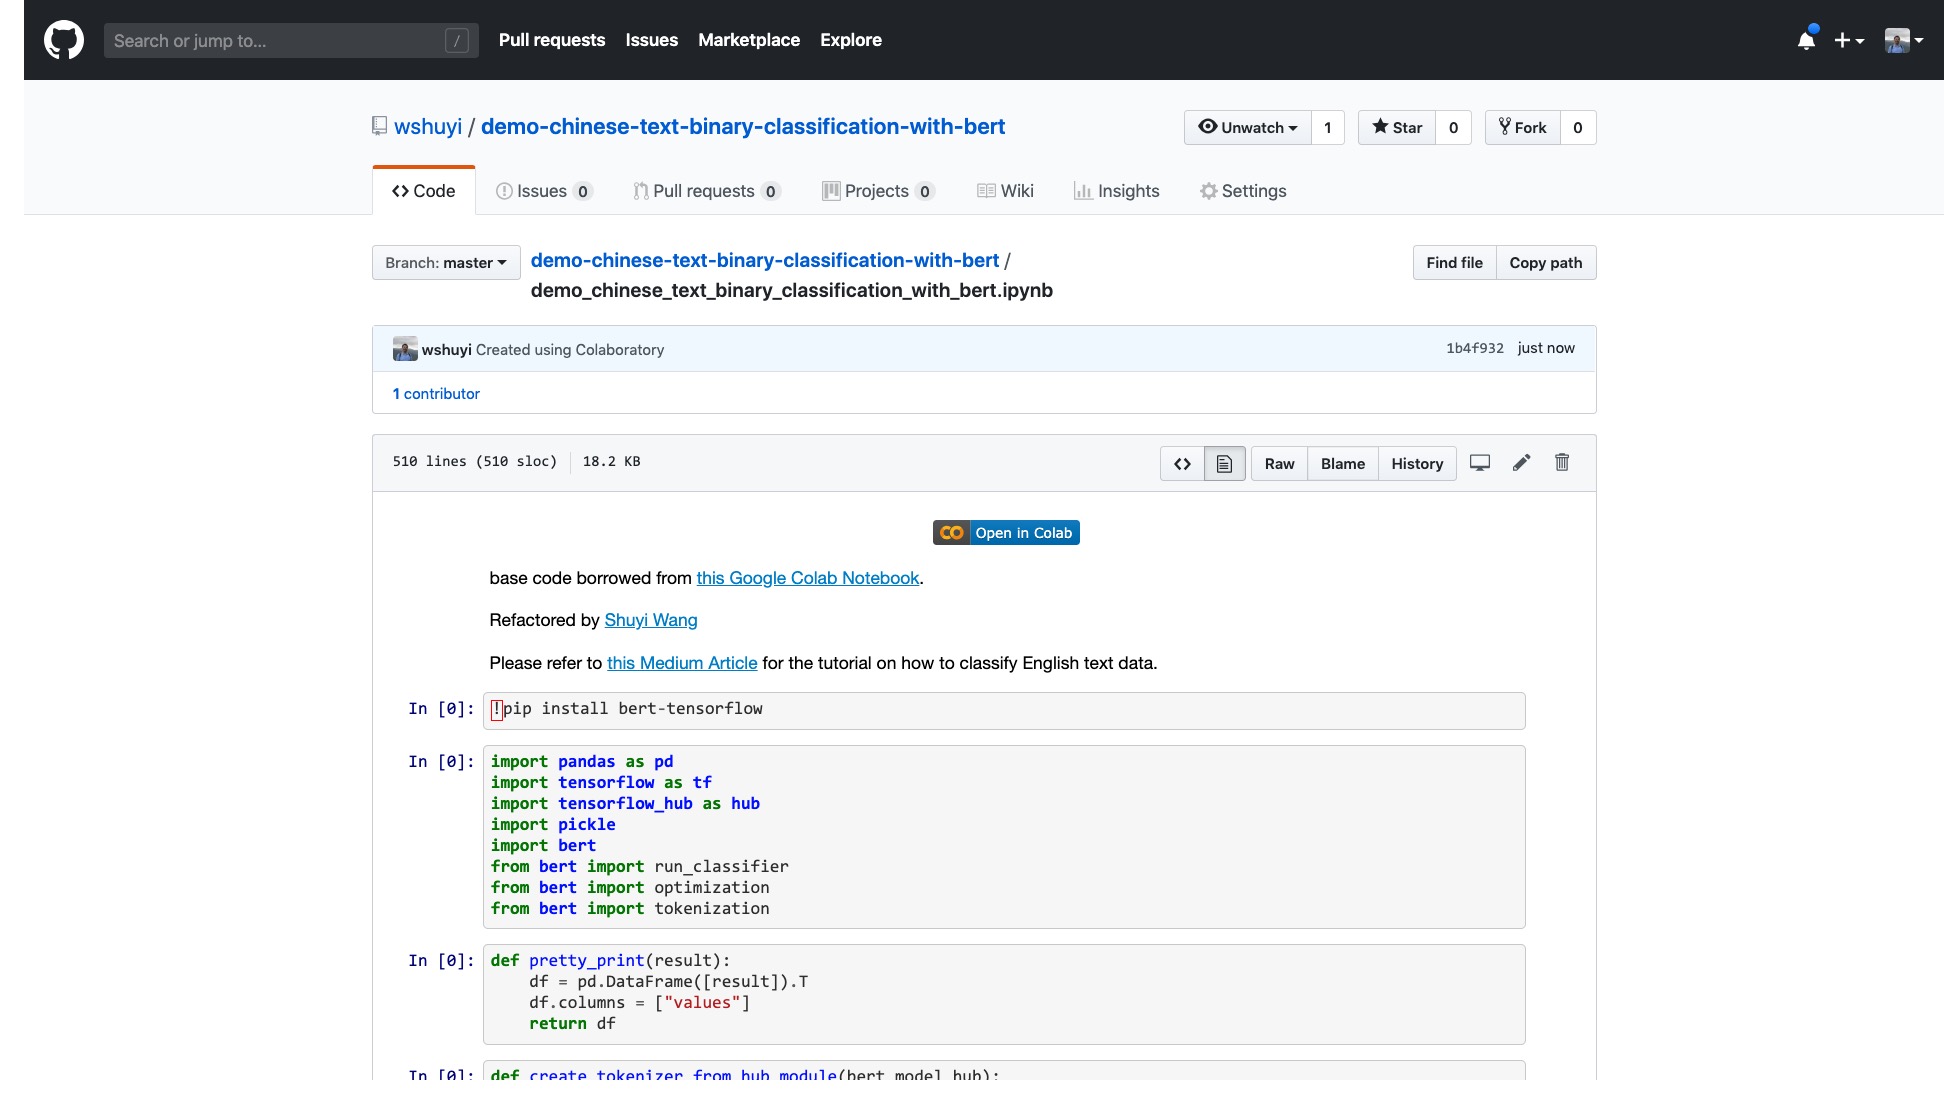
At the top of the Notebook, there is a very obvious "Open in Colab" button. Click it and Google Colab will automatically turn on and load this Notebook.
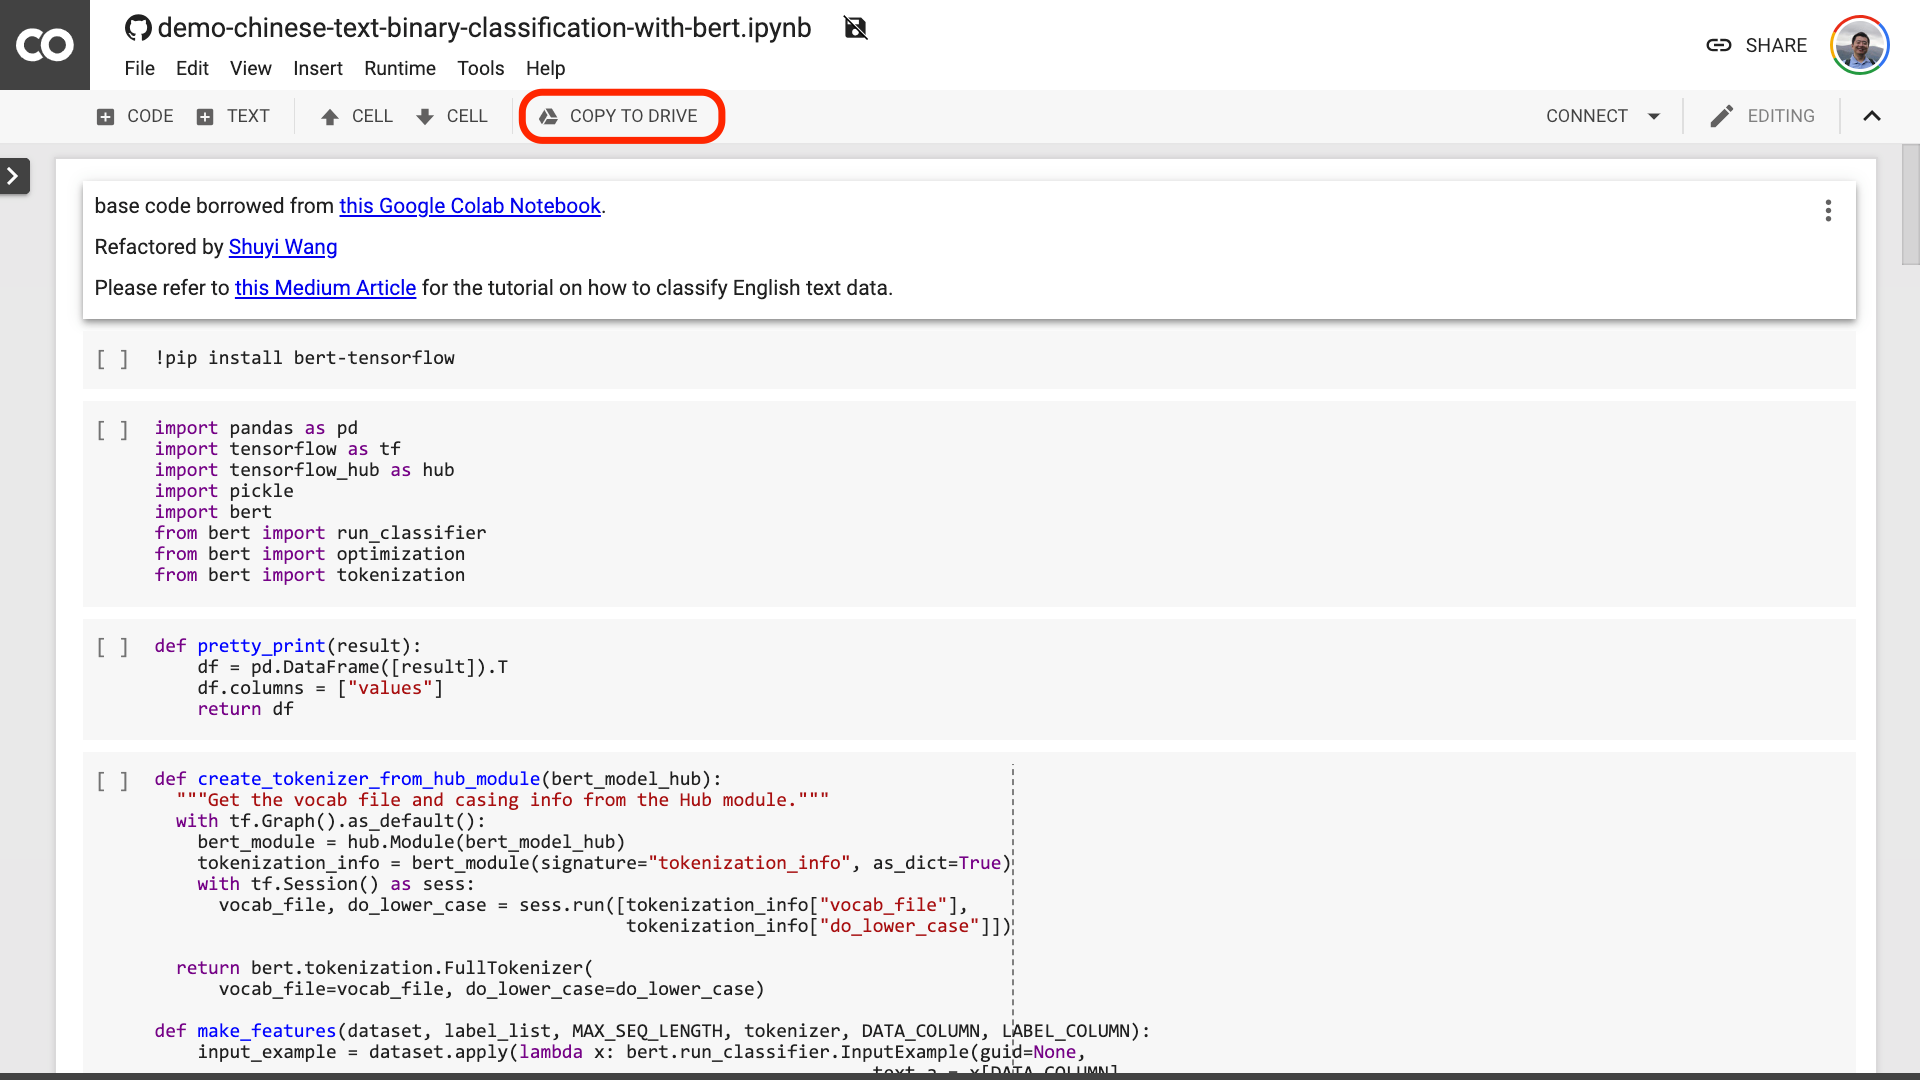
I suggest you click the "COPY TO DRIVE" button circled in the red picture above. This will save it in your own Google Drive first for use and review.
After this is done, you actually only need to perform the following three steps:
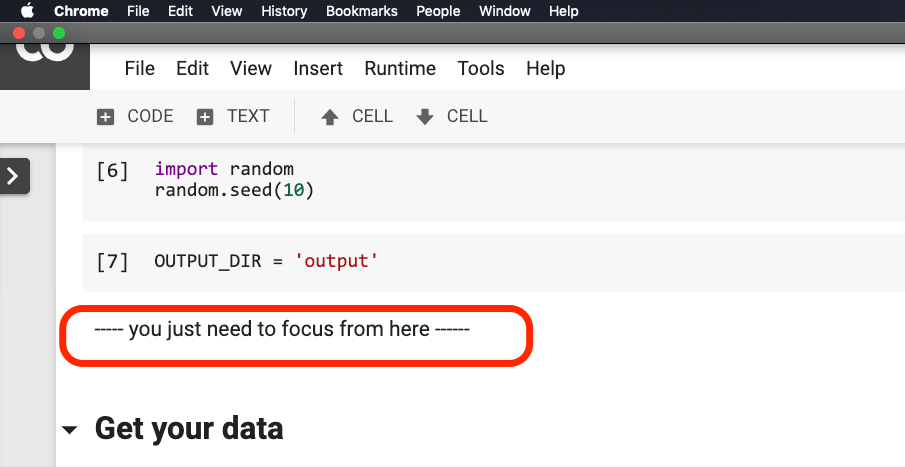
After you save the Notebook. If you look closely, you may feel fooled.
Teacher, you lied! It's agreed that no more than 10 lines of code!
Don't be anxious .
You don't need to modify anything before the sentence circled in the red in the picture below.
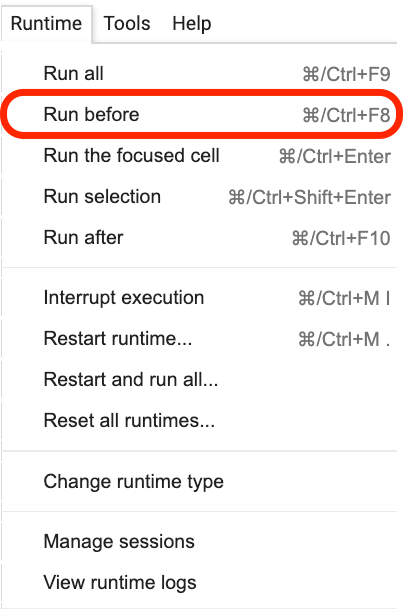
Please click where this sentence is located, and then select Run before from the menu as shown in the following figure.
The following are all important links, focus.
The first step is to prepare the data.
!w get https : // github . com / wshuyi / demo - chinese - text - binary - classification - with - bert / raw / master / dianping_train_test . pickle

with open ( "dianping_train_test.pickle" , 'rb' ) as f :
    train , test = pickle . load ( f )
You should be familiar with the data used here. It is the emotional annotation data of catering reviews. I am in "How to train Chinese text emotion classification model with Python and machine learning? 》 and "How to use Python and recurrent neural networks to classify Chinese texts? 》 has used it. However, for the convenience of the demonstration, I output it as pickle format this time and put it in the demonstration Github repo together for your download and use.
The training set contains 1,600 pieces of data; the test set contains 400 pieces of data. In the label, 1 represents positive emotions and 0 represents negative emotions.
Using the following statement, we shuffle the training set and disrupt the order. To avoid overfitting.
train = train . sample ( len ( train ))Let’s take a look at the head content of our training set.
train . head ()
If you want to replace your own dataset later, please pay attention to the format. The column names of the training and test sets should be consistent.
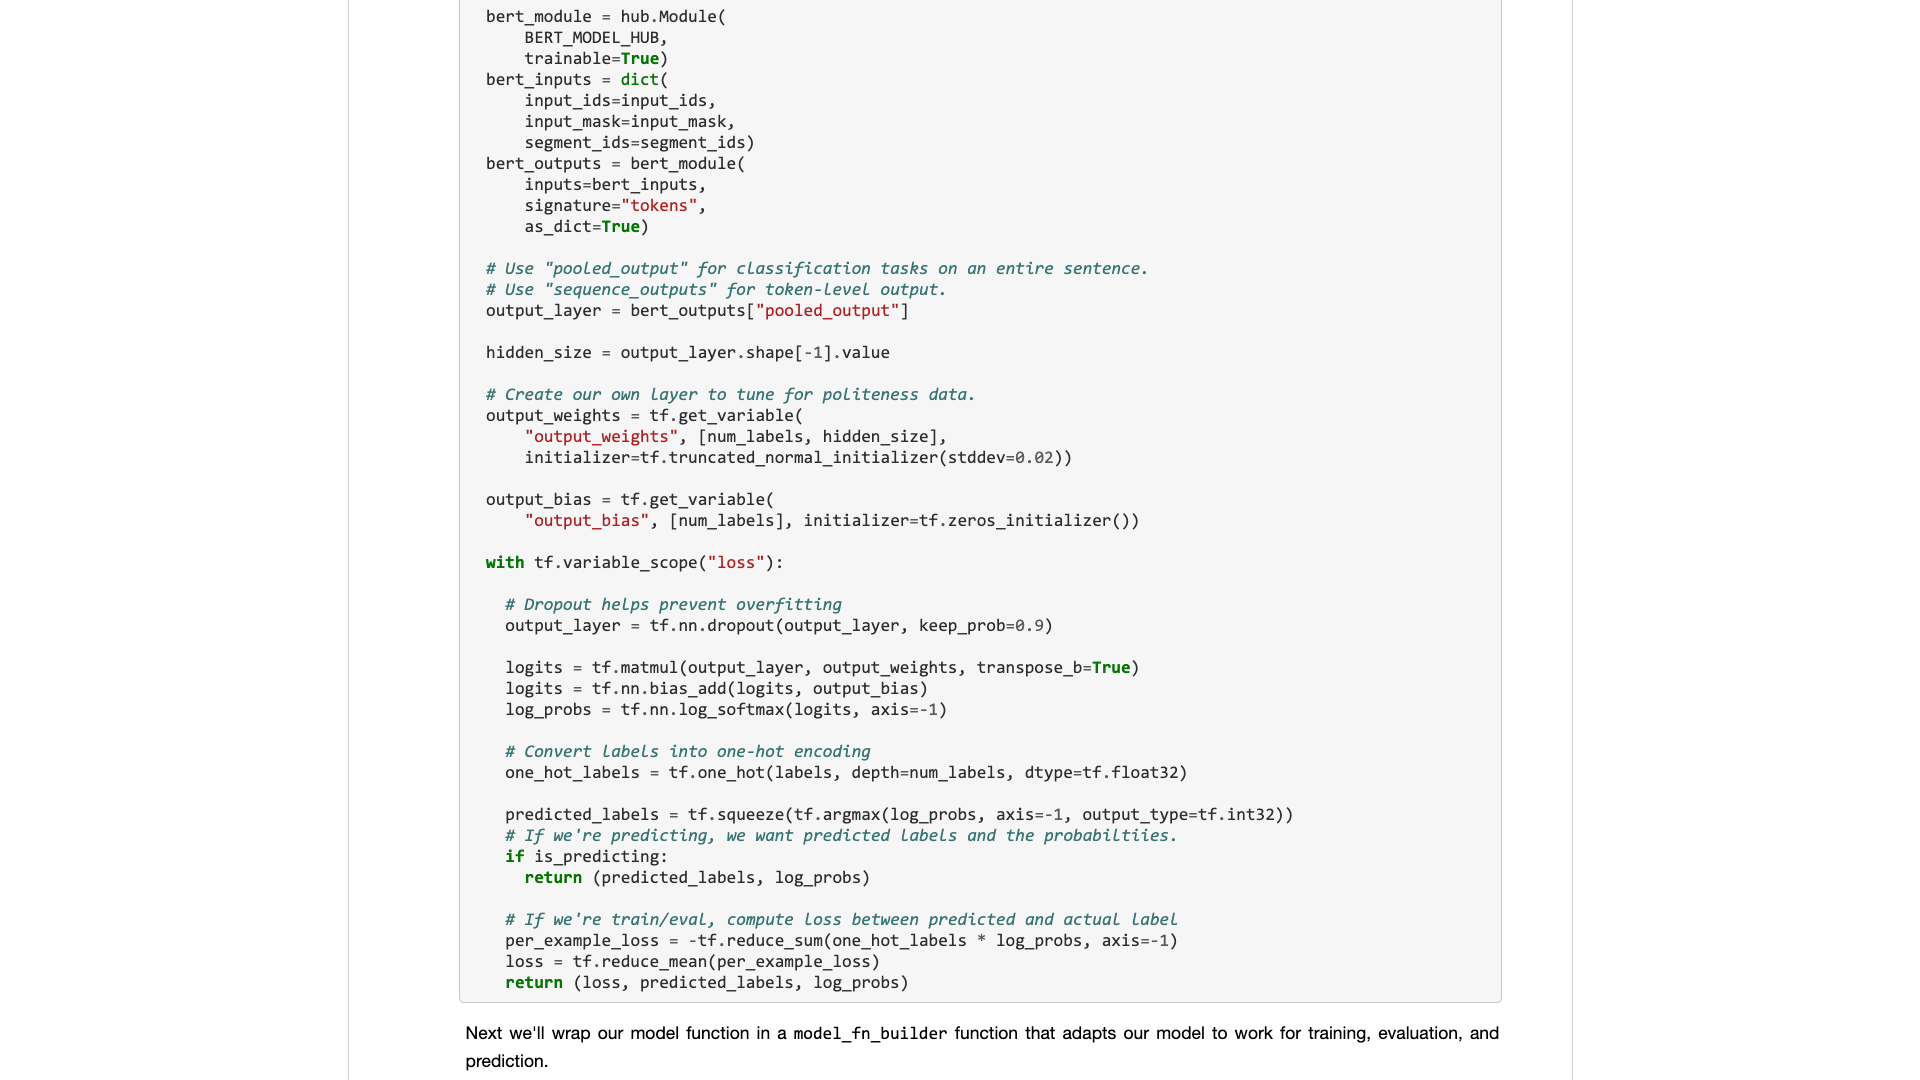
In the second step, we will set the parameters.
 myparam = {
        "DATA_COLUMN" : "comment" ,
        "LABEL_COLUMN" : "sentiment" ,
        "LEARNING_RATE" : 2e-5 ,
        "NUM_TRAIN_EPOCHS" : 3 ,
        "bert_model_hub" : "https://tfhub.dev/google/bert_chinese_L-12_H-768_A-12/1"
    }
The first two lines are to clearly indicate the corresponding column names of the text and marks.
The third line specifies the training rate. You can read the original paper to make a hyperparameter adjustment attempt. Or, you can simply keep the default value unchanged.
Line 4, specify the number of training rounds. Run all the data into one round. 3 rounds are used here.
The last line shows the BERT pre-trained model you want to use. We want to classify Chinese text, so we use this Chinese pre-trained model address. If you want to use English, you can refer to my Medium blog post and the corresponding English sample code.
In the last step, we just execute the code in turn.
result , estimator = run_on_dfs ( train , test , ** myparam )Note that it may take some time to execute this sentence. Be mentally prepared. This is related to your data volume and training round settings.
In this process, you can see that the program first helps you turn the original Chinese text into an input data format that BERT can understand.
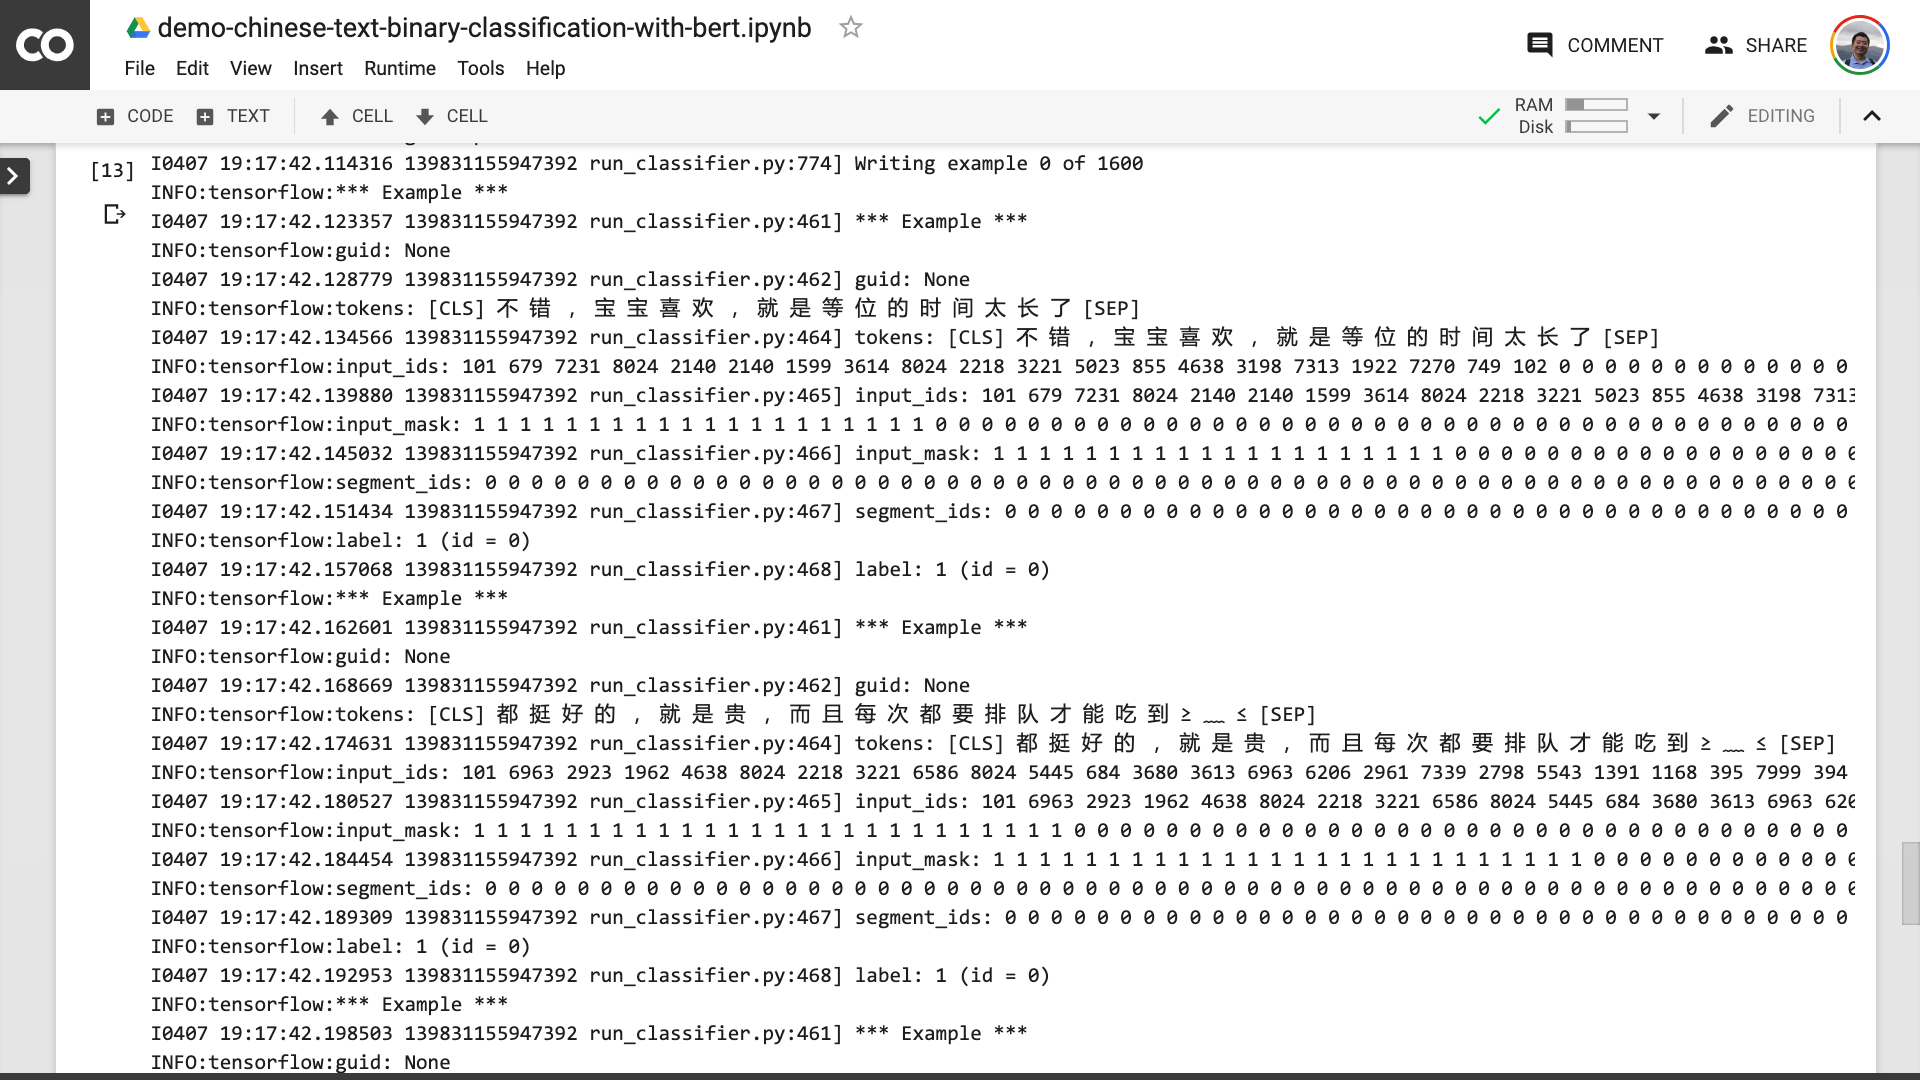
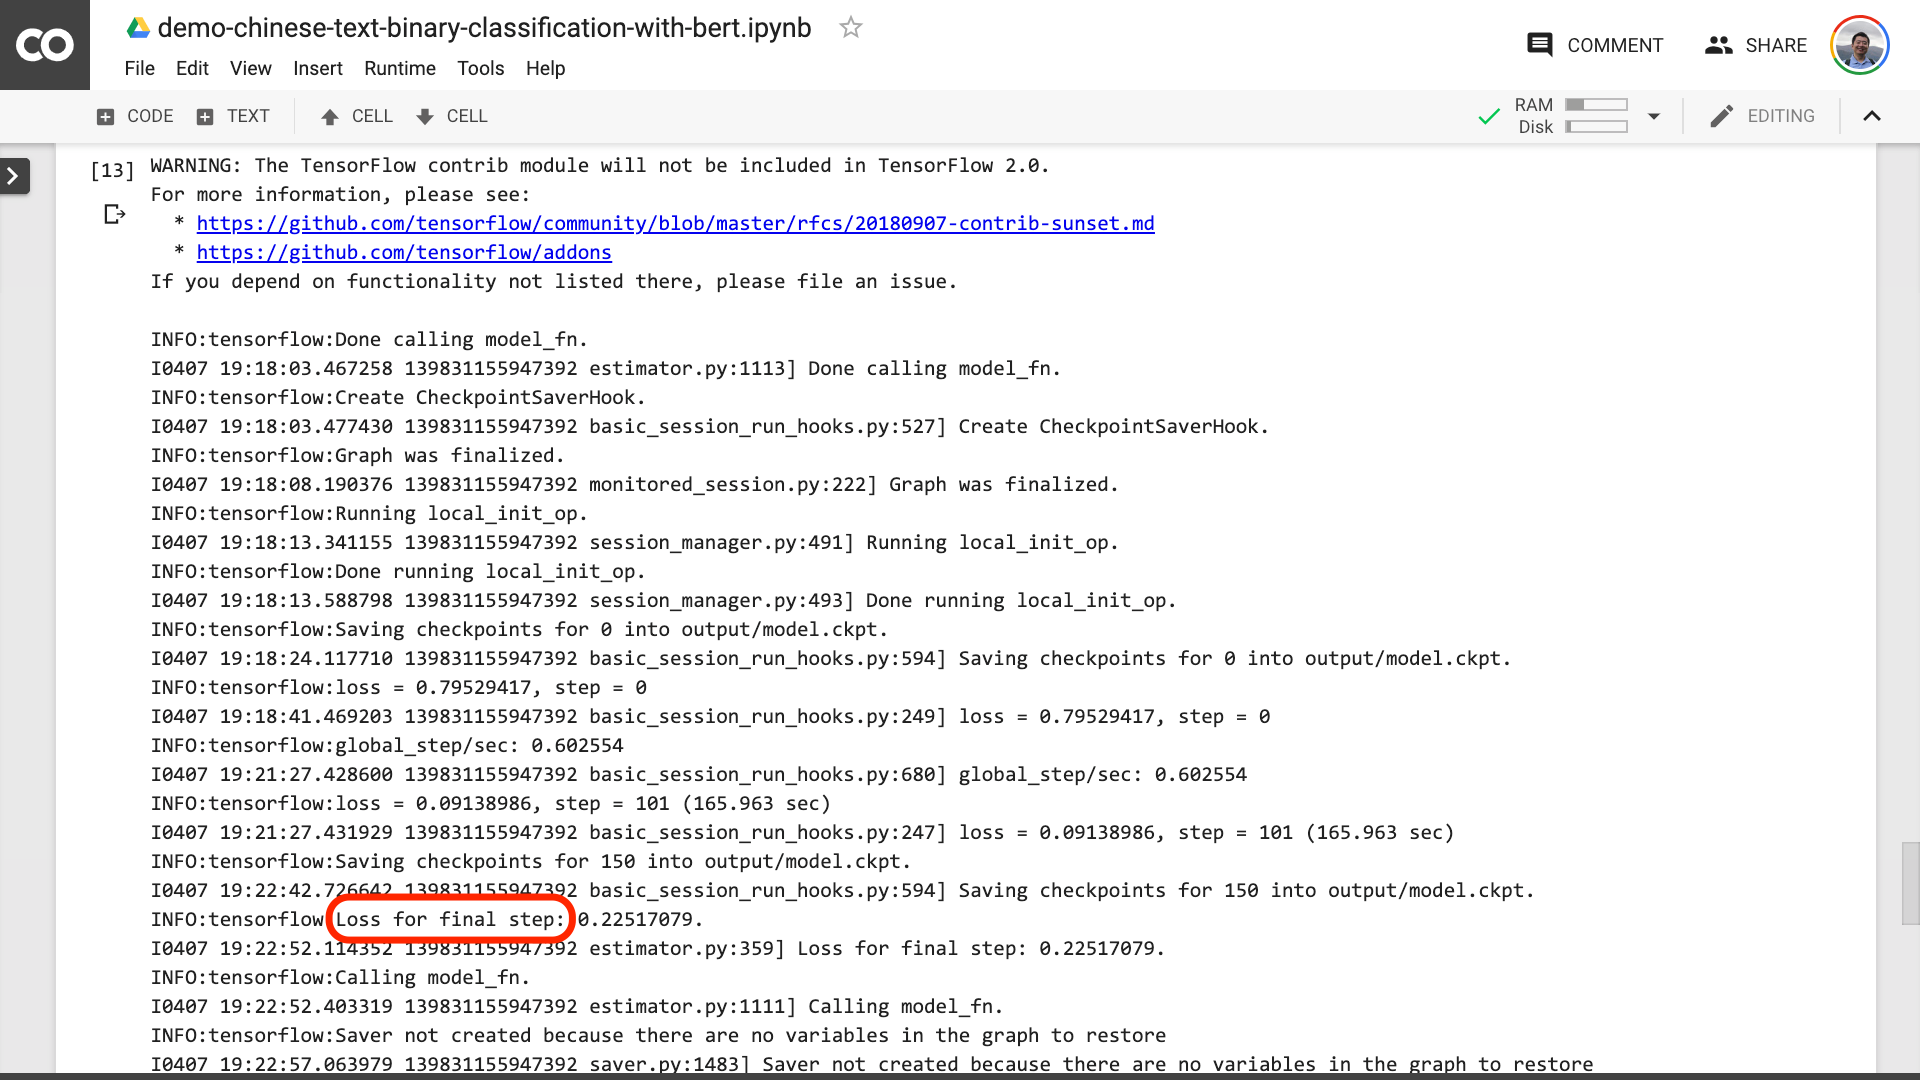
When you see the text circled in the red in the picture below, it means that the training process is finally over.
Then you can print out the test results.
pretty_print ( result )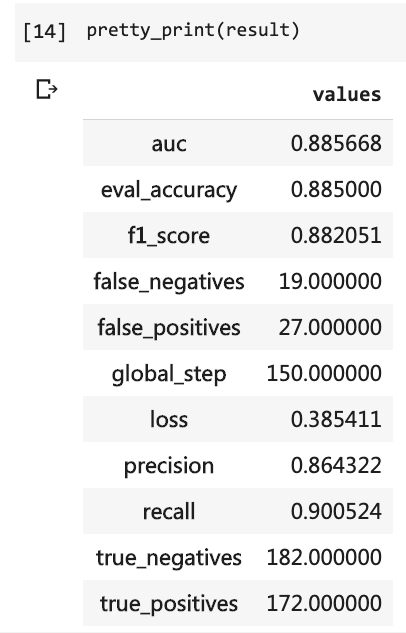
Compare with our previous tutorial (using the same dataset).
At that time, I had to write so many lines of code and I had to run 10 rounds, but the result was still not more than 80%. This time, although I only trained for 3 rounds, the accuracy rate has exceeded 88%.
It is not easy to achieve such accuracy on such a small-scale dataset.
The BERT performance is evident.
Having said that, you have learned how to use BERT to do the binary classification task of Chinese text. I hope you will be as happy as me.
If you are a senior Python enthusiast, please do me a favor.
Remember the code before this line?

Can you help me pack them? In this way, our demo code can be shorter, more concise, clearer and easier to use.
Welcome to submit your code on our Github project. If you find this tutorial helpful, please add stars to this Github project. Thanks!
Happy deep learning!
You may also be interested in the following topics. Click the link to view it.
If you like it, please like and reward. You can also follow and top my official account "Yushuzhilan" (nkwangshuyi) on WeChat.
If you are interested in Python and data science, you might as well read my series of tutorial index posts "How to get started with data science efficiently? 》, there are more interesting questions and solutions in it.
The knowledge planet entrance is here:


