SHARK Studio
nod.ai SHARK 20240531.1300
การกระจายการเรียนรู้ของเครื่องประสิทธิภาพสูง
ขณะนี้เรากำลังสร้างฉลามใหม่เพื่อใช้ประโยชน์จากกังหัน จนกว่าจะเสร็จสมบูรณ์ตรวจสอบให้แน่ใจว่าคุณใช้การเปิดตัว. exe หรือการชำระเงินของสาขา SHARK-1.0 สำหรับฉลามที่ใช้งานได้
ผู้ใช้รายอื่นโปรดตรวจสอบให้แน่ใจว่าคุณมีไดรเวอร์ผู้ขายล่าสุดและ Vulkan SDK จากที่นี่และหากคุณใช้ Vulkan Check vulkaninfo ทำงานในหน้าต่างเทอร์มินัล
ติดตั้งไดรเวอร์จาก (ข้อกำหนดเบื้องต้น) [https://github.com/nod-ai/shark-studio#install-your-hardware-drivers] ด้านบน
ดาวน์โหลดการเปิดตัวที่เสถียรหรือการเปิดตัว Shark 1.0 ล่าสุด
ดับเบิลคลิกที่. exe หรือเรียกใช้จากบรรทัดคำสั่ง (แนะนำ) และคุณควรมี UI ในเบราว์เซอร์
หากคุณมีโมเดลที่กำหนดเองวางไว้ใน models/ ไดเรกทอรีที่. exe คือ
สนุก.
cd ) เป็นโฟลเดอร์. exe จากนั้นเรียกใช้ exe จากพรอมต์คำสั่ง ด้วยวิธีนี้หากเกิดข้อผิดพลาดคุณจะสามารถตัดและวางเพื่อขอความช่วยเหลือได้ (ถ้ามันใช้งานได้กับคุณเสมอโดยไม่มีข้อผิดพลาดคุณอาจดับเบิลคลิกที่ exe)--ui=web คำสั่งเมื่อเรียกใช้ EXE git clone https://github.com/nod-ai/SHARK.git
cd SHARK ปัจจุบันฉลามกำลังถูกสร้างใหม่สำหรับกังหันในสาขา main สำหรับตอนนี้คุณท้อแท้อย่างยิ่งจากการใช้ main เว้นแต่คุณกำลังทำงานเกี่ยวกับความพยายามสร้างใหม่และไม่ควรคาดหวังว่ารหัสที่นั่นจะสร้างแอปพลิเคชันที่ใช้งานได้สำหรับการสร้างภาพดังนั้นตอนนี้คุณจะต้องสลับไปยังสาขา SHARK-1.0 และใช้รหัสที่เสถียร
git checkout SHARK-1.0คำแนะนำการตั้งค่าต่อไปนี้ถือว่าคุณอยู่ในสาขานี้
set-executionpolicy remotesigned. / setup_venv.ps1 # You can re-run this script to get the latest version./setup_venv.sh
source shark1.venv/bin/activate(shark1.venv) PS C:gshark > cd .appsstable_diffusionweb
(shark1.venv) PS C:gsharkappsstable_diffusionweb > python .index.py(shark1.venv) > cd apps/stable_diffusion/web
(shark1.venv) > python index.py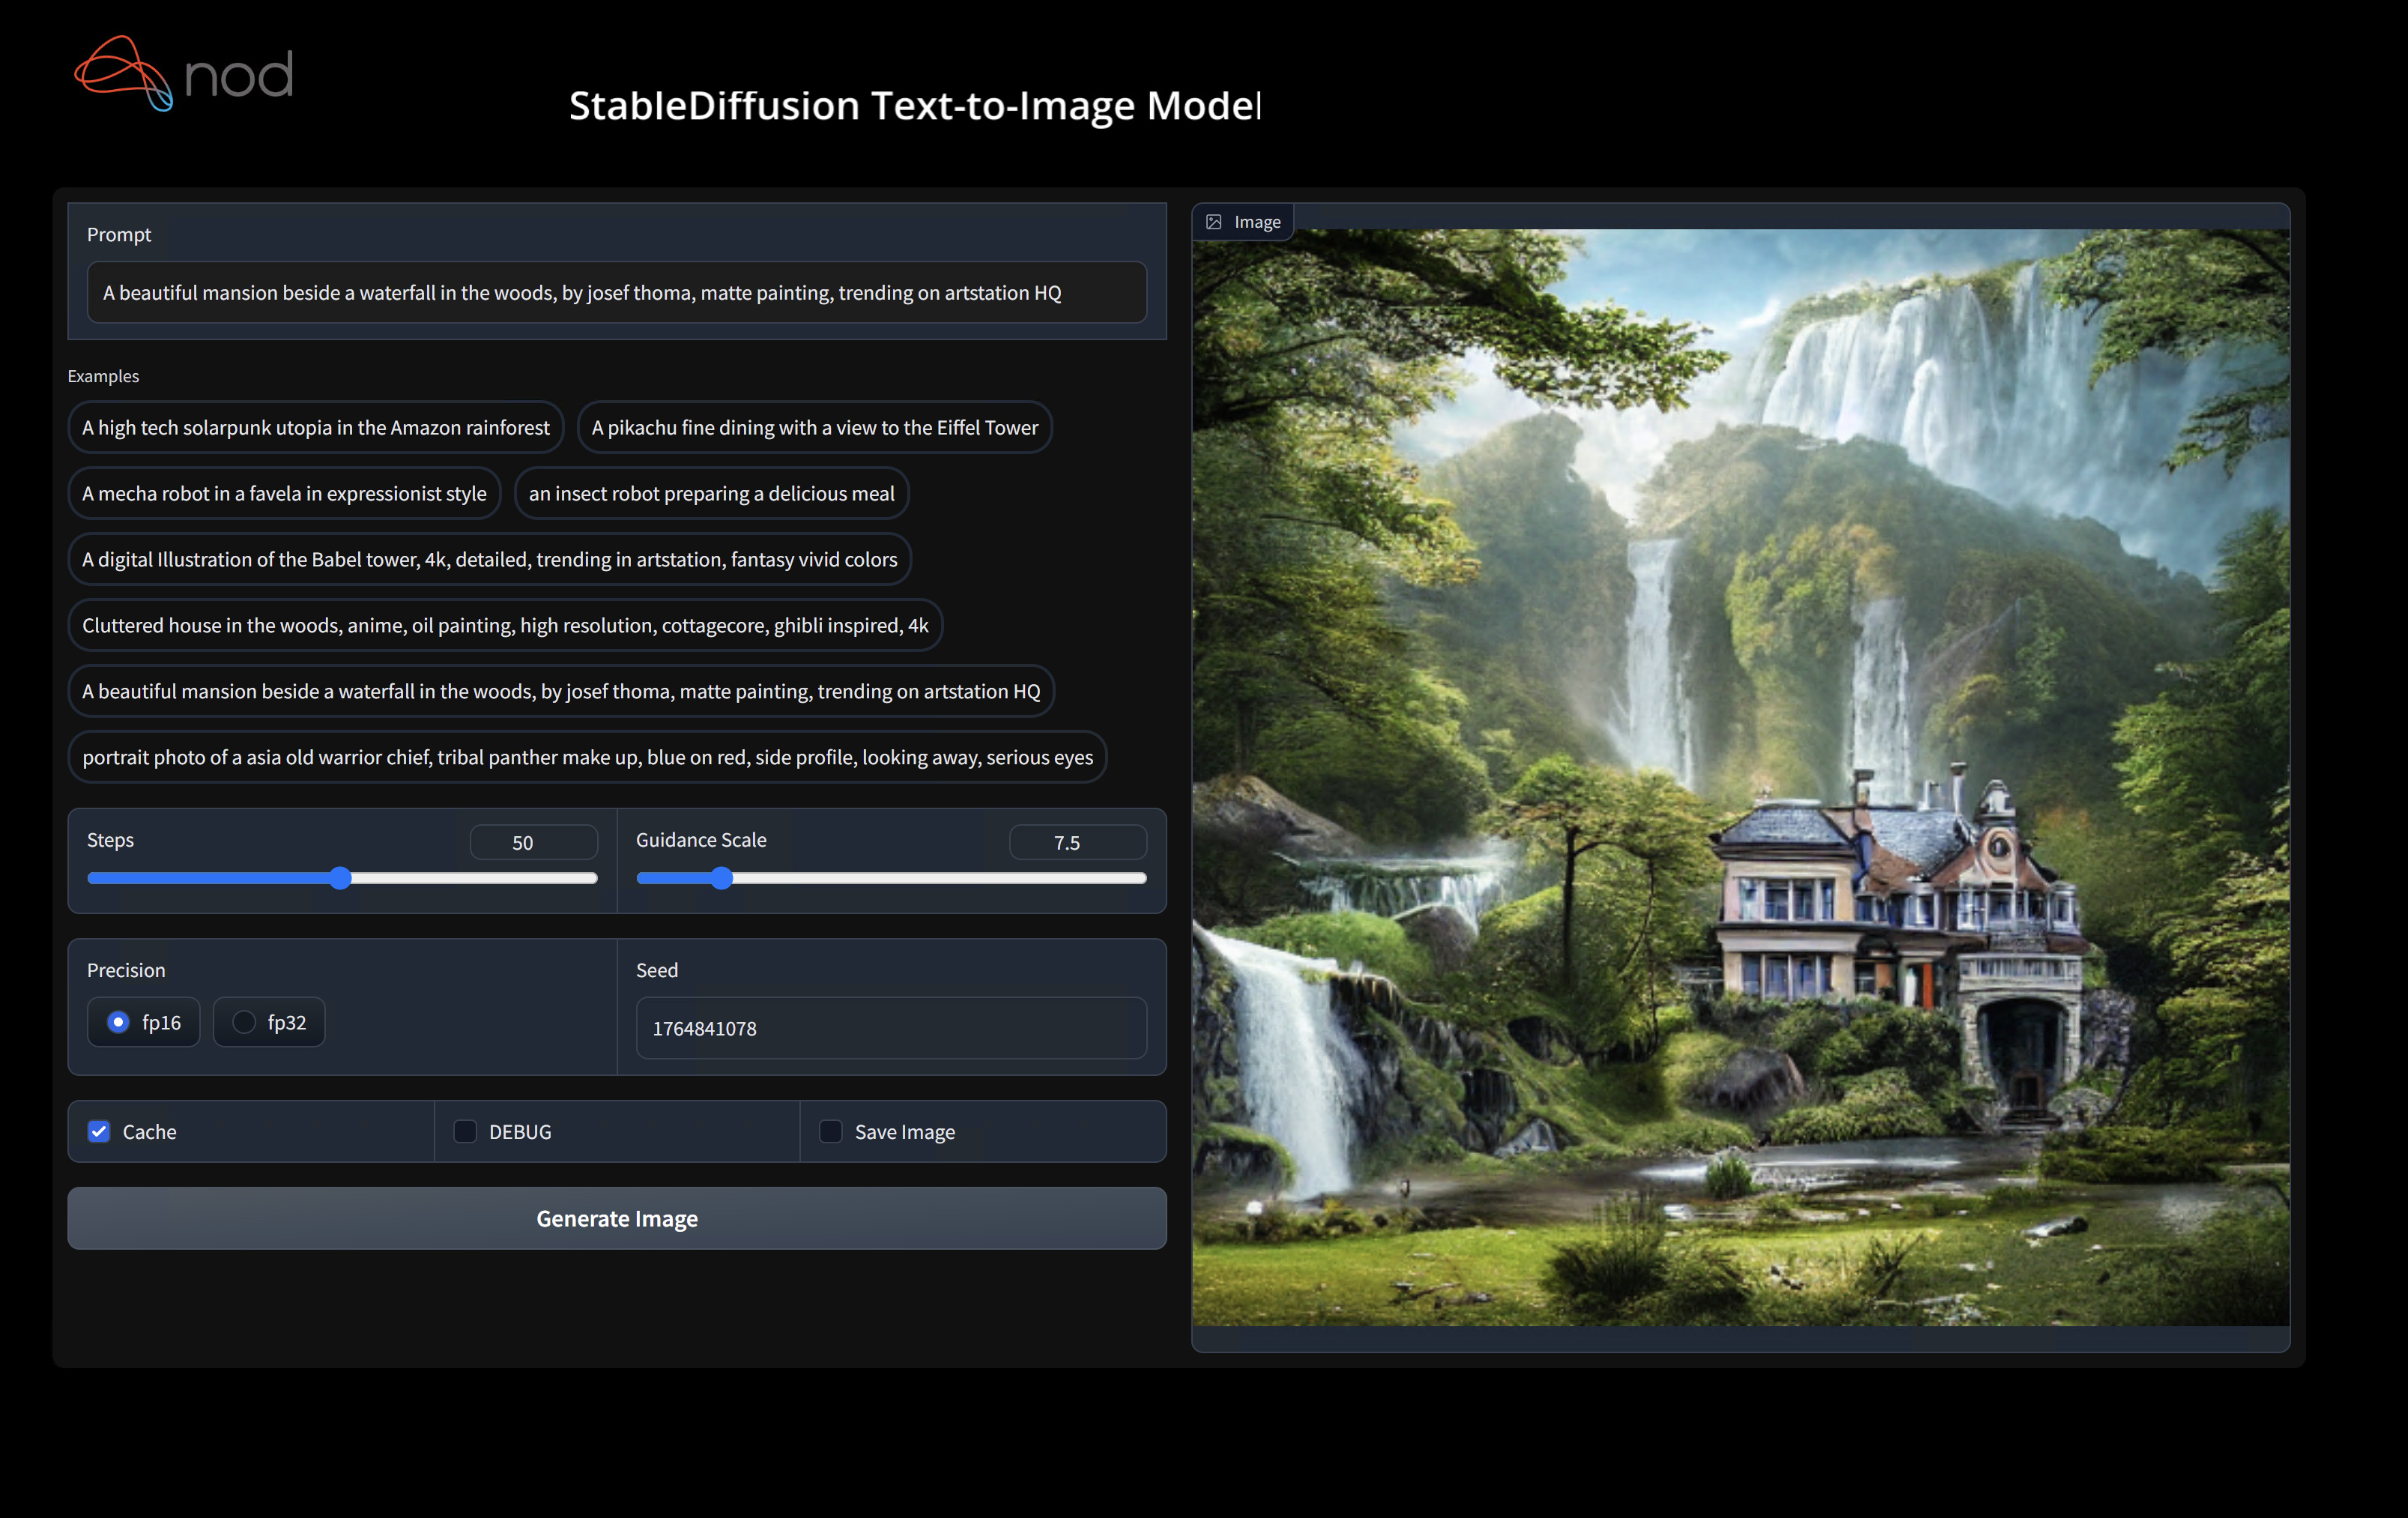
(shark1.venv) PS C:gshark > python .appsstable_diffusionscriptsmain.py -- app = " txt2img " -- precision = " fp16 " -- prompt = " tajmahal, snow, sunflowers, oil on canvas " -- device = " vulkan " python3.11 apps/stable_diffusion/scripts/main.py --app=txt2img --precision=fp16 --device=vulkan --prompt= " tajmahal, oil on canvas, sunflowers, 4k, uhd " คุณสามารถแทนที่ vulkan ด้วย cpu เพื่อทำงานบน CPU หรือ cuda เพื่อทำงานบนอุปกรณ์ CUDA หากคุณมีอุปกรณ์ Vulkan หลายตัวคุณสามารถจัดการได้ด้วย --device=vulkan://1 ฯลฯ
เอาต์พุตของ AMD 7900XTX จะมีลักษณะเช่น:
Average step time: 47.19188690185547ms/it
Clip Inference time (ms) = 109.531
VAE Inference time (ms): 78.590

Total image generation time: 2.5788655281066895sec
นี่คือตัวอย่างบางส่วนที่สร้างขึ้น:

ค้นหาเราบน Shark Discord Server หากคุณมีปัญหาใด ๆ กับการรันบนฮาร์ดแวร์ของคุณ
ขั้นตอนนี้ตั้งค่า virtualenv ใหม่สำหรับ Python
python --version # Check you have 3.11 on Linux, macOS or Windows Powershell
python -m venv shark_venv
source shark_venv/bin/activate   # Use shark_venv/Scripts/activate on Windows

# If you are using conda create and activate a new conda env

# Some older pip installs may not be able to handle the recent PyTorch deps
python -m pip install --upgrade pip
ผู้ใช้ MacOS Metal โปรดติดตั้ง https://sdk.lunarg.com/sdk/download/latest/mac/vulkan-sdk.dmg และเปิดใช้งาน "System Wide Install"
PIP ขั้นตอนนี้ติดตั้งฉลามและแพ็คเกจที่เกี่ยวข้องบน Linux Python 3.8, 3.10 และ 3.11 และ MacOS / Windows Python 3.11
pip install nodai-shark -f https://nod-ai.github.io/SHARK/package-index/ -f https://llvm.github.io/torch-mlir/package-index/ -f https://nod-ai.github.io/SRT/pip-release-links.html --extra-index-url https://download.pytorch.org/whl/nightly/cpupytest tank/test_models.pyดู Tank/Readme.md สำหรับคำแนะนำที่ละเอียดยิ่งขึ้นของชุด Pytest และ CLI ของเรา
curl -O https://raw.githubusercontent.com/nod-ai/SHARK/main/shark/examples/shark_inference/resnet50_script.py
# Install deps for test script
pip install --pre torch torchvision torchaudio tqdm pillow gsutil --extra-index-url https://download.pytorch.org/whl/nightly/cpu
python ./resnet50_script.py --device= " cpu " # use cuda or vulkan or metalcurl -O https://raw.githubusercontent.com/nod-ai/SHARK/main/shark/examples/shark_inference/minilm_jit.py
# Install deps for test script
pip install transformers torch --extra-index-url https://download.pytorch.org/whl/nightly/cpu
python ./minilm_jit.py --device= " cpu " # use cuda or vulkan or metal หากคุณต้องการใช้ Python3.11 และด้วยเครื่องมือนำเข้า TF คุณสามารถใช้ตัวแปรสภาพแวดล้อมเช่น: SET USE_IREE=1 เพื่อใช้ IREE อัปสตรีม
# PYTHON=python3.11 VENV_DIR=0617_venv IMPORTER=1 ./setup_venv.sh
python -m  shark.examples.shark_inference.resnet50_script --device= " cpu " # Use gpu | vulkan
# Or a pytest
pytest tank/test_models.py -k " MiniLM " หากคุณเป็น นักพัฒนาคบเพลิง-MLIR หรือนักพัฒนา Iree และต้องการทดสอบการเปลี่ยนแปลงในท้องถิ่นคุณสามารถถอนการติดตั้งแพ็คเกจที่ให้ไว้ด้วย pip uninstall torch-mlir MLIR และ / หรือ pip uninstall iree-compiler iree-runtime และสร้างในท้องถิ่น
วิธีใช้คบเพลิงที่สร้างขึ้นในพื้นที่กับฉลาม:
1.) Run ` ./setup_venv.sh in SHARK ` and activate ` shark.venv ` virtual env.
2.) Run ` pip uninstall torch-mlir ` .
3.) Go to your local Torch-MLIR directory.
4.) Activate mlir_venv virtual envirnoment.
5.) Run ` pip uninstall -r requirements.txt ` .
6.) Run ` pip install -r requirements.txt ` .
7.) Build Torch-MLIR.
8.) Activate shark.venv virtual environment from the Torch-MLIR directory.
8.) Run ` export PYTHONPATH= ` pwd ` /build/tools/torch-mlir/python_packages/torch_mlir: ` pwd ` /examples ` in the Torch-MLIR directory.
9.) Go to the SHARK directory.
ตอนนี้ฉลามจะใช้ Repo Torch-MLIR ในพื้นที่ของคุณ
ในการสร้างเกณฑ์มาตรฐานของการจัดส่งแต่ละรายการคุณสามารถเพิ่ม --dispatch_benchmarks=All --dispatch_benchmarks_dir=<output_dir> ไปยังอาร์กิวเมนต์บรรทัดคำสั่ง pytest ของคุณ หากคุณต้องการรวบรวมเฉพาะการจัดส่งเฉพาะคุณสามารถระบุได้ด้วยสตริงที่แยกออกจากกันแทน "All" เช่น --dispatch_benchmarks="0 1 2 10"
ตัวอย่างเช่นในการสร้างและเรียกใช้มาตรฐานการจัดส่งสำหรับ minilm บน cuda:
pytest -k "MiniLM and torch and static and cuda" --benchmark_dispatches=All -s --dispatch_benchmarks_dir=./my_dispatch_benchmarks
คำสั่งที่กำหนดจะเติม <dispatch_benchmarks_dir>/<model_name>/ ด้วย ordered_dispatches.txt ที่แสดงรายการและสั่งซื้อ dispatches และเวลาแฝงของพวกเขารวมถึงโฟลเดอร์สำหรับการจัดส่งแต่ละรายการ
หากคุณต้องการรวมสิ่งนี้ลงในสคริปต์ Python คุณสามารถส่งคำสั่ง dispatch_benchmarks และ dispatch_benchmarks_dir เมื่อเริ่มต้นการเริ่มต้น SharkInference และมาตรฐานจะถูกสร้างขึ้นเมื่อรวบรวม เช่น:
 shark_module = SharkInference(
        mlir_model,
        device=args.device,
        mlir_dialect="tm_tensor",
        dispatch_benchmarks="all",
        dispatch_benchmarks_dir="results"
    )
ผลลัพธ์จะรวมถึง:
ดู Tank/Readme.MD สำหรับคำแนะนำเพิ่มเติมเกี่ยวกับวิธีเรียกใช้การทดสอบแบบจำลองและมาตรฐานจาก Shark Tank
from shark.shark_importer import SharkImporter

# SharkImporter imports mlir file from the torch, tensorflow or tf-lite module.

mlir_importer = SharkImporter(
    torch_module,
    (input),
    frontend="torch",  #tf, #tf-lite
)
torch_mlir, func_name = mlir_importer.import_mlir(tracing_required=True)

# SharkInference accepts mlir in linalg, mhlo, and tosa dialect.

from shark.shark_inference import SharkInference
shark_module = SharkInference(torch_mlir, device="cpu", mlir_dialect="linalg")
shark_module.compile()
result = shark_module.forward((input))
 from shark.shark_inference import SharkInference
import numpy as np

mhlo_ir = r"""builtin.module  {
      func.func @forward(%arg0: tensor<1x4xf32>, %arg1: tensor<4x1xf32>) -> tensor<4x4xf32> {
        %0 = chlo.broadcast_add %arg0, %arg1 : (tensor<1x4xf32>, tensor<4x1xf32>) -> tensor<4x4xf32>
        %1 = "mhlo.abs"(%0) : (tensor<4x4xf32>) -> tensor<4x4xf32>
        return %1 : tensor<4x4xf32>
      }
}"""

arg0 = np.ones((1, 4)).astype(np.float32)
arg1 = np.ones((4, 1)).astype(np.float32)
shark_module = SharkInference(mhlo_ir, device="cpu", mlir_dialect="mhlo")
shark_module.compile()
result = shark_module.forward((arg0, arg1))
ฉลามได้รับการบำรุงรักษาเพื่อสนับสนุนนวัตกรรมล่าสุดในรุ่น ML:
| TF HuggingFace Models | ปลาฉลาม -CPU | ปลาฉลาม | โลหะฉลาม |
|---|---|---|---|
| เบิร์ต | |||
| กลั่นกรอง | |||
| GPT2 | |||
| ผลิบาน | |||
| การแพร่กระจายที่มั่นคง | |||
| หม้อแปลงวิสัยทัศน์ | |||
| resnet50 |
สำหรับรายการที่สมบูรณ์ของรุ่นที่รองรับใน Shark โปรดดูที่ Tank/Readme.md
#torch-mlir บน LLVM Discord - นี่คือช่องทางการสื่อสารที่ใช้งานมากที่สุดtorch-mlir ของวาทกรรม LLVMNod.ai Shark ได้รับใบอนุญาตภายใต้เงื่อนไขของใบอนุญาต Apache 2.0 พร้อมข้อยกเว้น LLVM ดูใบอนุญาตสำหรับข้อมูลเพิ่มเติม


