minigpt4.cpp
v1.0.0
在純C/C ++中推斷Minigpt4。
minigpt4.cpp的主要目標是使用GGML庫使用4位量化運行Minigpt4。
要求:git
git clone --recursive https://github.com/Maknee/minigpt4.cpp
cd minigpt4.cpp轉到發布並將minigpt4庫文件提取到存儲庫目錄中。
要求:CMAKE,Visual Studio和Git
 cmake .
cmake --build . --config Release
binReleaseminigpt4.dll應生成
要求:CMAKE(Ubuntu: sudo apt install cmake )
cmake .
cmake --build . --config Release minigpt4.so應該生成
要求:CMAKE(MACOS: brew install cmake )
cmake .
cmake --build . --config Release minigpt4.dylib應該生成
注意:如果您使用openCV構建(允許在庫本身內加載和預處理圖像之類的功能), ON MINIGPT4_BUILD_WITH_OPENCV設置為in CMakeLists.txt或使用-DMINIGPT4_BUILD_WITH_OPENCV=ON作為cmake cli的參數。
在擁抱面孔〜7b或13b上可以使用預量化的模型。
建議獲得可靠的結果,但推理速度緩慢:Minigpt4-13b-f16.bin
要求:Python 3.x和Pytorch。
克隆Minigpt-4存儲庫並執行設置
 cd minigpt4
git clone https://github.com/Vision-CAIR/MiniGPT-4.git
cd MiniGPT-4
conda env create -f environment.yml
conda activate minigpt4在Checkpoint Aligned with Vicuna 7B下,在Minigpt-4存儲庫中下載驗證的檢查點或Checkpoint Aligned with Vicuna 13B或從HuggingFace鏈接下載7B或13B
將模型權重轉換為GGML格式
7b型號
 cd minigpt4
python convert.py C:pretrained_minigpt4_7b.pth --ftype=f16
13B型號
 cd minigpt4
python convert.py C:pretrained_minigpt4.pth --ftype=f16
7b型號
python convert.py ~ /Downloads/pretrained_minigpt4_7b.pth --outtype f1613B型號
python convert.py ~ /Downloads/pretrained_minigpt4.pth --outtype f16應該生成minigpt4-7B-f16.bin或minigpt4-13B-f16.bin
擁抱面孔可用預量化模型
建議獲得可靠的結果和不錯的推理速度:ggml-vicuna-13b-v0-q5_k.bin
要求:Python 3.x和Pytorch。
遵循Minigpt4的指南獲取Vicuna-V0模型。
然後,克隆Llama.cpp
git clone https://github.com/ggerganov/llama.cpp
cd llama.cpp
cmake .
cmake --build . --config Release
將模型轉換為GGML
python convert.py < path-to-model >量化模型
python quanitize < path-to-model > < output-model > Q4_1測試Minigpt4是否可以通過撥打以下方式來替換minigpt4-13B-f16.bin和ggml-vicuna-13B-v0-q5_k.bin用各自的型號
 cd minigpt4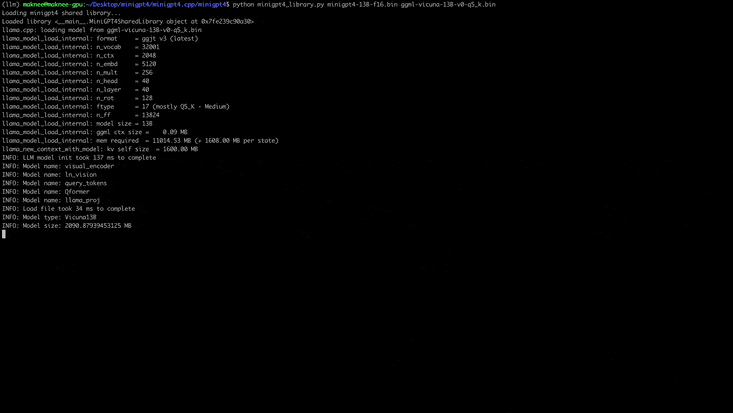
python minigpt4_library.py minigpt4-13B-f16.bin ggml-vicuna-13B-v0-q5_k.bin安裝WebUI的要求
pip install -r requirements.txt然後,運行WebUI,用各自的型號替換minigpt4-13B-f16.bin和ggml-vicuna-13B-v0-q5_k.bin
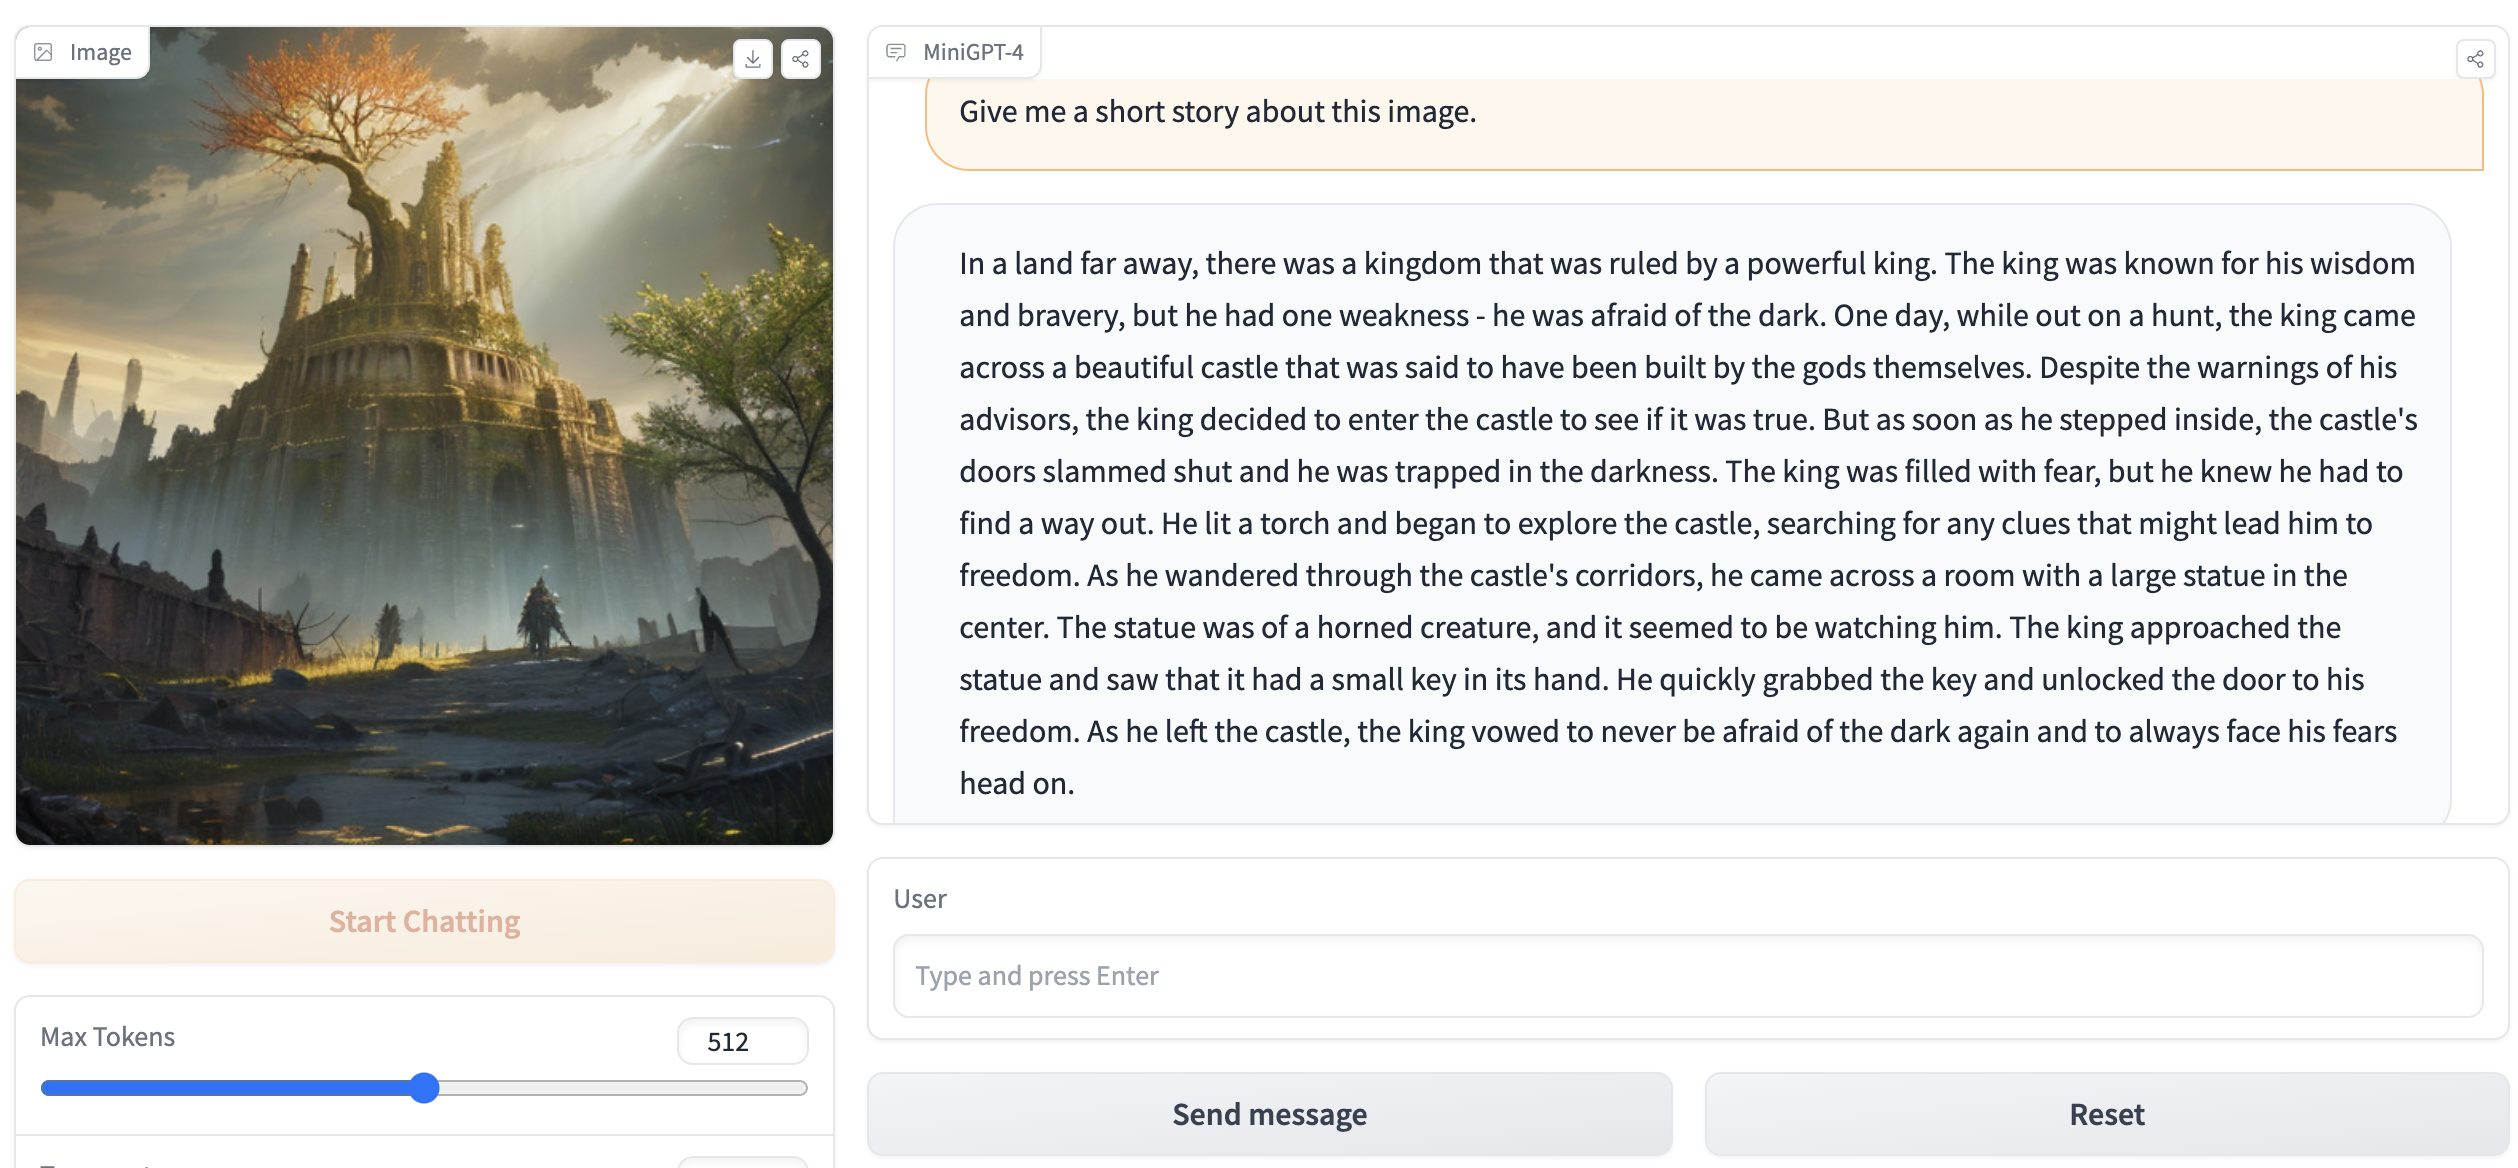
python webui.py minigpt4-13B-f16.bin ggml-vicuna-13B-v0-q5_k.bin輸出應包含以下內容:
Running on local URL:  http://127.0.0.1:7860

To create a public link, set ` share=True ` in `launch () ` .請訪問瀏覽器中的http://127.0.0.1:7860 ,您應該能夠與WebUI進行交互。


