Moodify Emotion Music App
1.0.0
隨著個性化音樂流服務的興起,對系統的需求越來越大,可以根據用戶的情緒狀態推薦音樂。意識到這一需求,兒子Nguyen在2024年開發了Moodify ,以根據用戶檢測到的情緒提供個性化的音樂建議。
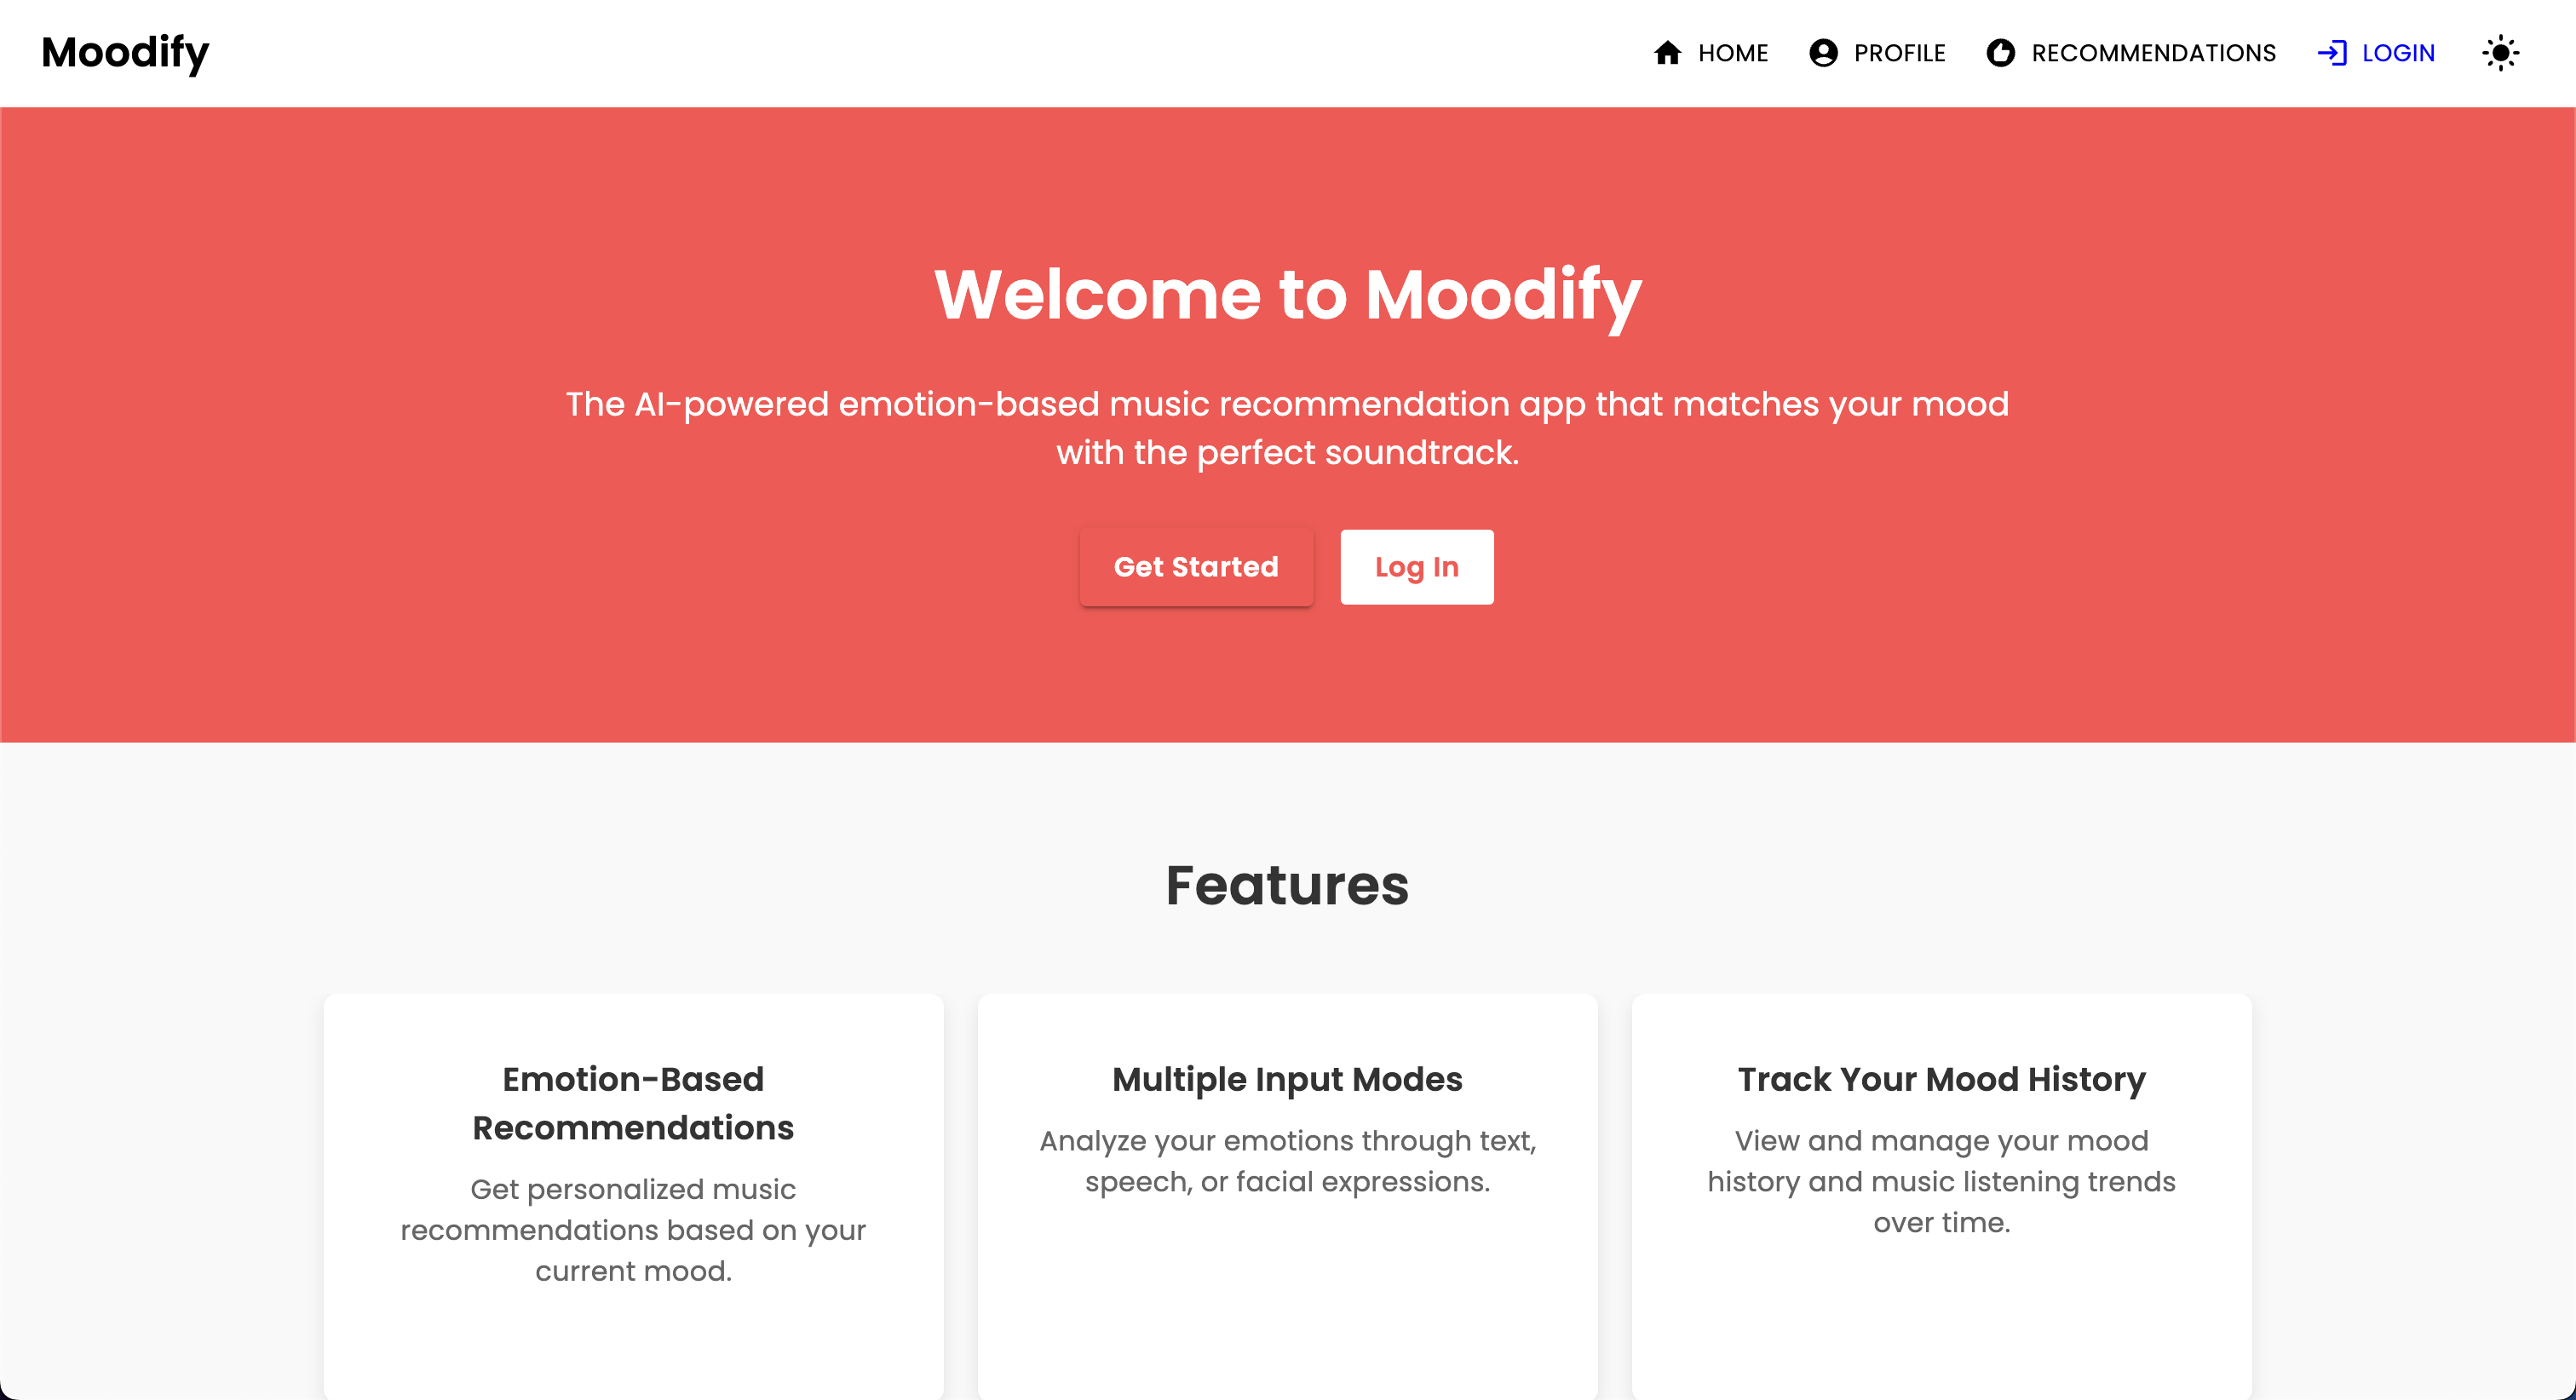
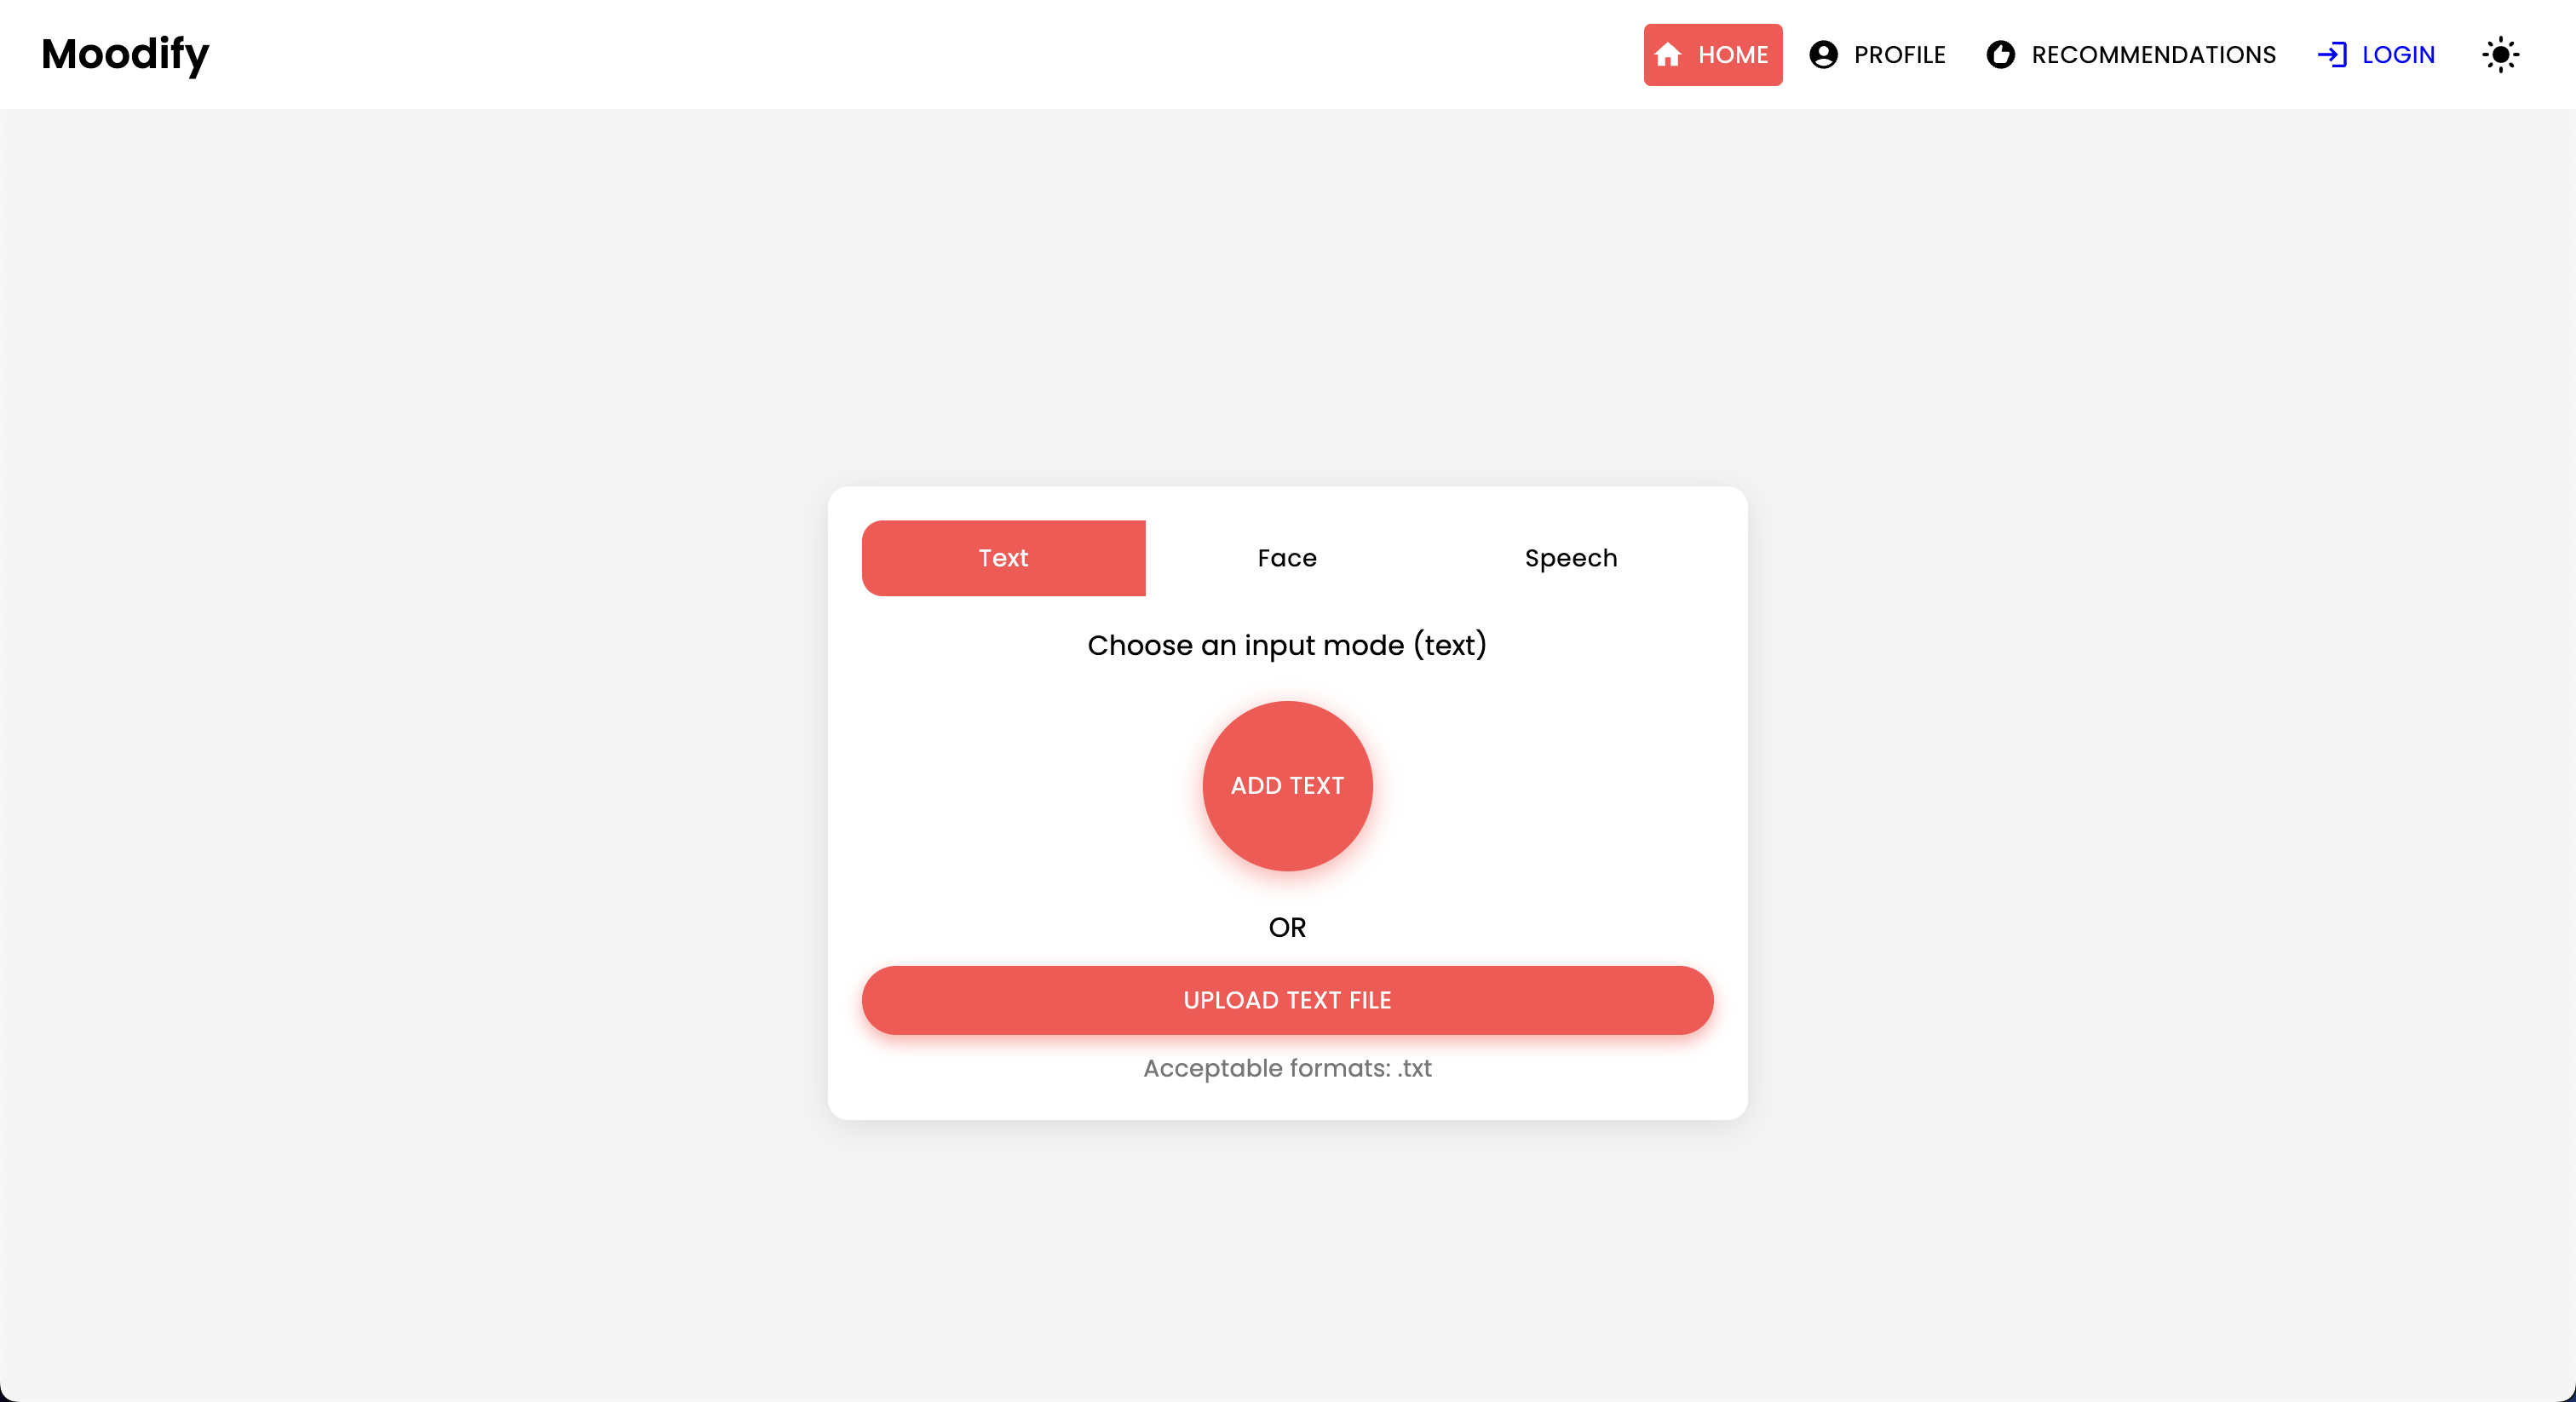
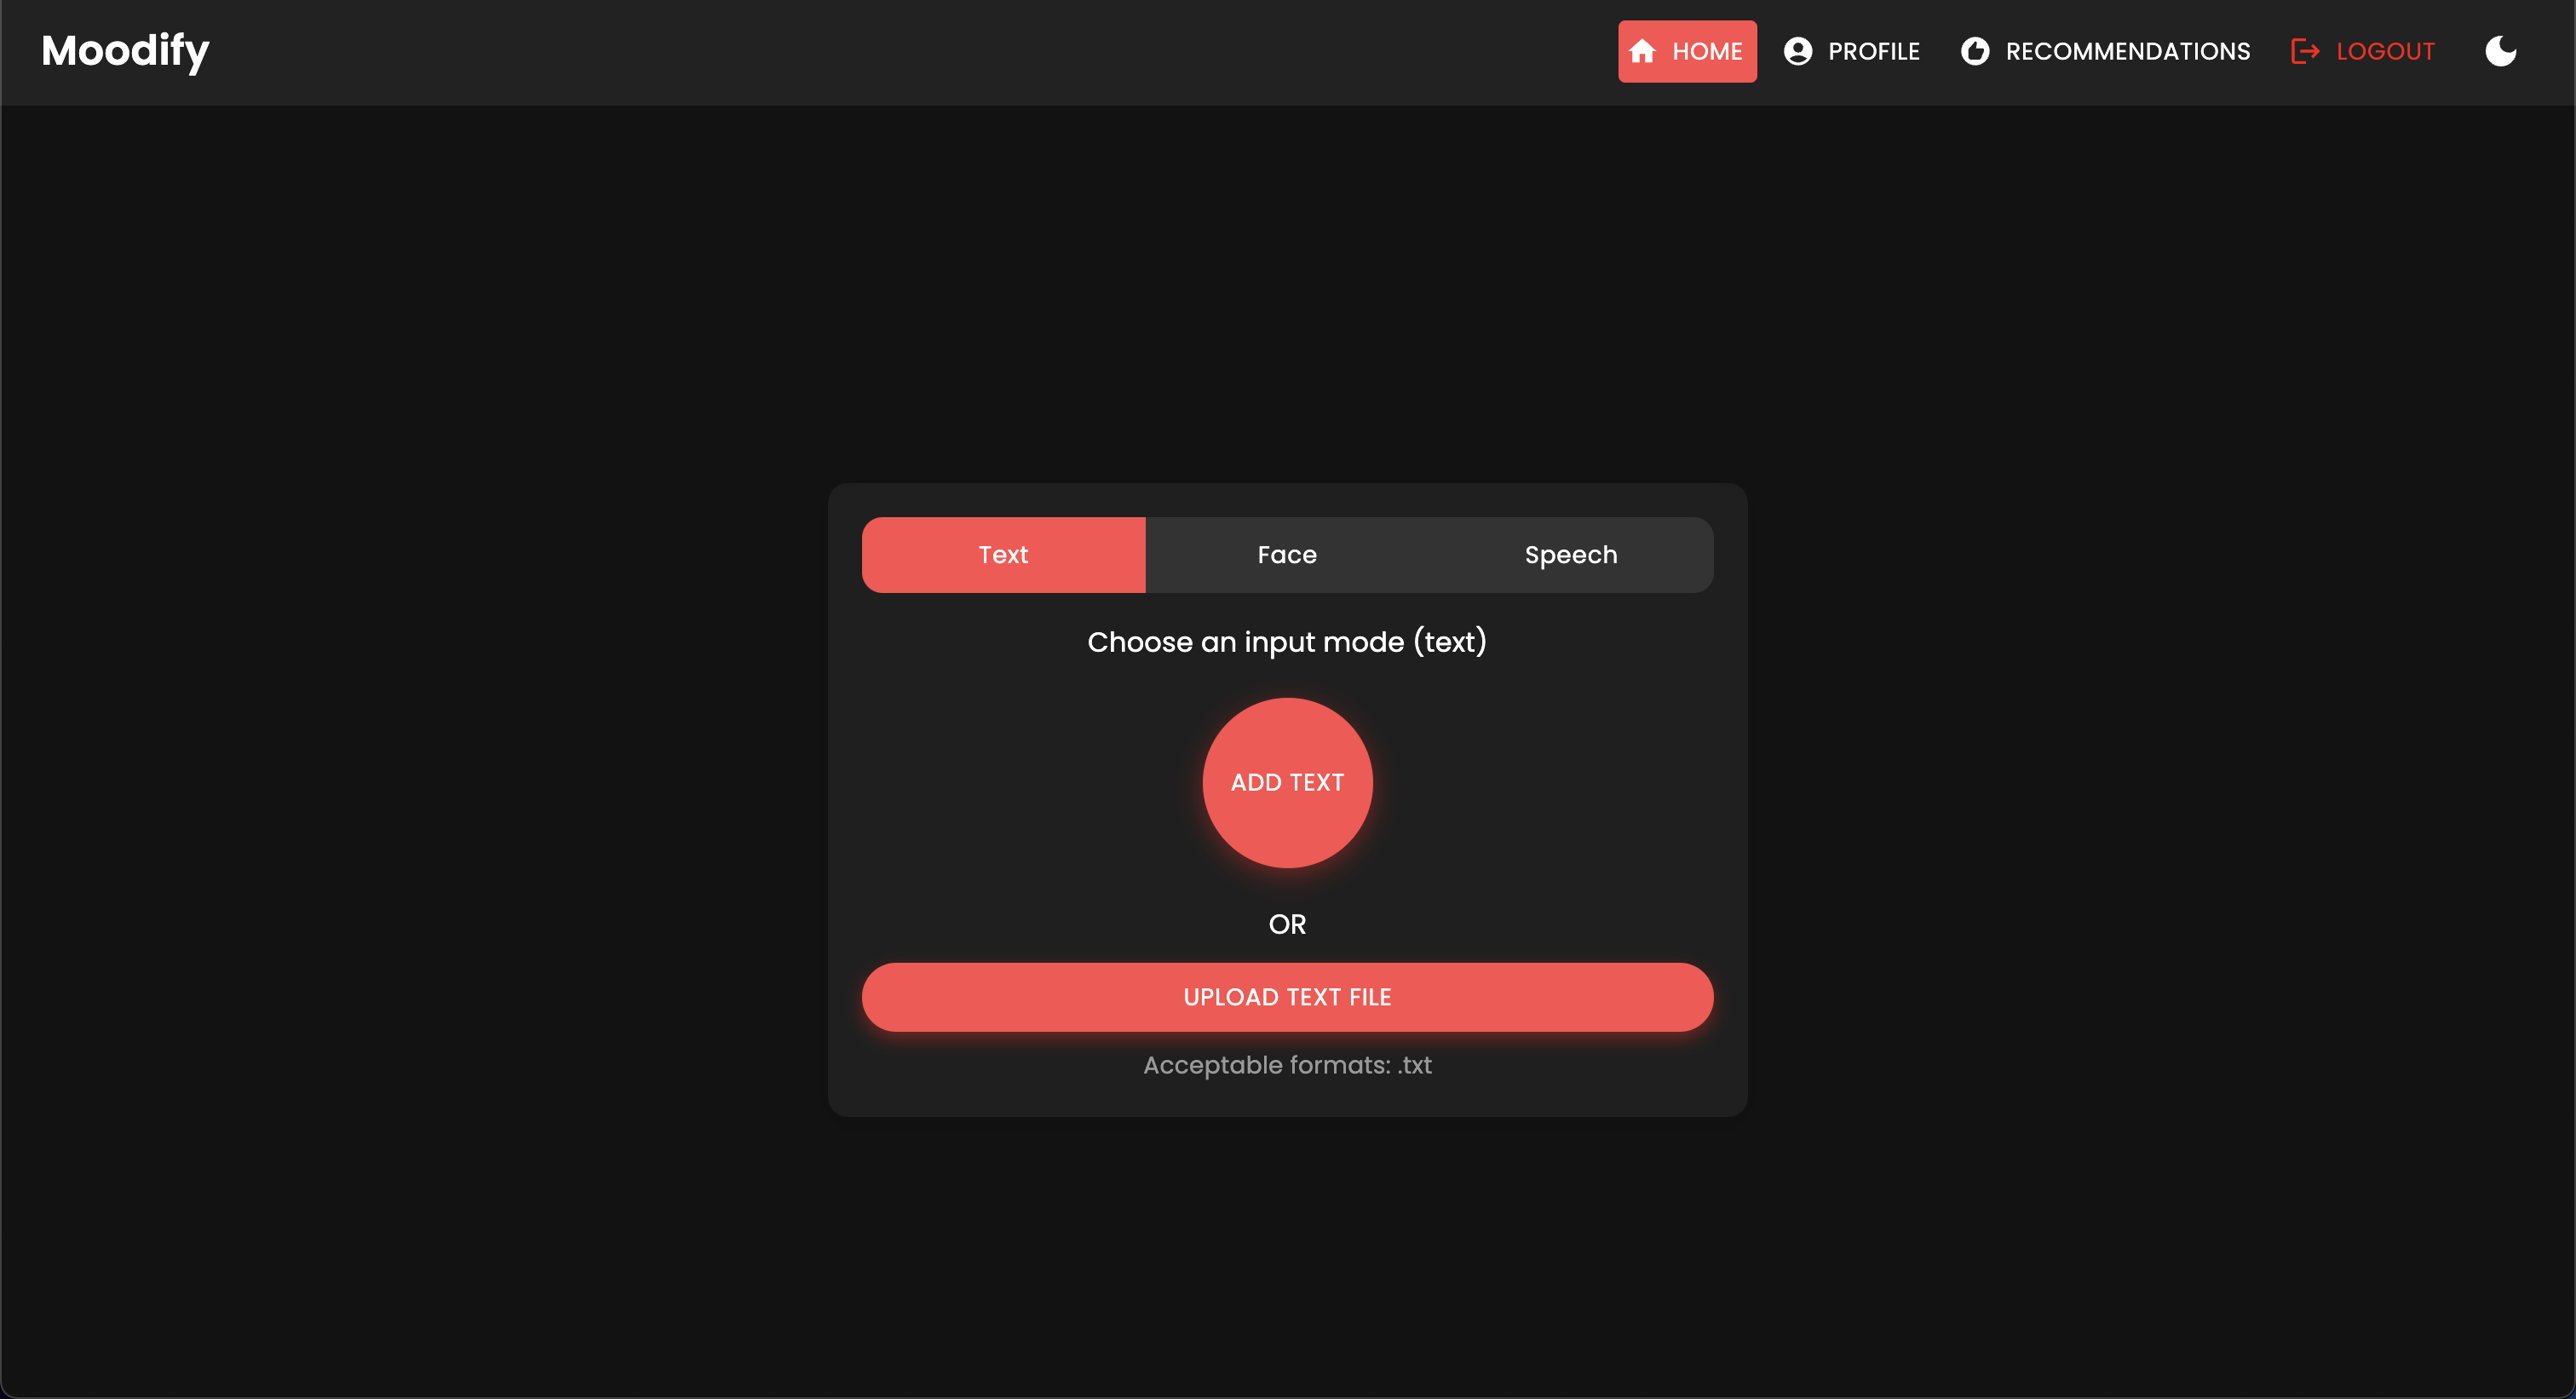
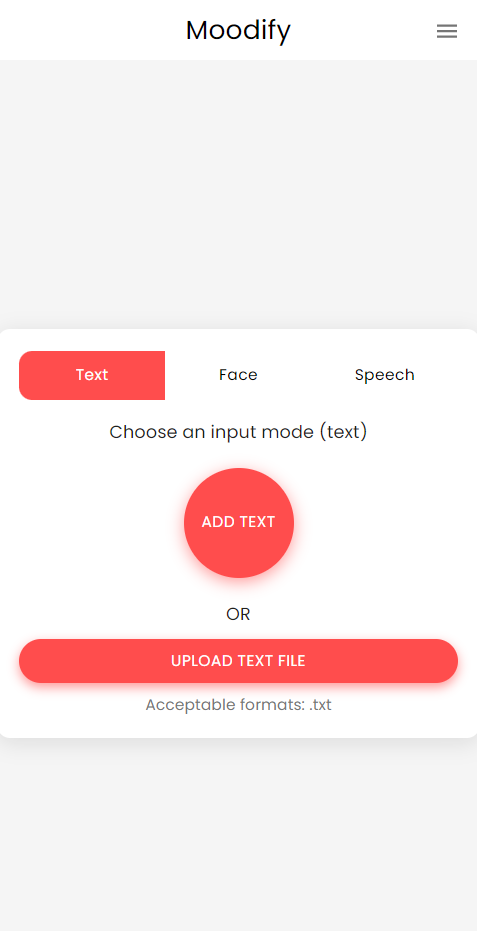
Moodify項目是一個基於情感的音樂推薦系統,結合了前端,後端,AI/ML模型和數據分析,以根據用戶情緒提供個性化的音樂建議。該應用程序分析文本,語音或面部表情,並建議與被檢測到的情緒保持一致的音樂。
Moodify支持台式機和移動平台,提供了無縫的用戶體驗,並提供了實時情感檢測和音樂建議。該項目利用了前端的反應,Django為後端以及三個高級,自我訓練的AI/ML模型以進行情感檢測。數據分析腳本用於可視化情緒趨勢和模型性能。

Moodify通過文本,語音和麵部表情檢測到的用戶的情緒狀態提供了個性化的音樂建議。它與基於Django的後端,情感檢測的AI/ML模型相互作用,並利用數據分析來實現對情感趨勢和模型性能的視覺見解。
Moodify應用程序目前已直播並部署在Vercel上。您可以使用以下鏈接訪問實時應用程序:Moodify。
請隨時訪問Moodify後端API的後端。
Dicaimer: Moodify的後端目前由免費的渲染層託管,因此最初可能需要幾秒鐘的時間。此外,它可能會在不活動或交通繁忙之後旋轉,因此,如果後端需要幾秒鐘的回應,請耐心等待。
同樣,渲染分配的內存量僅為512MB,具有0.1 CPU ,因此,如果一次請求太多,後端可能會用完內存,這可能會導致服務器重新啟動。同樣,面部和語音情感檢測模型也可能由於內存限製而失敗 - 這也可能導致服務器重新啟動。
當前部署無法保證正常運行時間或性能,除非我有更多資源(資金)來升級服務器:(如果您遇到任何問題或需要進一步的幫助,請隨時與我聯繫。


該項目具有全面的文件結構,結合了前端,後端,AI/ML模型和數據分析組件:
 Moodify-Emotion-Music-App/
├── frontend/                      # React frontend for the web application
│   ├── public/
│   │   ├── index.html             # Main HTML file
│   │   ├── manifest.json          # Web app manifest
│   │   └── favicon.ico            # Favicon for the app
│   │
│   ├── src/
│   │   ├── components/            # Contains all React components
│   │   ├── pages/                 # Contains main pages of the app
│   │   ├── styles/                # Contains global styles and themes
│   │   ├── context/               # Contains React Context API
│   │   ├── App.js                 # Main App component
│   │   ├── index.js               # Entry point for React
│   │   └── theme.js               # Material UI theme configuration
│   │
│   ├── .gitignore                 # Git ignore file
│   ├── Dockerfile                 # Dockerfile for containerization
│   ├── package.json               # NPM dependencies and scripts
│   └── README.md                  # Project documentation
│
├── backend/                       # Django backend for API services and database management
│   ├── manage.py                  # Django's command-line utility
│   ├── requirements.txt           # Backend dependencies
│   ├── backend/
│   │   ├── settings.py            # Django settings for the project
│   │   ├── urls.py                # URL declarations for the project
│   │   ├── users/                 # User management components
│   │   └── api/                   # Emotion detection and recommendation APIs
│   │
│   ├── .gitignore                 # Git ignore file
│   ├── Dockerfile                 # Dockerfile for containerization
│   └── db.sqlite3                 # SQLite database (if used)
│
├── ai_ml/                         # AI/ML models for emotion detection
│   ├── data/                      # Datasets for training and testing
│   ├── models/                    # Trained models for emotion detection
│   ├── src/                       # Source files for emotion detection and recommendation
│   │   ├── api/                   # API scripts for running emotion detection services
│   │   ├── recommendation/        # Music recommendation logic
│   │   └── data_processing/       # Data preprocessing scripts
│   │
│   ├── Dockerfile                 # Dockerfile for containerization
│   └── README.md                  # AI/ML documentation
│
├── data_analytics/                # Data analytics scripts and visualizations
│   ├── emotion_distribution.py    # Script for visualizing emotion distribution
│   ├── training_visualization.py  # Script for visualizing training and validation metrics
│   ├── predictions_analysis.py    # Script for analyzing model predictions
│   ├── recommendation_analysis.py # Script for visualizing music recommendations
│   ├── spark-hadoop/              # Spark and Hadoop integration scripts
│   └── visualizations/            # Generated visualizations
│
├── kubernetes/                    # Kubernetes deployment files
│   ├── backend-deployment.yaml    # Deployment file for the backend service
│   ├── backend-service.yaml       # Deployment file for the backend service
│   ├── frontend-deployment.yaml   # Deployment file for the frontend service
│   ├── frontend-service.yaml      # Deployment file for the frontend service
│   └── configmap.yaml             # ConfigMap for environment variables
│
├── mobile/                        # React Native mobile application
│   ├── App.js                     # Main entry point for React Native app
│   ├── index.js                   # App registry for React Native
│   ├── package.json               # NPM dependencies and scripts
│   ├── components/                # React Native components
│   │   ├── Footer.js              # Footer component
│   │   ├── Navbar.js              # Header component
│   │   ├── Auth/                  # Authentication components (e.g., Login, Register)
│   │   └── Profile/               # Profile-related components
│   │
│   ├── context/                   # React Context API for state management
│   │   └── DarkModeContext.js     # Dark mode context provider
│   │
│   ├── pages/                     # Main pages of the app
│   │   ├── HomePage.js            # Home page component
│   │   ├── ProfilePage.js         # Profile page component
│   │   ├── ResultsPage.js         # Results page component
│   │   ├── LandingPage.js         # Landing page component
│   │   └── (and more...)
│   │
│   ├── assets/                    # Images, fonts, and other assets
│   ├── styles/                    # Styling files (similar to CSS for web)
│   ├── .gitignore                 # Git ignore file
│   ├── package.json               # Dependencies and scripts
│   └── README.md                  # Mobile app documentation
│
├── nginx/                         # NGINX configuration files (for load balancing and reverse proxy)
│   ├── nginx.conf                 # Main NGINX configuration file
│   └── Dockerfile                 # Dockerfile for NGINX container
│
├── images/                        # Images used in the README documentation
├── docker-compose.yml             # Docker Compose file for containerization
└── README.md                      # Comprehensive README file for the entire project
venv ).env文件(對於環境變量 - 您在示例文件之後創建自己的憑據或與我聯繫。)從設置和訓練AI/ML模型開始,因為後端需要正常運行所必需的。
或者,您可以從“預訓練”模型部分提供的Google驅動器鏈接中下載預訓練的模型。如果您選擇這樣做,則可以暫時跳過此部分。
克隆存儲庫:
git clone https://github.com/hoangsonww/Moodify-Emotion-Music-App.git導航到AI/ML目錄:
cd Moodify-Emotion-Music-App/ai_ml創建並激活虛擬環境:
python -m venv venv
source venv/bin/activate   # For macOS/Linux
. v env S cripts a ctivate    # For Windows
安裝依賴項:
pip install -r requirements.txt在src/config.py文件中編輯配置:
src/config.py文件並根據需要更新配置,尤其是您的Spotify API密鑰並配置所有路徑。src/models目錄中的單個模型培訓腳本,並根據需要更新數據集和輸出路徑的路徑。訓練文本情感模型:
python src/models/train_text_emotion.py根據需要重複其他模型(例如,面部和語音情感模型)。
確保將所有訓練有素的型號放置在models目錄中,並在轉到下一步之前已經訓練了所有必要的模型!
根據需要測試訓練的AI/ML模型:
src/models/test_emotion_models.py腳本以測試訓練有素的模型。AI/ML型號准備就緒後,繼續設置後端。
導航到後端目錄:
cd ../backend創建並激活虛擬環境:
python -m venv venv
source venv/bin/activate   # For macOS/Linux
. v env S cripts a ctivate    # For Windows
安裝依賴項:
pip install -r requirements.txt配置您的秘密和環境:
backend目錄中創建.env文件。.env文件: SECRET_KEY=your_secret_key
DEBUG=True
ALLOWED_HOSTS=<your_hosts>
MONGODB_URI=<your_mongodb_uri>
True backend/settings.py DEBUG SECRET_KEY運行數據庫遷移:
python manage.py migrate啟動Django服務器:
python manage.py runserver後端服務器將在http://127.0.0.1:8000/上運行。
最後,設置前端與後端互動。
導航到前端目錄:
cd ../frontend使用紗線安裝依賴項:
npm install啟動開發服務器:
npm start前端將從http://localhost:3000開始。
注意:如果您遇到任何問題或需要我的.env文件,請隨時與我聯繫。
| HTTP方法 | 端點 | 描述 |
|---|---|---|
POST | /users/register/ | 註冊新用戶 |
POST | /users/login/ | 登錄用戶並獲取JWT令牌 |
GET | /users/user/profile/ | 檢索身份驗證的用戶的個人資料 |
PUT | /users/user/profile/update/ | 更新身份驗證的用戶的個人資料 |
DELETE | /users/user/profile/delete/ | 刪除身份驗證的用戶的個人資料 |
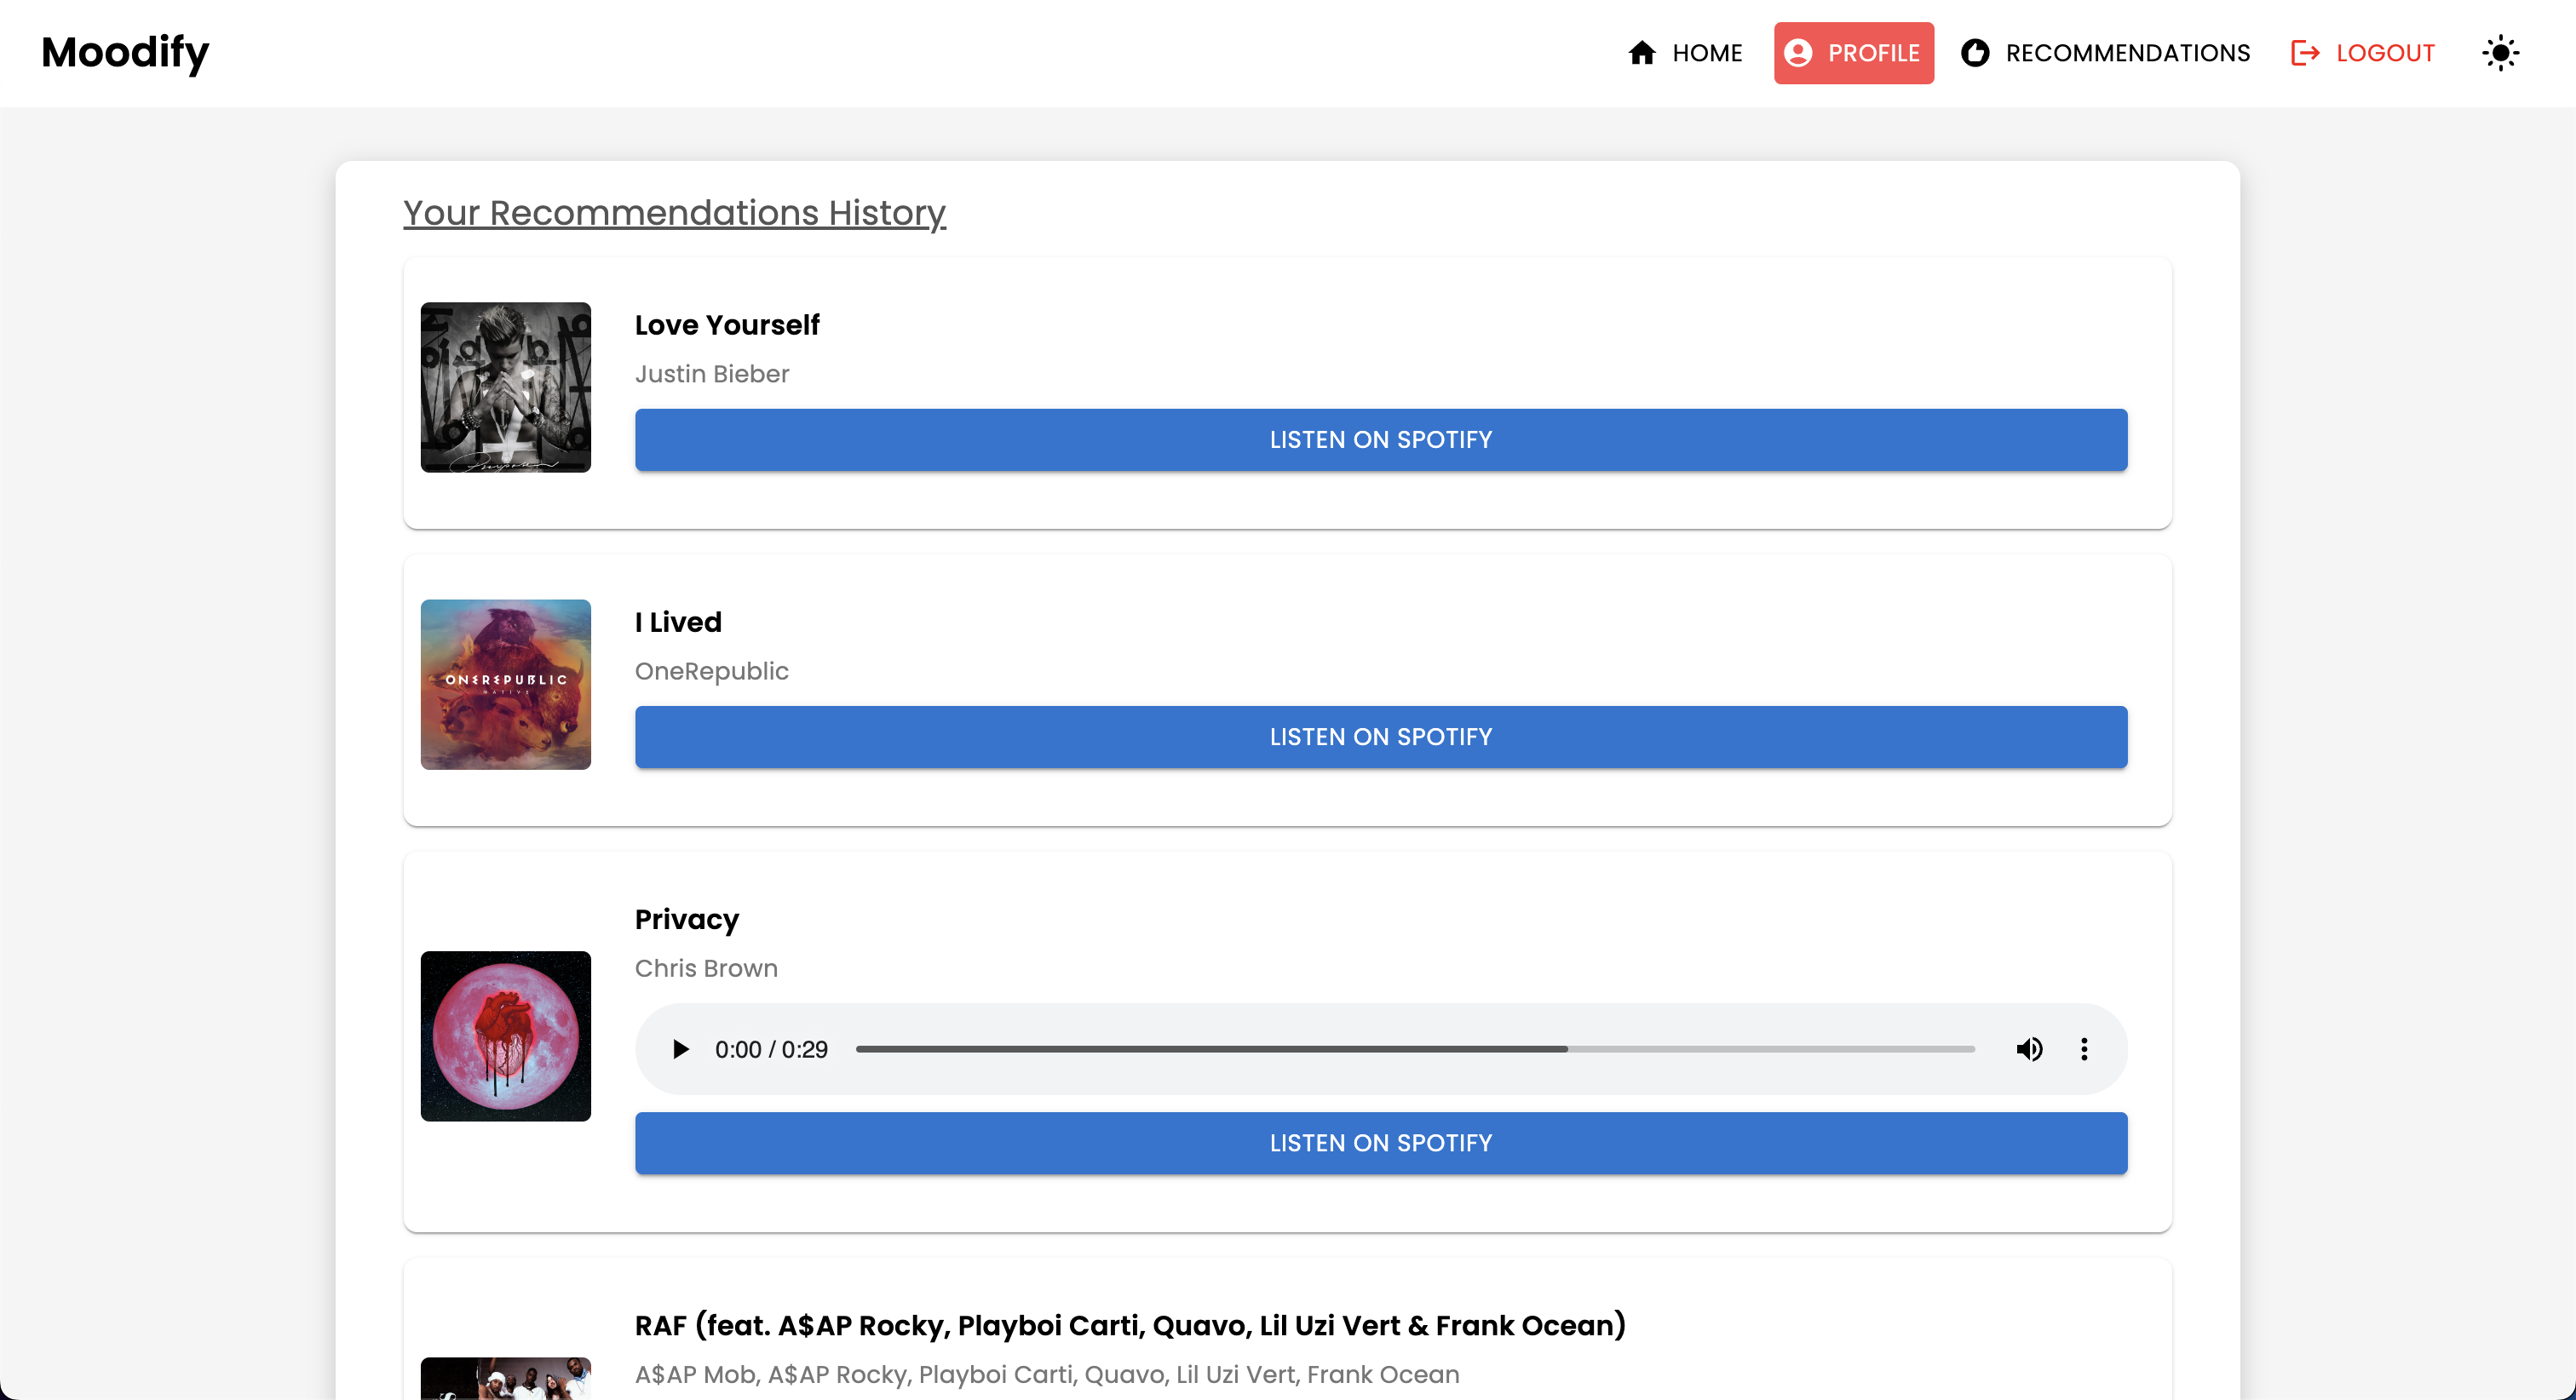
POST | /users/recommendations/ | 為用戶保存建議 |
GET | /users/recommendations/<str:username>/ | 通過用戶名檢索用戶的建議 |
DELETE | /users/recommendations/<str:username>/<str:recommendation_id>/ | 刪除用戶的特定建議 |
DELETE | /users/recommendations/<str:username>/ | 刪除用戶的所有建議 |
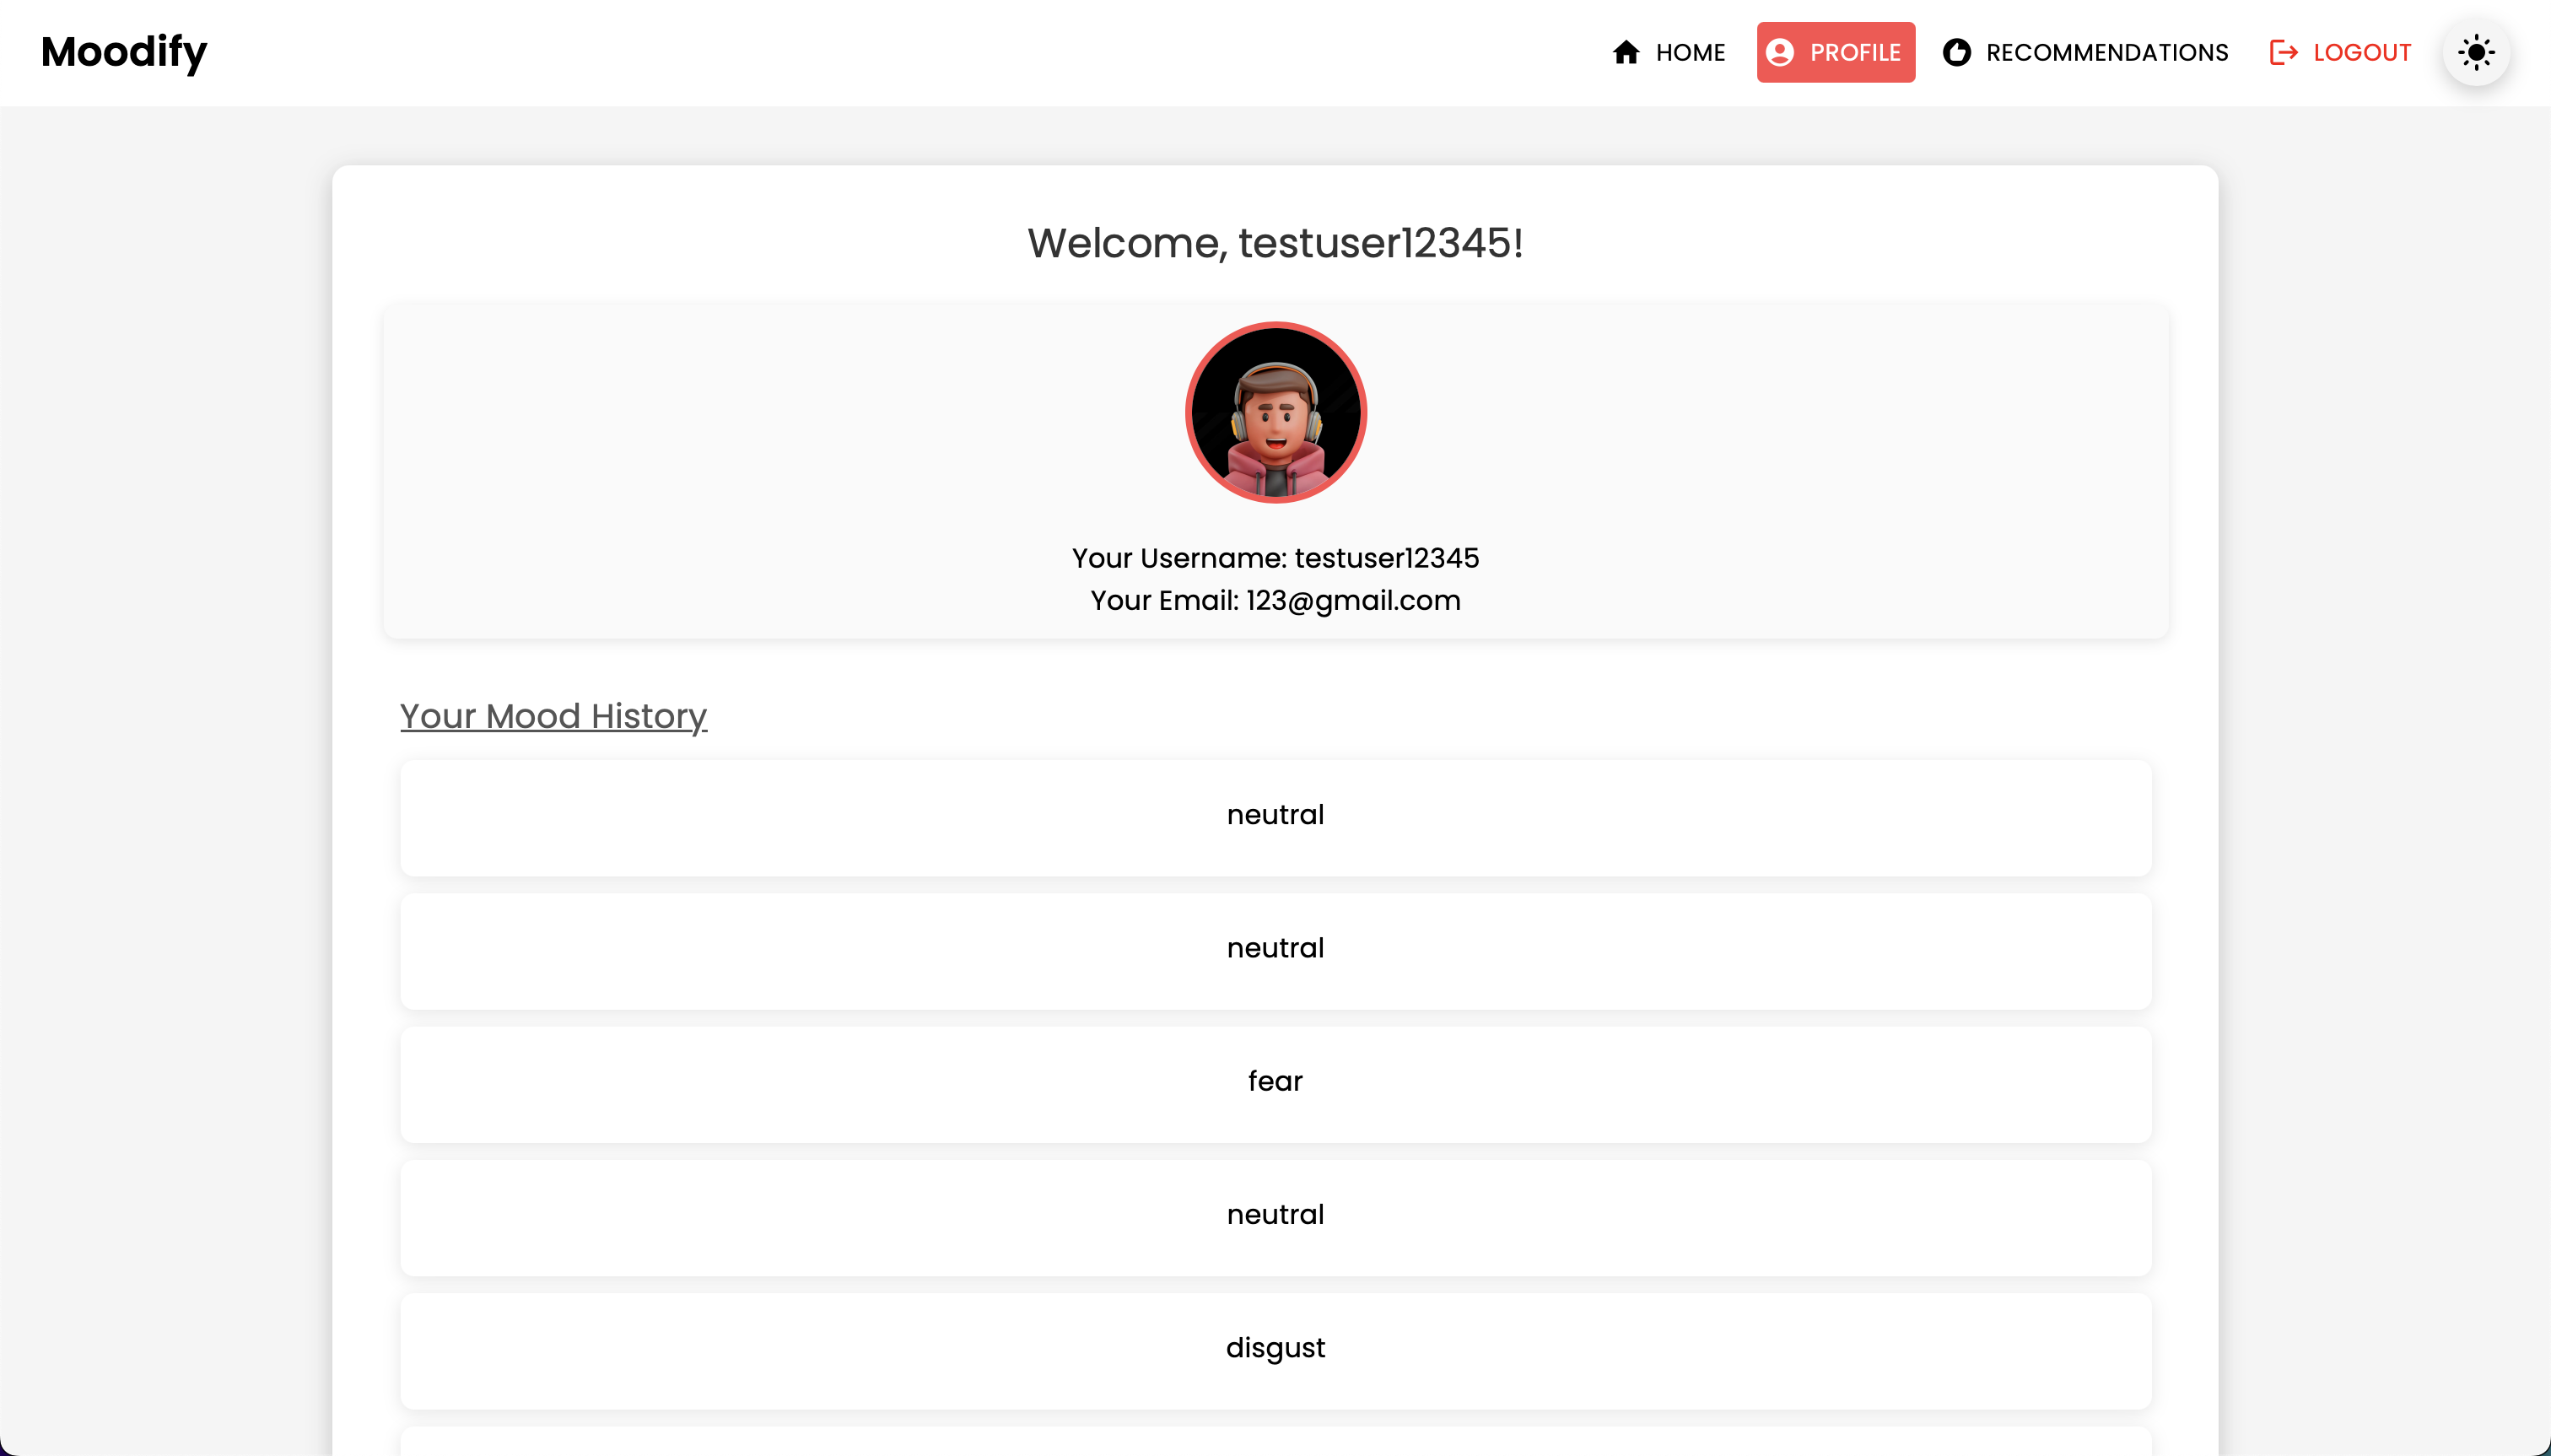
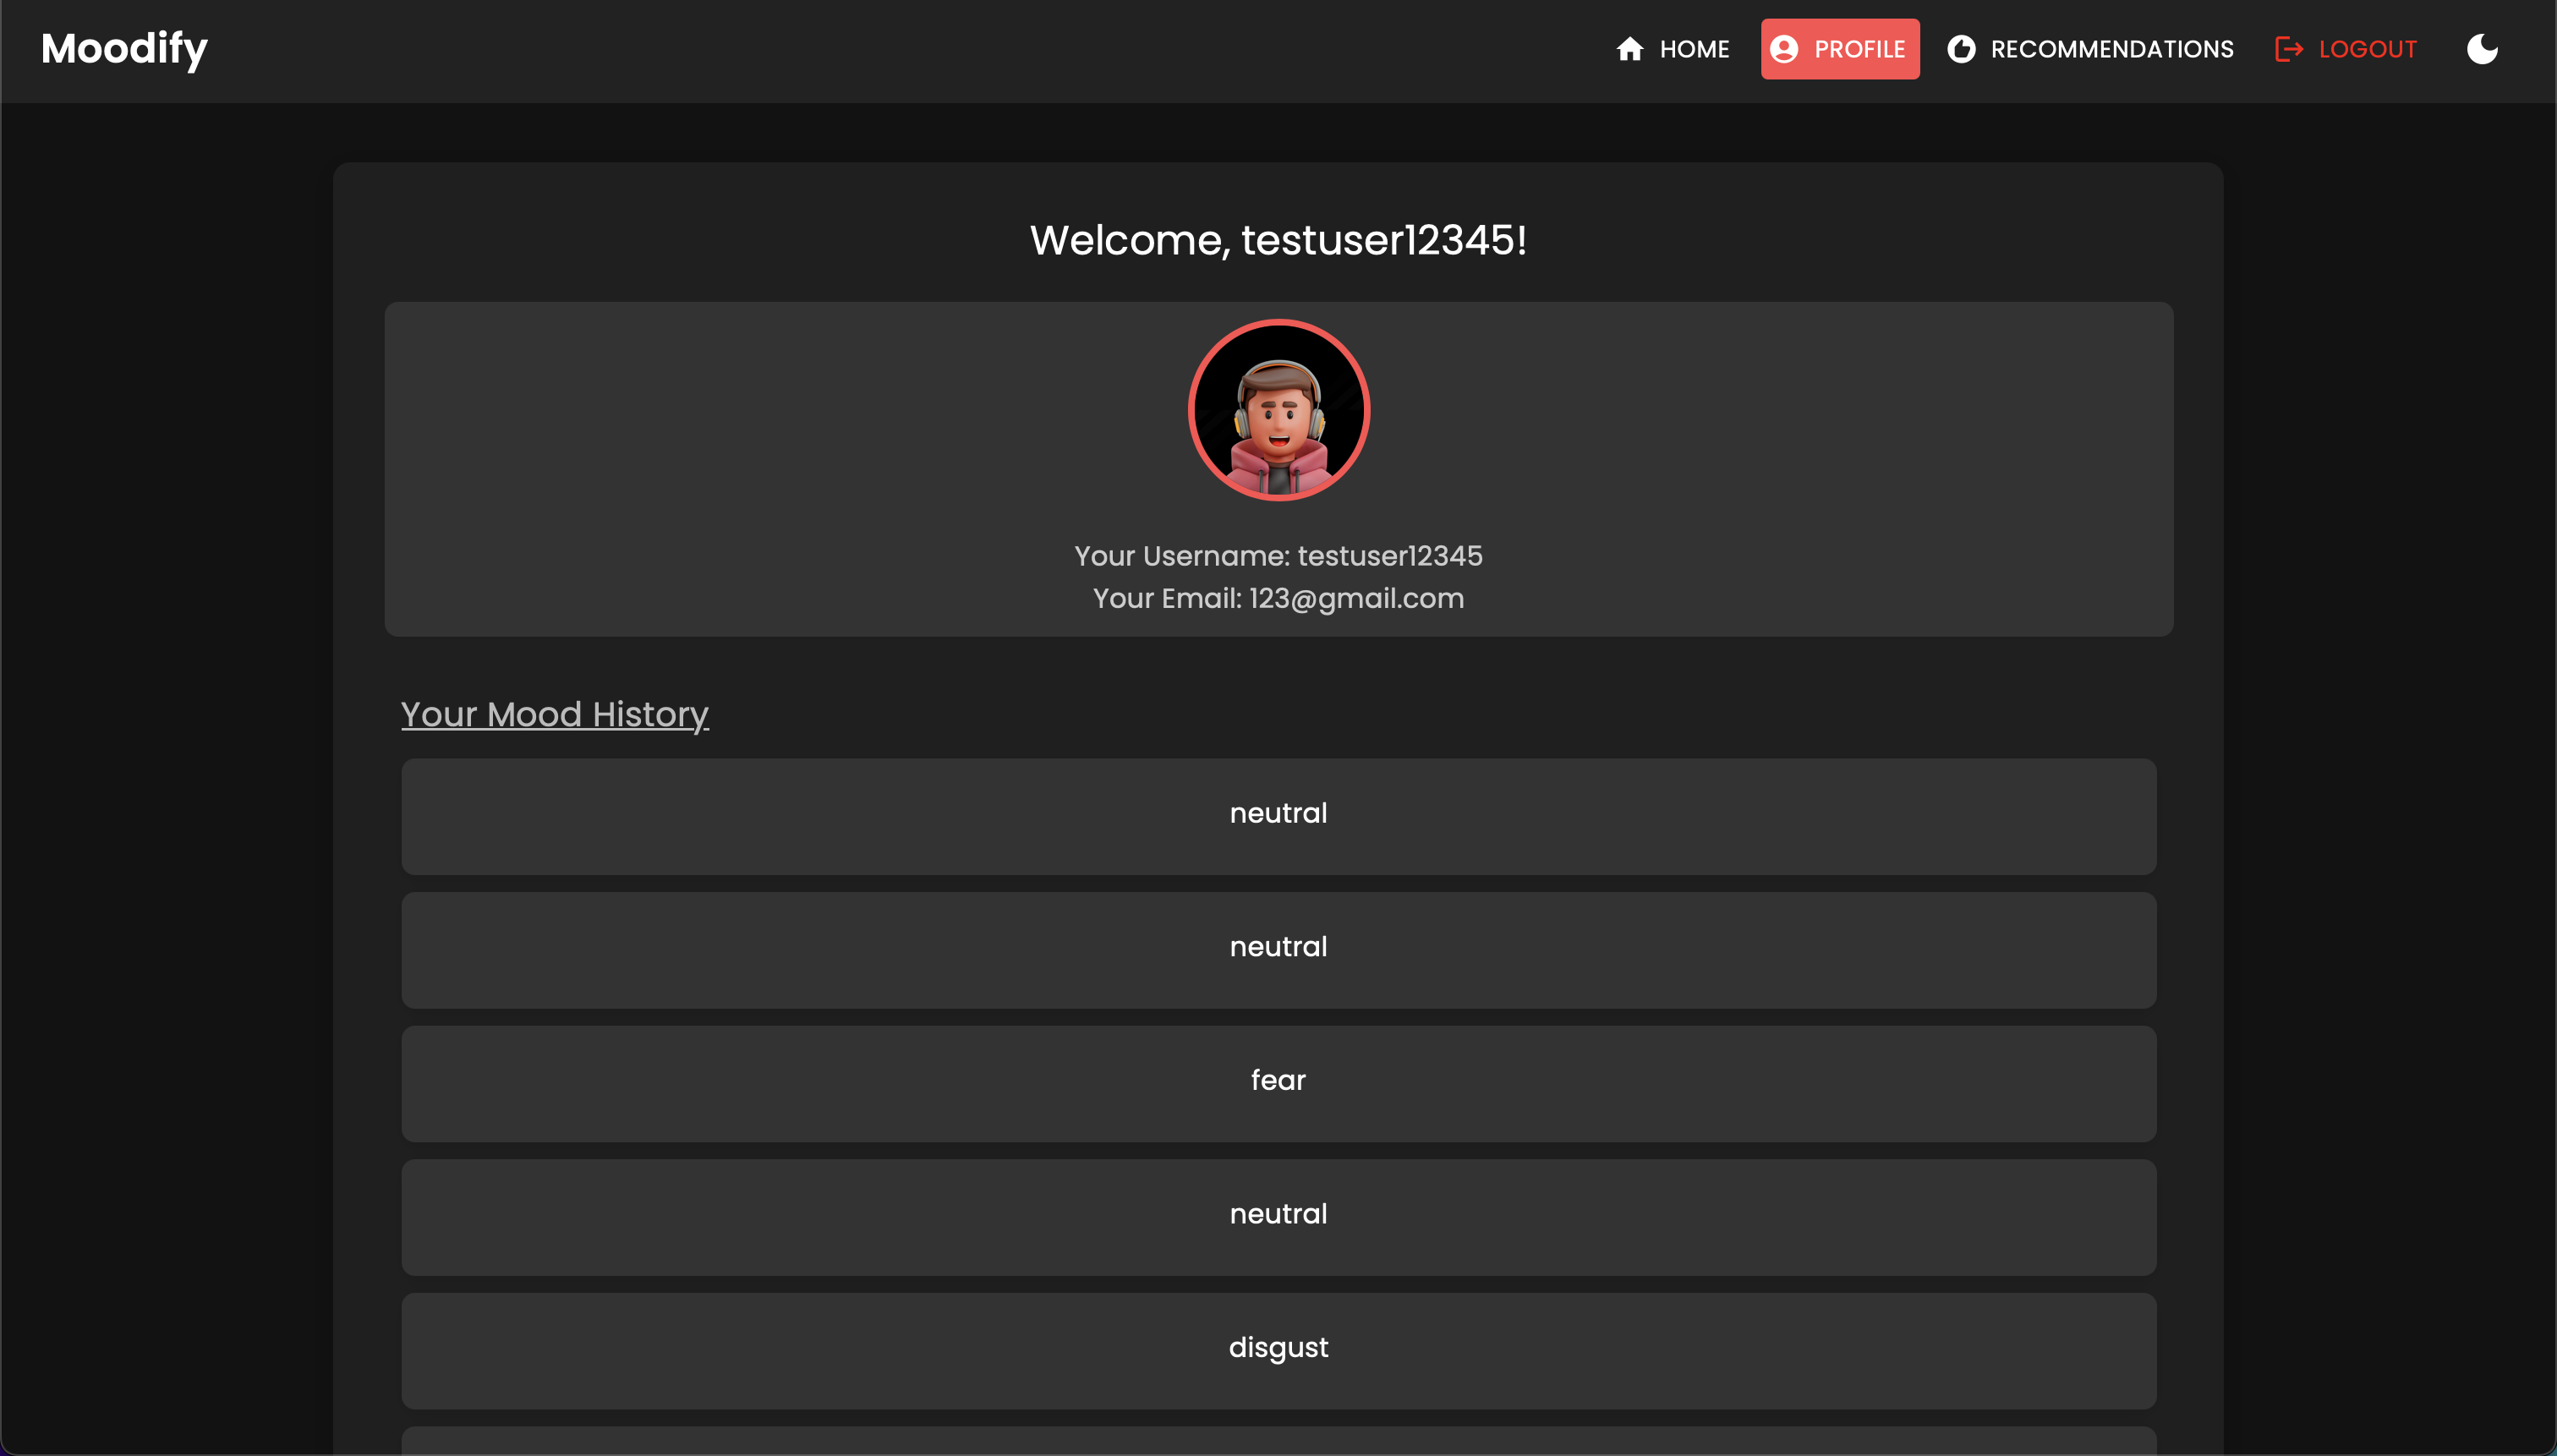
POST | /users/mood_history/<str:user_id>/ | 為用戶的心情歷史增添心情 |
GET | /users/mood_history/<str:user_id>/ | 檢索用戶的情緒歷史 |
DELETE | /users/mood_history/<str:user_id>/ | 從用戶的歷史記錄中刪除特定的心情 |
POST | /users/listening_history/<str:user_id>/ | 在用戶的聽力歷史上添加曲目 |
GET | /users/listening_history/<str:user_id>/ | 檢索用戶的聽力歷史記錄 |
DELETE | /users/listening_history/<str:user_id>/ | 從用戶的歷史記錄中刪除特定曲目 |
POST | /users/user_recommendations/<str:user_id>/ | 保存用戶的建議 |
GET | /users/user_recommendations/<str:user_id>/ | 檢索用戶的建議 |
DELETE | /users/user_recommendations/<str:user_id>/ | 刪除用戶的所有建議 |
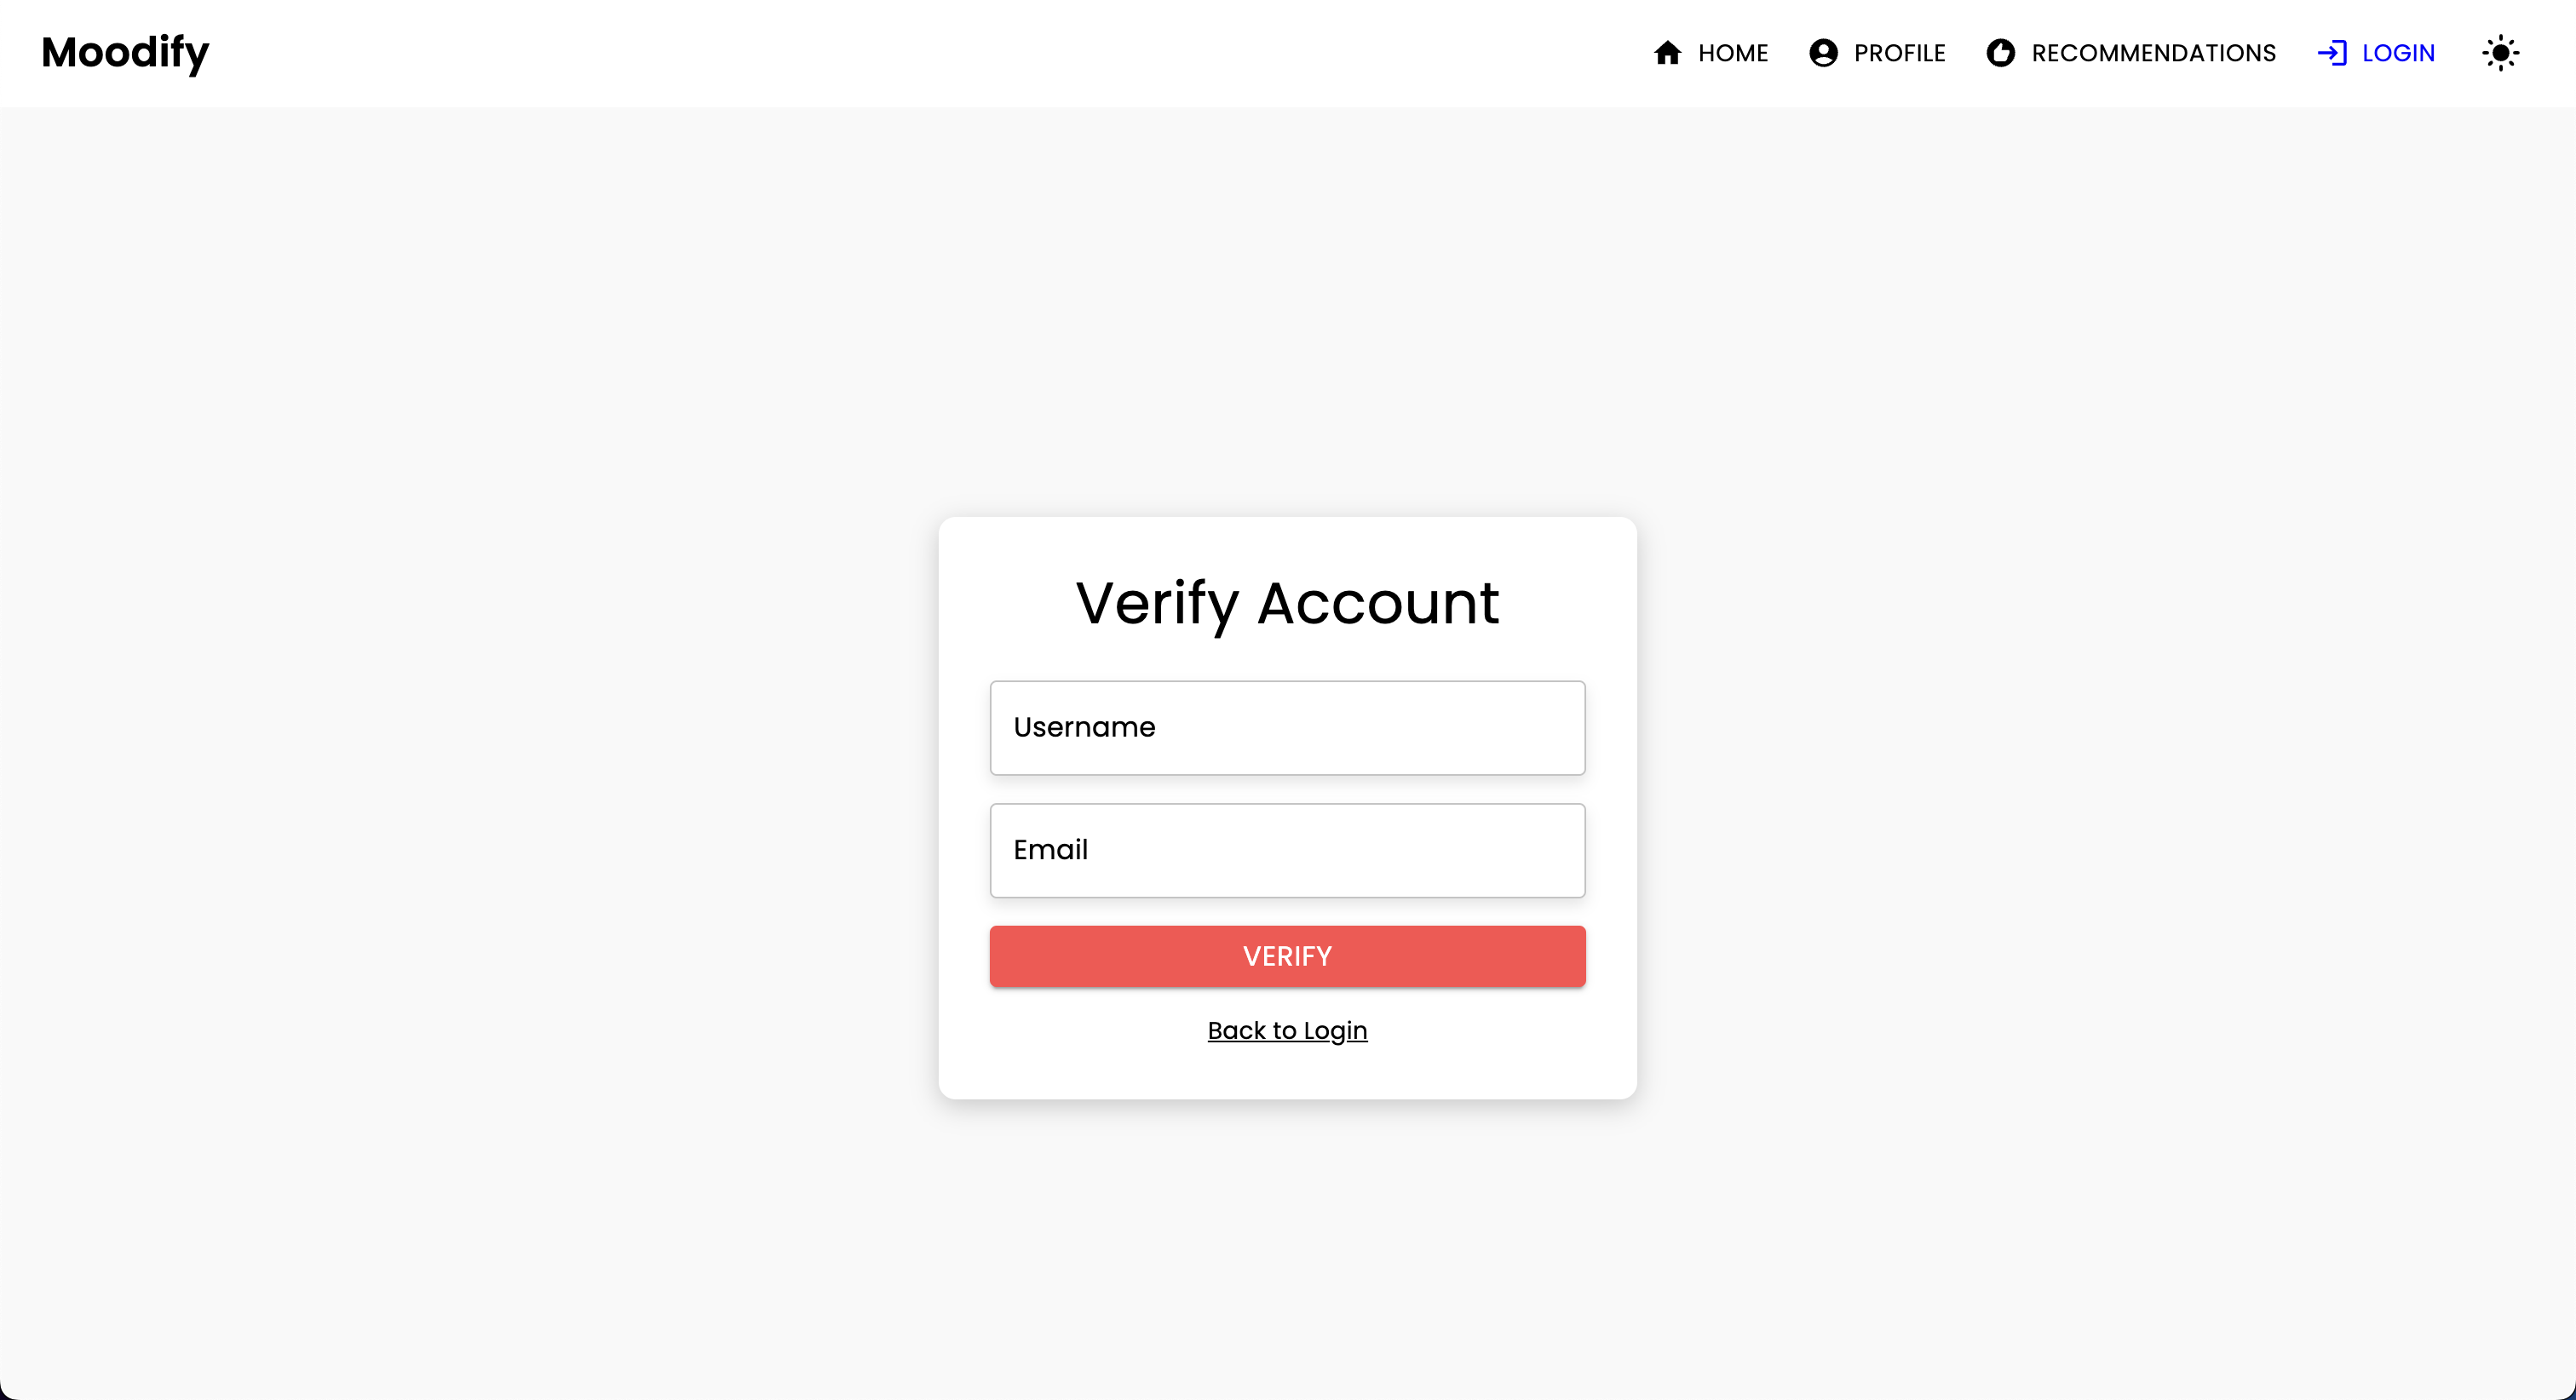
POST | /users/verify-username-email/ | 驗證用戶名和電子郵件是否有效 |
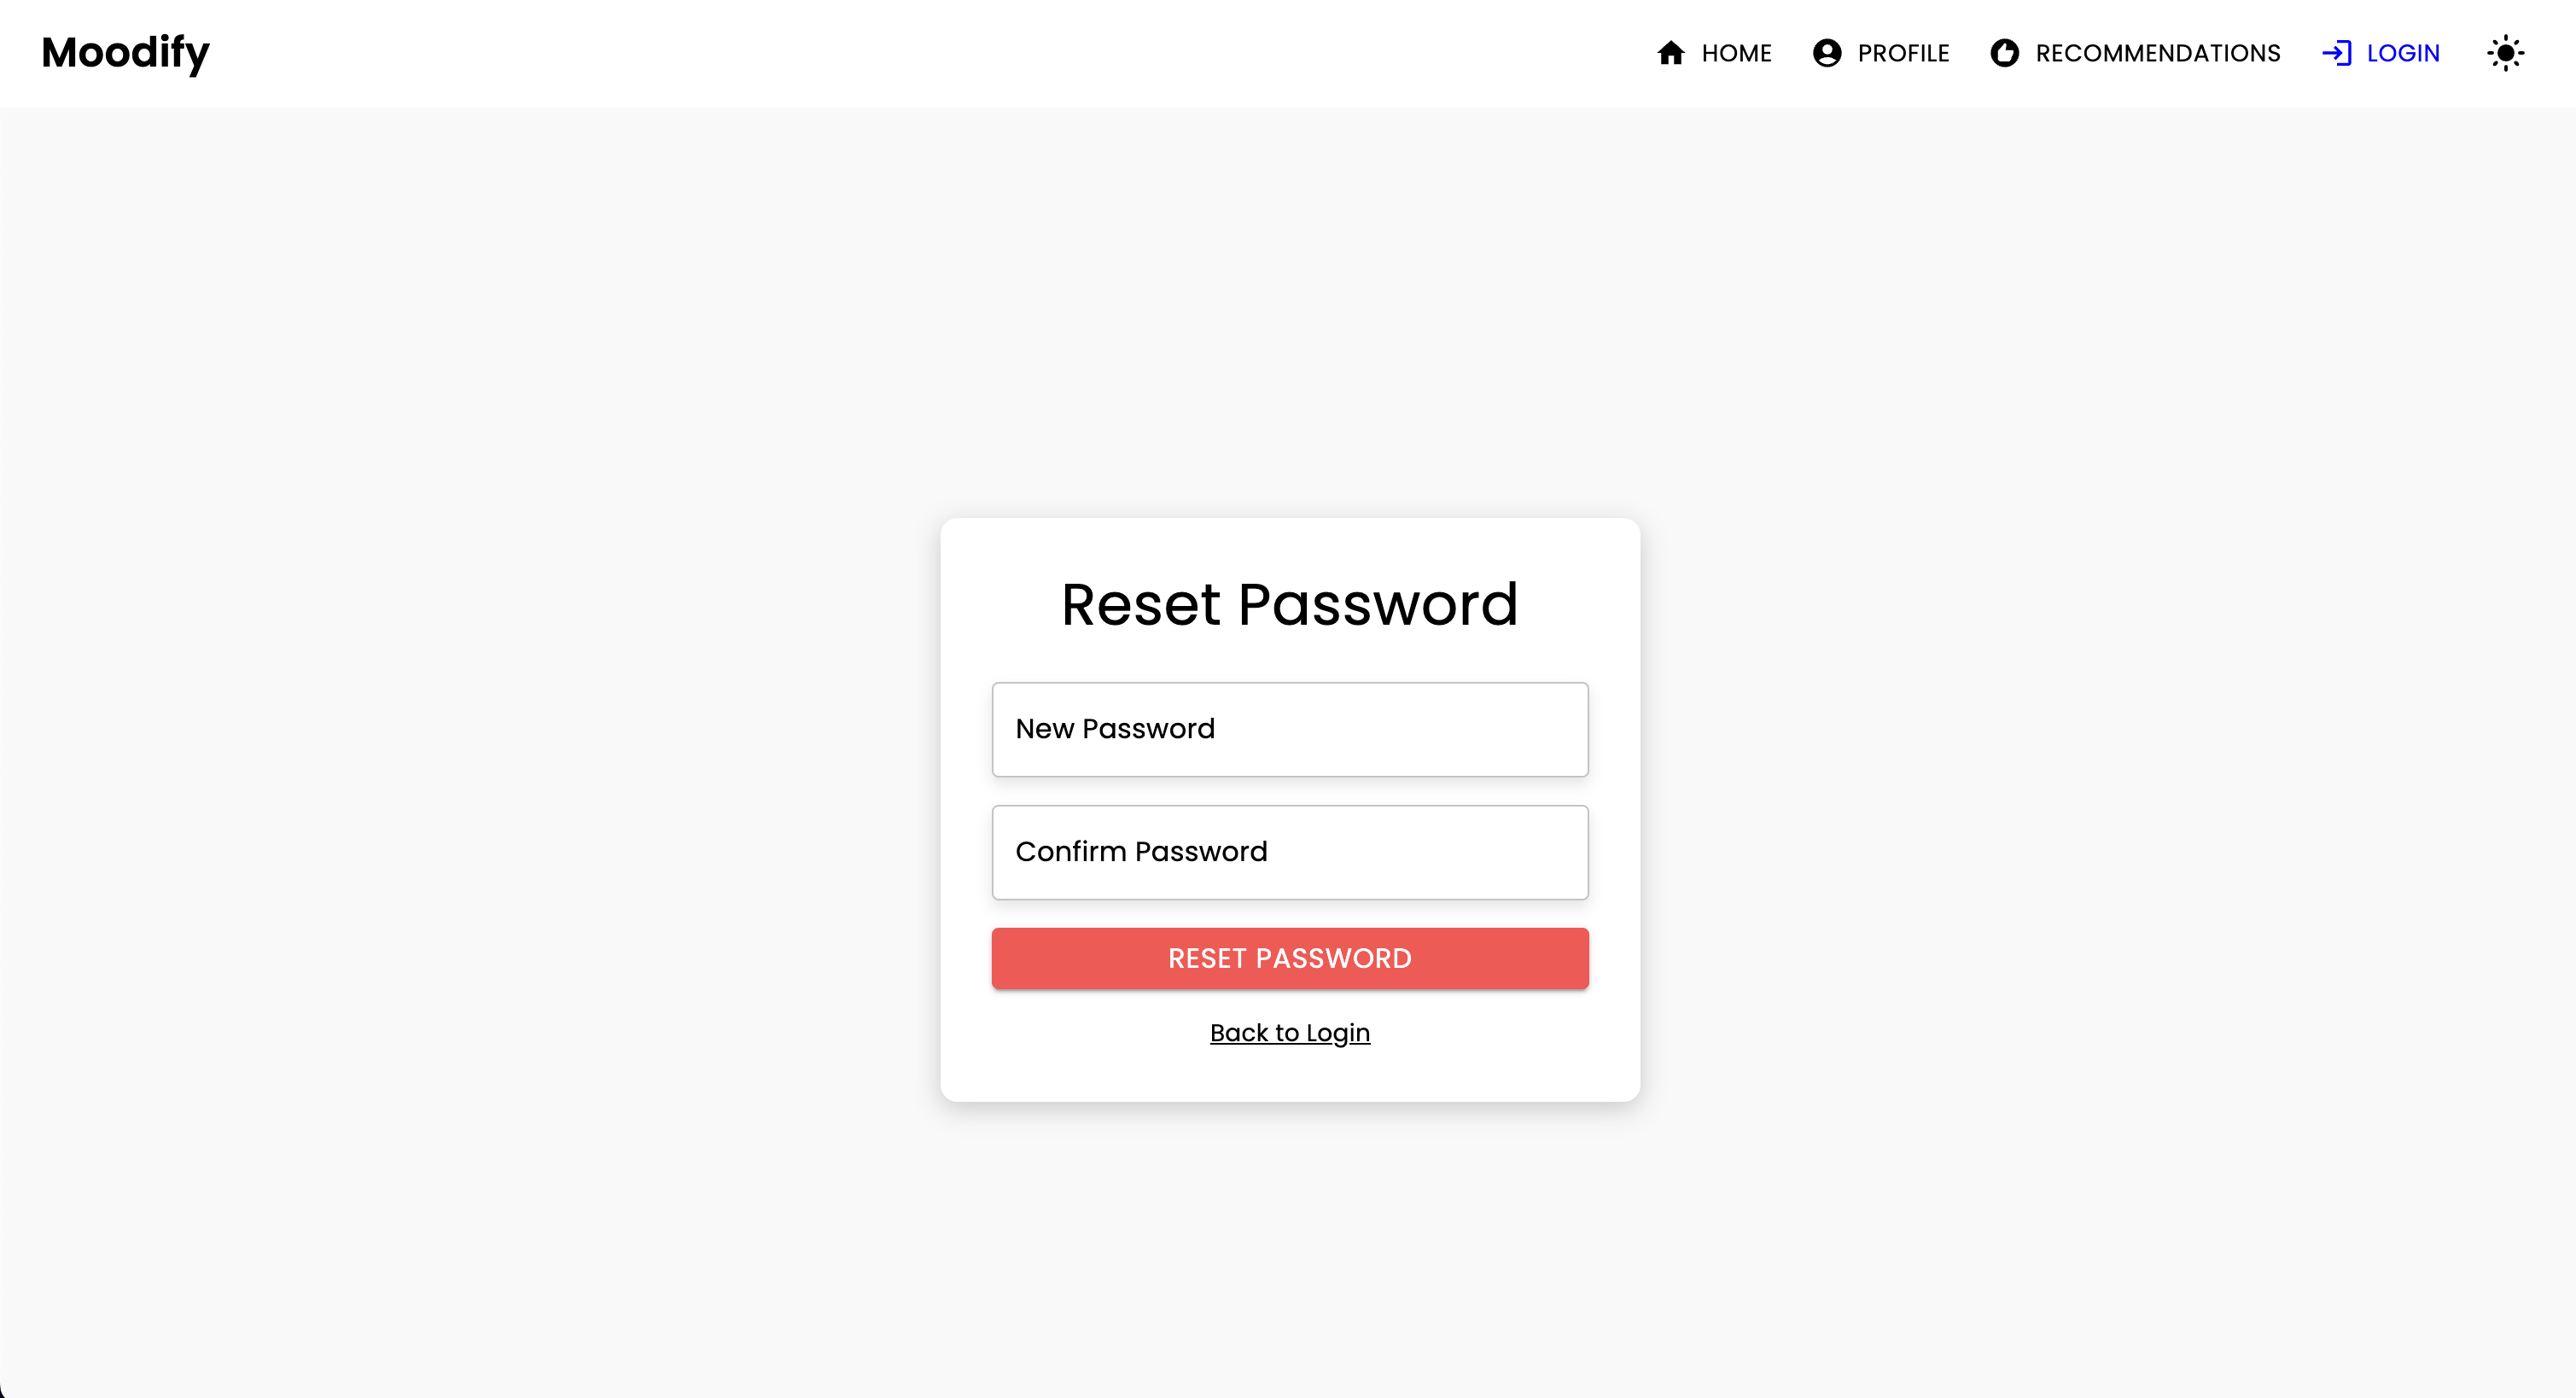
POST | /users/reset-password/ | 重置用戶的密碼 |
GET | /users/verify-token/ | 驗證用戶的令牌 |
| HTTP方法 | 端點 | 描述 |
|---|---|---|
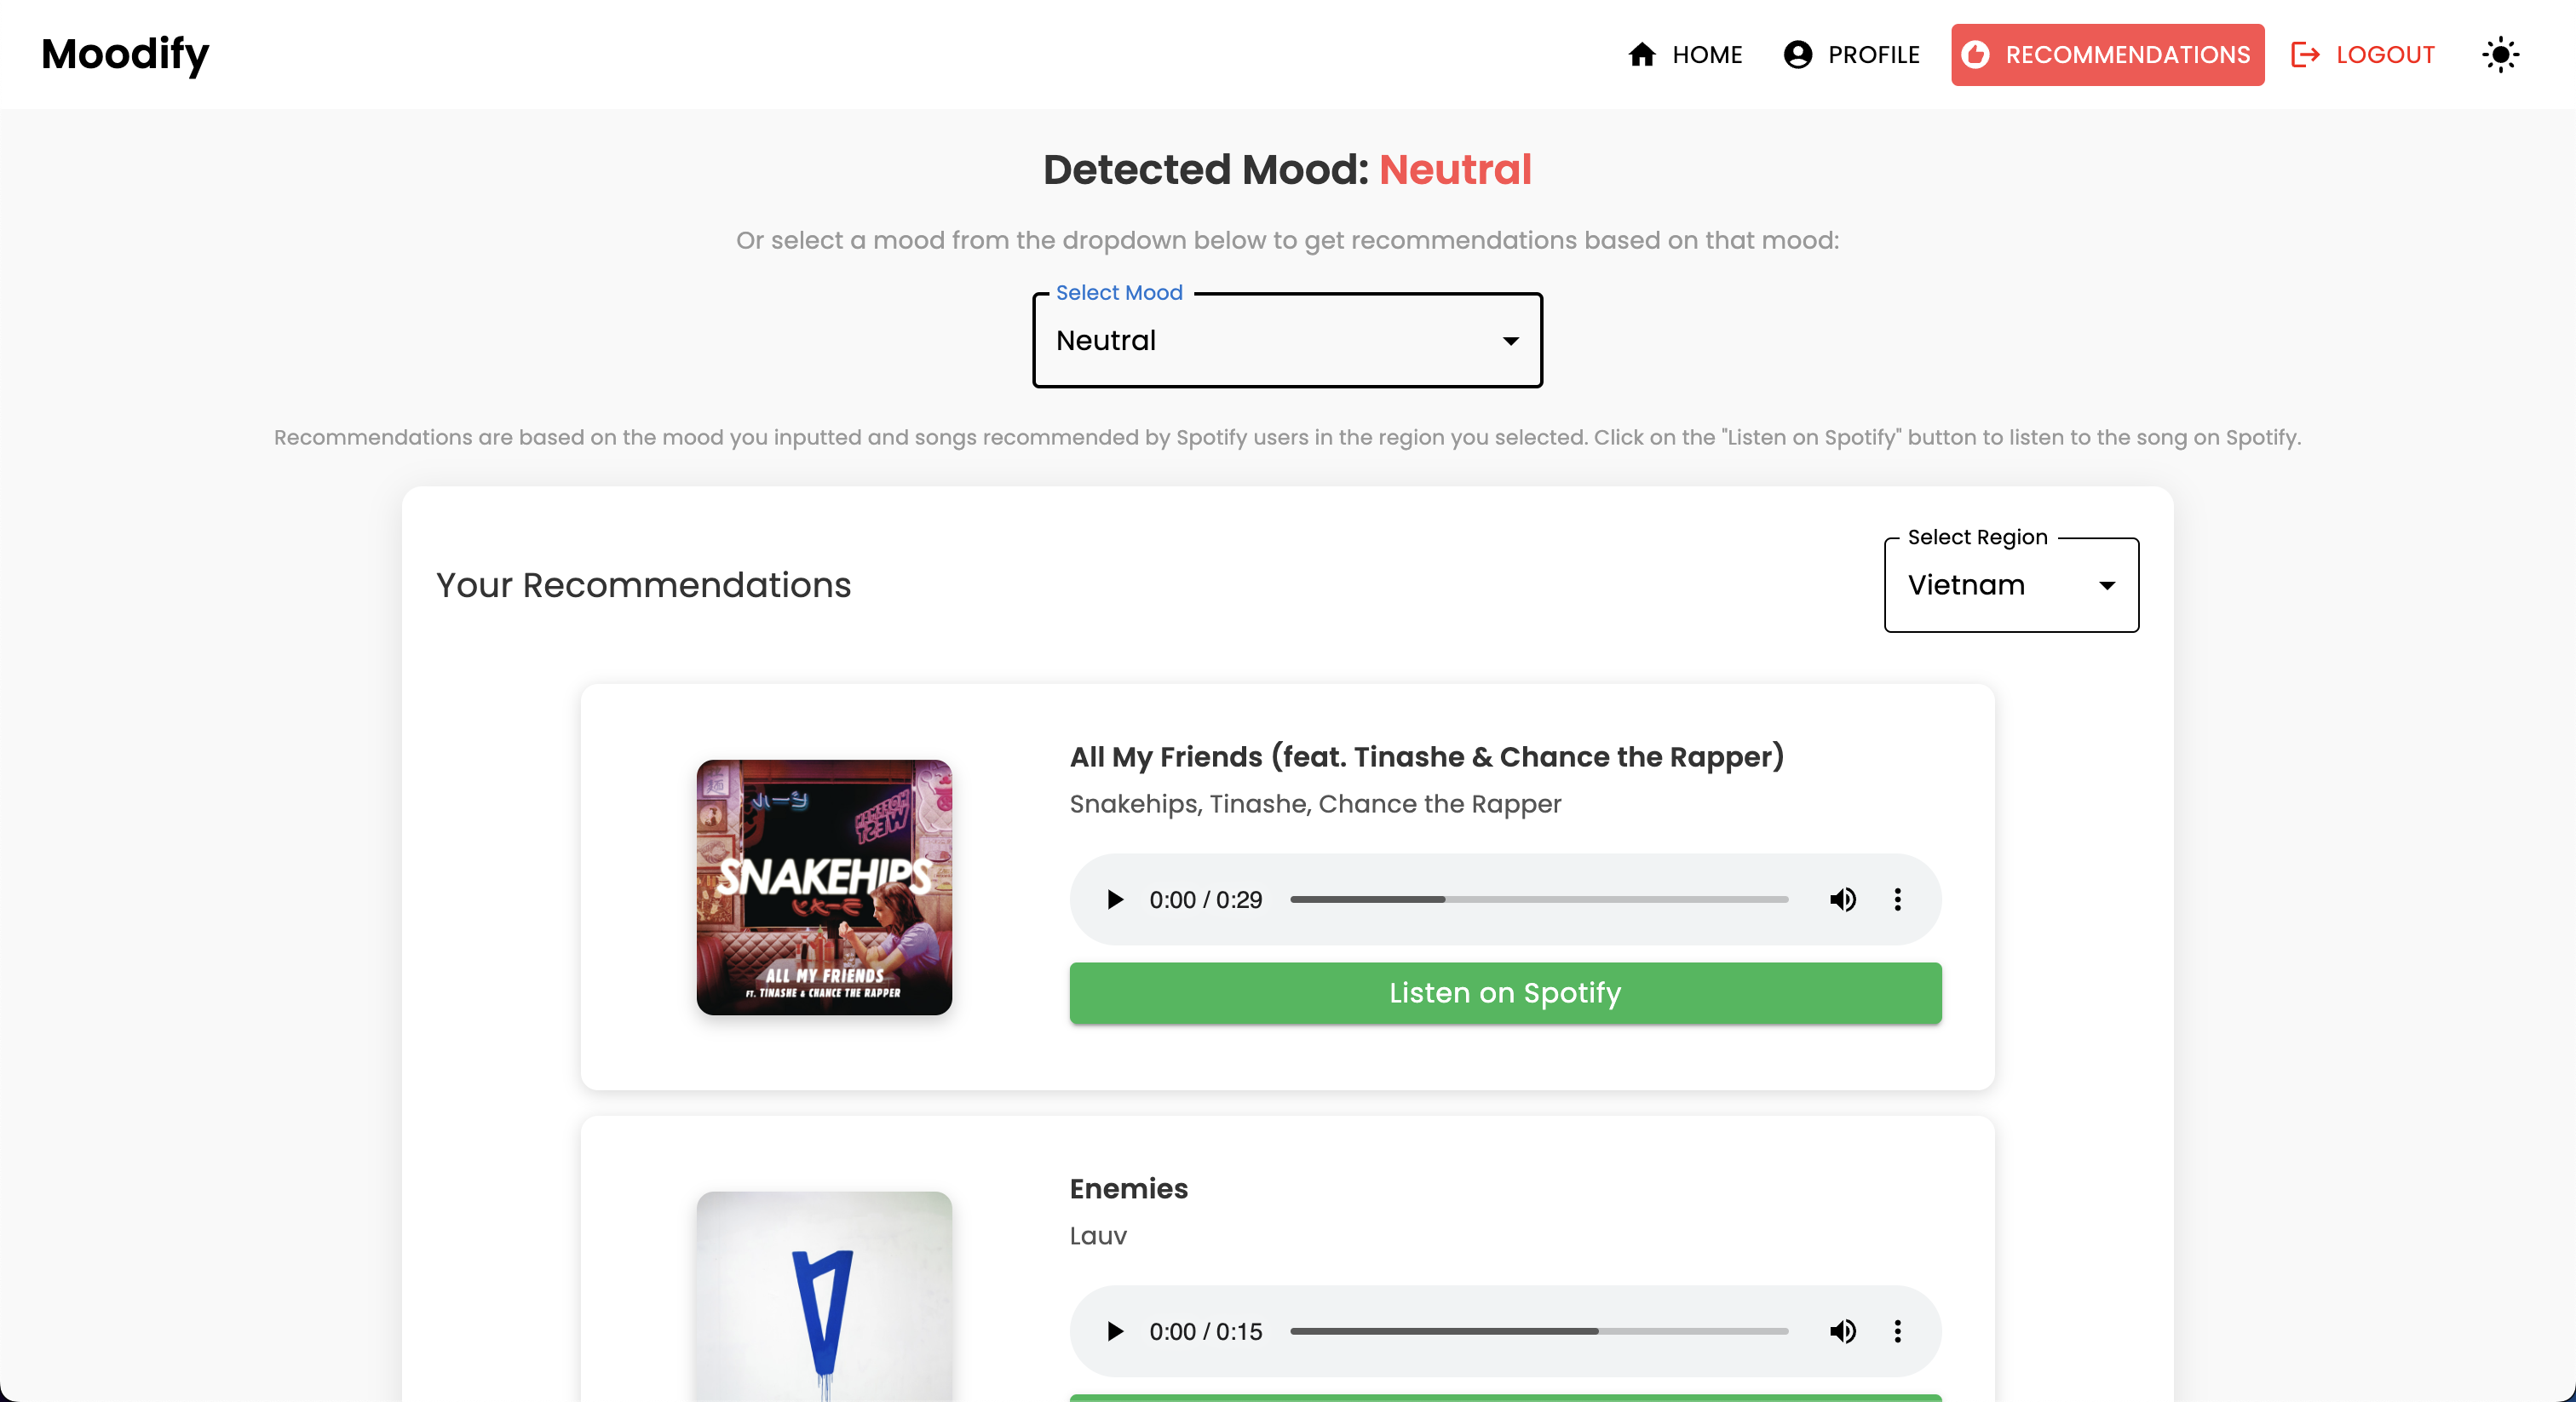
POST | /api/text_emotion/ | 分析文本的情感內容 |
POST | /api/speech_emotion/ | 分析情感內容的語音 |
POST | /api/facial_emotion/ | 分析面部表情的情緒 |
POST | /api/music_recommendation/ | 根據情感獲取音樂建議 |
| HTTP方法 | 端點 | 描述 |
|---|---|---|
GET | /admin/ | 訪問Django管理員接口 |
| HTTP方法 | 端點 | 描述 |
|---|---|---|
GET | /swagger/ | 訪問Swagger UI API文檔 |
GET | /redoc/ | 訪問RETOC API文檔 |
GET | / | 訪問API根端點(Swagger UI) |
創建一個超級用戶:
python manage.py createsuperuser訪問管理面板http://127.0.0.1:8000/admin/
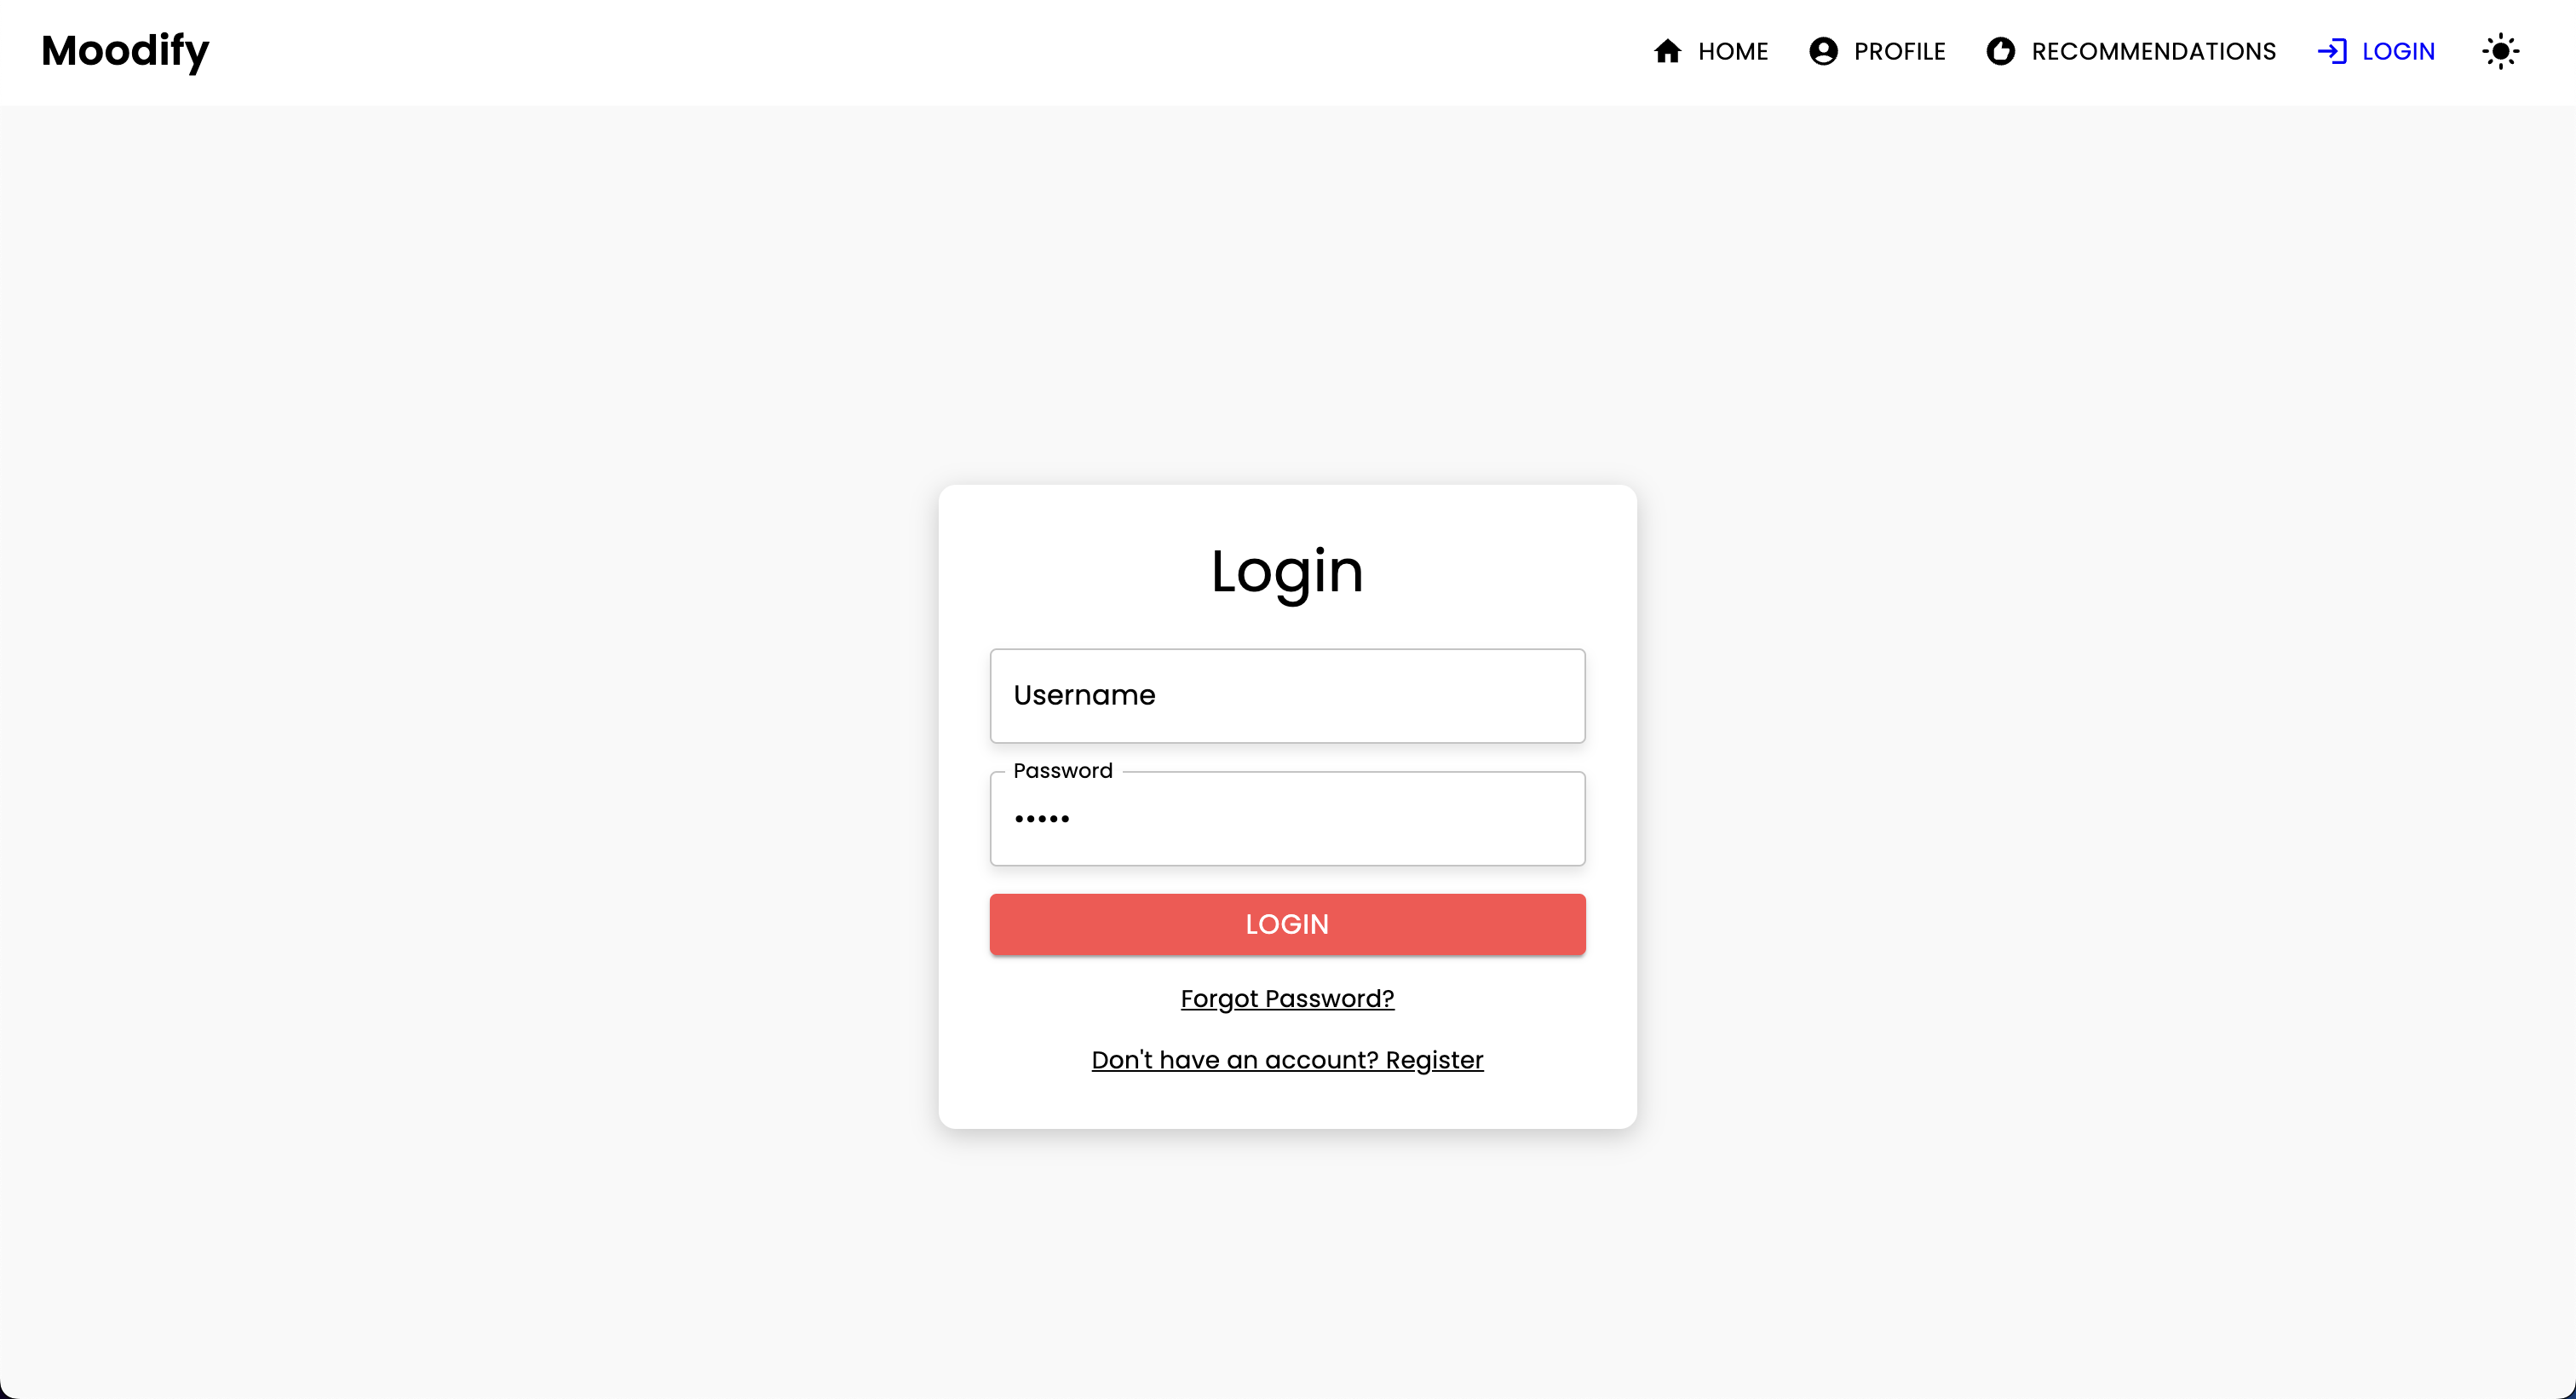
您應該查看以下登錄頁面:

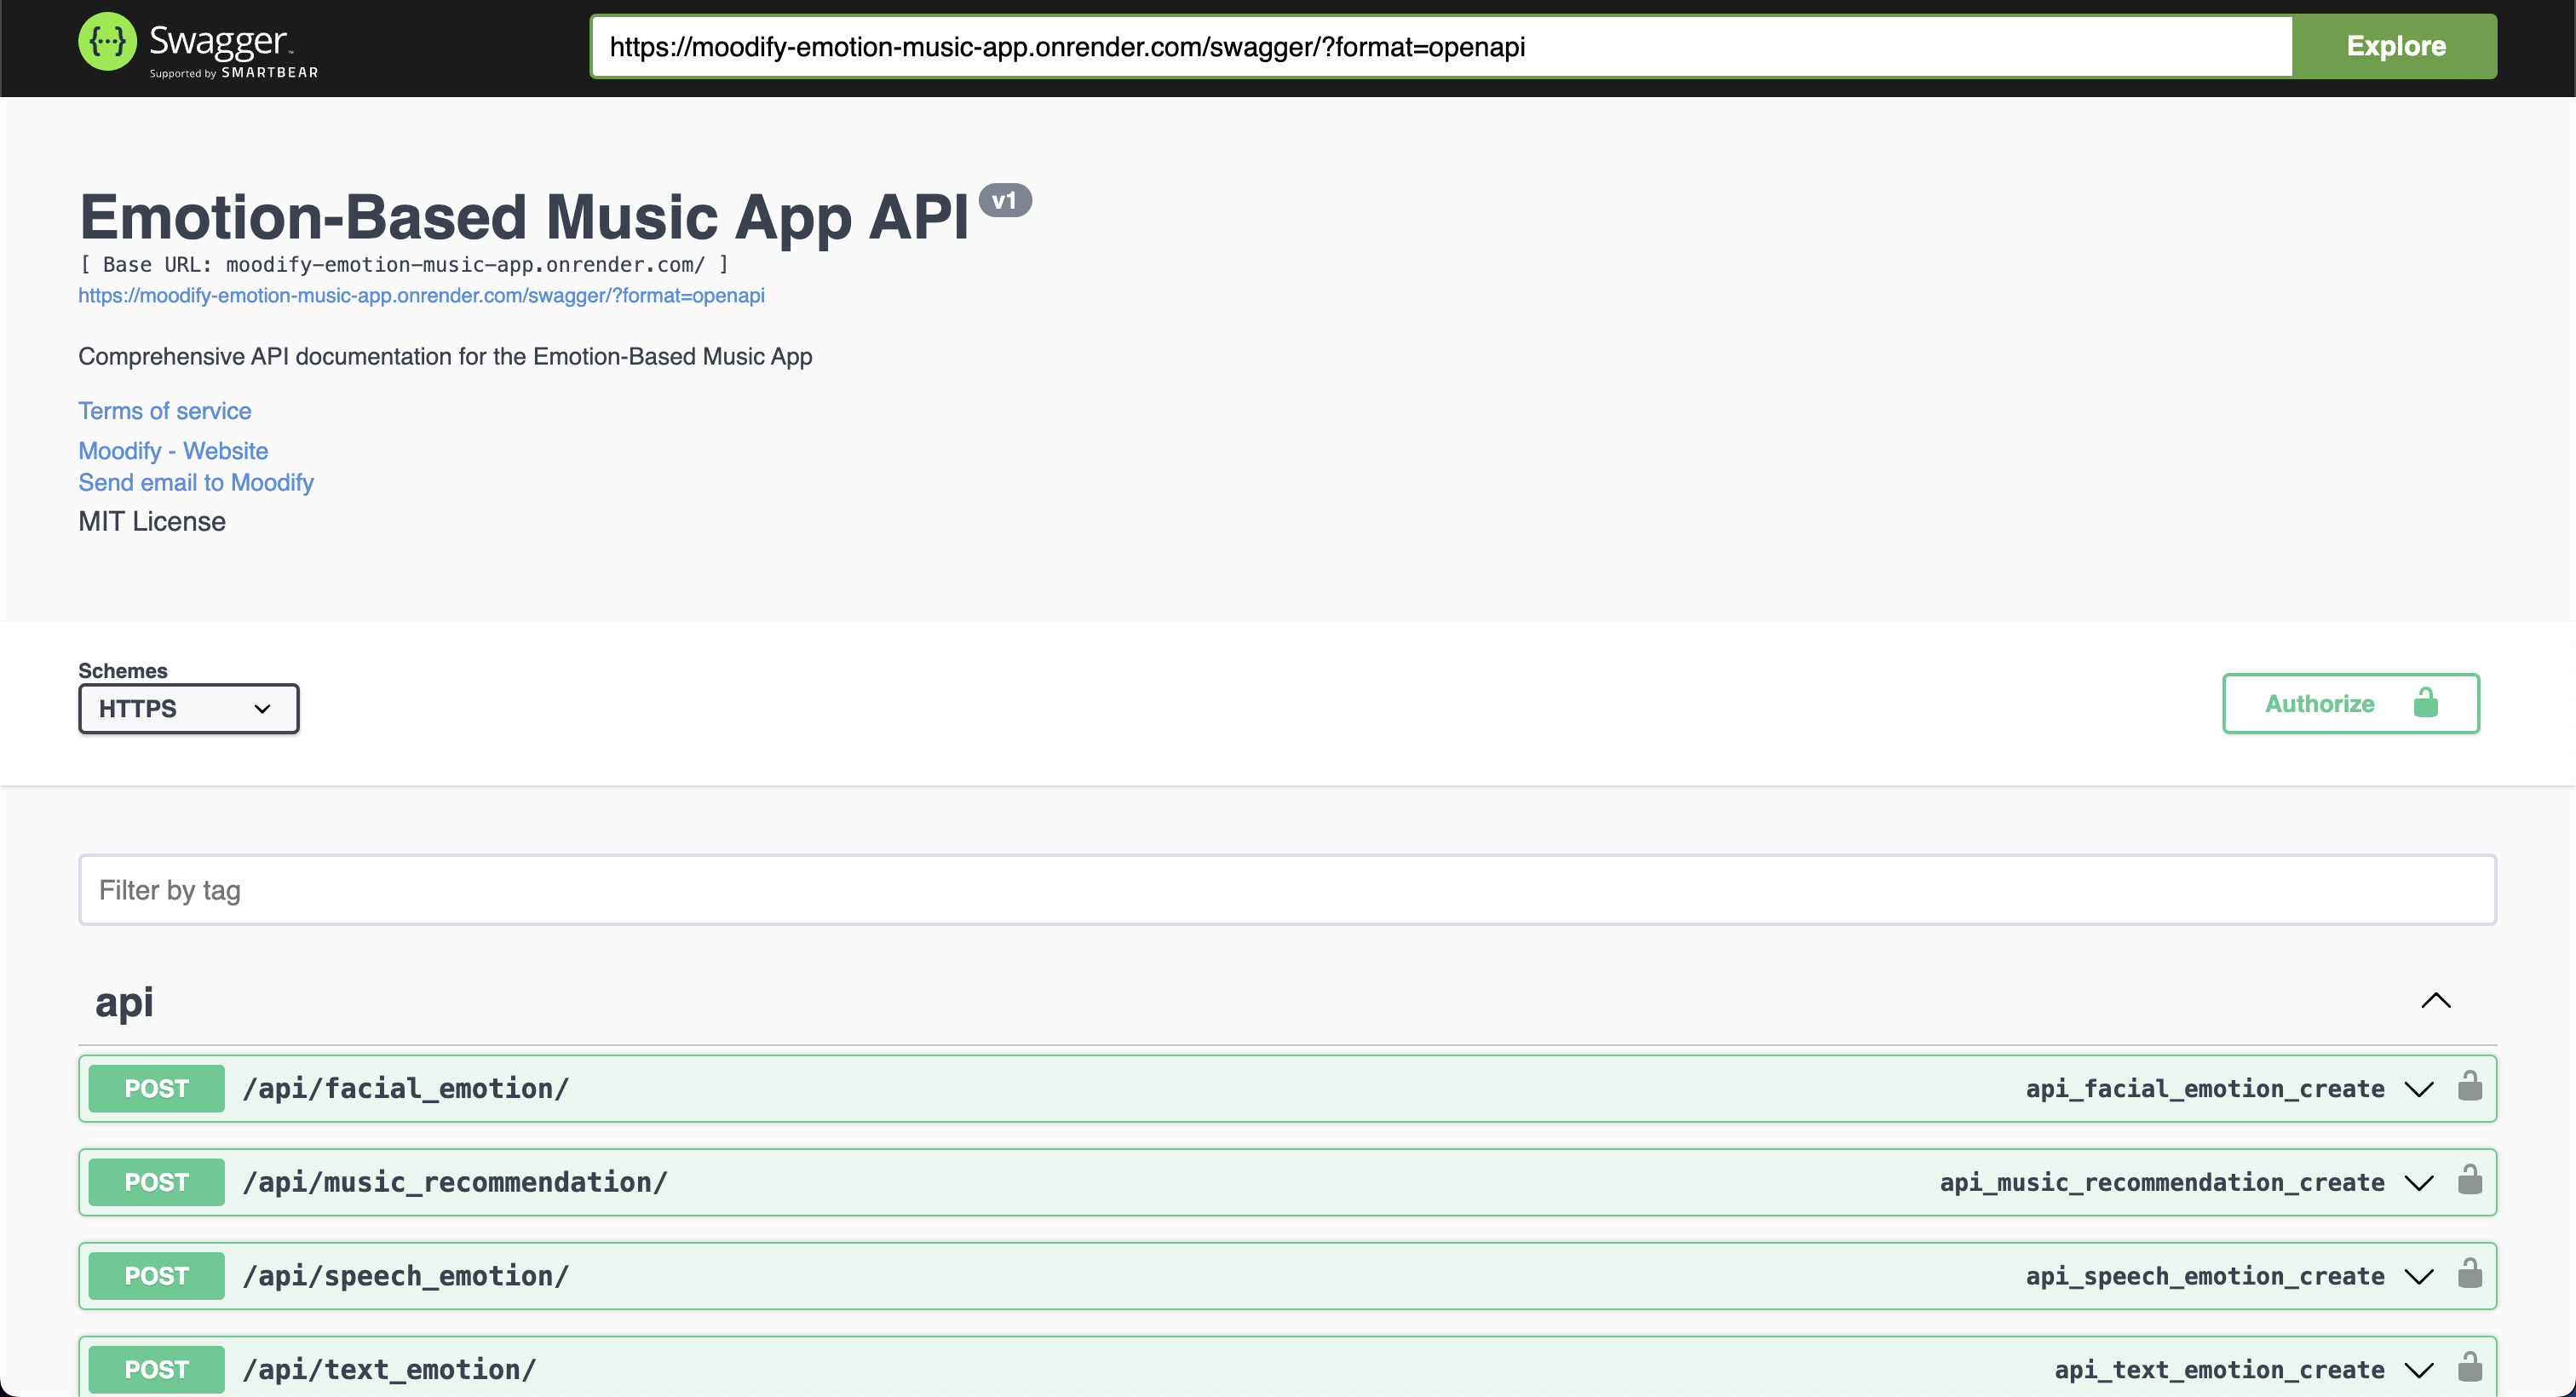
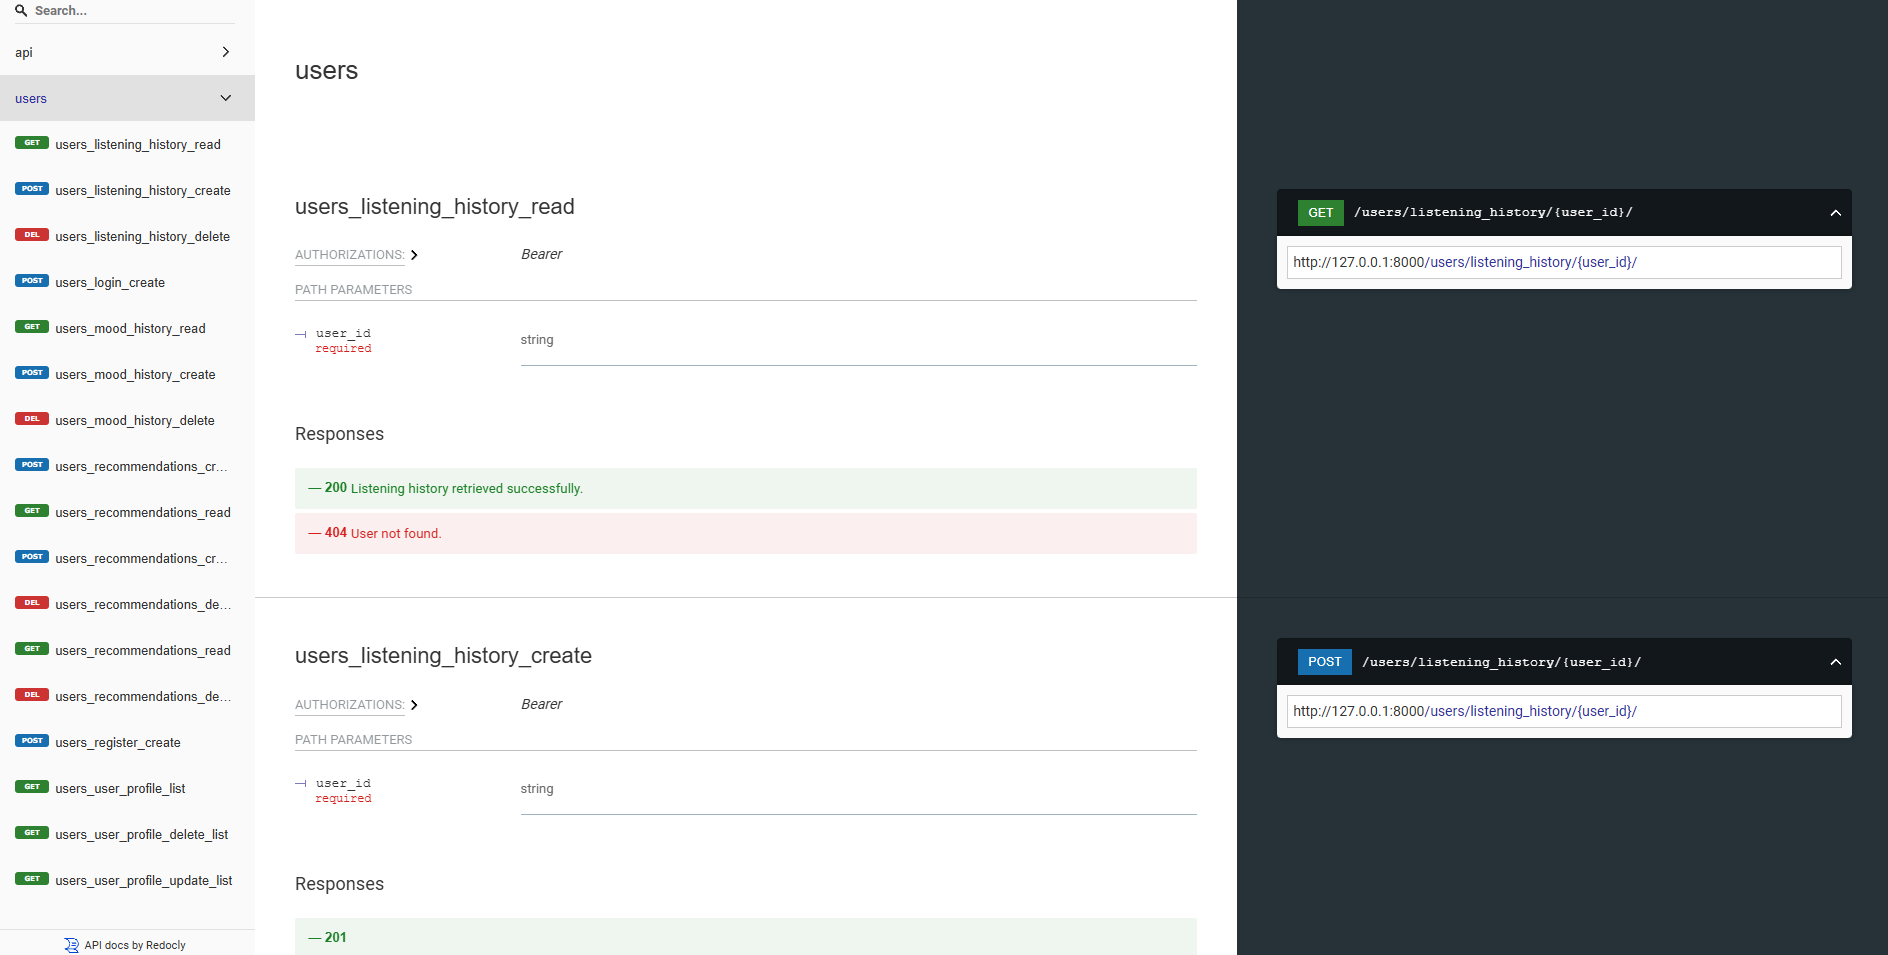
我們的後端API都使用Swagger UI和REDOC有充分的文獻記錄。您可以通過以下URL訪問API文檔:
https://moodify-emotion-music-app.onrender.com/swagger 。https://moodify-emotion-music-app.onrender.com/redoc 。另外,您可以在本地運行後端服務器,並在以下端點上訪問API文檔:
http://127.0.0.1:8000/swagger :8000/swagger。http://127.0.0.1:8000/redoc 8000/redoc。無論您選擇如何,如果一切正常運行,都應看到以下API文檔:
Swagger UI:
REDOC:
AI/ML模型是使用Pytorch,Tensorflow,Keras和HuggingFace Transformers構建的。這些模型在各種數據集上進行了培訓,以檢測文本,語音和麵部表情的情緒。
情感檢測模型用於分析用戶輸入並根據檢測到的情緒提供實時音樂建議。在各種數據集上對模型進行了培訓,以捕獲人類情緒的細微差別並提供準確的預測。
這些模型已集成到後端API服務中,以為用戶提供實時情感檢測和音樂建議。
模型必須先培訓,然後再在後端服務中使用它們。在運行後端服務器之前,請確保訓練模型並將其放置在models目錄中。有關更多詳細信息,請參閱(入門)[#啟動]部分。
 訓練文本情感模型的示例。
要訓練模型,您可以在ai_ml/src/models目錄中運行提供的腳本。這些腳本用於預處理數據,訓練模型,並保存訓練有素的模型以供以後使用。這些腳本包括:
train_text_emotion.py :訓練文本情感檢測模型。train_speech_emotion.py :訓練語音情感檢測模型。train_facial_emotion.py :訓練面部情感檢測模型。確保在訓練模型之前設置了必要的依賴關係,數據集和配置。具體來說,請確保訪問config.py文件,並將路徑更新到數據集中的路徑和輸出目錄中的系統上的正確數據集。
注意:默認情況下,這些腳本將優先使用您的GPU與CUDA(如果有)進行更快的培訓。但是,如果您的計算機上不可用,腳本將自動落後於使用CPU進行培訓。為了確保您具有GPU培訓的必要依賴項,請使用以下命令安裝帶有CUDA支持的Pytorch:
pip3 install torch torchvision torchaudio --index-url https://download.pytorch.org/whl/cu118之後,您可以運行test_emotion_models.py腳本來測試訓練有素的模型並確保它們提供準確的預測:
python src/models/test_emotion_models.py另外,您可以運行簡單的燒瓶API來通過RESTFUL API端點測試模型:
python ai_ml/src/api/emotion_api.py終點如下:
/text_emotion :從文本輸入中檢測到情感/speech_emotion :從語音音頻中檢測到情感/facial_emotion :從圖像中檢測到情感/music_recommendation :根據檢測到的情感提供音樂建議重要的是:有關培訓和使用模型的更多信息,請參考ai_ml目錄中的AI/ML文檔。
但是,如果培訓模型對您來說太密集了,則可以使用以下Google驅動器鏈接下載預訓練的模型:
model.safetensors 。請下載此model.safetensors文件,然後將其放入ai_ml/models/text_emotion_model目錄中。scaler.pkl 。請下載此並將其放入ai_ml/models/speech_emotion_model目錄中。trained_speech_emotion_model.pkl 。請下載此並將其放入ai_ml/models/speech_emotion_model目錄中。trained_facial_emotion_model.pt 。請下載此並將其放入ai_ml/models/facial_emotion_model目錄中。這些已在您的數據集中為您預先訓練,並準備在後端服務中使用,或用於測試目的,一旦下載並正確放置在models目錄中。
如果您遇到任何問題或需要在AI/ML模型上遇到任何問題,請隨時意識到我。
data_analytics文件夾提供了數據分析和可視化腳本,以了解情感檢測模型的性能。
運行所有分析腳本:
python data_analytics/main.py在visualizations文件夾中查看生成的可視化。
以下是一些示例可視化:
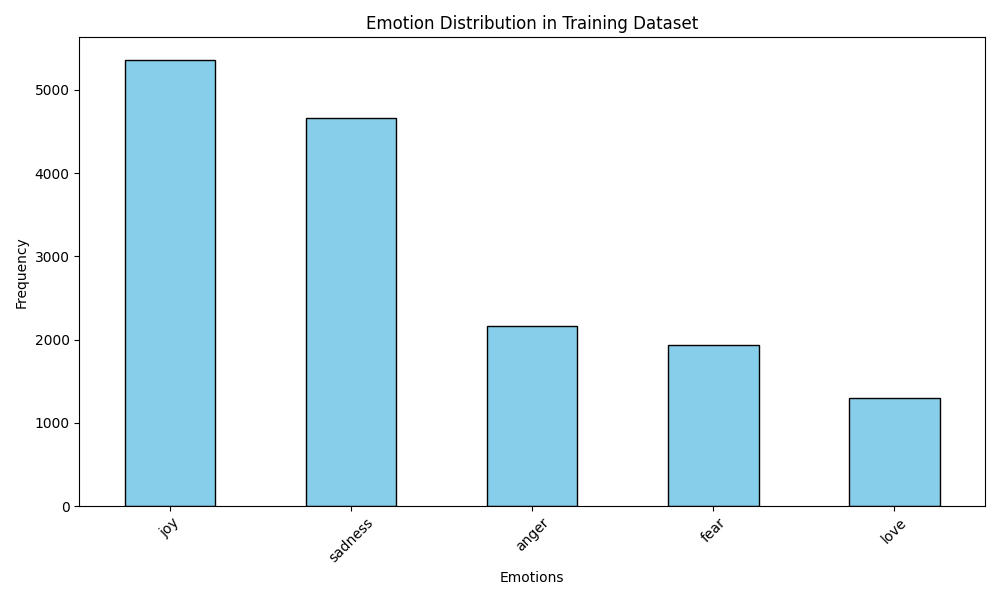 情緒分佈可視化
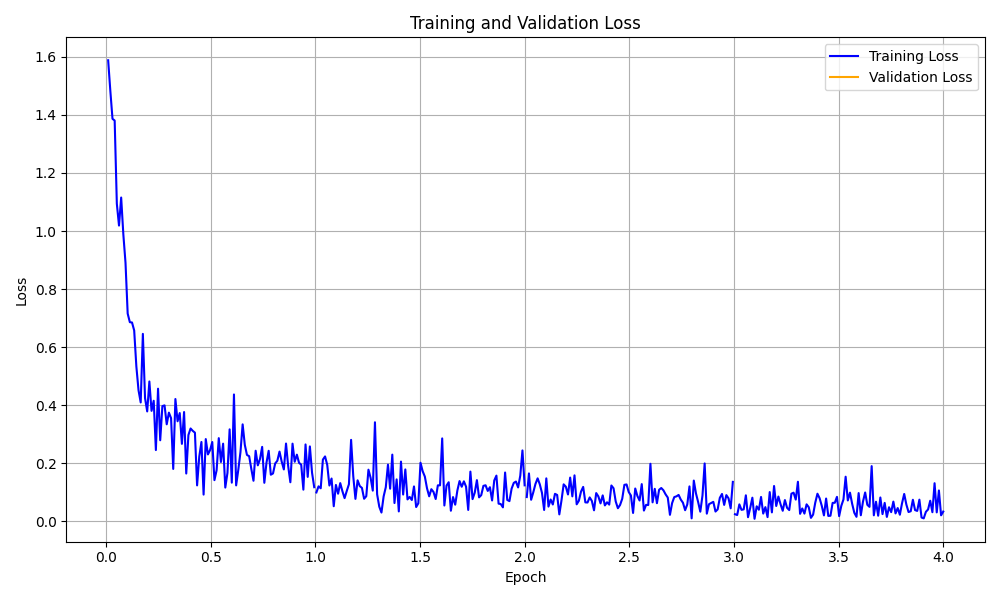 訓練損失曲線可視化
還有使用React Native和Expo構建的Moodify應用程序的移動版本。您可以在mobile目錄中找到移動應用程序。
導航到移動目錄:
cd ../mobile使用紗線安裝依賴項:
yarn install啟動Expo開發服務器:
yarn start使用移動設備上的EXPO GO應用程序掃描QR碼以運行該應用程序。
如果成功,您應該看到以下主屏幕:
隨時探索移動應用程序並測試其功能!
該項目使用Nginx和Gunicorn進行負載平衡和服務Django後端。 NGINX充當反向代理服務器,而Gunicorn為Django應用程序服務。
安裝nginx:
sudo apt-get update
sudo apt-get install nginx
安裝槍支:
pip install gunicorn配置nginx:
/nginx/nginx.conf更新nginx配置文件(如果需要的話)。啟動Nginx和Gunicorn:
sudo systemctl start nginxgunicorn backend.wsgi:application訪問http://<server_ip>:8000/ 。
請隨時根據需要自定義NGINX配置和槍支設置。
該項目可以使用Docker進行容器,以方便部署和縮放。您可以為前端,後端和AI/ML模型創建Docker圖像。
構建Docker圖像:
docker compose up --buildDocker圖像將用於前端,後端和AI/ML模型。使用以下方式驗證圖像:
docker images如果遇到任何錯誤,請嘗試在不使用緩存的情況下重建圖像,因為Docker的緩存可能會導致問題。
docker-compose build --no-cache我們還為後端和前端服務添加了Kubernetes部署文件。您可以使用提供的YAML文件在Kubernetes群集上部署服務。
部署後端服務:
kubectl apply -f kubernetes/backend-deployment.yaml部署前端服務:
kubectl apply -f kubernetes/frontend-deployment.yaml公開服務:
kubectl expose deployment moodify-backend --type=LoadBalancer --port=8000
kubectl expose deployment moodify-frontend --type=LoadBalancer --port=3000
使用LoadBalancer IP訪問服務:
http://<backend_loadbalancer_ip>:8000 。http://<frontend_loadbalancer_ip>:3000 。請隨時訪問kubernetes目錄,以獲取有關部署文件和配置的更多信息。
我們還包括Jenkins Pipeline腳本以自動化構建和部署過程。您可以使用Jenkins自動為Moodify應用程序自動化CI/CD流程。
在您的服務器或本地計算機上安裝Jenkins。
創建一個新的Jenkins管道工作:
jenkins目錄中的Jenkinsfile 。運行詹金斯管道:
請隨時在Jenkinsfile中探索Jenkins管道腳本,並根據需要進行自定義。
歡迎捐款!請隨意分叉存儲庫並提交拉動請求。
請注意,該項目仍在積極發展,並感謝任何貢獻。
如果您有任何建議,功能請求或錯誤報告,請隨時在此處打開問題。
愉快的編碼和Vibin'! ?
由兒子Nguyen於2024年由兒子Nguyen創作。
?回到頂部


