qdrant client
v1.12.1

ไลบรารีไคลเอนต์ Python สำหรับเครื่องมือค้นหาเวกเตอร์ Qdrant
ไลบรารีไคลเอนต์และ SDK สำหรับเครื่องมือค้นหาเวกเตอร์ QDRANT
ไลบรารีมีคำจำกัดความประเภทสำหรับ QDRANT API ทั้งหมดและอนุญาตให้ทำการร้องขอทั้ง SYNC และ ASYNC
ไคลเอนต์อนุญาตให้เรียกใช้วิธี QDDRANT API ทั้งหมดโดยตรง นอกจากนี้ยังมีวิธีการช่วยเพิ่มเติมบางอย่างสำหรับการดำเนินการที่จำเป็นบ่อยครั้งเช่นการอัปโหลดคอลเลกชันเริ่มต้น
ดู Quickstart สำหรับรายละเอียดเพิ่มเติม!
เอกสาร API ไคลเอนต์ Python มีอยู่ที่ Python-client.qdrant.tech
pip install qdrant-client
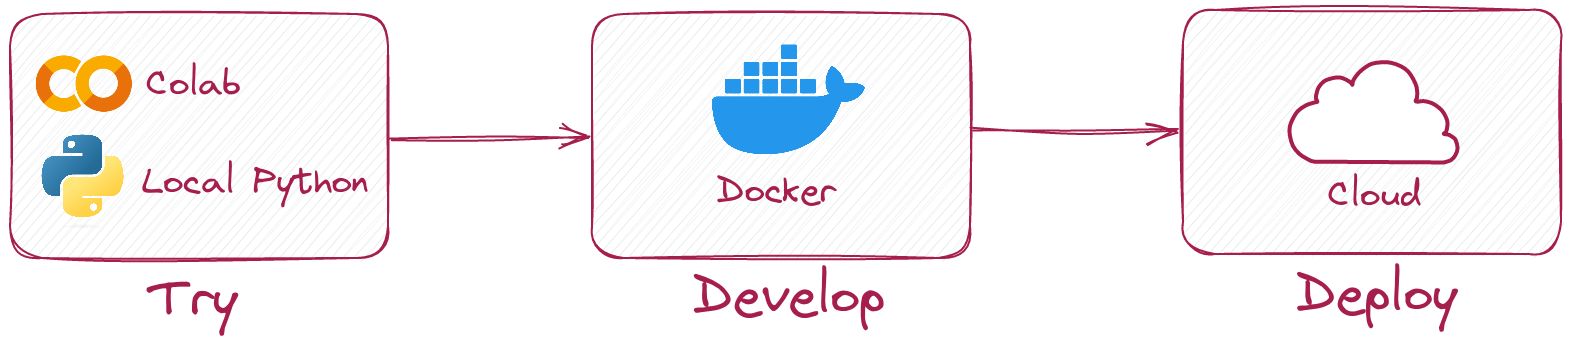
ไคลเอนต์ Python ช่วยให้คุณเรียกใช้รหัสเดียวกันในโหมดท้องถิ่นโดยไม่ต้องใช้เซิร์ฟเวอร์ QDRANT
เพียงแค่เริ่มต้นลูกค้าเช่นนี้:
 from qdrant_client import QdrantClient

client = QdrantClient ( ":memory:" )
# or
client = QdrantClient ( path = "path/to/db" )  # Persists changes to disk
โหมดท้องถิ่นมีประโยชน์สำหรับการพัฒนาต้นแบบและการทดสอบ
pip install qdrant-client[fastembed]
Fastembed เป็นไลบรารีสำหรับการสร้างการฝังเวกเตอร์ที่รวดเร็วบน CPU มันขึ้นอยู่กับรันไทม์ ONNX และอนุญาตให้ทำงานอนุมานบน CPU ที่มีประสิทธิภาพคล้าย GPU
ไคลเอนต์ Qdrant สามารถใช้ Fadembed เพื่อสร้าง embeddings และอัปโหลดไปยัง QDrant สิ่งนี้ช่วยให้ API ง่ายขึ้นและทำให้มันง่ายขึ้น
 from qdrant_client import QdrantClient

# Initialize the client
client = QdrantClient ( ":memory:" )  # or QdrantClient(path="path/to/db")

# Prepare your documents, metadata, and IDs
docs = [ "Qdrant has Langchain integrations" , "Qdrant also has Llama Index integrations" ]
metadata = [
    { "source" : "Langchain-docs" },
    { "source" : "Linkedin-docs" },
]
ids = [ 42 , 2 ]

# Use the new add method
client . add (
    collection_name = "demo_collection" ,
    documents = docs ,
    metadata = metadata ,
    ids = ids
)

search_result = client . query (
    collection_name = "demo_collection" ,
    query_text = "This is a query document"
)
print ( search_result )
Fastembed ยังสามารถใช้ GPU สำหรับการฝังที่เร็วขึ้น หากต้องการเปิดใช้งานการสนับสนุน GPU ให้ติดตั้ง
pip install ' qdrant-client[fastembed-gpu] ' from qdrant_client import QdrantClient
# Initialize the client
client = QdrantClient ( ":memory:" ) # or QdrantClient(path="path/to/db")
client . set_model ( client . DEFAULT_EMBEDDING_MODEL , providers = [ "CUDAExecutionProvider" , "CPUExecutionProvider" ])หมายเหตุ:
fastembed-gpuและfastembedเป็นเอกสิทธิ์เฉพาะบุคคล คุณสามารถติดตั้งได้อย่างใดอย่างหนึ่งหากก่อนหน้านี้คุณติดตั้ง
fastembedคุณอาจต้องเริ่มต้นจากสภาพแวดล้อมที่สดใหม่เพื่อติดตั้งfastembed-gpu
ในการเชื่อมต่อกับเซิร์ฟเวอร์ QDRANT เพียงแค่ระบุโฮสต์และพอร์ต:
 from qdrant_client import QdrantClient

client = QdrantClient ( host = "localhost" , port = 6333 )
# or
client = QdrantClient ( url = "http://localhost:6333" )
คุณสามารถเรียกใช้เซิร์ฟเวอร์ Qdrant ได้ในเครื่องด้วย Docker:
docker run -p 6333:6333 qdrant/qdrant:latestดูตัวเลือกการเปิดตัวเพิ่มเติมในพื้นที่เก็บข้อมูล QDRANT
คุณสามารถลงทะเบียนและใช้ Qdrant Cloud เพื่อรับบัญชี Tier ฟรีด้วย 1GB RAM
เมื่อคุณมีคลัสเตอร์และคีย์ API แล้วคุณสามารถเชื่อมต่อกับมันได้เช่นนี้:
 from qdrant_client import QdrantClient

qdrant_client = QdrantClient (
    url = "https://xxxxxx-xxxxx-xxxxx-xxxx-xxxxxxxxx.us-east.aws.cloud.qdrant.io:6333" ,
    api_key = "<your-api-key>" ,
)สร้างคอลเลกชันใหม่
 from qdrant_client . models import Distance , VectorParams

client . create_collection (
    collection_name = "my_collection" ,
    vectors_config = VectorParams ( size = 100 , distance = Distance . COSINE ),
)
แทรกเวกเตอร์ลงในคอลเลกชัน
 import numpy as np
from qdrant_client . models import PointStruct

vectors = np . random . rand ( 100 , 100 )
# NOTE: consider splitting the data into chunks to avoid hitting the server's payload size limit
# or use `upload_collection` or `upload_points` methods which handle this for you
# WARNING: uploading points one-by-one is not recommended due to requests overhead
client . upsert (
    collection_name = "my_collection" ,
    points = [
        PointStruct (
            id = idx ,
            vector = vector . tolist (),
            payload = { "color" : "red" , "rand_number" : idx % 10 }
        )
        for idx , vector in enumerate ( vectors )
    ]
)
ค้นหาเวกเตอร์ที่คล้ายกัน
 query_vector = np . random . rand ( 100 )
hits = client . search (
    collection_name = "my_collection" ,
    query_vector = query_vector ,
    limit = 5  # Return 5 closest points
)
ค้นหาเวกเตอร์ที่คล้ายกันกับเงื่อนไขการกรอง
 from qdrant_client . models import Filter , FieldCondition , Range

hits = client . search (
    collection_name = "my_collection" ,
    query_vector = query_vector ,
    query_filter = Filter (
        must = [  # These conditions are required for search results
            FieldCondition (
                key = 'rand_number' ,  # Condition based on values of `rand_number` field.
                range = Range (
                    gte = 3  # Select only those results where `rand_number` >= 3
                )
            )
        ]
    ),
    limit = 5  # Return 5 closest points
)
ดูตัวอย่างเพิ่มเติมในเอกสารของเรา!
ในการเปิดใช้งานคอลเลกชัน (โดยทั่วไปเร็วกว่ามาก) การอัปโหลดด้วย GRPC ให้ใช้การเริ่มต้นต่อไปนี้:
 from qdrant_client import QdrantClient

client = QdrantClient ( host = "localhost" , grpc_port = 6334 , prefer_grpc = True )เริ่มต้นจากเวอร์ชัน 1.6.1 วิธีการไคลเอนต์ Python ทั้งหมดมีอยู่ในเวอร์ชัน async
หากต้องการใช้เพียงแค่นำเข้า AsyncQdrantClient แทน QdrantClient :
 from qdrant_client import AsyncQdrantClient , models
import numpy as np
import asyncio

async def main ():
    # Your async code using QdrantClient might be put here
    client = AsyncQdrantClient ( url = "http://localhost:6333" )

    await client . create_collection (
        collection_name = "my_collection" ,
        vectors_config = models . VectorParams ( size = 10 , distance = models . Distance . COSINE ),
    )

    await client . upsert (
        collection_name = "my_collection" ,
        points = [
            models . PointStruct (
                id = i ,
                vector = np . random . rand ( 10 ). tolist (),
            )
            for i in range ( 100 )
        ],
    )

    res = await client . search (
        collection_name = "my_collection" ,
        query_vector = np . random . rand ( 10 ). tolist (),  # type: ignore
        limit = 10 ,
    )

    print ( res )

asyncio . run ( main ())
ทั้ง GRPC และ REST API ได้รับการสนับสนุนในโหมด Async ตัวอย่างเพิ่มเติมสามารถพบได้ที่นี่
โครงการนี้ใช้ Git Hooks เพื่อเรียกใช้ Formatters รหัส
ติดตั้ง pre-commit ด้วย pip3 install pre-commit และตั้งค่า hooks ด้วย pre-commit install
pre-commit ต้องใช้ Python> = 3.8


