Openaibot
pypi_1.0.5 `learn` Command
? Deploy Docs & ? Dev Docs & ? Contribute
Don't hesitate to Star ️, Issue , and PR
Python>=3.9
This project uses the ToolCall feature.
It integrates a message queuing and snapshot system, offering plugin mechanisms and authentication prior to plugin execution.
The bot adheres to the Openai Format Schema. Please adapt using gateway or one-api independently.
| Demo | Vision With Voice | Code Interpreter |
|---|---|---|
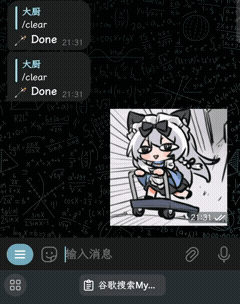 |
 |
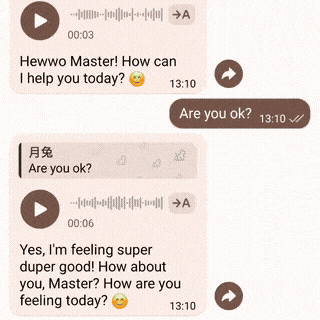 |
The program has iterated to its fourth generation.
pip installationLogin via url: Use /login <a token>$<something like https://provider.com/login> to Login. The program posts the token to the interface to
retrieve configuration
information, how to develop this.Login: Use /login https://<api endpoint>/v1$<api key>$<the model>$<tool model such as gpt-3.5-turbo> to login| Sticker Converter | Timer Function(built-in) |
|---|---|
 |
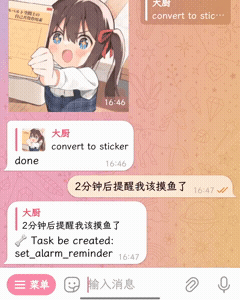 |
| Platform | Support | File System | Remarks |
|---|---|---|---|
| Telegram | ✅ | ✅ | |
| Discord | ✅ | ✅ | |
| Kook | ✅ | ✅ | Does not support triggering by reply
|
| Slack | ✅ | ✅ | Does not support triggering by reply
|
| Line | |||
| Matrix | |||
| IRC | |||
| ... | Create Issue/PR |
Refer to the ? Deployment Document for more information.
If you are using a brand-new server, you can use the following shell to automatically install this project.
curl -sSL https://raw.githubusercontent.com/LLMKira/Openaibot/main/deploy.sh | bash# Install Voice dependencies
apt install ffmpeg
# Install RabbitMQ
docker pull rabbitmq:3.10-management
docker run -d -p 5672:5672 -p 15672:15672
-e RABBITMQ_DEFAULT_USER=admin
-e RABBITMQ_DEFAULT_PASS=8a8a8a
--hostname myRabbit
--name rabbitmq
rabbitmq:3.10-management
docker ps -l
# Install Project
git clone https://github.com/LlmKira/Openaibot/
cd Openaibot
pip install pdm
pdm install -G bot
cp .env.exp .env && nano .env
# Test
pdm run python3 start_sender.py
pdm run python3 start_receiver.py
# Host
apt install npm
npm install pm2 -g
pm2 start pm2.jsonBe sure to change the default password for the command, or disable open ports to prevent the database from being scanned and attacked.
Build Hub: sudoskys/llmbot
Note that if you run this project using Docker, you will start Redis, MongoDB, and RabbitMQ. But if you're running locally, just RabbitMQ
git clone https://github.com/LlmKira/Openaibot.git
cd Openaibot
cp .env.exp .env&&nano .env
docker-compose -f docker-compose.yml up -d
The Docker configuration file docker-compose.yml contains all databases. In fact, Redis and MongoDB are not required.
You can remove these databases yourself and use the local file system.
Update image using docker-compose pull.
Use docker exec -it llmbot /bin/bash to view Shell in Docker, enter exit to exit.
clear - Deletes chat records
login - Login to the bot
help - Displays documentation
chat - Conversation
task - Use a function to converse
ask - Disable function-based conversations
tool - Lists all functions
auth - Authorize a function
env - Environment variables of the function
learn - Learn your instructions, /learn reset to clearRefer to the example plugins in the plugins directory and
the ? Plugin Development Document for plugin development documentation.
Hooks control the EventMessage in sender and receiver. For example, we have voice_hook in built-in hooks.
you can enable it by setting VOICE_REPLY_ME=true in .env.
/env VOICE_REPLY_ME=yes
# must

/env REECHO_VOICE_KEY=<key in dev.reecho.ai>
# not must
use /env VOICE_REPLY_ME=NONE to disable this env.
check the source code in llmkira/extra/voice_hook.py, learn to write your own hooks.

This project, named OpenAiBot, signifying "Open Artificial Intelligence Robot", is not officially affiliated with OpenAI.


