react native appsync s3
1.0.0
이 앱은 사용자가 다음을 수행 할 수 있습니다.
엑스포 클리
npm install -g expo-cliAWS 계정
NPM이있는 노드 JS
AWS는 CLI를 증폭시킵니다
npm install -g @aws-amplify/cliamplify configure (단계별 비디오의 링크). git clone https://github.com/yhenni1989/react-native-appsync-s3.git
cd react-native-appsync-s3
 yarn add aws-amplify aws-amplify-react-native

# or

npm install aws-amplify aws-amplify-react-native
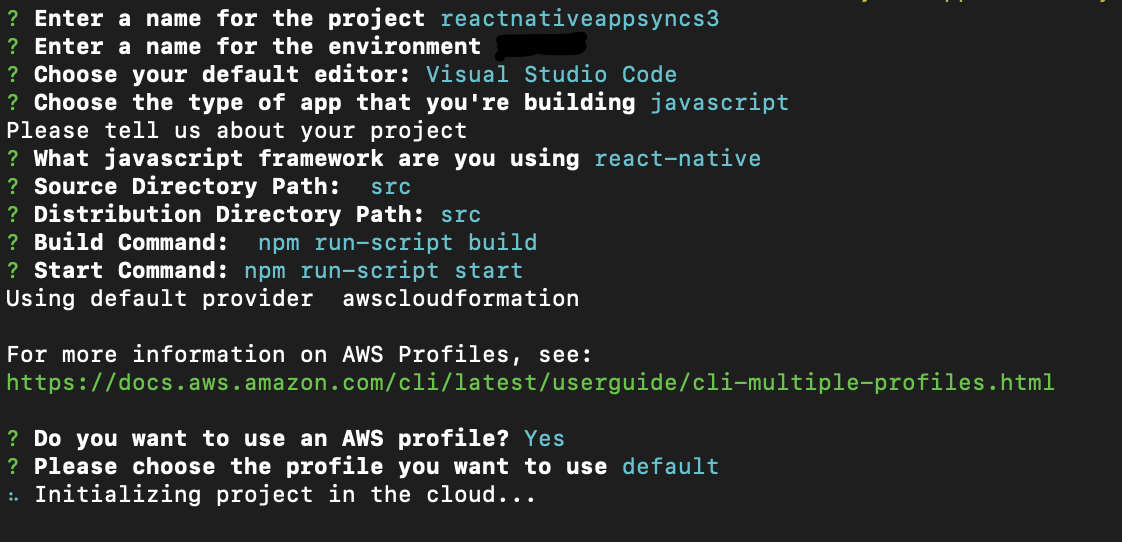
amplify init
아래와 동일한 지침을 따르십시오.
 amplify add auth

# When prompt, choose: Yes, use the default configuration.
 amplify add storage

# Choose: Content (Images, audio, video, etc.)
# Give access to only authenticated users.
# Give users read/write acces.
 amplify add api

# Choose GraphQL as the API service.
# Choose an authorization type for the API: Amazon Cognito User Pool
# Do you have an annotated GraphQL schema? Yes
# Provide your schema file path: src/graphQL/schema.graphql
amplify push
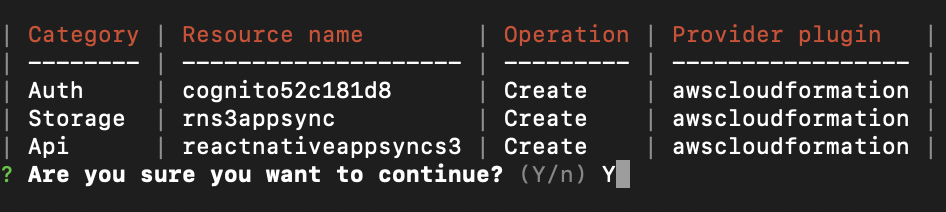
Do you want to generate code for your newly created GraphQL API: No.
AWS Amplify CLI는 Amazon Cognito User Pool 및 Identity Pool, Amazon S3 버킷 및 각 사용자 사진 및 Amazon DynamoDB를 사용하여 데이터를 저장하는 AWS AppSync GraphQL API를 생성합니다.
 yarn

# or

npm install
src/myKeys.js 파일에 액세스 및 비밀 키를 복사하십시오. const keys = {
accessKey : 'blablabla' ,
secretKey : 'blablabla' ,
}
export default keys ; expo start --ios
# or
expo start --android
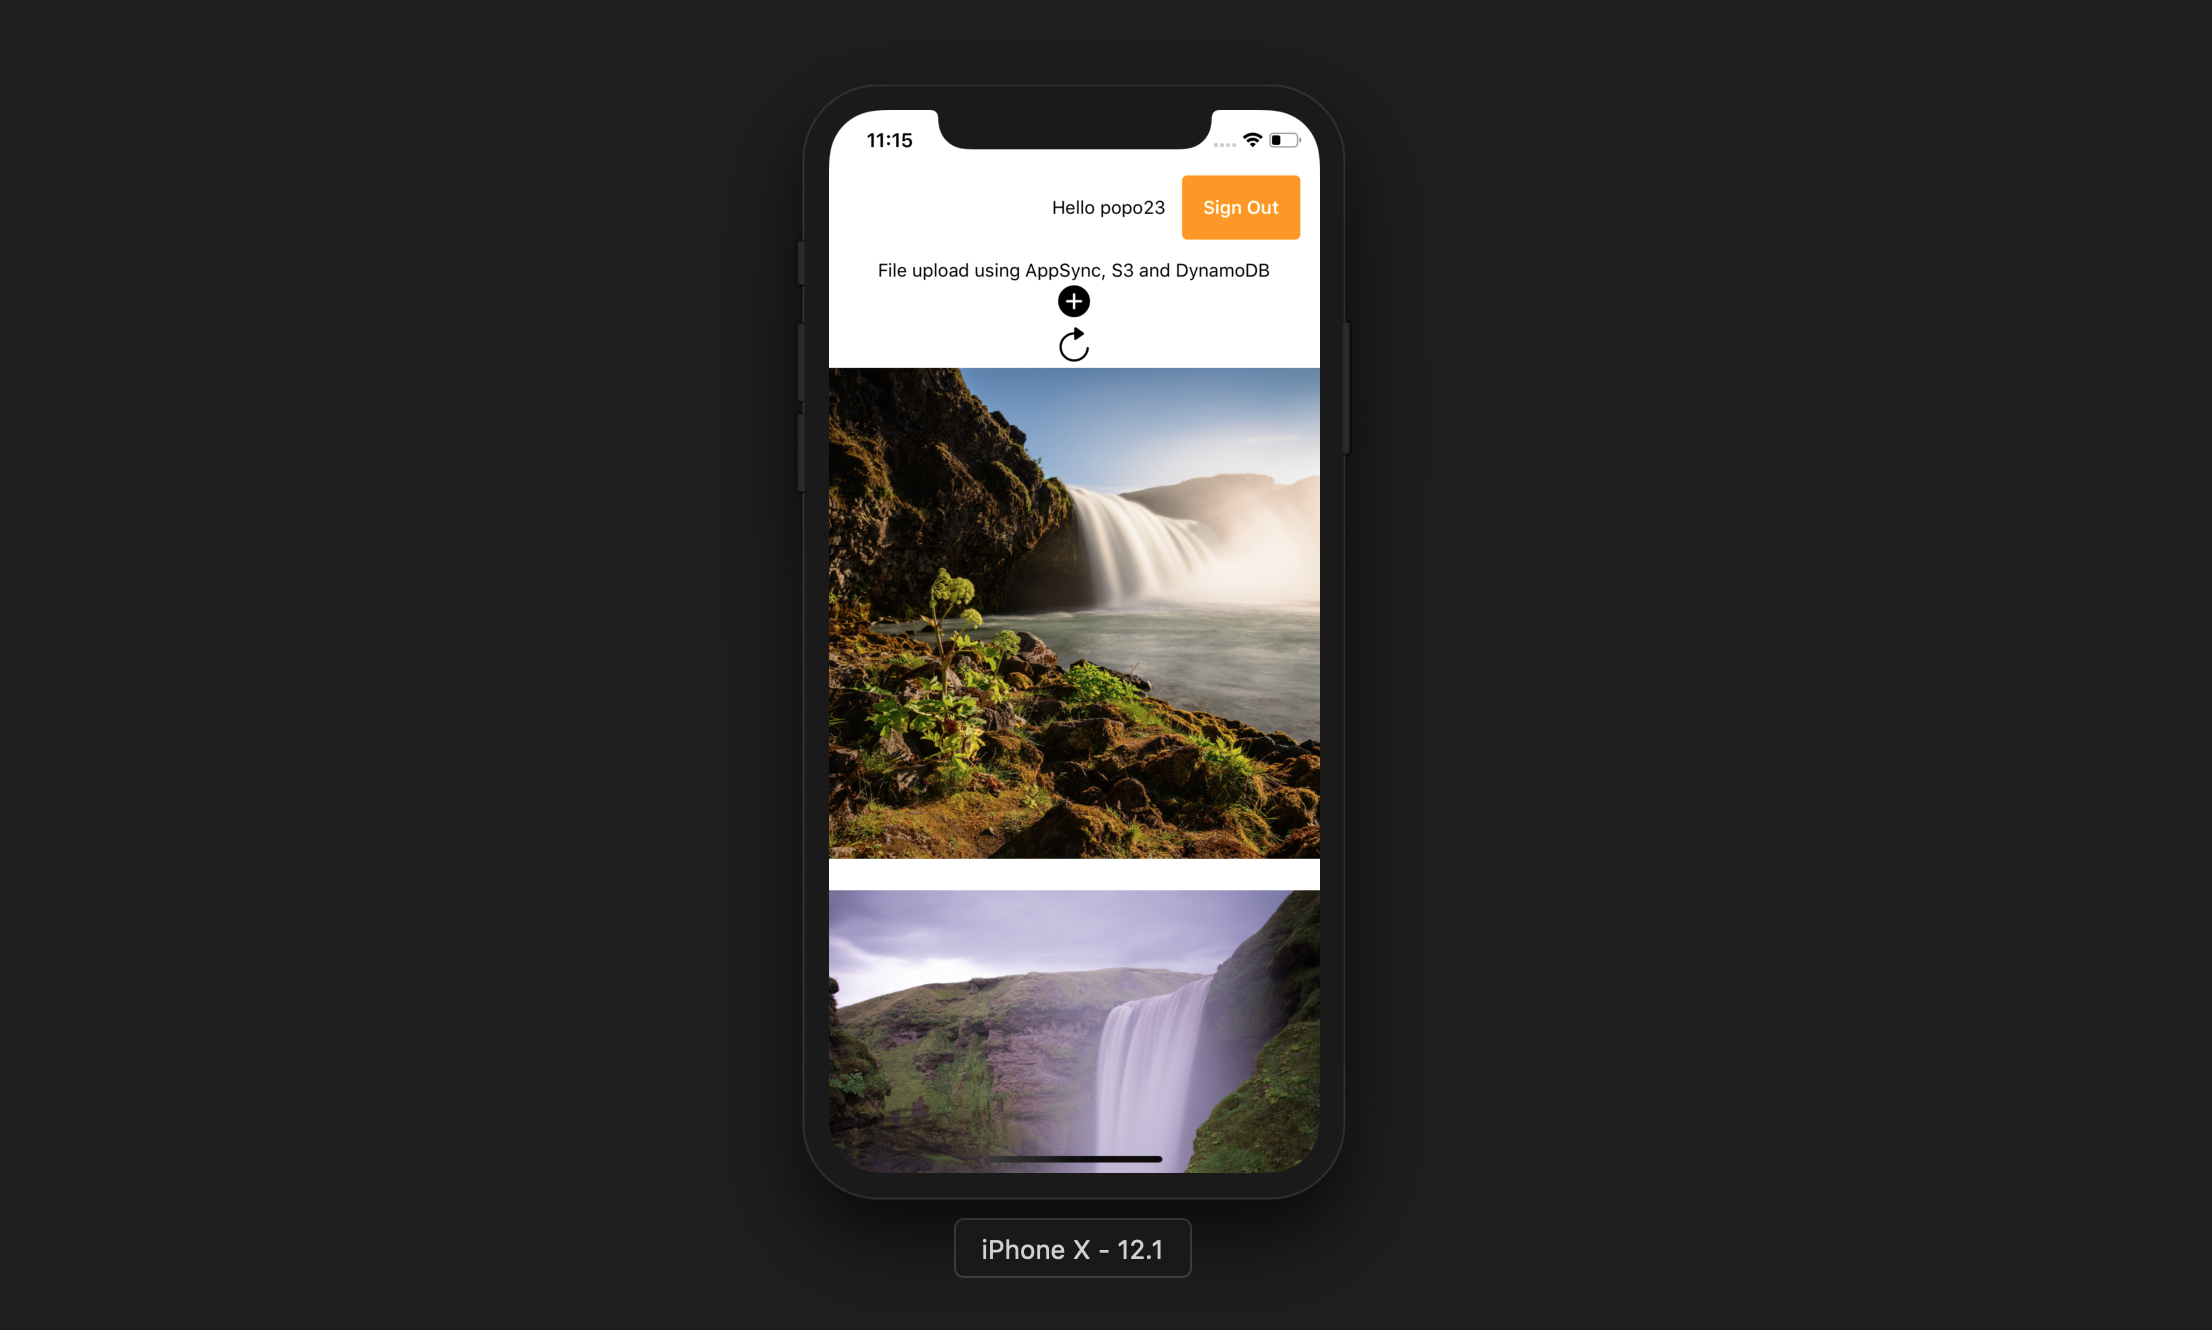
애플리케이션이 성공적으로 실행되면 추가 버튼을 누르고 장치 라이브러리에 액세스를 허용 한 다음 장치에서 사진을 선택할 수 있어야합니다. 이렇게하면 그림을 S3에 업로드 한 다음 GraphQL 호출을 통해 레코드를 DynamODB에 입력합니다.
그런 다음 새로 고침 버튼을 눌러 화면에 그림을 표시 할 수 있습니다.


