pynotif
1.0.0
Une autre API Python pour accéder libnotify , ainsi que la prise en charge sonore de notification (avec le backend vlc ) .
ATTENTION: Eh bien, vous devez passer par une producure d'installation rigoureuse, qui peut ne pas toujours être un choix préféré. Mais c'est assez assuré, vous pourrez apprendre quelque chose de nouveau.
Je vais démontrer la procédure d'installation sur Solus Linux .
gcc , glibc , glibc-devel . J'utiliserai gcc 9.3.0 . $ sudo eopkg it gcc, glibc, glibc-devel
$ gcc --version # check versionCython , nous installerons également pip . J'utilise Python3.7.6 . $ sudo eopkg it python3, python3-devel, pip
$ python3 --version
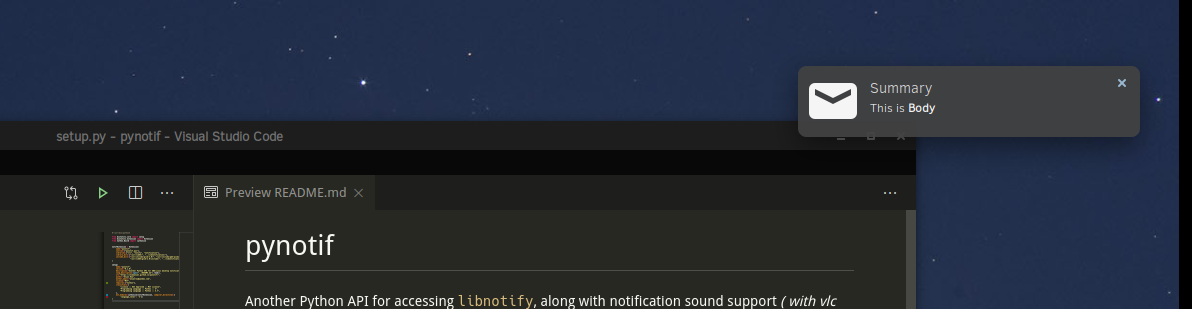
$ python3 -m pip install --user Cythonlibnotify , libnotify-devel , qui nous donnera une interface programmatique pour parler à libnotify à partir de notre bibliothèque C. $ sudo eopkg it libnotify libnotify-devel$ notify-send " Summary " " Body of Notification "vlc , qui sera utilisé pour jouer au son de notification, pourrait être utile pour alerter l'utilisateur. $ sudo eopkg it vlc vlc-develPassons d'abord à un emplacement pratique dans la hiérarchie du répertoire de votre machine, où vous pouvez cloner ce repo et commencer à travailler.
$ git clone https://github.com/itzmeanjan/pynotif.git Entrez dans le répertoire pynotif et vérifiez le contenu des répertoires.
$ cd pynotif
$ tree -h
.
├── [4.0K]  libnotification
│   ├── [2.4K]  play_sound.c
│   ├── [  45]  play_sound.h
│   ├── [2.4K]  send_notification.c
│   └── [ 235]  send_notification.h
├── [1.0K]  LICENSE
├── [4.0K]  pynotif
│   ├── [1.5K]  pynotif.pyx
│   └── [1.1K]  setup.py
├── [7.0K]  README.md
├── [4.0K]  sound
│   ├── [ 30K]  button_sound.wav
│   └── [ 29K]  when.mp3
└── [4.0K]  ss
    └── [ 71K]  screenshot.png

4 directories, 11 files
Nous allons d'abord à libnotification , qui va être compilée dans une bibliothèque C statique. Les noms de fichiers sont assez explicites, dans quel but ils servent.
$ cd libnotification
$ ls
play_sound.c  play_sound.h  send_notification.c  send_notification.h
Il est temps de compiler chacun de ces fichiers C et de générer du code d'objet.
$ gcc -c play_sound.c
$ gcc -I /usr/include/glib-2.0/ -I /usr/include/gdk-pixbuf-2.0/ -I /usr/lib64/glib-2.0/include/ -c send_notification.c
Nous devons maintenant archiver ces fichiers d'objets dans une bibliothèque statique, qui sera invoquée à partir du code Cython (fichier .pyx) .
$ ar rcs libnotification.a play_sound.o send_notification.oComme nous avons obtenu la bibliothèque statique, les codes d'objets compilés peuvent être supprimés maintenant. Vous pouvez envisager de vérifier le type de bibliothèque statique générée.
$ rm * .o
$ file libnotification.a
libnotification.a: current ar archive
Nous allons maintenant entrer dans le répertoire pynotif , qui contient du code cython, requis pour parler à la bibliothèque C, libnotification.a .
$ cd ../pynotif
$ ls
pynotif.pyx  setup.py
pynotif.pyx détient le code cython pour l'interfaçage avec libnotification.a , qui doit être compilé en code C équivalent (en utilisant le compilateur Cython) . Ensuite, nous créerons une bibliothèque d'extension C (bibliothèque liée dynamiquement) , qui peut être invoquée à partir de Python.
$ python3 setup.py build_ext --inplace
Compiling pynotif.pyx because it changed.
[1/1] Cythonizing pynotif.pyx
running build_ext
building ' pynotif ' extension
creating build
creating build/temp.linux-x86_64-3.7
x86_64-solus-linux-gcc -pthread -Wno-unused-result -Wsign-compare -DNDEBUG -g -fwrapv -O3 -Wall -mtune=generic -march=x86-64 -g2 -pipe -fPIC -Wformat -Wformat-security -D_FORTIFY_SOURCE=2 -fstack-protector-strong --param ssp-buffer-size=32 -fasynchronous-unwind-tables -ftree-vectorize -feliminate-unused-debug-types -Wall -Wno-error -Wp,-D_REENTRANT -fno-semantic-interposition -O3 -falign-functions=32 -I/usr/include -mtune=generic -march=x86-64 -g2 -pipe -fPIC -Wformat -Wformat-security -D_FORTIFY_SOURCE=2 -fstack-protector-strong --param ssp-buffer-size=32 -fasynchronous-unwind-tables -ftree-vectorize -feliminate-unused-debug-types -Wall -Wno-error -Wp,-D_REENTRANT -fno-semantic-interposition -O3 -falign-functions=32 -fPIC -I/usr/include/glib-2.0/ -I/usr/include/gdk-pixbuf-2.0/ -I/usr/lib64/glib-2.0/include/ -I../libnotification/ -I/usr/include/python3.7m -c pynotif.c -o build/temp.linux-x86_64-3.7/pynotif.o
x86_64-solus-linux-gcc -pthread -shared -Wl,--copy-dt-needed-entries -Wl,-O1 -Wl,-z,relro -Wl,-z,now -Wl,-z,max-page-size=0x1000 -Wl,-Bsymbolic-functions -Wl,--sort-common -Wl,--copy-dt-needed-entries -Wl,-O1 -Wl,-z,relro -Wl,-z,now -Wl,-z,max-page-size=0x1000 -Wl,-Bsymbolic-functions -Wl,--sort-common build/temp.linux-x86_64-3.7/pynotif.o -L/usr/lib64/ -L../libnotification/ -L/usr/lib64 -lvlc -lnotify -lnotification -lpython3.7m -o /home/anjan/Documents/my_programs/still_working/open/pynotif/pynotif/pynotif.cpython-37m-x86_64-linux-gnu.so

$ tree -h
.
├── [4.0K]  build
│   └── [4.0K]  temp.linux-x86_64-3.7
│       └── [203K]  pynotif.o
├── [125K]  pynotif.c
├── [146K]  pynotif.cpython-37m-x86_64-linux-gnu.so
├── [1.5K]  pynotif.pyx
└── [1.1K]  setup.py

2 directories, 5 files
pynotif.*.so , notre objet partagé statiquement lié, ce qui est intéressant. ./build Directory & pynotif.c peut être supprimé. Mais vous pourriez être intéressé à jeter un coup d'œil à pynotif.c , qui est généré du code C à partir de pynotif.pyx par Cython Compiler.
$ rm build/ pynotif.c -rv
$ file pynotif.cpython- * .so # check it out
Vous pouvez maintenant utiliser pynotif , mais uniquement à partir de ce répertoire de travail. Vérifions cela en premier.
$ python3
>>> import pynotif
>>> pynotif.__version__
' 0.1.0 '
>>> pynotif.startNotif(b " My Application " )
1
>>> pynotif.sendNotif(b " Summary " , b " Body of Notification " , 2, 1, b " /path/to/icon/file " , b " /path/to/notification/sound/file " )
1
>> pynotif.stopNotif ()
>>> help ()
help > pynotif # shows you API documentation
...
Mais nous voulons le mettre à la disposition de tous les scripts installés sur cette machine, n'est-ce pas? Ensuite, nous installerons cette bibliothèque dans un emplacement standard.
$ python3 setup.py install --user Allez maintenant à $HOME Directory et invoquez Python3 REPT.
$ cd
$ python3
>> import pynotif # and it works as expected
Félicitations, vous avez réussi et installé pynotif à partir de C-Library. Utilisez maintenant comme vous le souhaitez.
Vous remerciant


