AppIntro
AppIntro 6.3.1
Appintro是一個Android庫,可幫助您為應用程序構建酷炫的輪播介紹。 Appintro支持請求權限,並幫助您在短短幾分鐘內創造出色的入職體驗。

Appintro是通過Jitpack分發的。
要使用它,您需要將以下gradle依賴關係添加到您要使用appintro(而不是根文件)的模塊的build.gradle文件中。
repositories {
    maven { url " https://jitpack.io " }
}
dependencies {
// AndroidX Capable version
implementation ' com.github.AppIntro:AppIntro:6.3.1 '
// *** OR ***
// Latest version compatible with the old Support Library
implementation ' com.github.AppIntro:AppIntro:4.2.3 '
}請注意,由於Appintro 5.x,庫支持AndroidX。如果您尚未遷移,則可能要使用使用舊支持庫軟件包的庫的先前版本(或嘗試使用Jetifier反向模式)。
要使用appintro,您只需要創建一個新的活動,該活動會像以下內容一樣擴展Appintro :
 class MyCustomAppIntro : AppIntro () {
    override fun onCreate ( savedInstanceState : Bundle ? ) {
        super .onCreate(savedInstanceState)
        // Make sure you don't call setContentView!

        // Call addSlide passing your Fragments.
        // You can use AppIntroFragment to use a pre-built fragment
        addSlide( AppIntroFragment .createInstance(
                title = " Welcome... " ,
                description = " This is the first slide of the example "
        ))
        addSlide( AppIntroFragment .createInstance(
                title = " ...Let's get started! " ,
                description = " This is the last slide, I won't annoy you more :) "
        ))
    }

    override fun onSkipPressed ( currentFragment : Fragment ? ) {
        super .onSkipPressed(currentFragment)
        // Decide what to do when the user clicks on "Skip"
        finish()
    }

    override fun onDonePressed ( currentFragment : Fragment ? ) {
        super .onDonePressed(currentFragment)
        // Decide what to do when the user clicks on "Done"
        finish()
    }
}請注意,您不得致電SetContentView。 AppIntro Super -Class正在為您照顧它。
另外,請確認您是用一個參數( Bundle ) onCreate的,而不是使用另一個替代(例如onCreate(Bundle, PersistableBundle) )。
最後,像這樣聲明您的清單中的活動:
< activity android : name = " com.example.MyCustomAppIntro "
android : label = " My Custom AppIntro " />我們建議不要將MyCustomAppIntro聲明為您的第一個活動,除非您希望介紹每次啟動您的應用程序啟動。理想情況下,您應該僅向用戶顯示一次Appintro活動,並且一旦完成後就應該將其隱藏(您可以在SharedPreferences中使用標誌)。
您可以在示例目錄中找到許多Java語言的示例
如果您從Appintro v5.x遷移到V6.x ,請期待多次破壞更改。您可以在此其他遷移指南中找到有關如何更新代碼的文檔。
不要忘記檢查ChangElog,以查看最新版本的Appintro中的所有更改。
添加新幻燈片的入口點是AppIntro類上的addSlide(fragment: Fragment)函數。您可以輕鬆地使用它為旋轉木馬添加新Fragment 。
該庫配有幾個UTIT課程,可幫助您使用幾行創建幻燈片:
AppIntroFragment如果您只想自定義標題,描述,圖像和顏色,則可以使用AppIntroFragment 。如果您想創建一個快速介紹:這就是建議的方法:
addSlide( AppIntroFragment .createInstance(
    title = " The title of your slide " ,
    description = " A description that will be shown on the bottom " ,
    imageDrawable = R .drawable.the_central_icon,
    backgroundDrawable = R .drawable.the_background_image,
    titleColorRes = R .color.yellow,
    descriptionColorRes = R .color.red,
    backgroundColorRes = R .color.blue,
    titleTypefaceFontRes = R .font.opensans_regular,
    descriptionTypefaceFontRes = R .font.opensans_regular,
))
所有參數都是可選的,因此您可以根據需要自定義幻燈片。
如果需要編程創建多個幻燈片,也可以使用SliderPage類。可以將此類傳遞到AppIntroFragment.createInstance(sliderPage: SliderPage)該階層將從該實例開始創建一個新的幻燈片。
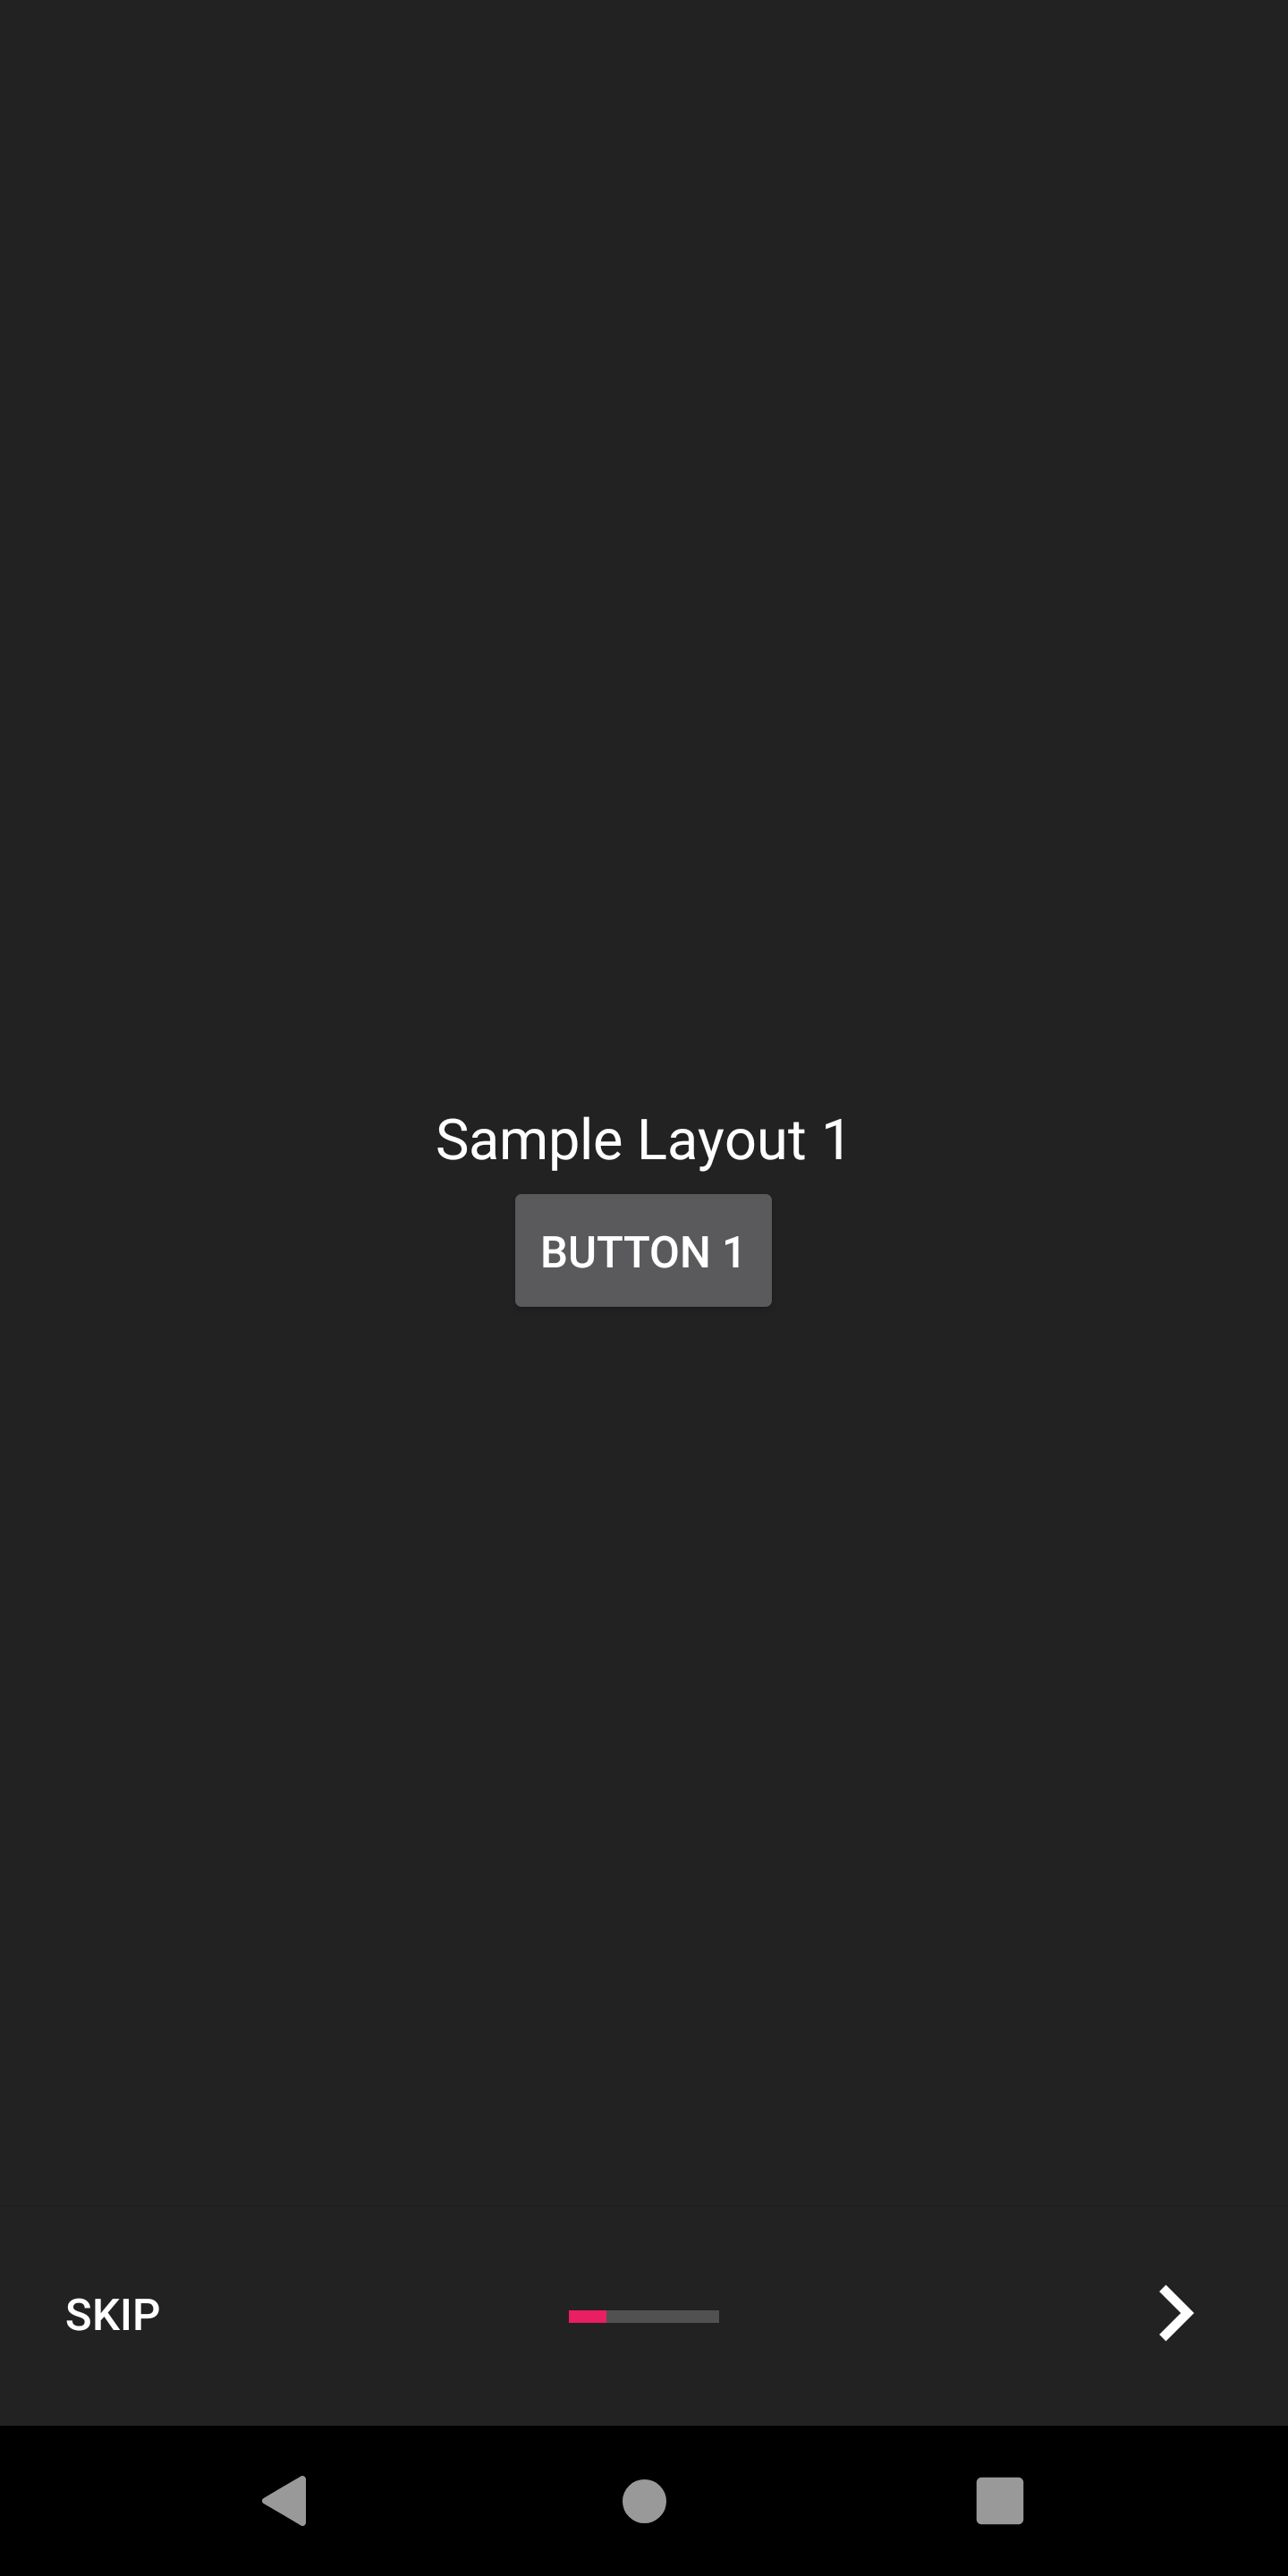
AppIntroCustomLayoutFragment如果您需要進一步控制幻燈片的自定義,則可以使用AppIntroCustomLayoutFragment 。這將允許您傳遞自定義佈局資源文件:
AppIntroCustomLayoutFragment .newInstance( R .layout.intro_custom_layout1)這使您可以實現複雜的佈局並將您的自定義邏輯包含在介紹中(另請參見幻燈片策略):
Appintro提供了多種配置選項,可幫助您自定義入職經驗。
Appintro帶有一套幻燈片變壓器,您可以將其從包裝盒中使用,以使幻燈片過渡動畫。
| 滑動變壓器 | 滑動變壓器 |
|---|---|
褪色 | 飛漲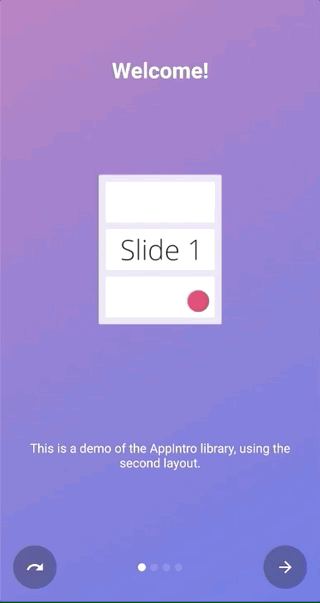 |
流動 | 滑過 |
深度 | 視差 |
您可以簡單地調用setTransformer()並傳遞密封類AppIntroPageTransformerType的一個子類之一:
setTransformer( AppIntroPageTransformerType . Fade )
setTransformer( AppIntroPageTransformerType . Zoom )
setTransformer( AppIntroPageTransformerType . Flow )
setTransformer( AppIntroPageTransformerType . SlideOver )
setTransformer( AppIntroPageTransformerType . Depth )

// You can customize your parallax parameters in the constructors.
setTransformer( AppIntroPageTransformerType . Parallax (
                titleParallaxFactor = 1.0 ,
                imageParallaxFactor = - 1.0 ,
                descriptionParallaxFactor = 2.0
))您ViewPager.PageTransformer可以使用:
setCustomTransformer( ViewPager . PageTransformer )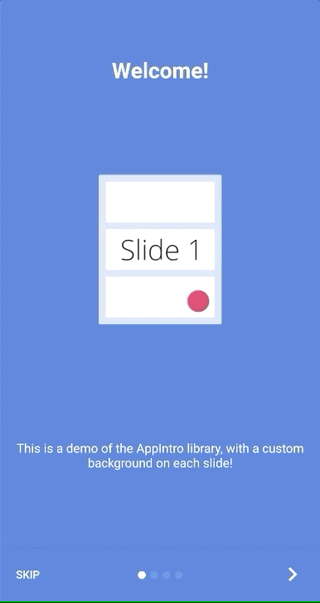
Appintro提供了使兩個幻燈片背景之間的顏色過渡動畫的可能性。默認情況下,此功能被禁用,您需要在Appintro上啟用它:
isColorTransitionsEnabled = true啟用它後,顏色將在幻燈片之間使用梯度進行動畫。確保您在幻燈片中提供backgroundColor參數。
如果您提供自定義片段,則可以通過實現SlideBackgroundColorHolder界面來支持顏色過渡。
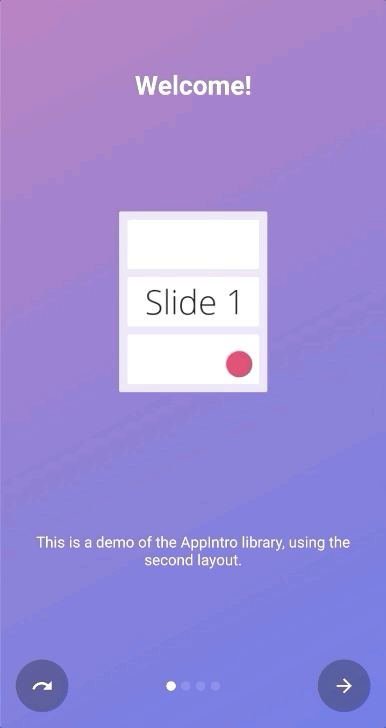
Appintro帶有兩個頂級佈局,您可以使用。默認佈局( AppIntro )具有文本按鈕,而替代佈局具有帶有圖標的按鈕。
要更改窗口佈局,您只需將超級類別更改為AppIntro2即可。添加和自定義appintro的方法沒有變化。
 class MyCustomAppIntro : AppIntro2 () {
    // Same code as displayed in the `Basic Usage` section of this README
}| 頁 | AppIntro | AppIntro2 |
|---|---|---|
| 標準頁面 | 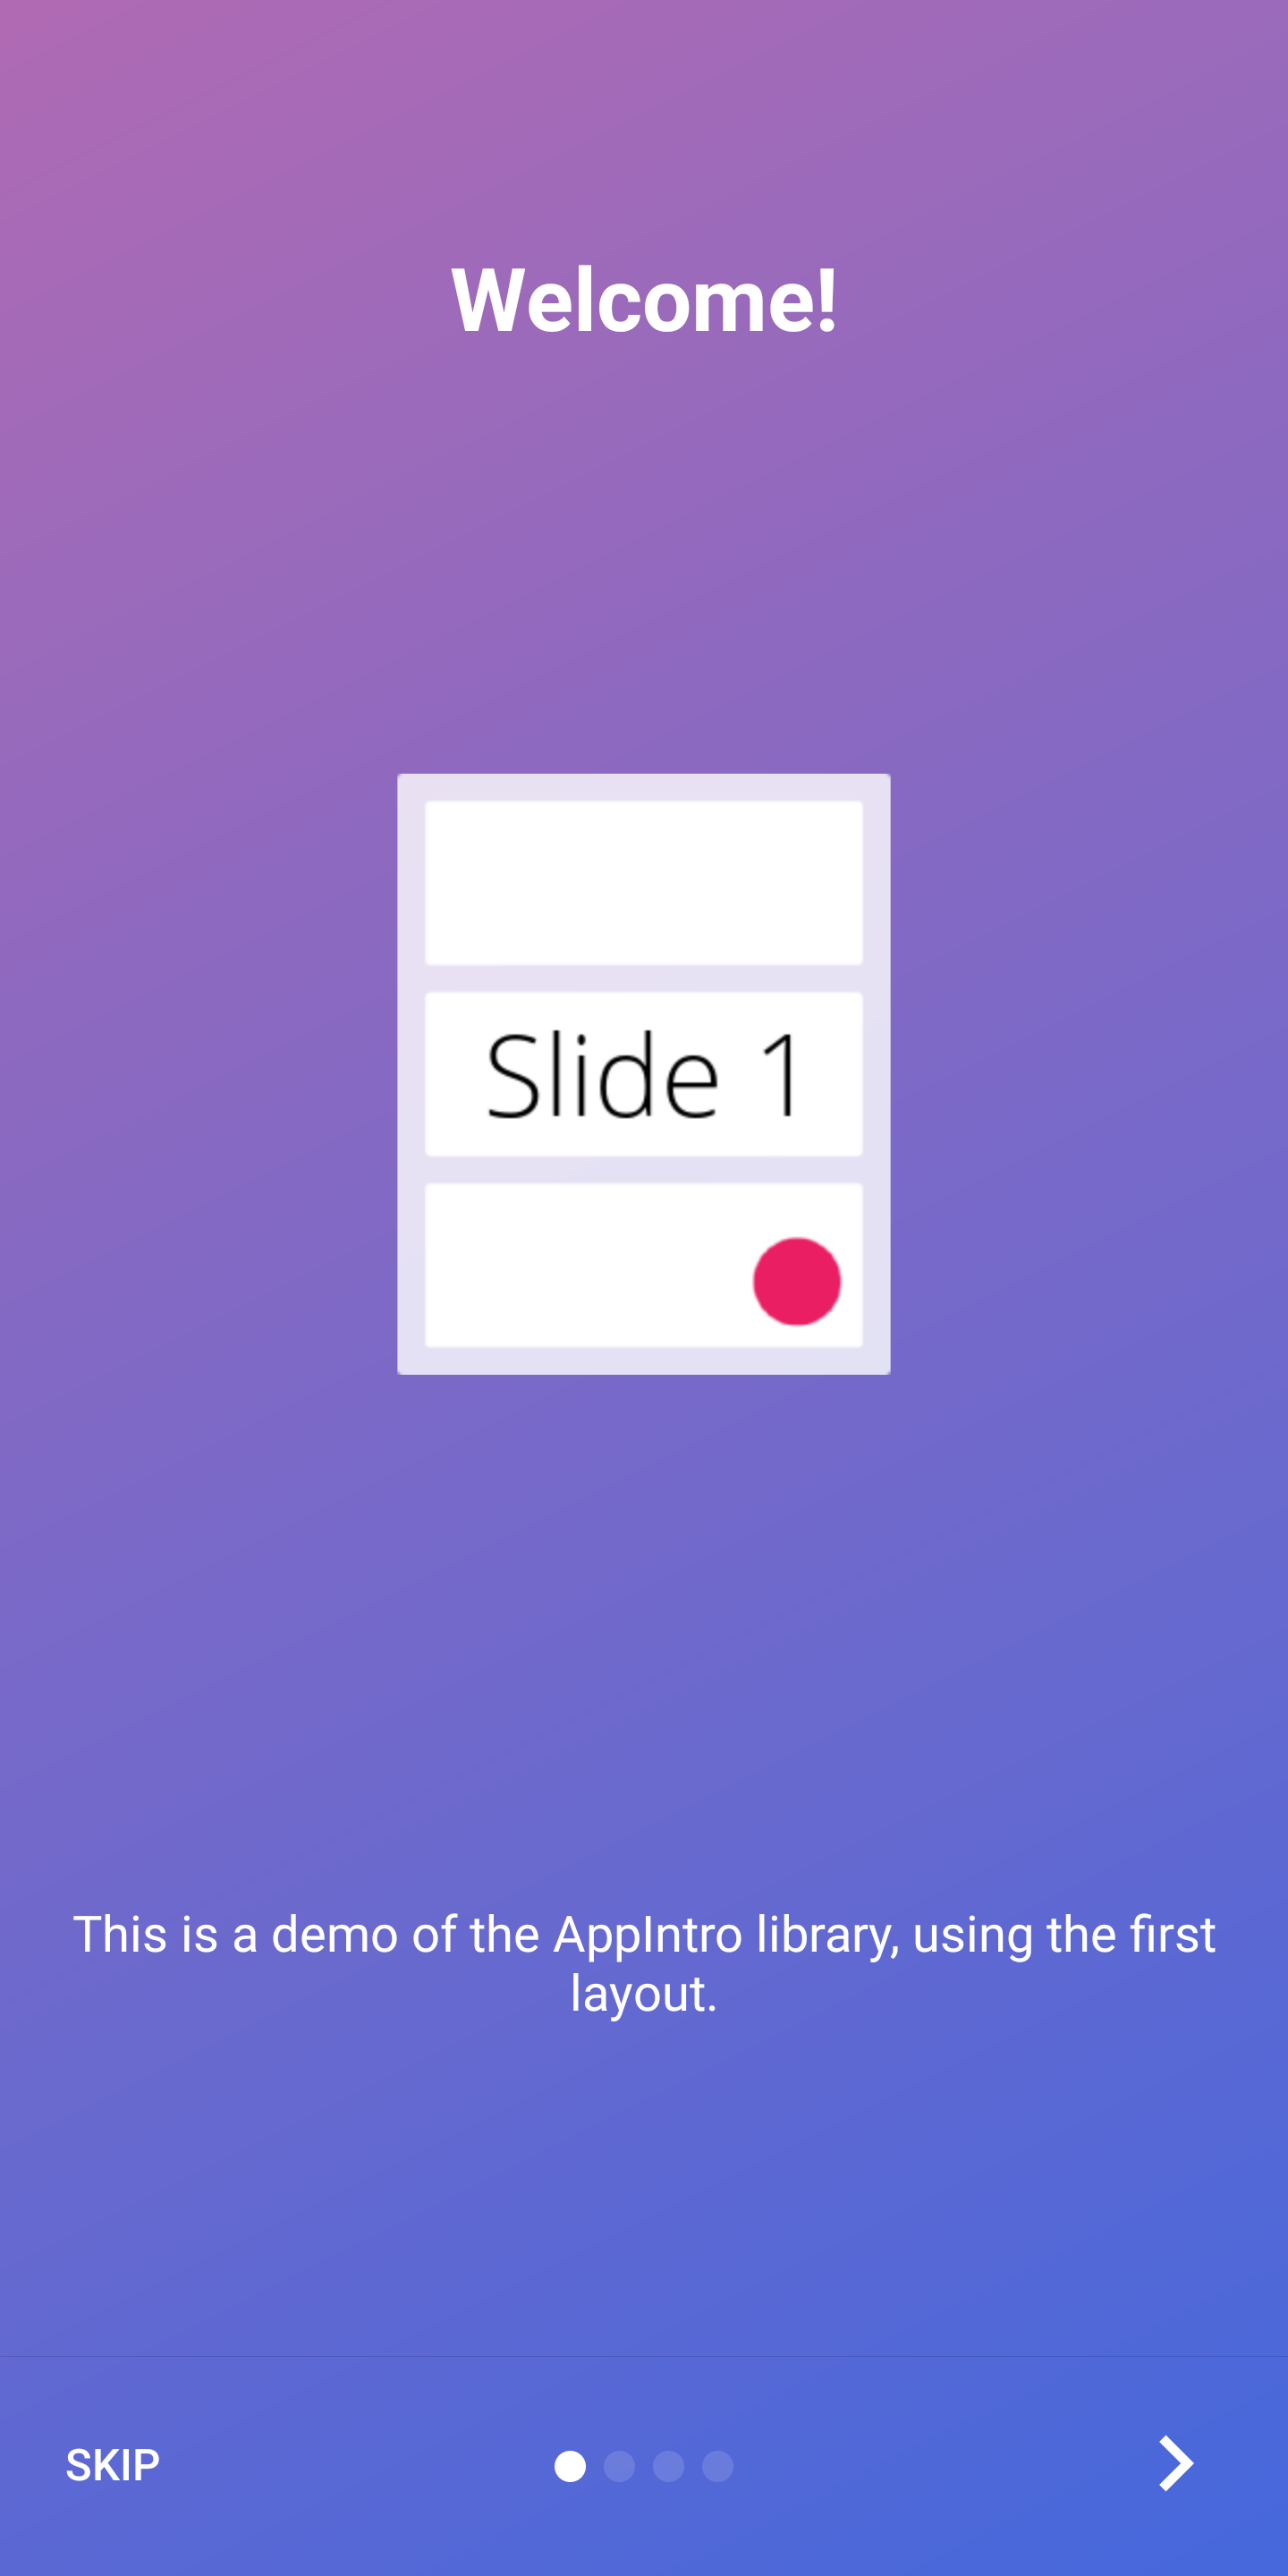 |  |
| 最後一頁 | 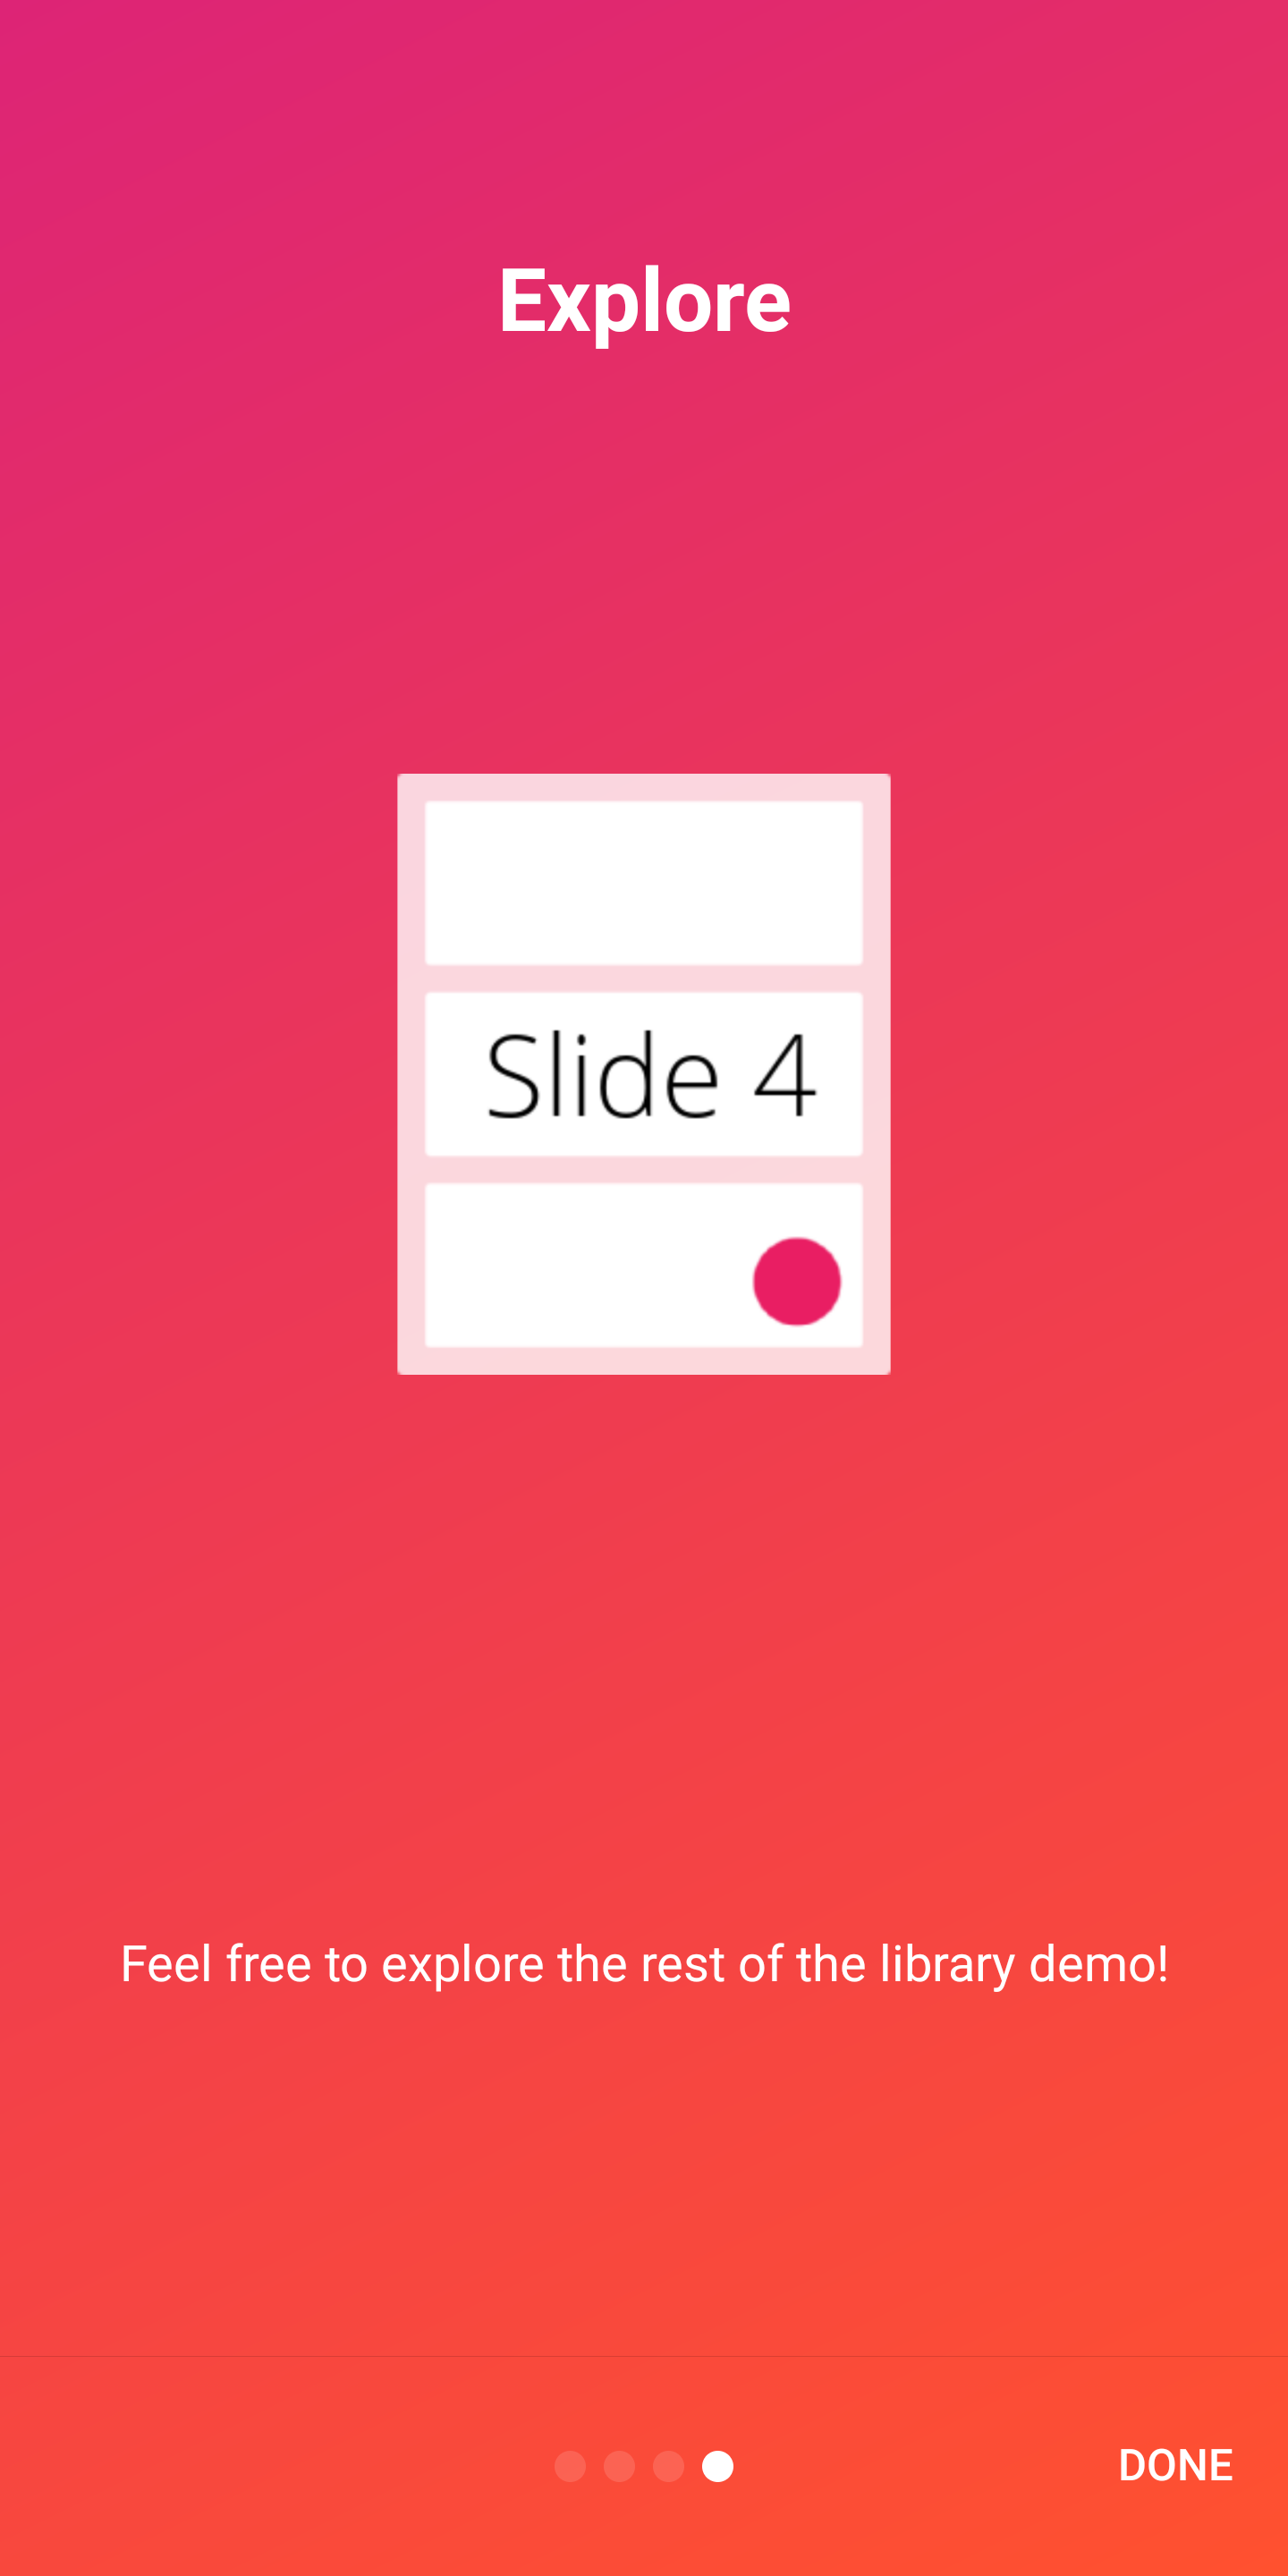 | 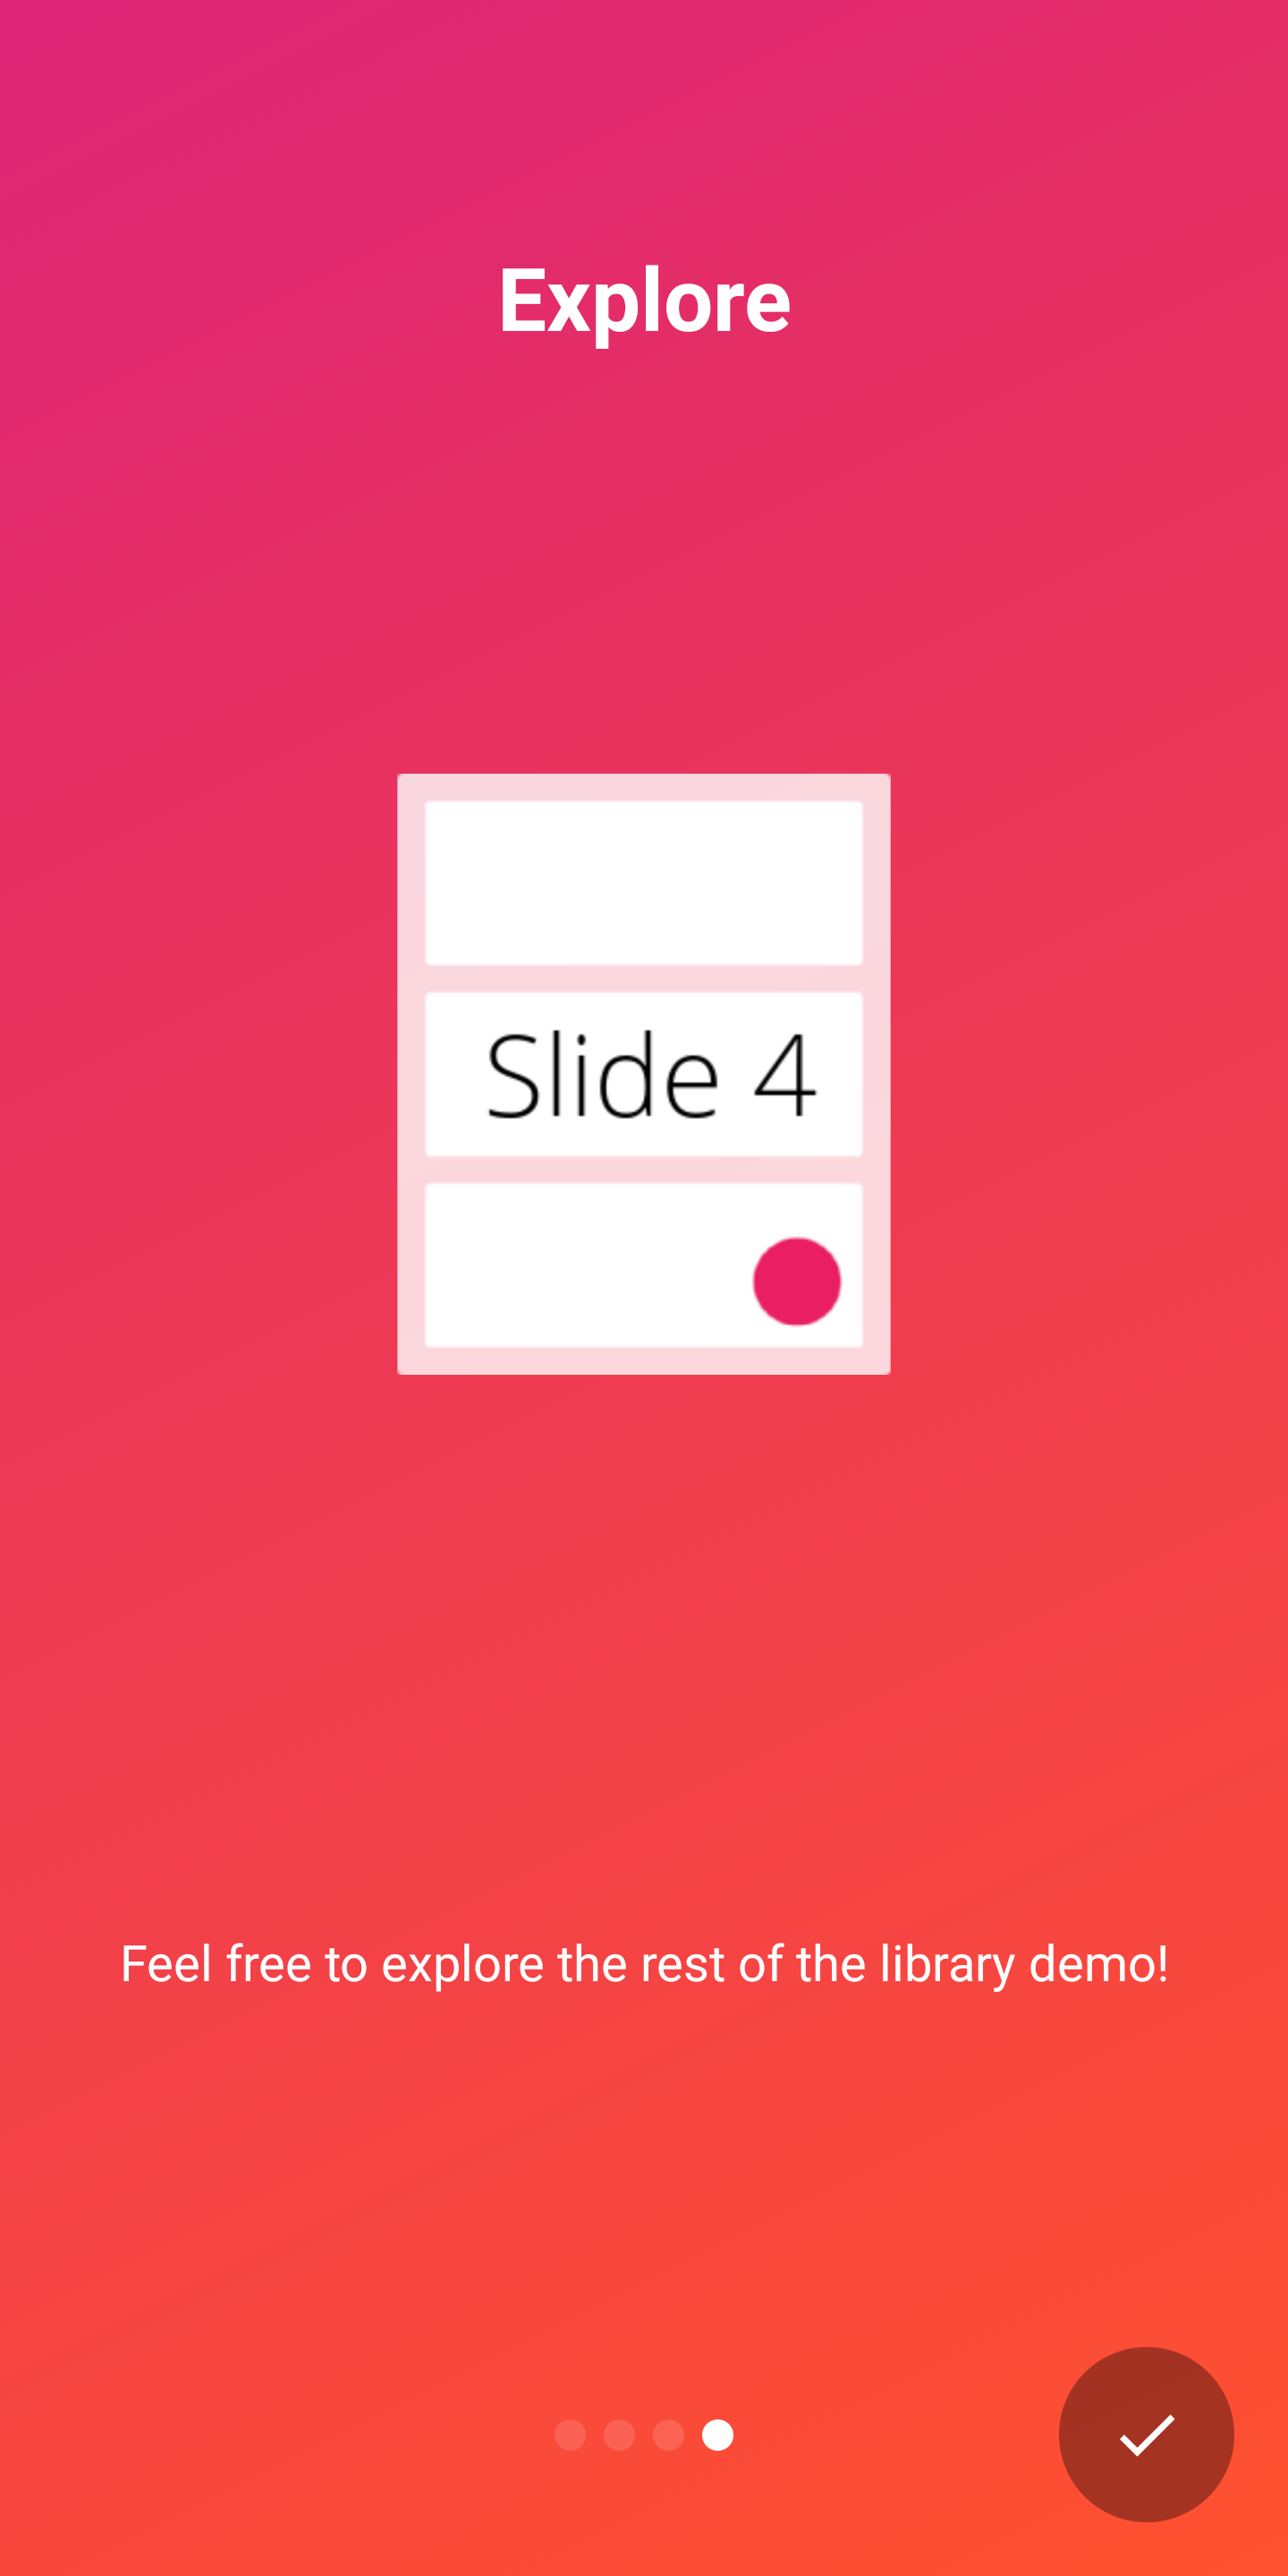 |
Appintro支持開箱即用的兩個指標,以向用戶顯示介紹體驗的進度:
DotIndicatorController表示DOT列表(默認)ProgressIndicatorController用進度欄表示。 DotIndicator | ProgressIndicator |
|---|---|
 |  |
此外,您可以通過提供IndicatorController接口的實現來提供自己的指標。
您可以在AppIntro類上使用以下API自定義指示器:
 // Toggle Indicator Visibility
isIndicatorEnabled = true

// Change Indicator Color
setIndicatorColor(
    selectedIndicatorColor = getColor( R .color.red),
    unselectedIndicatorColor = getColor( R .color.blue)
)

// Switch from Dotted Indicator to Progress Indicator
setProgressIndicator()

// Supply your custom `IndicatorController` implementation
indicatorController = MyCustomIndicator ( /* initialize me */ )如果您沒有指定任何自定義,則將顯示DotIndicatorController 。
Appintro支持在按鈕點擊上提供觸覺振動反饋。請注意,您需要在應用清單中指定振動權限(庫沒有這樣做)。如果您忘記指定許可,則該應用程序將遇到崩潰。
< uses-permission android : name = " android.permission.VIBRATE " />您可以使用以下方式啟用和自定義振動
 // Enable vibration and set duration in ms
isVibrate = true
vibrateDuration = 50L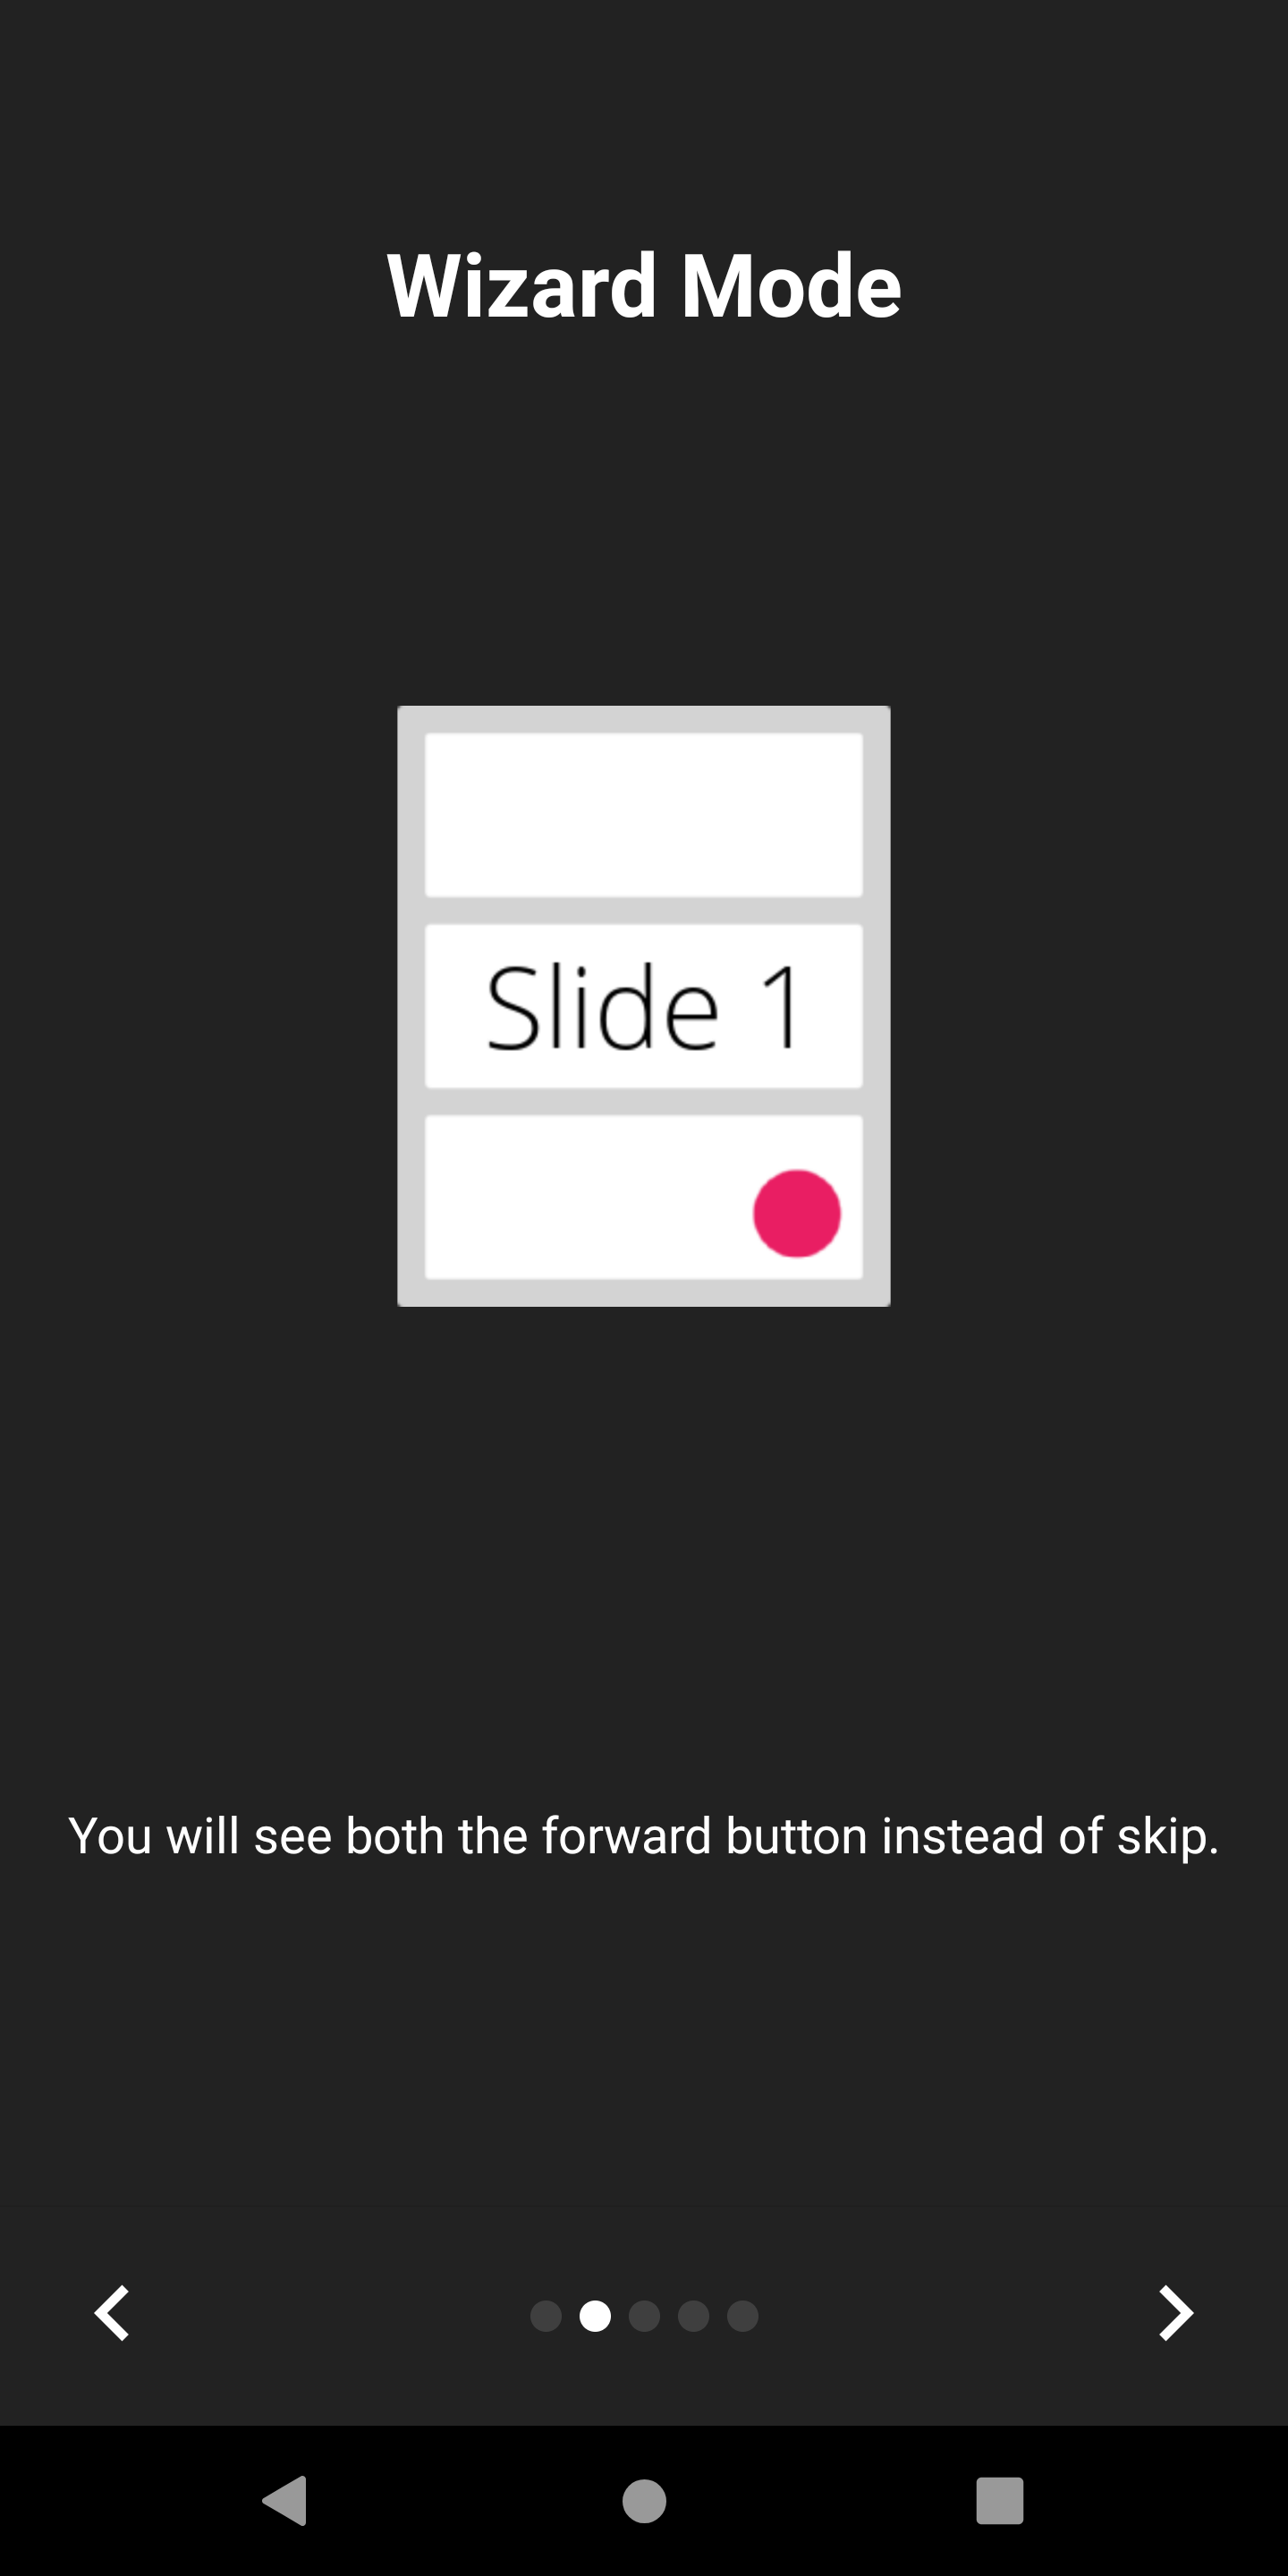

Appintro支持嚮導模式,在該模式下,跳過按鈕將用後箭頭替換。如果您正在向用戶介紹他們需要執行的一組步驟,那麼這很方便,他們可能經常來回來回走動。
您可以啟用它:
isWizardMode = true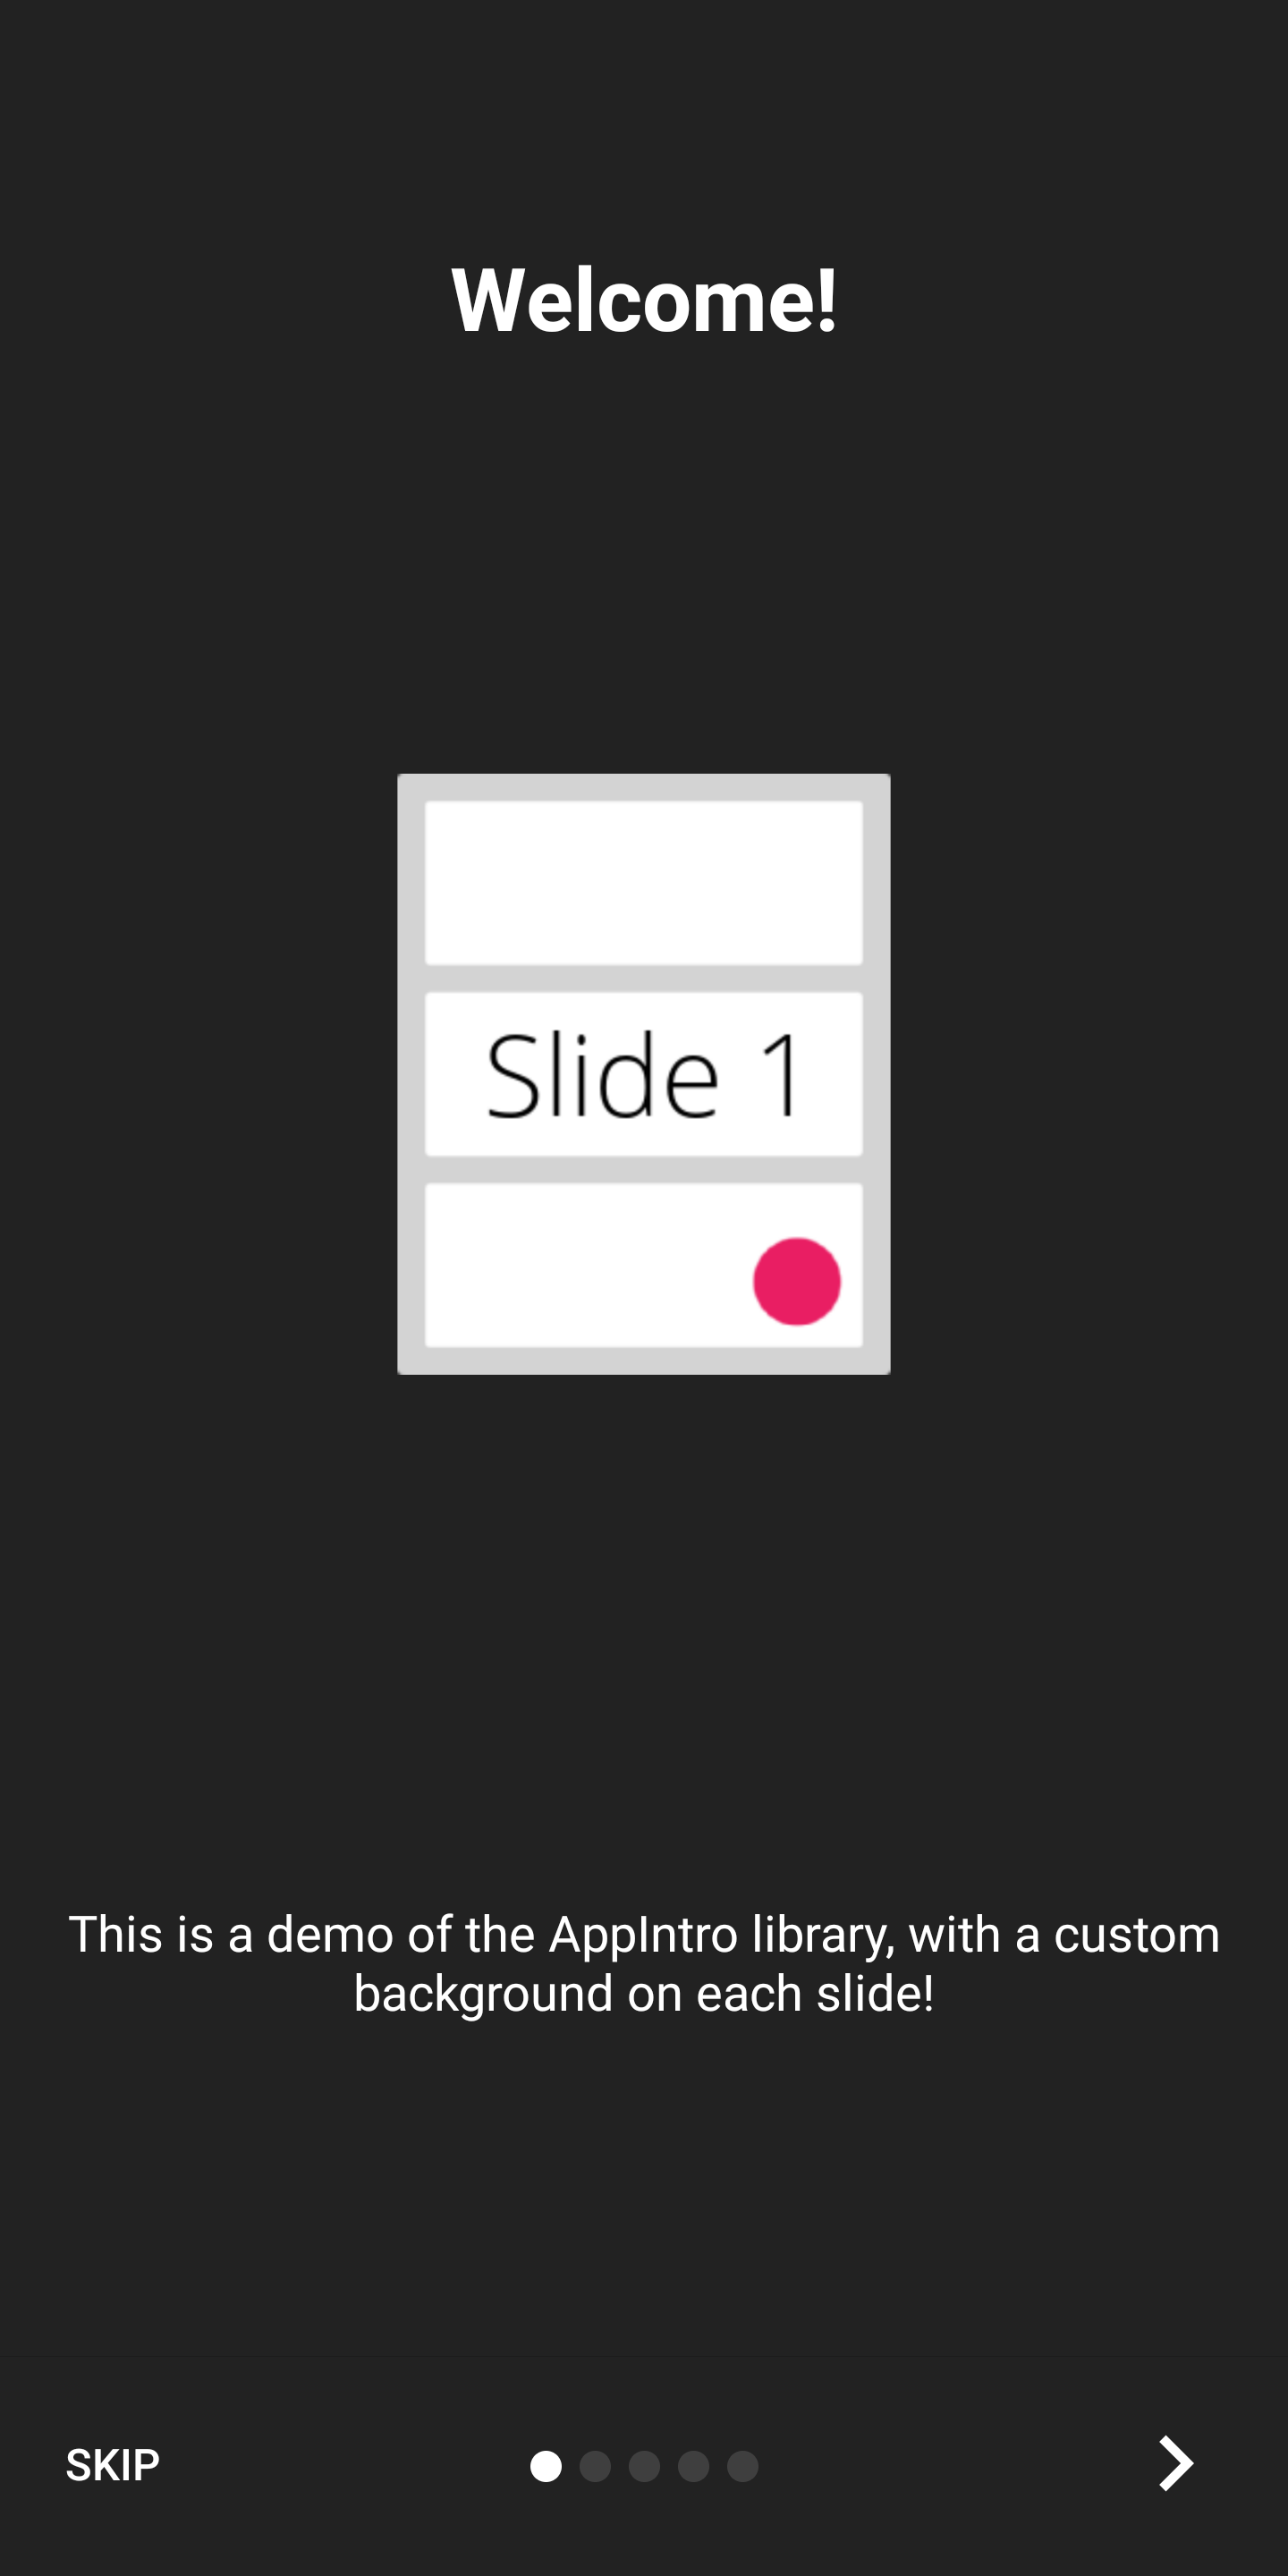

如果您想以全屏體驗顯示介紹,則可以啟用沉浸式模式。這將隱藏狀態欄和導航欄,用戶將不得不從屏幕頂部滾動以再次顯示它們。
這使您可以為您的介紹內容和圖形提供更多空間。
您可以啟用它:
setImmersiveMode()如果您不希望用戶從介紹中返回,則可以鎖定係統後按鈕。如果您需要請求許可並且介紹體驗不是可選的,這可能會很有用。
如果是這種情況,請設置為True以下標誌:
isSystemBackButtonLocked = true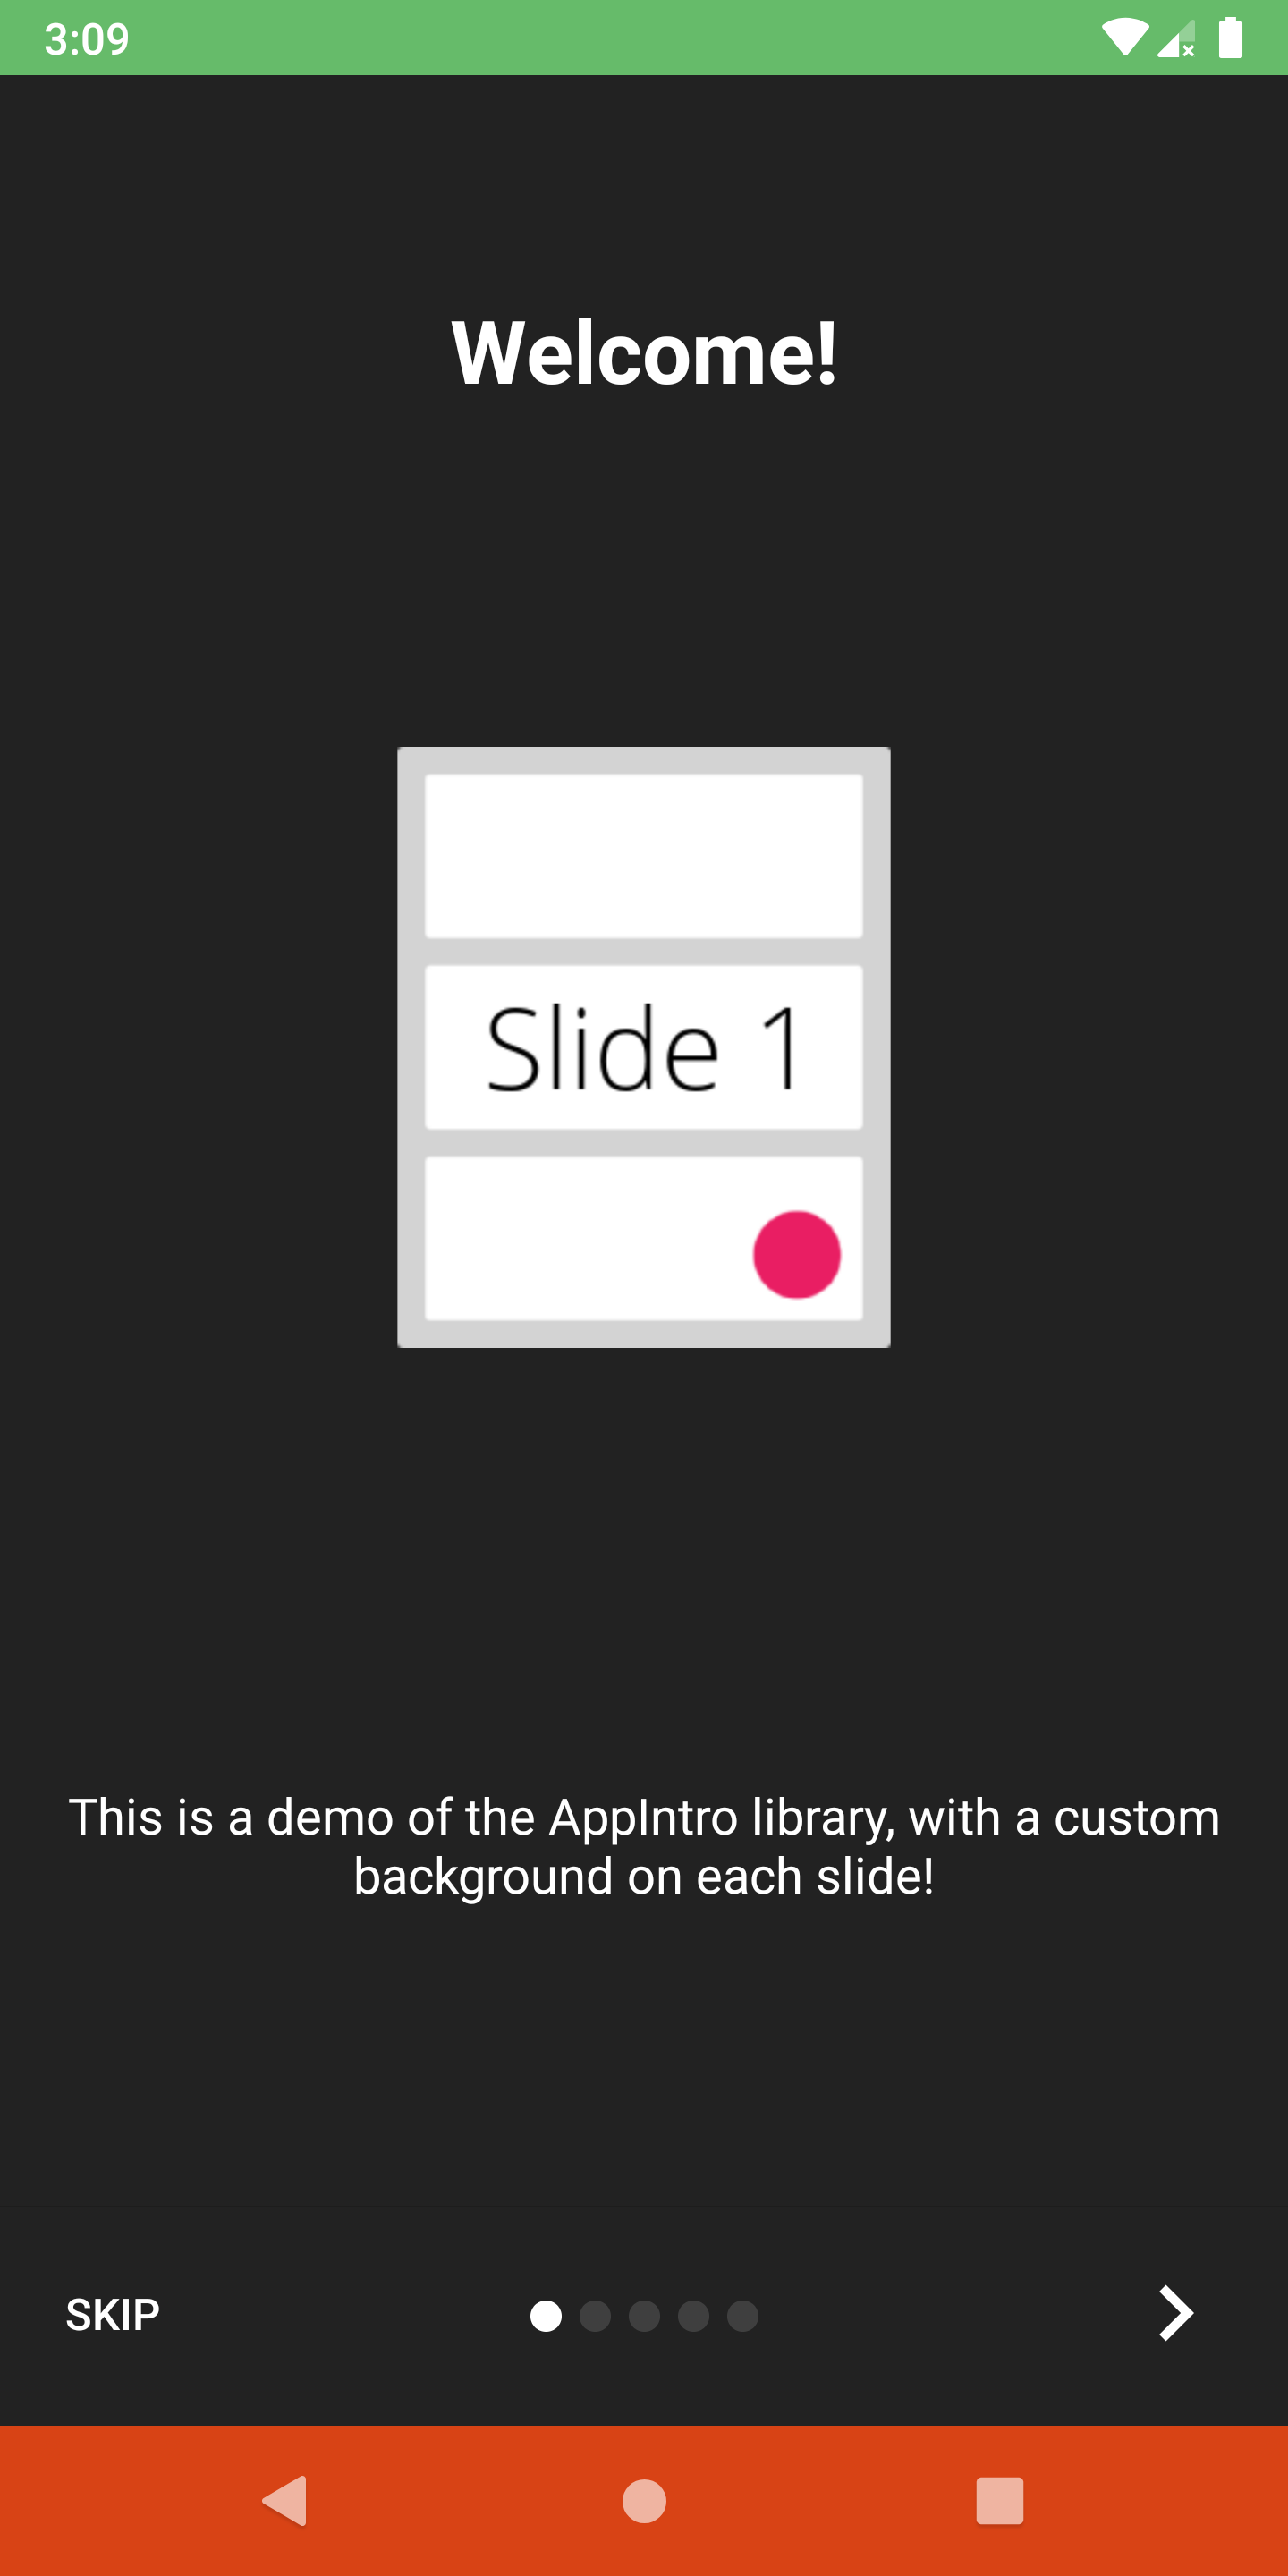
您可以使用以下方法自定義狀態欄以及導航欄可見性和顏色:
 // Hide/Show the status Bar
showStatusBar( true )
// Control the status bar color
setStatusBarColor( Color . GREEN )
setStatusBarColorRes( R .color.green)

// Control the navigation bar color
setNavBarColor( Color . RED )
setNavBarColorRes( R .color.red)默認情況下,幻燈片使用屏幕上可用的整體尺寸,因此,如果您將背景顏色設置為非透明的,則底部欄可能會重疊幻燈片的內容。如果要確保條沒有重疊內容,請使用setBarMargin函數如下:
setBarMargin( true )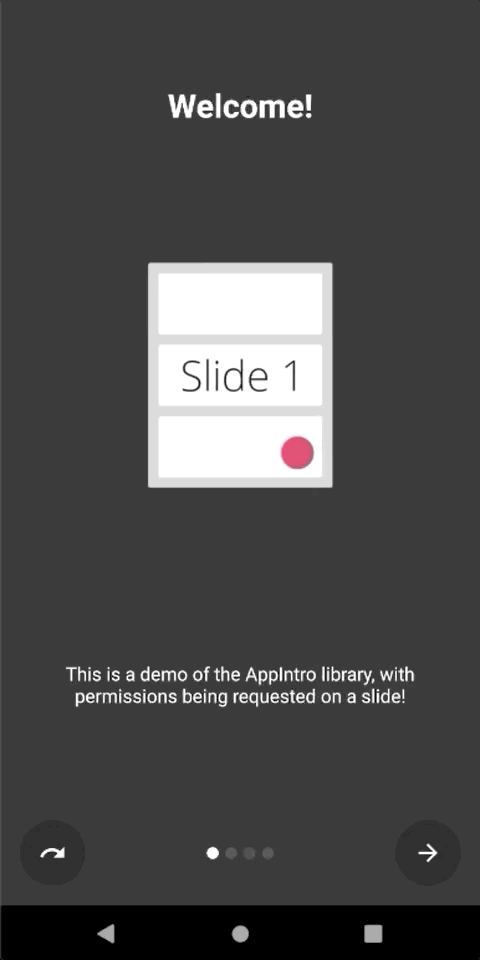
Appintro簡化了向用戶請求運行時權限的過程。您可以將幻燈片中的一個或多個許可請求與活動中的askForPermissions方法集成在一起。
請注意:
slideNumber處於一個基於一個基的編號(從1開始) // Ask for required CAMERA permission on the second slide.
askForPermissions(
permissions = arrayOf( Manifest .permission. CAMERA ),
slideNumber = 2 ,
required = true )
// Ask for both optional ACCESS_FINE_LOCATION and WRITE_EXTERNAL_STORAGE
// permission on the third slide.
askForPermissions(
permissions = arrayOf(
Manifest .permission. ACCESS_FINE_LOCATION ,
Manifest .permission. WRITE_EXTERNAL_STORAGE
),
slideNumber = 3 ,
required = false )如果您需要進一步控制權限請求,則可以覆蓋AppIntro類上的這兩種方法:
 override fun onUserDeniedPermission ( permissionName : String ) {
    // User pressed "Deny" on the permission dialog
}
override fun onUserDisabledPermission ( permissionName : String ) {
    // User pressed "Deny" + "Don't ask again" on the permission dialog
}如果要限制幻燈片之間的導航(即用戶必須切換複選框才能繼續),則SlidePolicy功能可能會對您有所幫助。
您所要做的就是在幻燈片中實現SlidePolicy 。
該界麵包含isPolicyRespected屬性和onUserIllegallyRequestedNextPage方法,您必須使用自定義邏輯來實現
 class MyFragment : Fragment (), SlidePolicy {

    // If user should be allowed to leave this slide
    override val isPolicyRespected : Boolean
        get() = false // Your custom logic here.

    override fun onUserIllegallyRequestedNextPage () {
        // User illegally requested next slide.
        // Show a toast or an informative message to the user.
    }
}您可以在示例應用程序中找到SlidePolicy的完整示例-CustomSlidePolicyFragment.kt
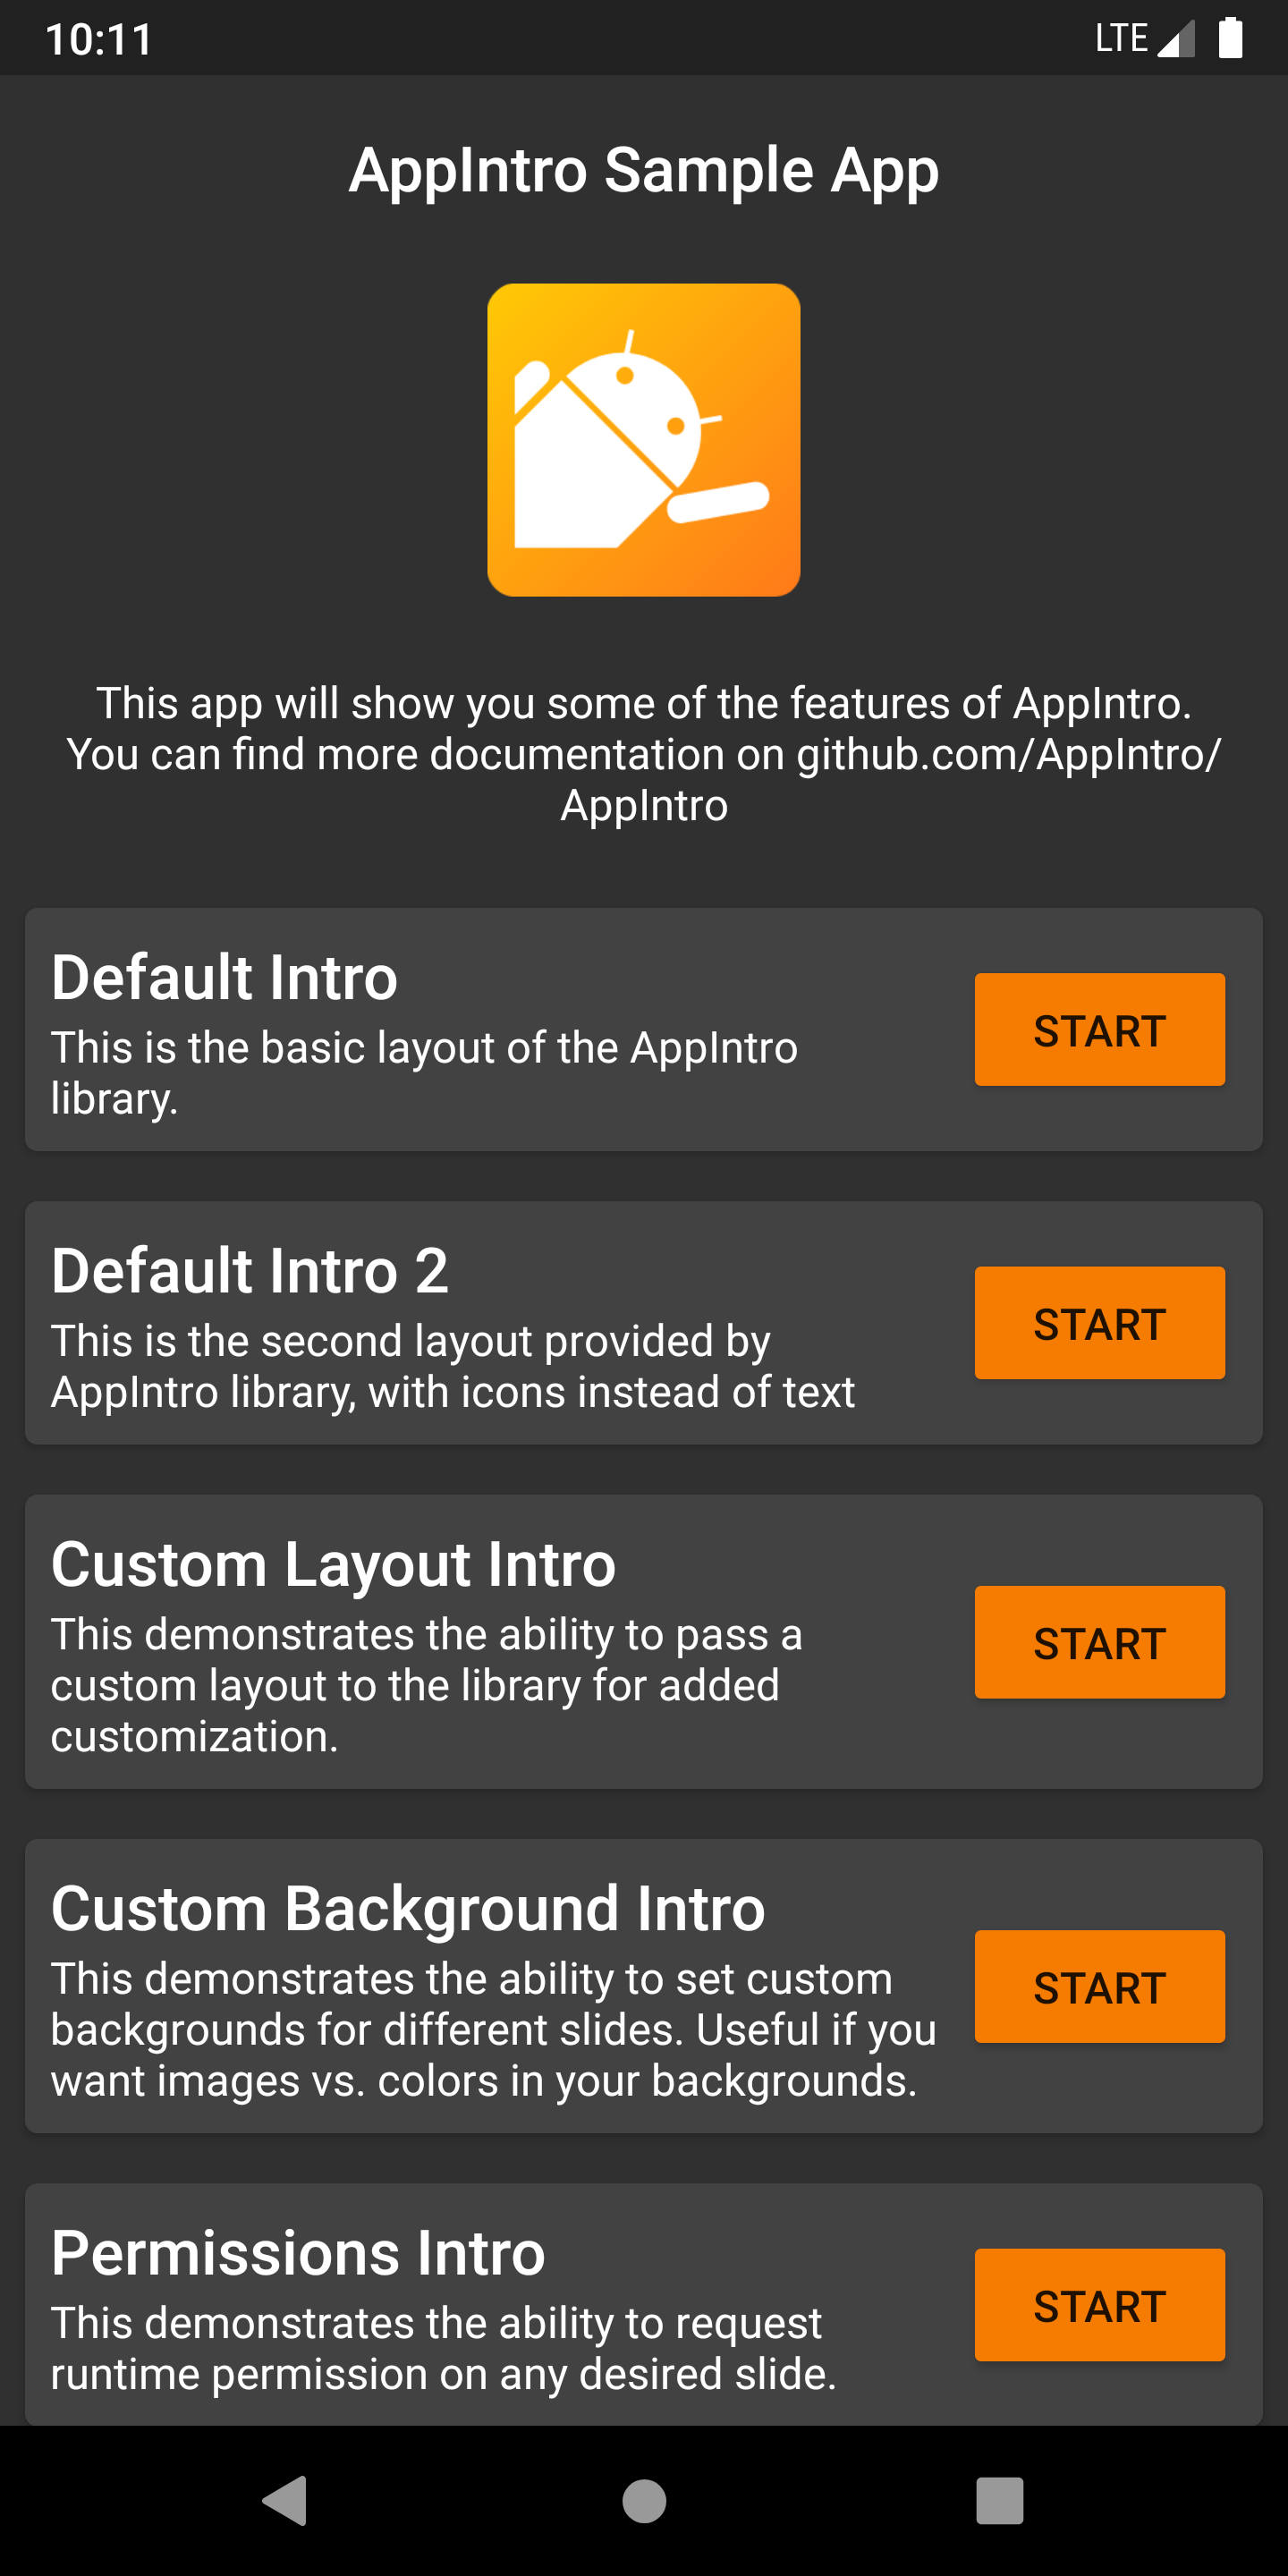
Appintro附帶了一個示例應用程序,其中包含示例和用例,您可以用作項目的靈感。您可以在 /示例文件夾中找到它。
您可以在此處從Pre Merge github Action作業獲得示例應用程序的調試APK 。
您想幫助Appintro成為國際嗎?我們很高興! Appintro當前支持以下語言。
要添加新的翻譯,只需在values-xx文件夾中添加帶有新strings.xml文件的拉請請求(其中xx是兩個字母的ISO 639-1語言代碼)。
為了提供翻譯,您的文件需要包含以下字符串:
<? xml version = " 1.0 " encoding = " utf-8 " ?>
< resources xmlns : tools = " http://schemas.android.com/tools " >
    < string name = " app_intro_skip_button " >[Translation for SKIP]</ string >
    < string name = " app_intro_next_button " >[Translation for NEXT]</ string >
    < string name = " app_intro_back_button " >[Translation for BACK]</ string >
    < string name = " app_intro_done_button " >[Translation for DONE]</ string >
    < string name = " app_intro_image_content_description " >[Translation for "graphics"]</ string >
</ resources >
這裡提供了英文版本翻譯的更新版本。
如果您的語言翻譯已經可用,請檢查並最終對其進行修復(所有字符串都應列出,而不僅僅是子集)。
Appintro的開發發生在主要分支。如果需要,您可以直接從Jitpack獲取SNAPSHOT版本。
 repositories {
    maven { url " https://jitpack.io " }
}
dependencies {
implementation " com.github.AppIntro:AppIntro:main-SNAPSHOT "
}我們正在Kotlinlang Slack上的#AppIntro頻道上提供對Appintro的支持。快來加入那邊的對話。如果您無法訪問Kotlinlang Slack,則可以在此處請求訪問。
我們正在尋找貢獻者!不要害羞。 ?請隨時打開問題/拉動請求,以幫助我改善該項目。
Appintro目前是由Appintro Github org開發和維護的。提交新公關時,請ping之一:
Appintro不依賴於Androidx以外的任何第三方庫:
androidx.appcompat:appcompatandroidx.annotation:annotationandroidx.constraintlayout:constraintlayout Copyright (C) 2015-2020 AppIntro Developers
Licensed under the Apache License, Version 2.0 (the "License");
you may not use this file except in compliance with the License.
You may obtain a copy of the License at
http://www.apache.org/licenses/LICENSE-2.0
Unless required by applicable law or agreed to in writing, software
distributed under the License is distributed on an "AS IS" BASIS,
WITHOUT WARRANTIES OR CONDITIONS OF ANY KIND, either express or implied.
See the License for the specific language governing permissions and
limitations under the License.
如果您在應用程序中使用Appintro,並且想在此處列出,請打開一個拉請請求,我們很樂意包括您:


