AppIntro
AppIntro 6.3.1
Appintro는 앱을위한 멋진 회전 목마 소개를 구축하는 데 도움이되는 Android 라이브러리입니다. Appintro는 권한 요청을 지원하며 단 몇 분만에 훌륭한 온 보딩 경험을 만드는 데 도움이됩니다.

AppIntro는 Jitpack을 통해 배포됩니다.
이를 사용하려면 AppIntro (루트 파일이 아님)를 사용하려는 모듈의 build.gradle 파일에 다음 Gradle 종속성을 추가해야합니다.
repositories {
    maven { url " https://jitpack.io " }
}
dependencies {
// AndroidX Capable version
implementation ' com.github.AppIntro:AppIntro:6.3.1 '
// *** OR ***
// Latest version compatible with the old Support Library
implementation ' com.github.AppIntro:AppIntro:4.2.3 '
}AppIntro 5.X이므로 라이브러리는 Android X를 지원합니다. 아직 마이그레이션되지 않은 경우 이전 지원 라이브러리 패키지를 사용하는 이전 버전의 라이브러리를 사용하거나 Jetifier Reverse Mode를 사용해보십시오.
AppIntro를 사용하려면 다음과 같이 AppIntro를 확장하는 새로운 활동을 만들면됩니다.
 class MyCustomAppIntro : AppIntro () {
    override fun onCreate ( savedInstanceState : Bundle ? ) {
        super .onCreate(savedInstanceState)
        // Make sure you don't call setContentView!

        // Call addSlide passing your Fragments.
        // You can use AppIntroFragment to use a pre-built fragment
        addSlide( AppIntroFragment .createInstance(
                title = " Welcome... " ,
                description = " This is the first slide of the example "
        ))
        addSlide( AppIntroFragment .createInstance(
                title = " ...Let's get started! " ,
                description = " This is the last slide, I won't annoy you more :) "
        ))
    }

    override fun onSkipPressed ( currentFragment : Fragment ? ) {
        super .onSkipPressed(currentFragment)
        // Decide what to do when the user clicks on "Skip"
        finish()
    }

    override fun onDonePressed ( currentFragment : Fragment ? ) {
        super .onDonePressed(currentFragment)
        // Decide what to do when the user clicks on "Done"
        finish()
    }
}
SetContentView 에 전화해서는 안됩니다 . AppIntro 슈퍼 클래스가 당신을 위해 그것을 돌보고 있습니다.
또한 단일 매개 변수 ( Bundle )로 onCreate 재정의하고 다른 재정의를 대신 사용하지 않음을 확인하십시오 ( onCreate(Bundle, PersistableBundle) ).
마지막으로, 매니페스트의 활동을 그렇게 선언하십시오.
< activity android : name = " com.example.MyCustomAppIntro "
    android : label = " My Custom AppIntro " />
앱이 시작될 때마다 인트로가 출시되기를 원하지 않는 한 MyCustomAppIntro 첫 번째 활동으로 선언하지 않는 것이 좋습니다. 이상적으로는 AppIntro 활동을 사용자에게 한 번만 표시해야하며 완료되면 숨겨야합니다 ( SharedPreferences 에서 플래그를 사용할 수 있음).
예제 디렉토리에서 자바 언어로 많은 예제를 찾을 수 있습니다.
AppIntro v5.x에서 v6.x로 마이그레이션하는 경우 여러 번의 중단 변경을 예상하십시오. 이 다른 마이그레이션 안내서에서 코드를 업데이트하는 방법에 대한 문서를 찾을 수 있습니다.
ChangeLog에서 최신 버전의 AppIntro의 모든 변경 사항을 살펴 보는 것을 잊지 마십시오.
새 슬라이드를 추가하는 진입 점은 AppIntro 클래스에서 addSlide(fragment: Fragment) 함수입니다. 회전 목마에 새 Fragment 추가하는 데 쉽게 사용할 수 있습니다.
라이브러리에는 몇 줄만으로 슬라이드를 만드는 데 도움이되는 여러 Util 클래스가 제공됩니다.
AppIntroFragment 제목, 설명, 이미지 및 색상을 사용자 정의하려면 AppIntroFragment 사용할 수 있습니다. 빠른 소개를 만들려면 제안 된 접근 방식입니다.
addSlide( AppIntroFragment .createInstance(
    title = " The title of your slide " ,
    description = " A description that will be shown on the bottom " ,
    imageDrawable = R .drawable.the_central_icon,
    backgroundDrawable = R .drawable.the_background_image,
    titleColorRes = R .color.yellow,
    descriptionColorRes = R .color.red,
    backgroundColorRes = R .color.blue,
    titleTypefaceFontRes = R .font.opensans_regular,
    descriptionTypefaceFontRes = R .font.opensans_regular,
))
모든 매개 변수는 선택 사항이므로 원하는대로 슬라이드를 사용자 정의 할 수 있습니다.
프로그래밍 방식으로 여러 슬라이드를 작성 해야하는 경우 SliderPage 클래스를 사용할 수도 있습니다. 이 클래스는 AppIntroFragment.createInstance(sliderPage: SliderPage) 로 전달하여 해당 인스턴스에서 시작하여 새로운 슬라이드를 생성 할 수 있습니다.
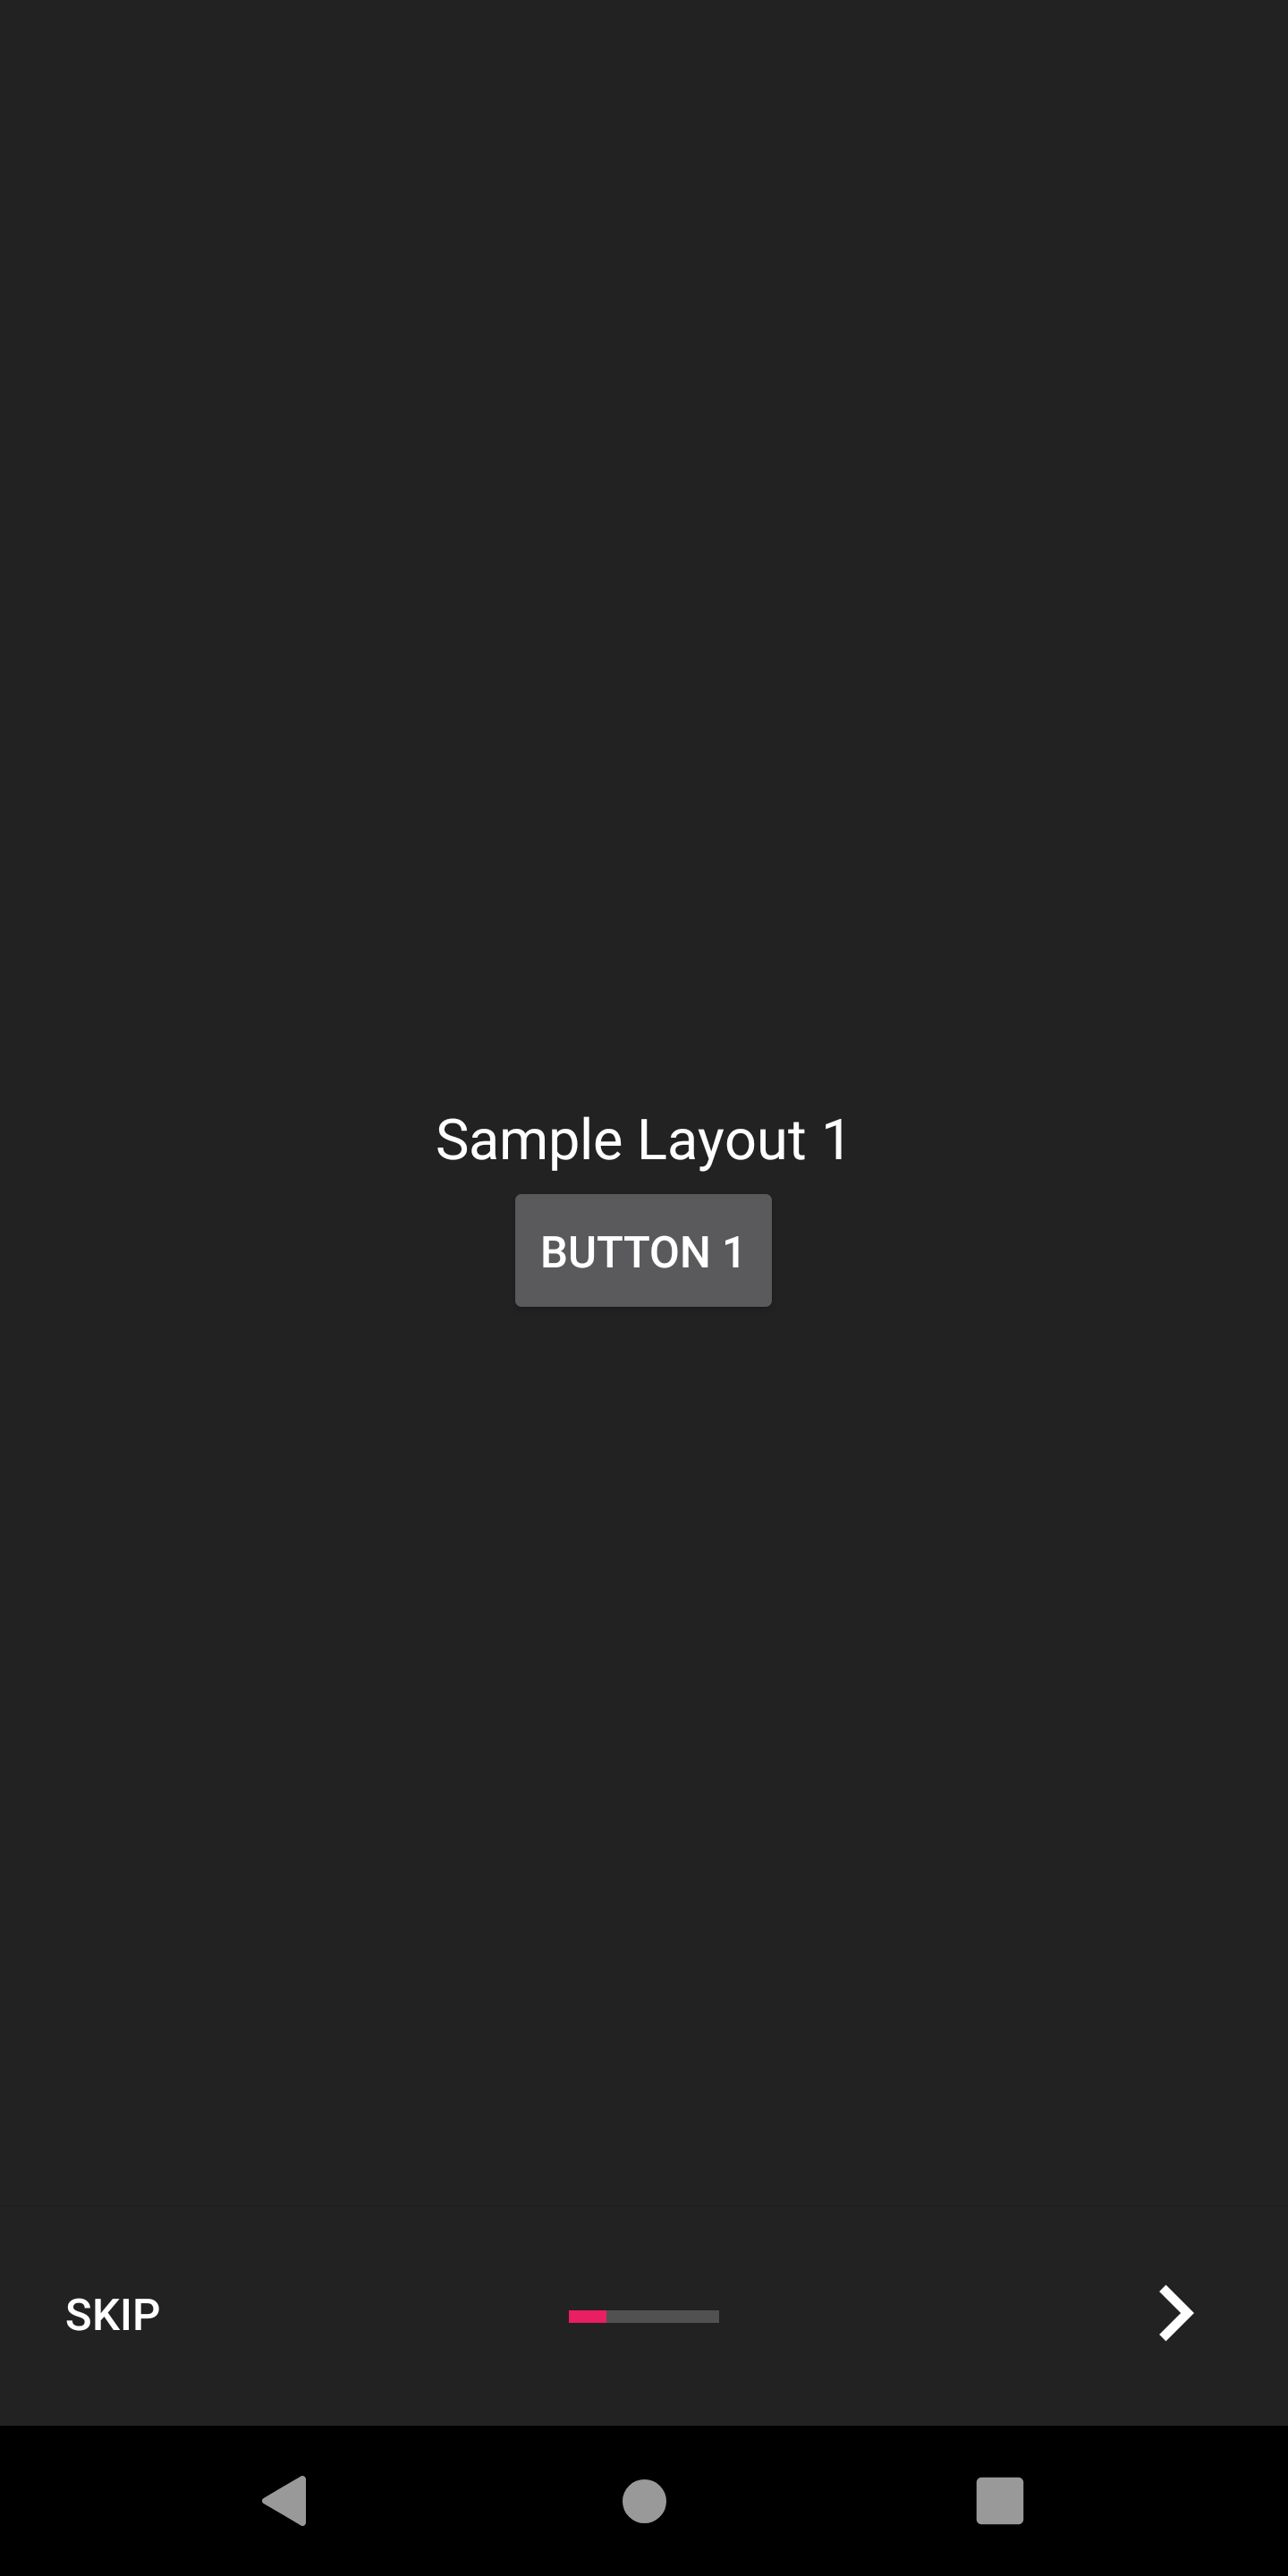
AppIntroCustomLayoutFragment 슬라이드 사용자 정의에 대한 추가 제어가 필요한 경우 AppIntroCustomLayoutFragment 를 사용할 수 있습니다. 이렇게하면 사용자 정의 레이아웃 리소스 파일을 전달할 수 있습니다.
AppIntroCustomLayoutFragment .newInstance( R .layout.intro_custom_layout1)이를 통해 복잡한 레이아웃을 달성하고 소개에 사용자 정의 로직을 포함시킬 수 있습니다 (슬라이드 정책 참조).
AppIntro는 온 보딩 경험을 사용자 정의하는 데 도움이되는 몇 가지 구성 옵션을 제공합니다.
AppIntro에는 상자에서 사용하여 슬라이드 전환을 애니메이션 할 수있는 슬라이드 변압기 세트가 함께 제공됩니다.
| 슬라이드 변압기 | 슬라이드 변압기 |
|---|---|
바래다  | 줌  |
흐름  | 미끄러 져  |
깊이  | 시차  |
setTransformer() AppIntroPageTransformerType 하고 밀봉 된 클래스의 서브 클래스 중 하나를 통과 할 수 있습니다.
setTransformer( AppIntroPageTransformerType . Fade )
setTransformer( AppIntroPageTransformerType . Zoom )
setTransformer( AppIntroPageTransformerType . Flow )
setTransformer( AppIntroPageTransformerType . SlideOver )
setTransformer( AppIntroPageTransformerType . Depth )

// You can customize your parallax parameters in the constructors.
setTransformer( AppIntroPageTransformerType . Parallax (
                titleParallaxFactor = 1.0 ,
                imageParallaxFactor = - 1.0 ,
                descriptionParallaxFactor = 2.0
)) 또한 사용자 정의 슬라이드 변압기 ( ViewPager.PageTransformer 인터페이스 구현)를 제공 할 수도 있습니다.
setCustomTransformer( ViewPager . PageTransformer )
Appintro는 두 슬라이드 배경 사이의 색상 전환을 애니메이션 할 수 있습니다. 이 기능은 기본적으로 비활성화되며 다음과 같이 AppIntro에서 활성화해야합니다.
isColorTransitionsEnabled = true 일단 활성화되면 그라디언트가있는 슬라이드 사이에 색상이 애니메이션됩니다. 슬라이드에 backgroundColor 매개 변수를 제공하십시오.
사용자 정의 조각을 제공하는 경우 SlideBackgroundColorHolder 인터페이스를 구현하여 색상 전환을 지원할 수 있습니다.
AppIntro에는 사용할 수있는 두 가지 최상위 레이아웃이 제공됩니다. 기본 레이아웃 ( AppIntro )에는 텍스트 버튼이 있으며 대체 레이아웃에는 아이콘이있는 버튼이 있습니다.
창 레이아웃을 변경하려면 슈퍼 클래스를 AppIntro2 로 변경하면 간단히 변경할 수 있습니다. AppIntro를 추가하고 사용자 정의하는 방법은 변경되지 않습니다.
 class MyCustomAppIntro : AppIntro2 () {
    // Same code as displayed in the `Basic Usage` section of this README
}| 페이지 | AppIntro | AppIntro2 |
|---|---|---|
| 표준 페이지 | 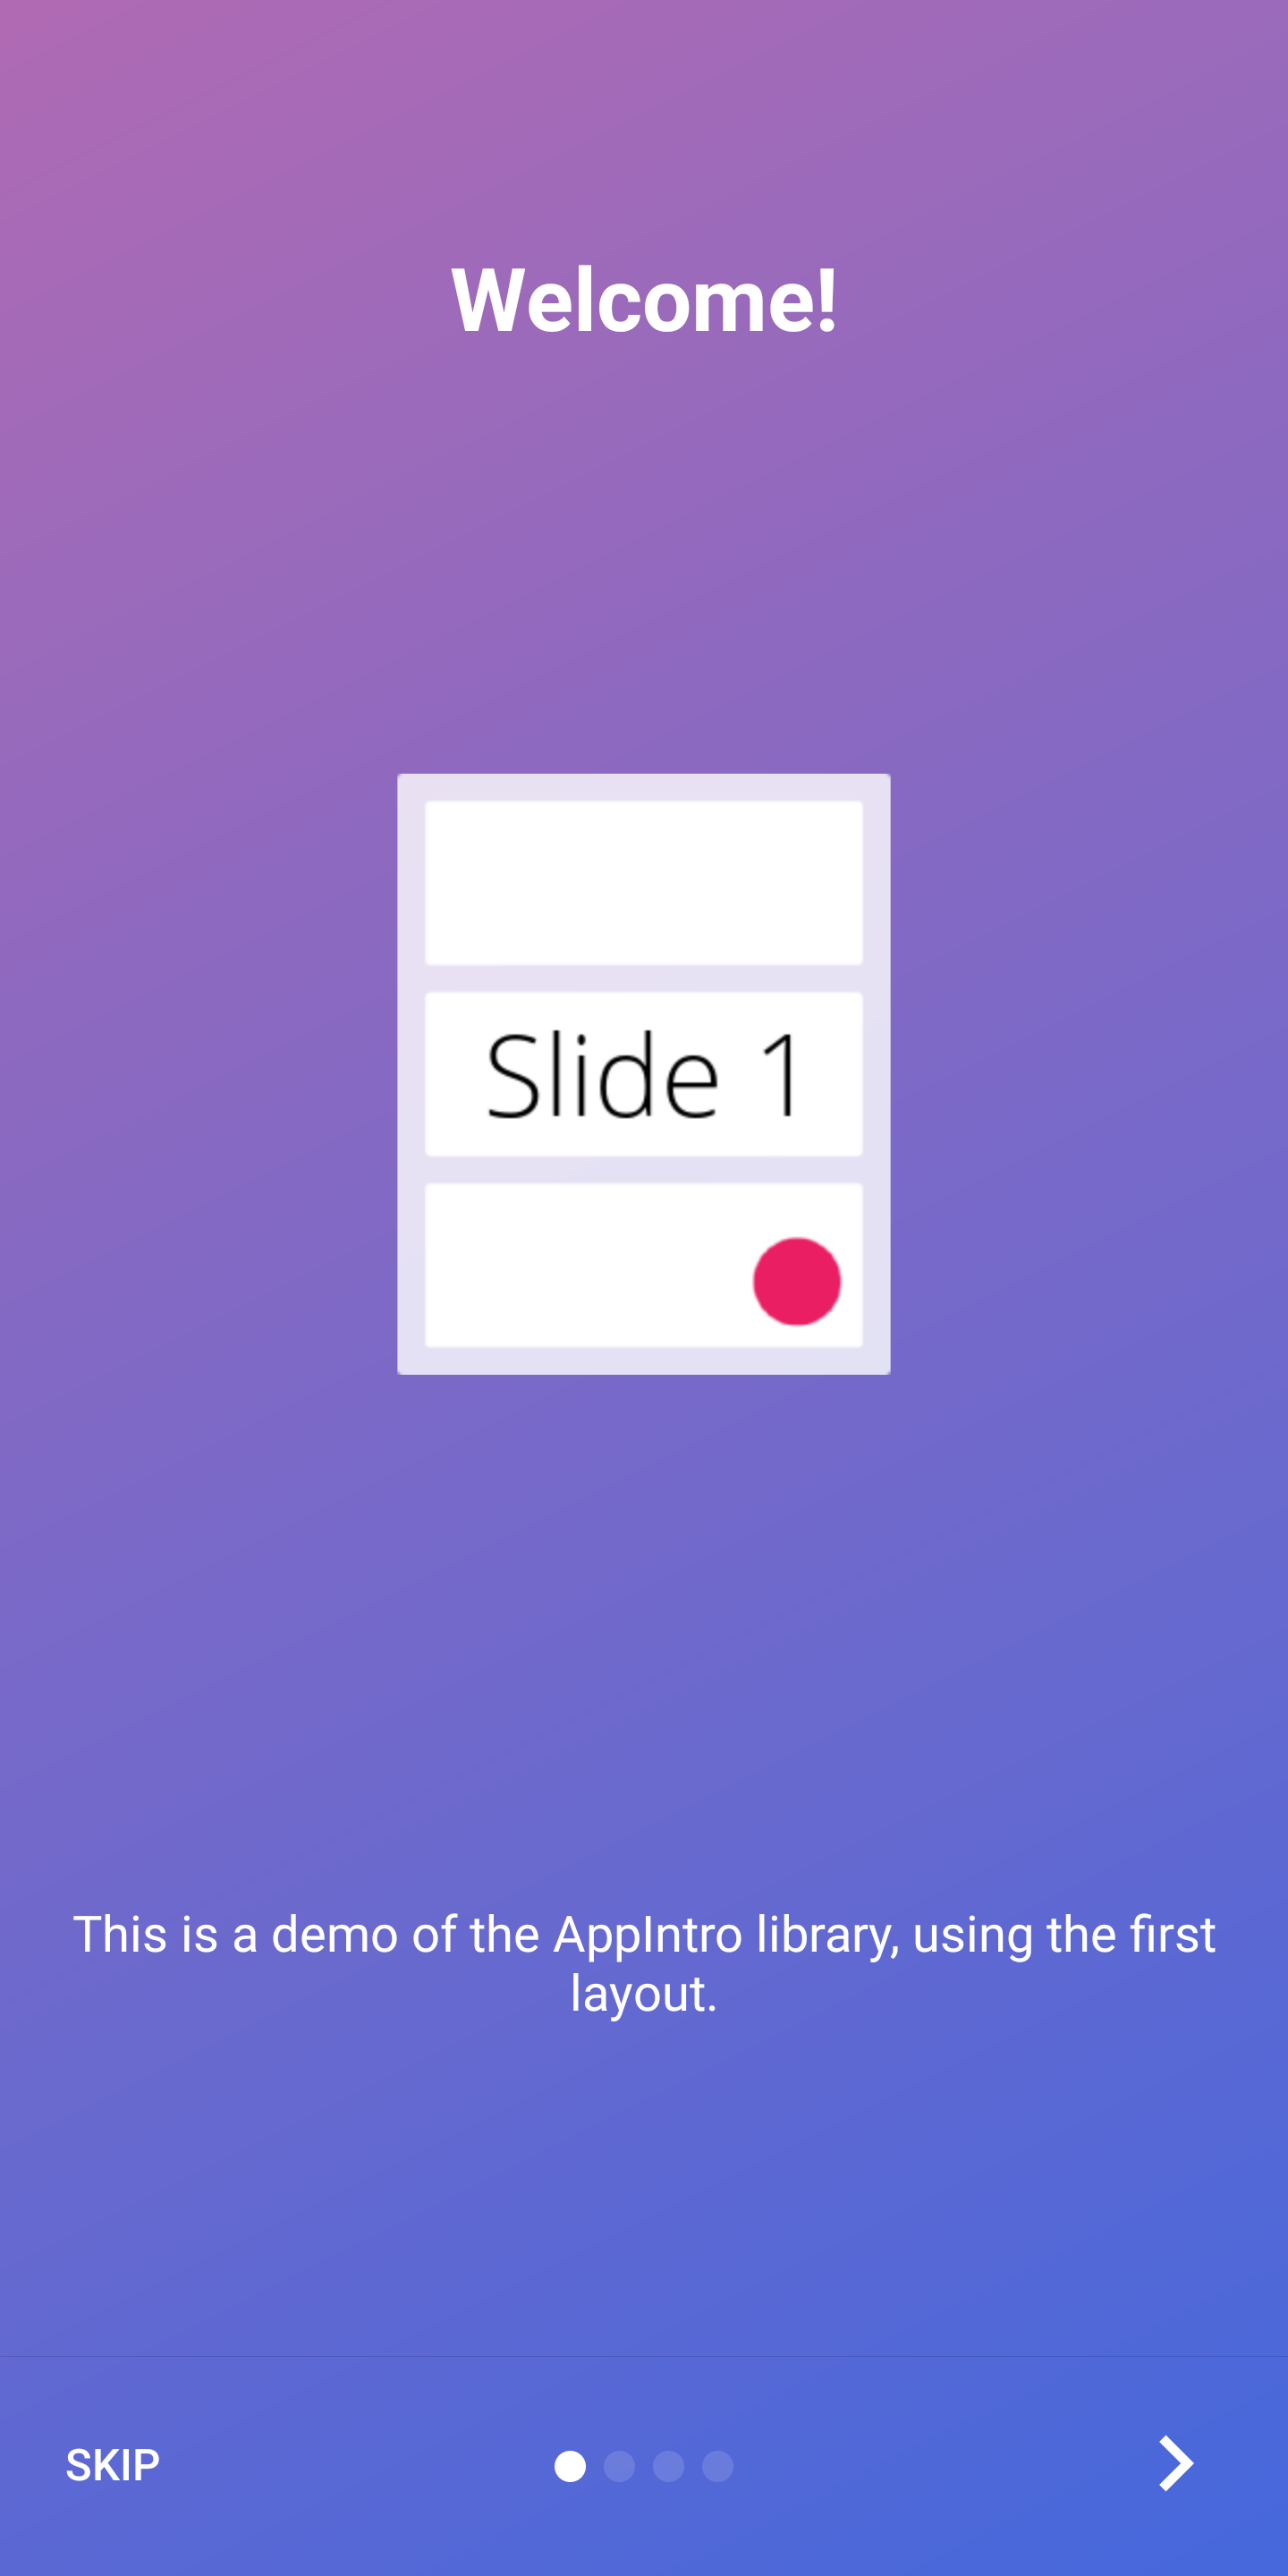 |  |
| 마지막 페이지 | 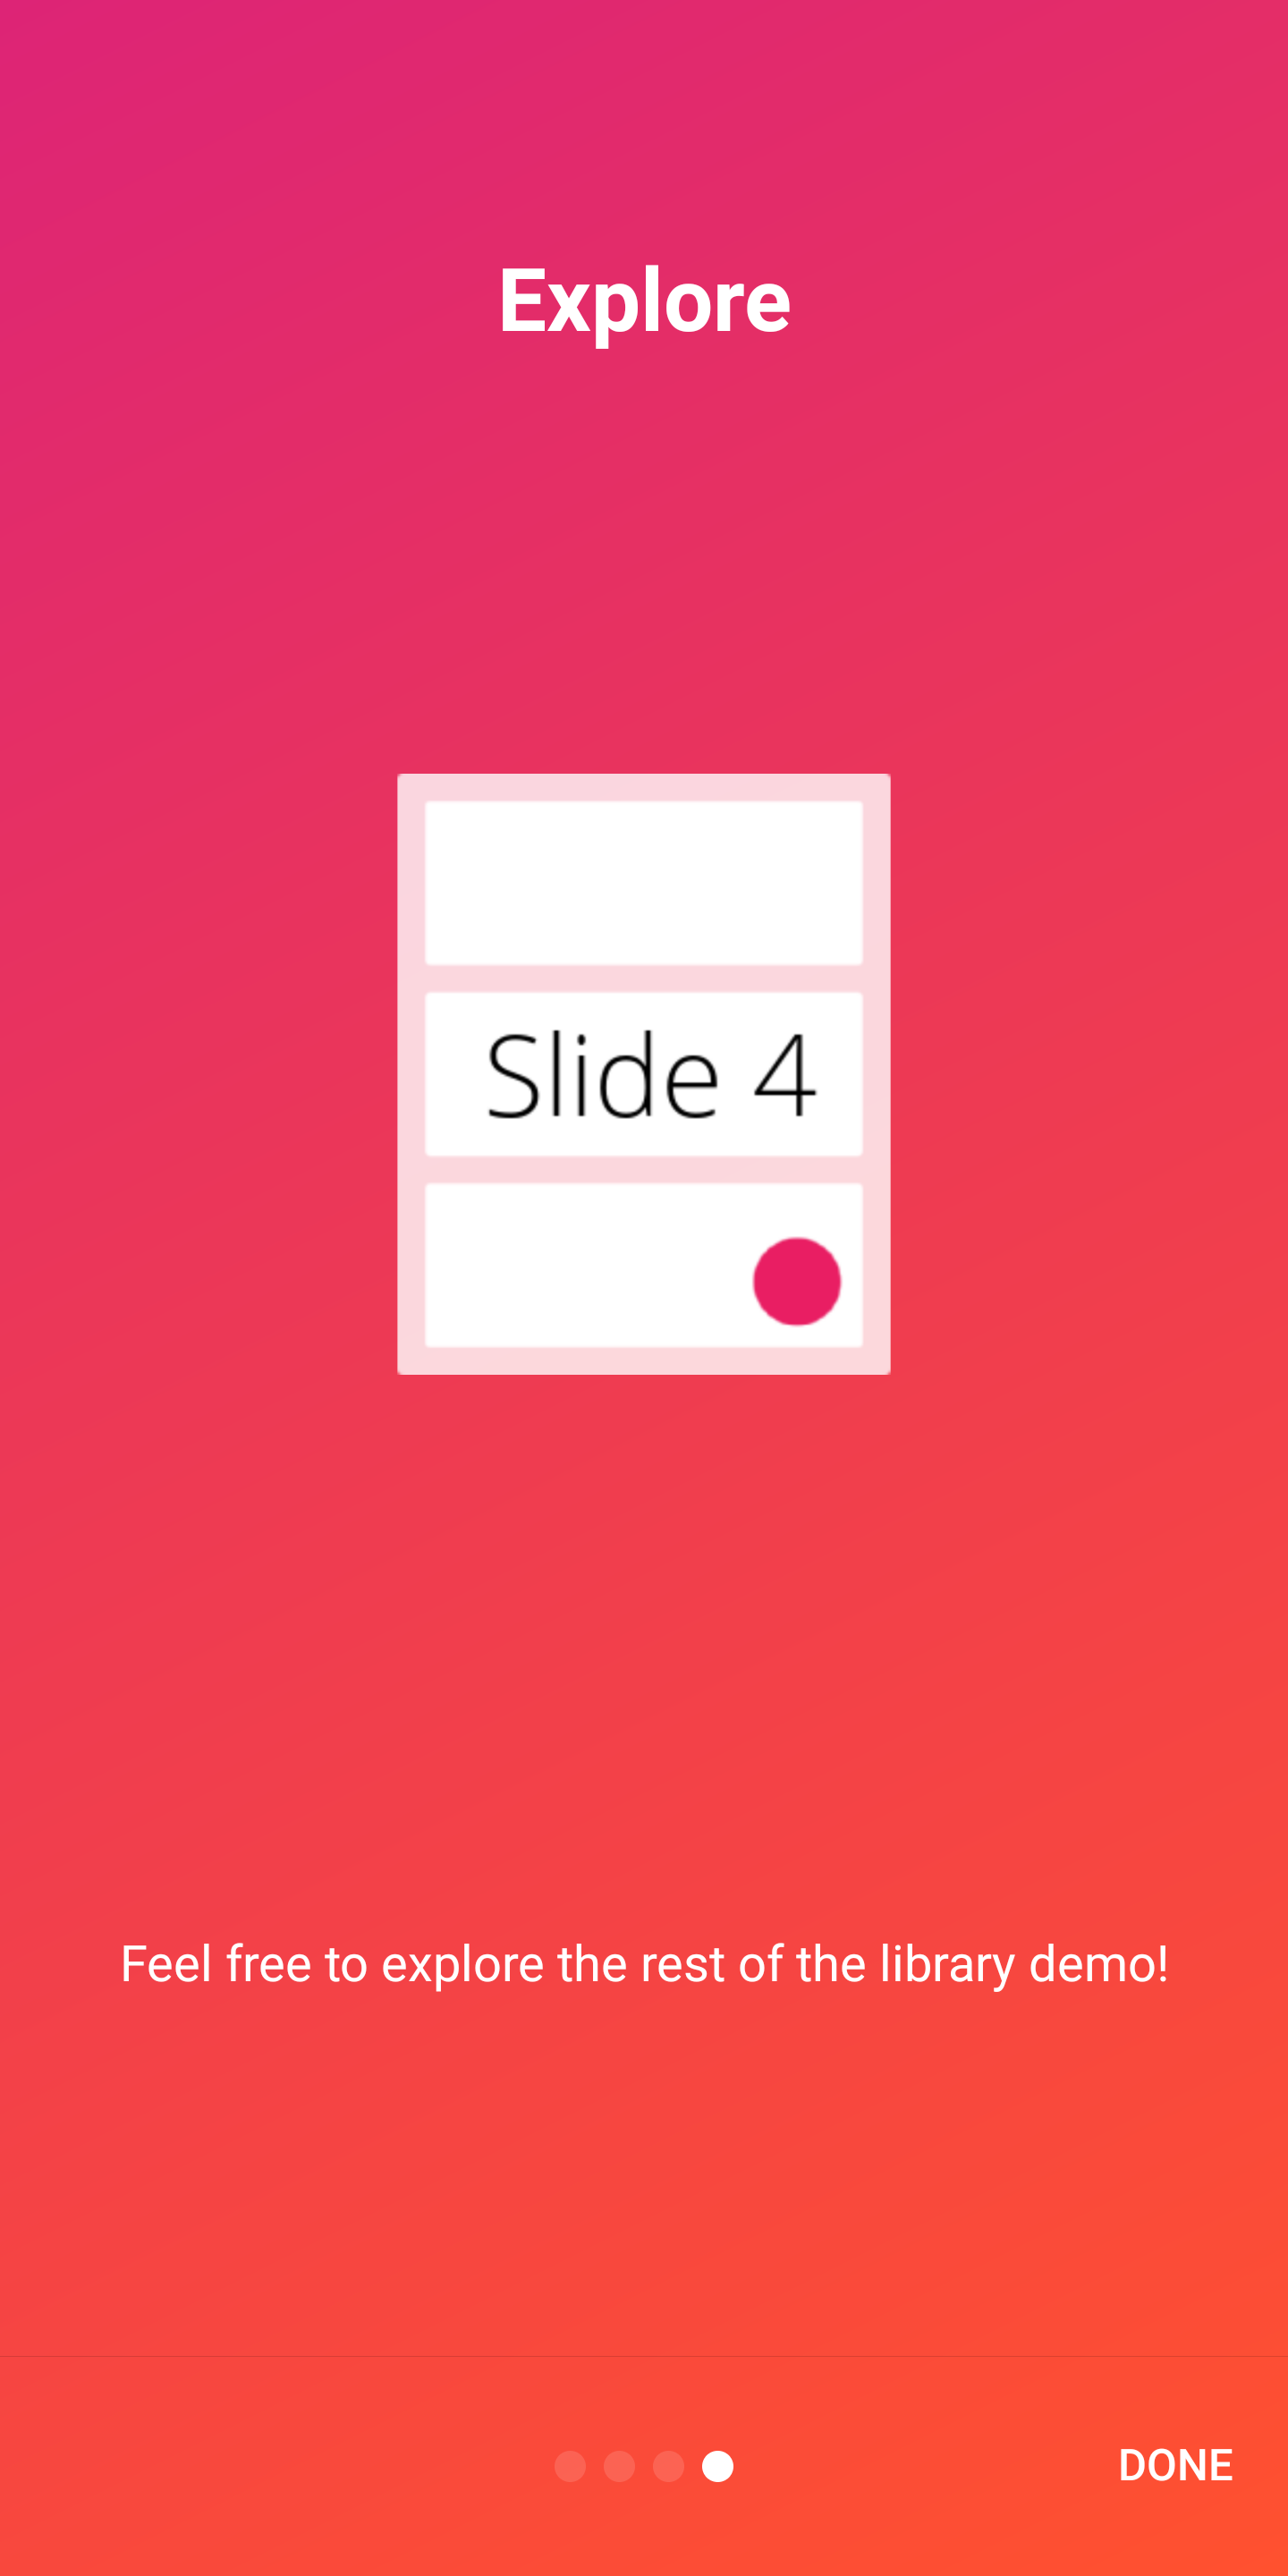 | 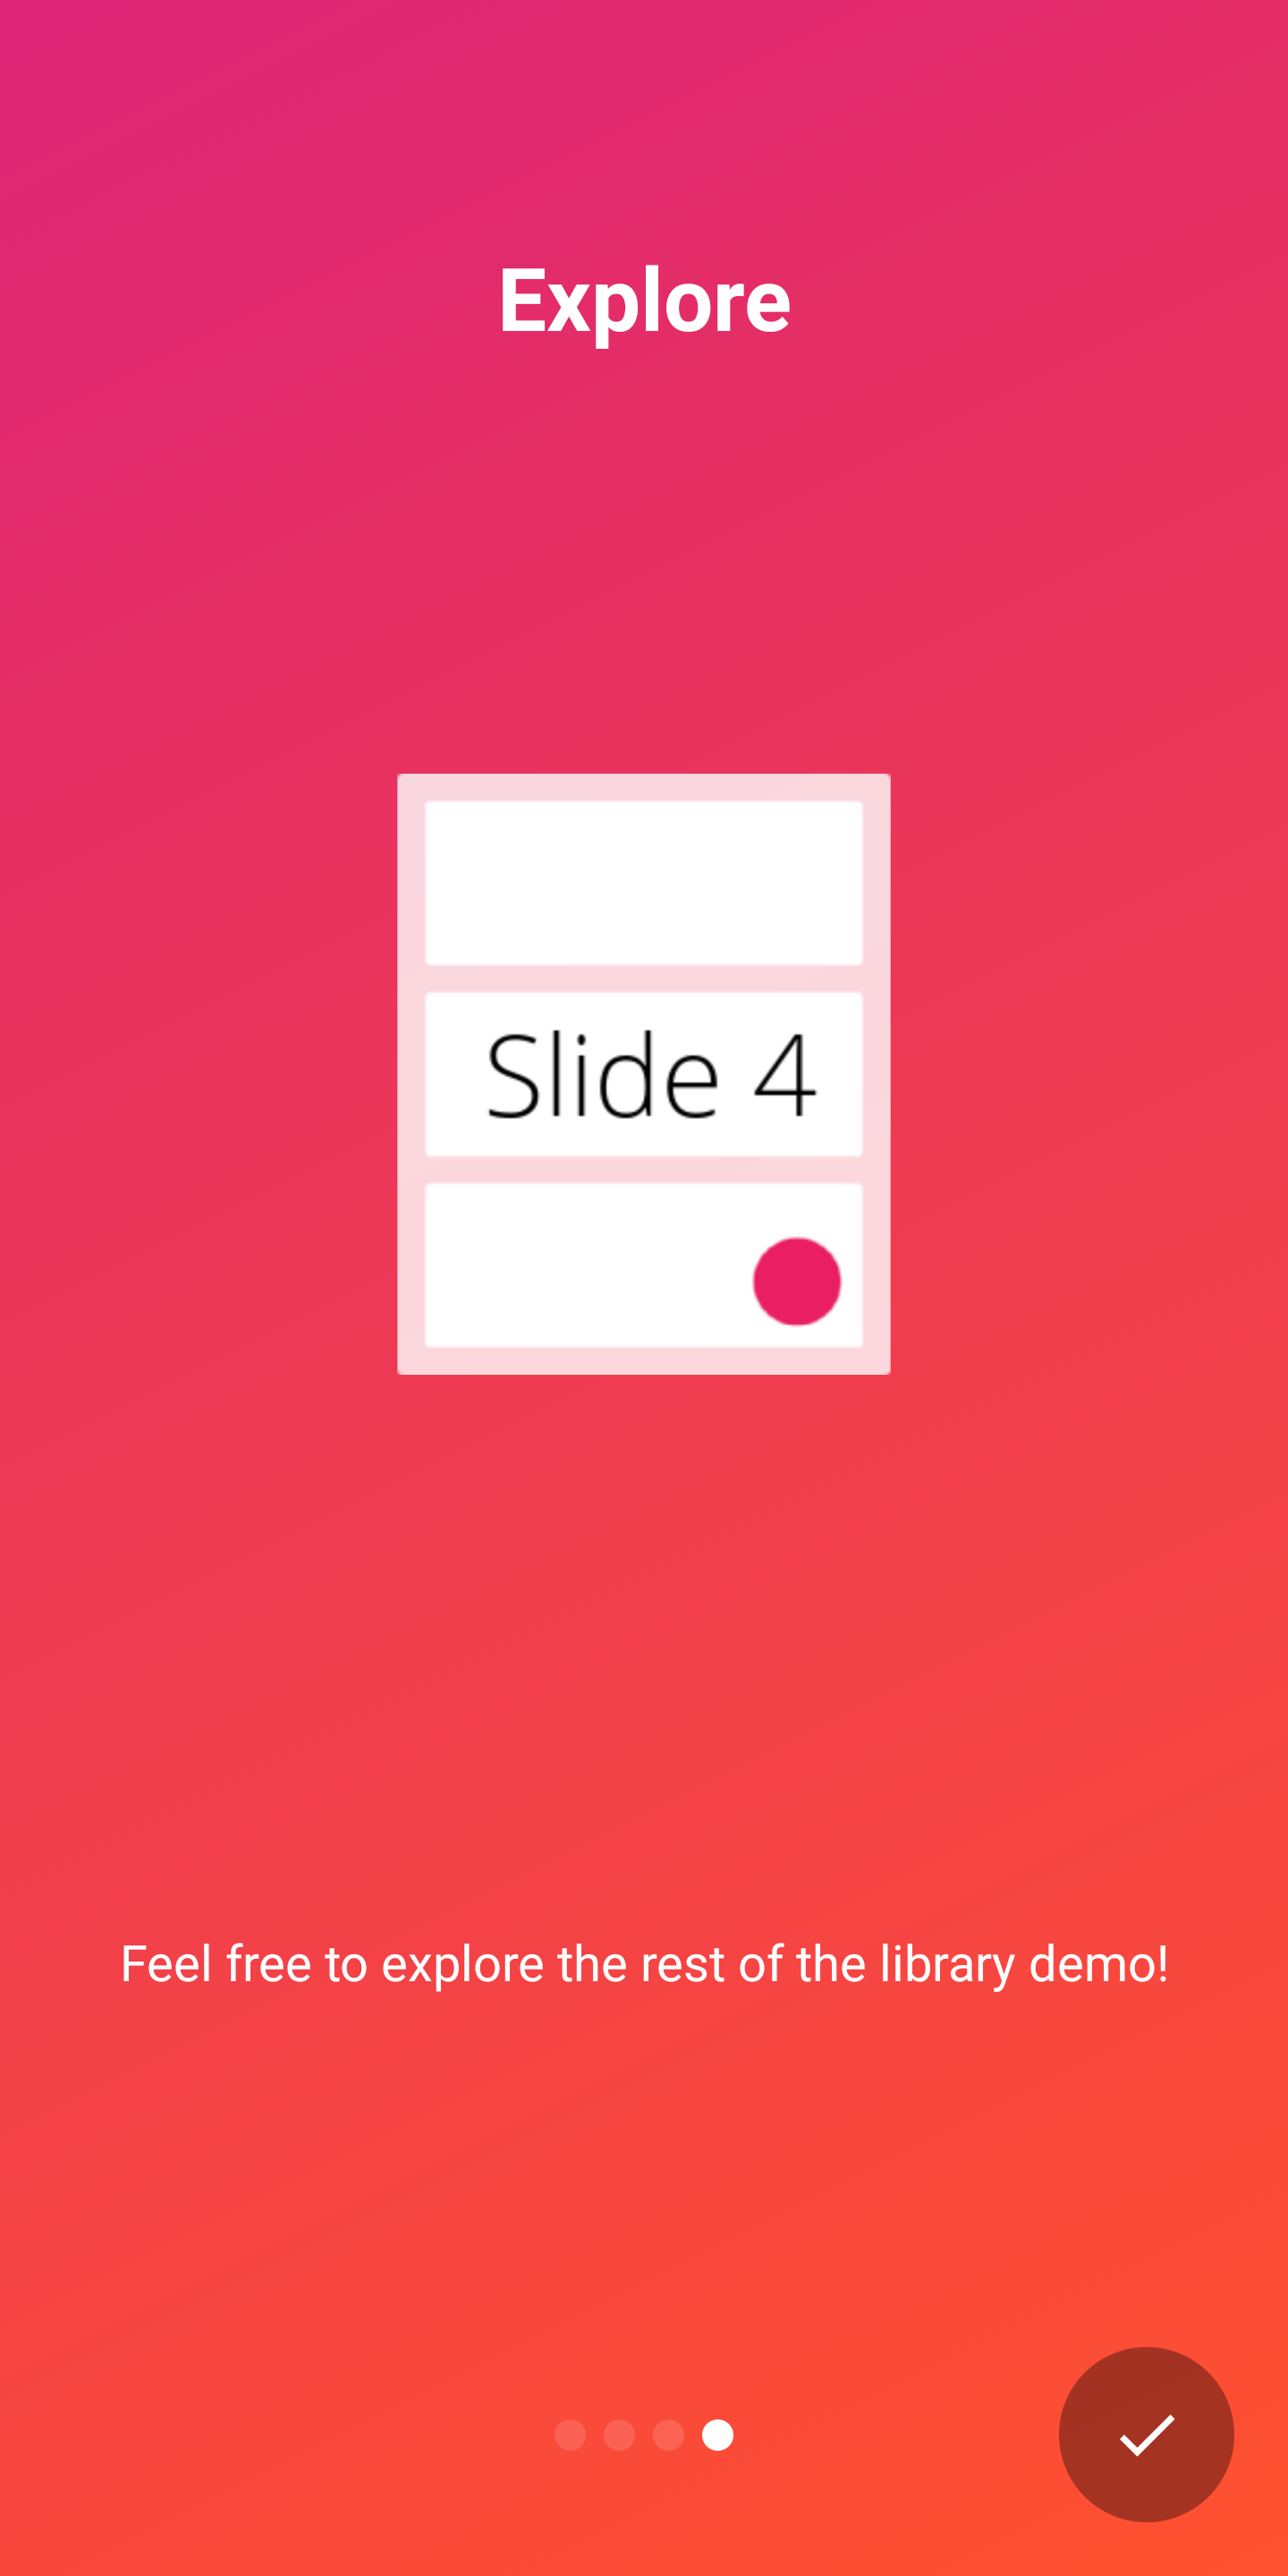 |
AppIntro는 상자 밖에서 두 가지 지표를 지원하여 소개 경험의 진행 상황을 사용자에게 보여줍니다.
DotIndicatorController DOT 목록 (기본값)으로 표시됩니다.ProgressIndicatorController 진행률 표시 줄로 표시됩니다. DotIndicator | ProgressIndicator |
|---|---|
 |  |
또한 IndicatorController 인터페이스의 구현을 제공하여 고유 한 지표를 제공 할 수 있습니다.
AppIntro 클래스에서 다음 API로 표시기를 사용자 정의 할 수 있습니다.
 // Toggle Indicator Visibility
isIndicatorEnabled = true

// Change Indicator Color
setIndicatorColor(
    selectedIndicatorColor = getColor( R .color.red),
    unselectedIndicatorColor = getColor( R .color.blue)
)

// Switch from Dotted Indicator to Progress Indicator
setProgressIndicator()

// Supply your custom `IndicatorController` implementation
indicatorController = MyCustomIndicator ( /* initialize me */ )
사용자 정의를 지정하지 않으면 DotIndicatorController 표시됩니다.
AppIntro는 버튼 클릭에 햅틱 진동 피드백 제공을 지원합니다. 앱 매니페스트에서 진동 권한을 지정해야합니다 (라이브러리가 수행하지 않습니다). 권한을 지정하는 것을 잊어 버리면 앱에 충돌이 발생합니다.
< uses-permission android : name = " android.permission.VIBRATE " />진동을 활성화하고 사용자 정의 할 수 있습니다.
 // Enable vibration and set duration in ms
isVibrate = true
vibrateDuration = 50L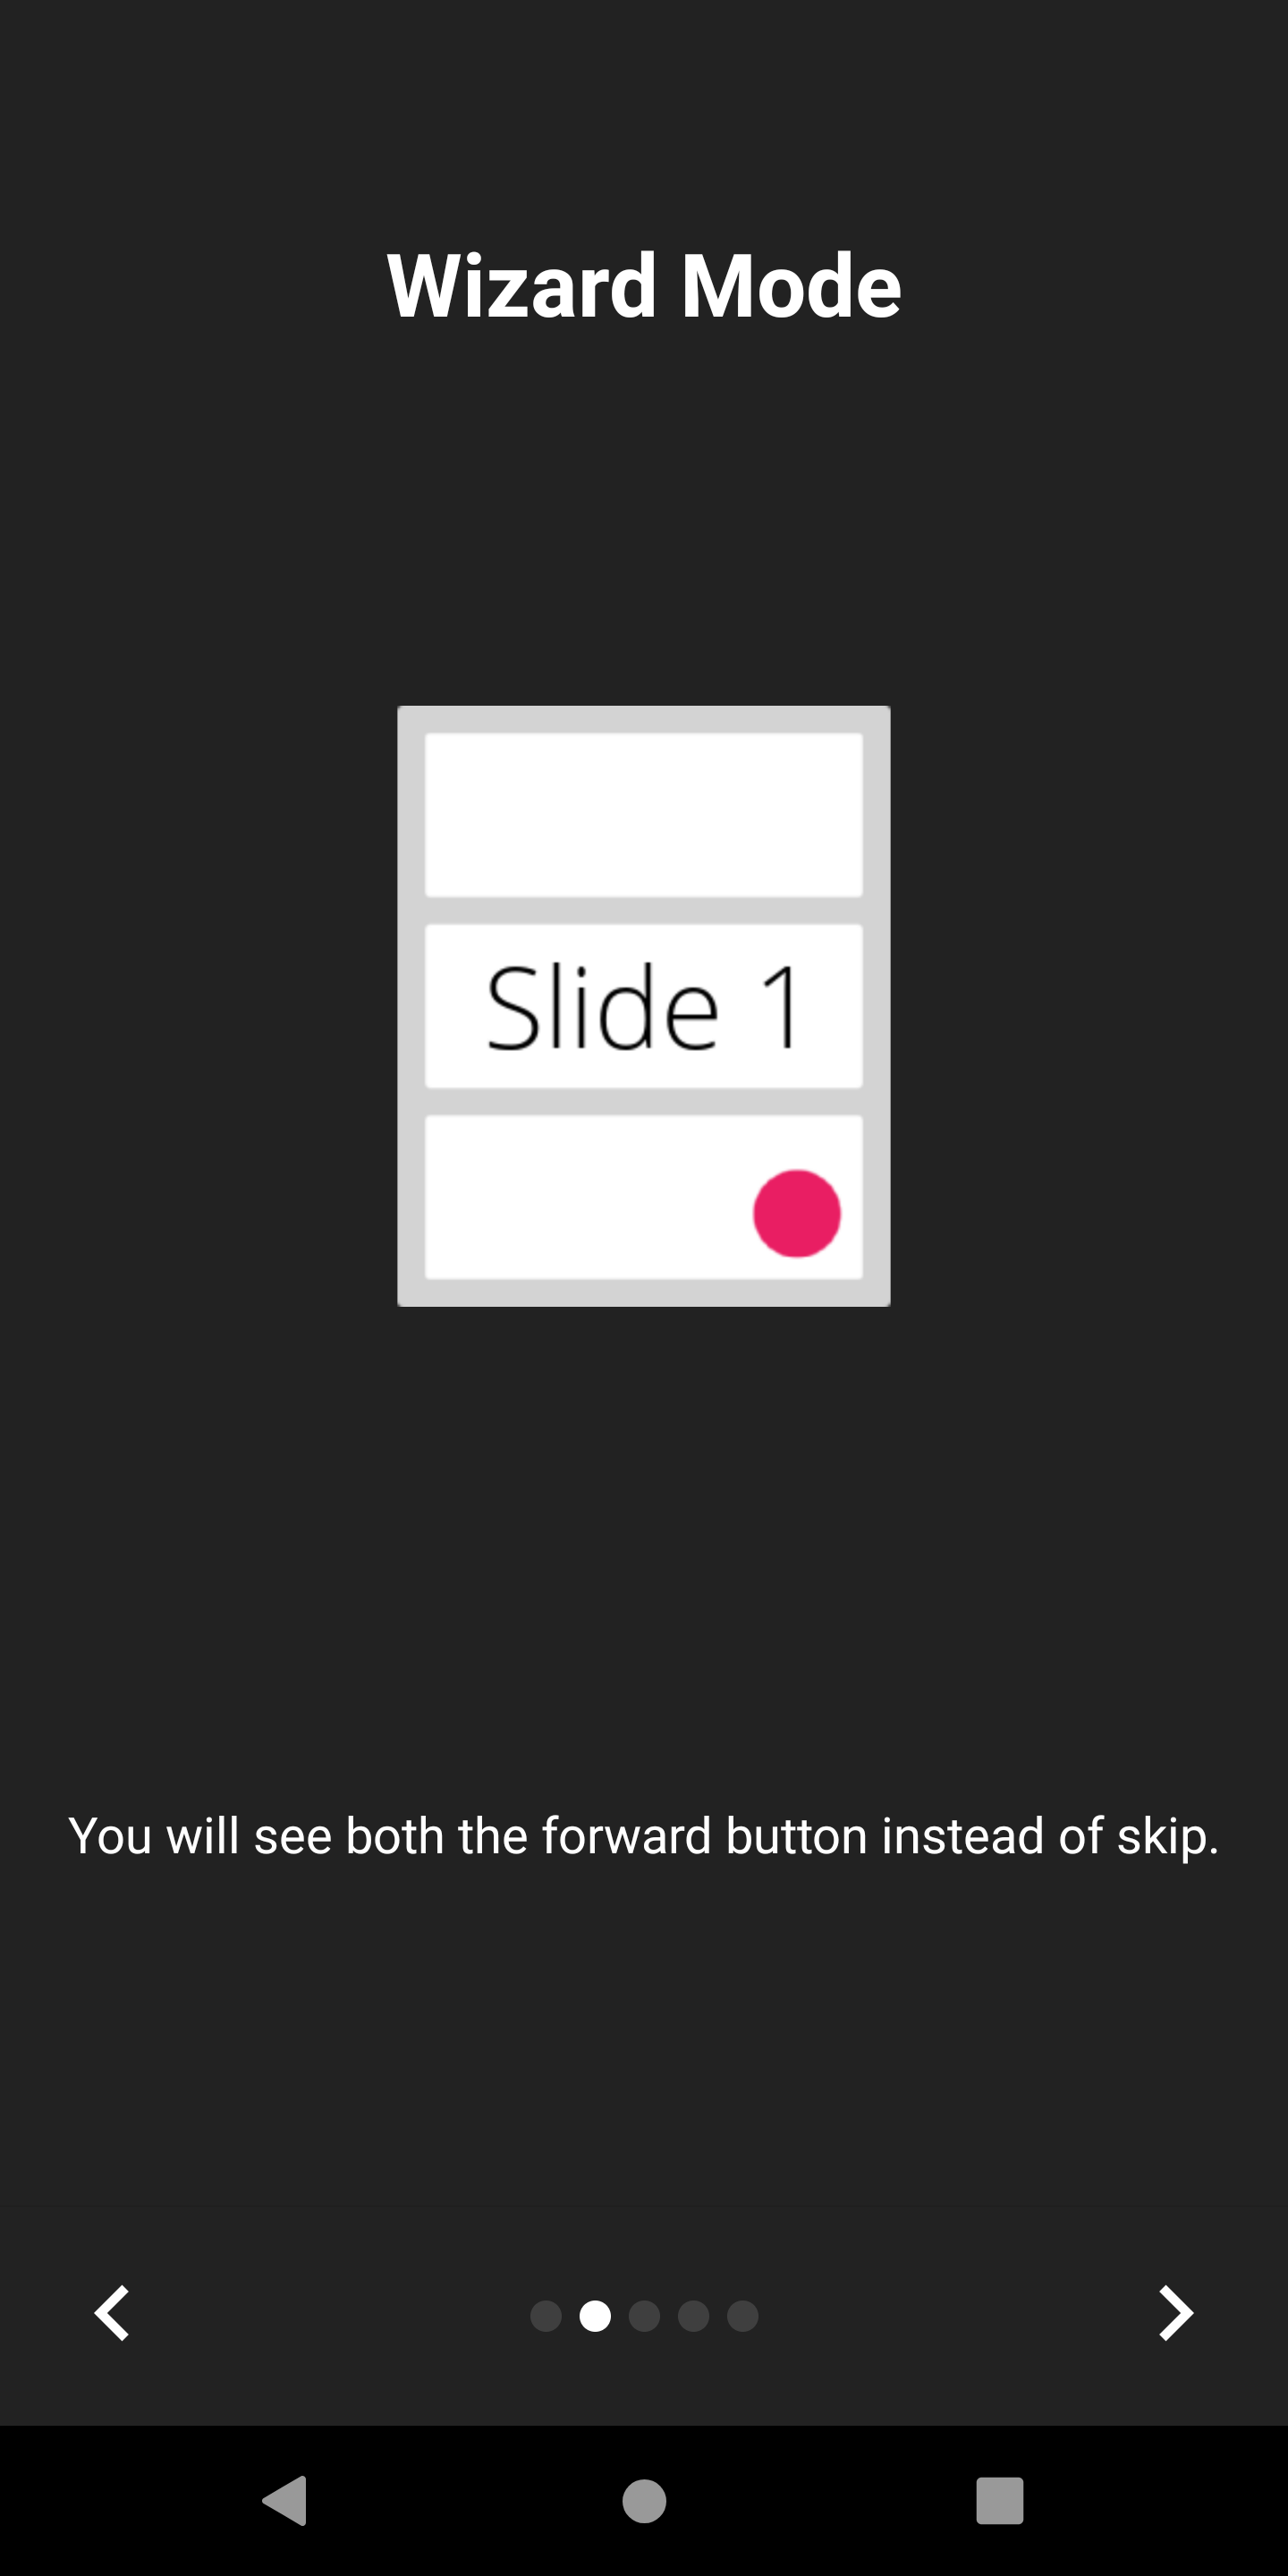

AppIntro는 스킵 버튼이 뒤쪽 화살표로 교체되는 마법사 모드를 지원합니다. 사용자에게 마법사에게 필요한 단계를 제시하는 경우 편리하며, 종종 앞뒤로 갈 수 있습니다.
다음과 같이 활성화 할 수 있습니다.
isWizardMode = true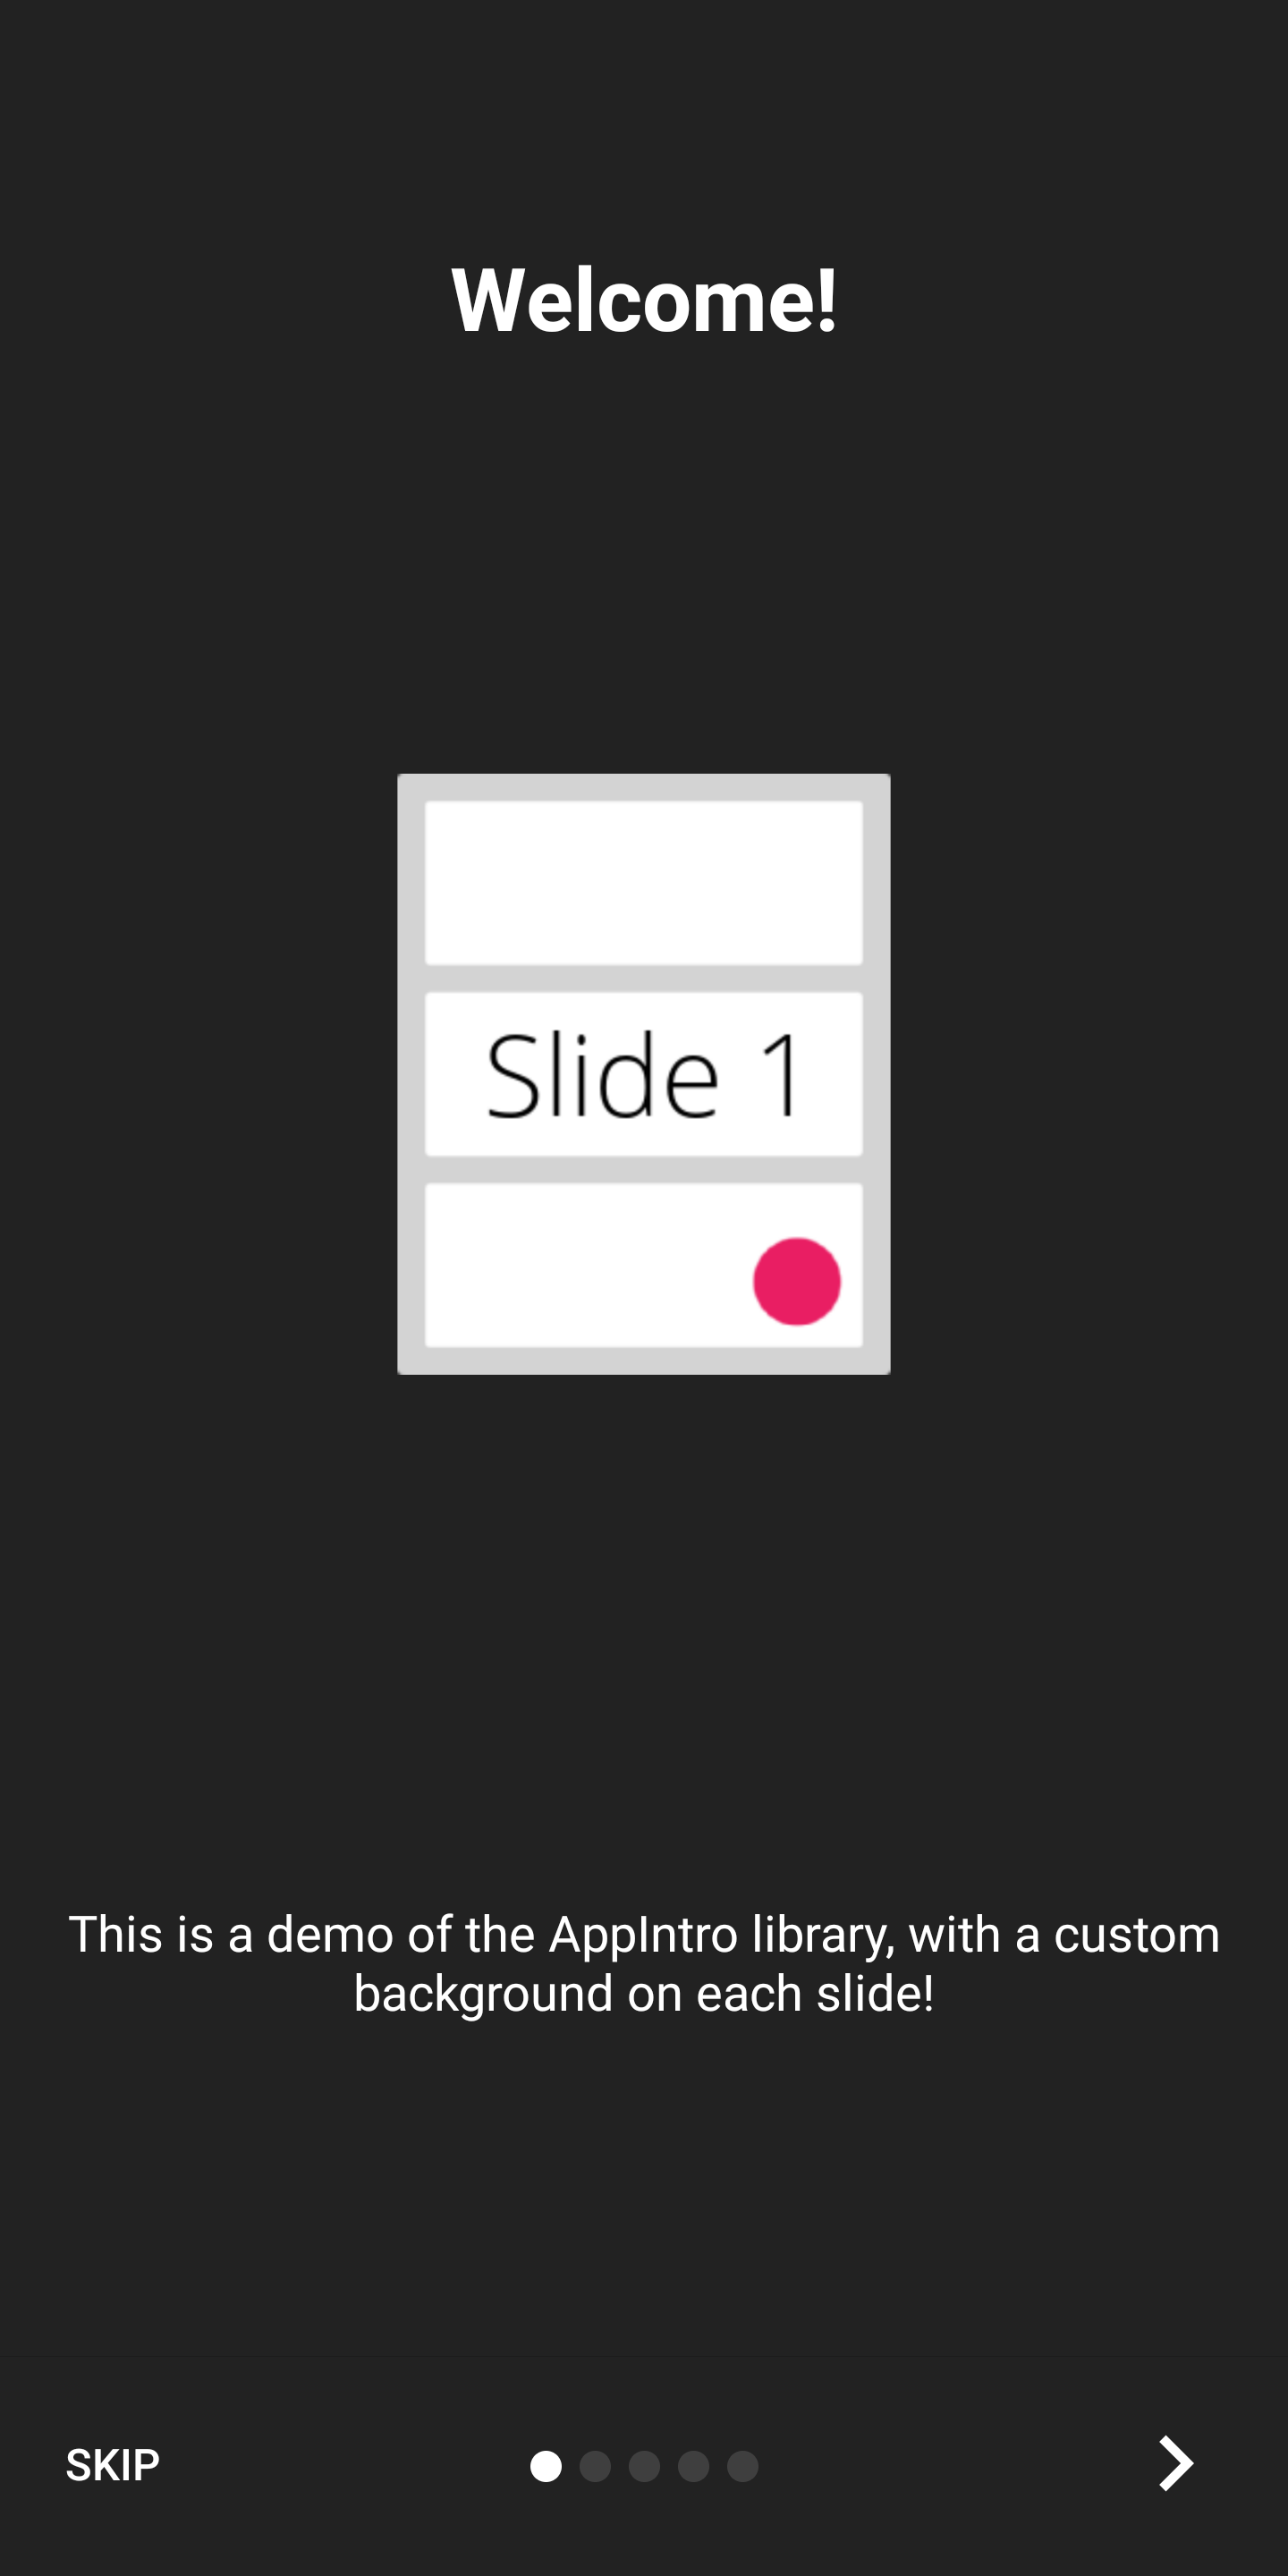

전체 화면 경험으로 소개를 표시하려면 몰입 형 모드를 활성화 할 수 있습니다. 이렇게하면 상태 표시 줄 과 내비게이션 표시 줄이 모두 숨겨지며 사용자는 화면 상단에서 스크롤하여 다시 표시해야합니다.
이를 통해 인트로 컨텐츠 및 그래픽을위한 더 많은 공간을 확보 할 수 있습니다.
다음과 같이 활성화 할 수 있습니다.
setImmersiveMode()사용자가 소개에서 돌아 오는 것을 원하지 않으면 시스템 뒤로 버튼을 잠글 수 있습니다. 권한을 요청 해야하는 경우 유용 할 수 있으며 소개 경험이 선택 사항이 아닙니다.
이 경우 True로 설정하십시오.
isSystemBackButtonLocked = true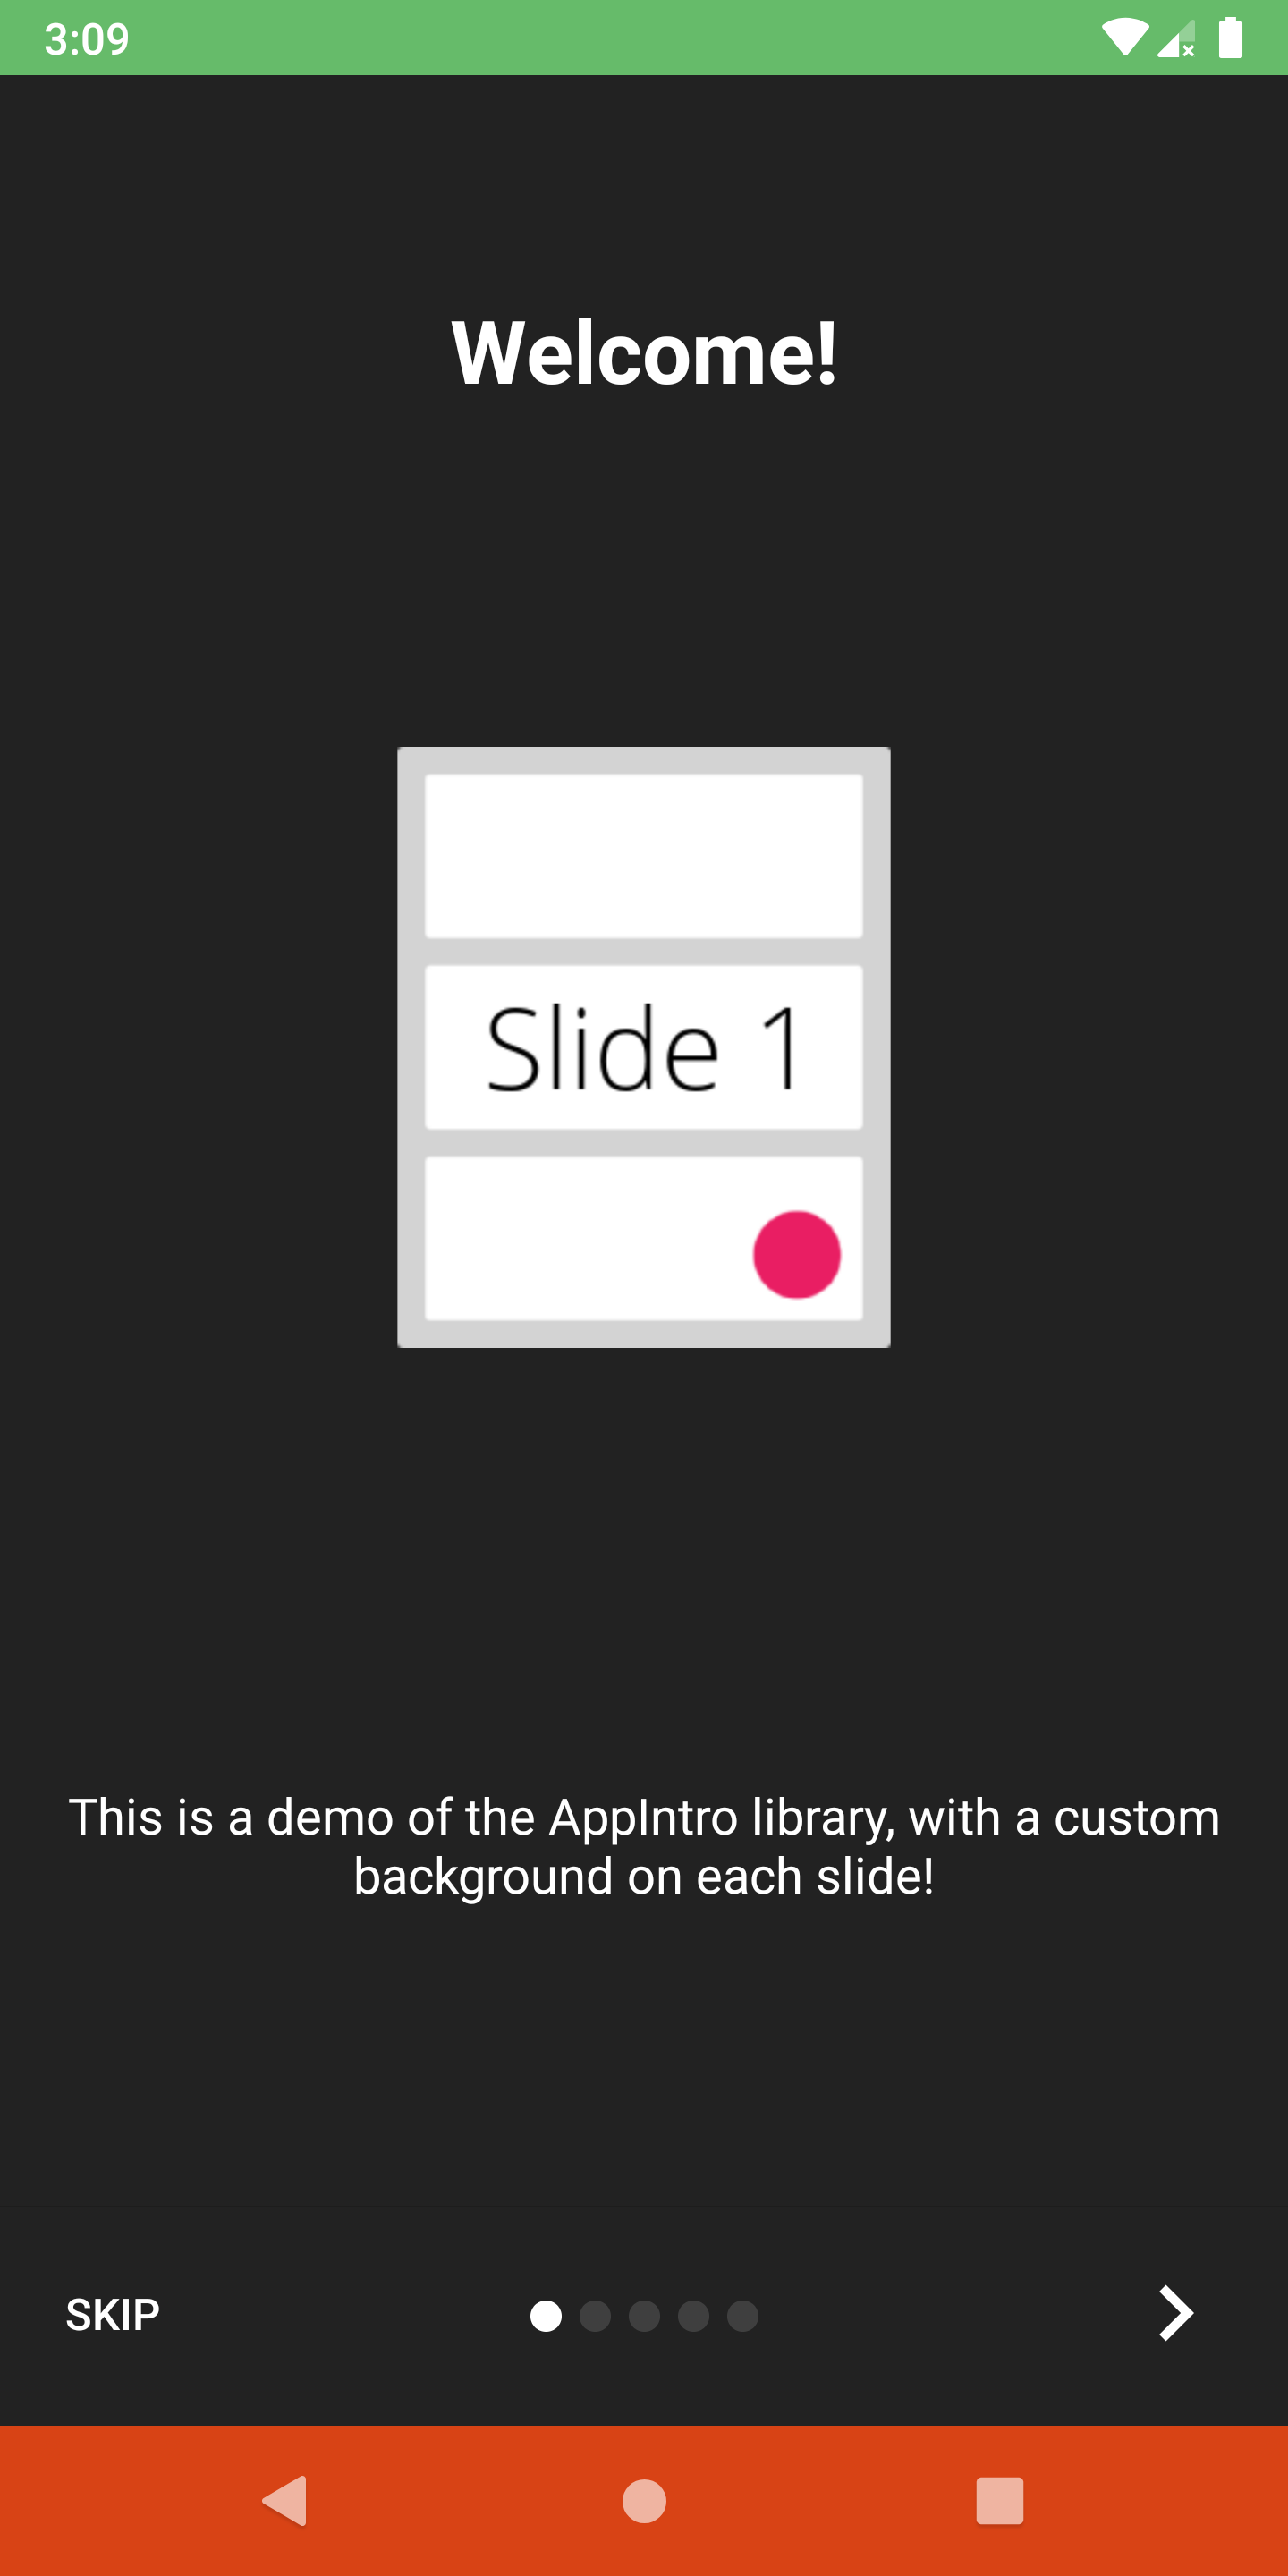
상태 표시 줄 및 내비게이션 바 가시성 및 색상을 다음 방법으로 사용자 정의 할 수 있습니다.
 // Hide/Show the status Bar
showStatusBar( true )
// Control the status bar color
setStatusBarColor( Color . GREEN )
setStatusBarColorRes( R .color.green)

// Control the navigation bar color
setNavBarColor( Color . RED )
setNavBarColorRes( R .color.red) 기본적으로 슬라이드는 화면에서 사용할 수있는 전체 크기를 사용하므로 배경색을 비 투명한 것으로 설정하면 하단 막대가 슬라이드의 내용과 겹치는 경우가 발생할 수 있습니다. 막대가 컨텐츠와 겹치지 않도록하려면 setBarMargin 함수를 다음과 같이 사용하십시오.
setBarMargin( true )
AppIntro는 사용자에게 런타임 권한을 요청하는 프로세스를 단순화합니다. 활동 내부의 askForPermissions 메소드와 함께 슬라이드 내부의 하나 이상의 권한 요청을 통합 할 수 있습니다.
참조하십시오 :
slideNumber 는 1 기반 번호 매기기 (1부터 시작)입니다. // Ask for required CAMERA permission on the second slide.
askForPermissions(
permissions = arrayOf( Manifest .permission. CAMERA ),
slideNumber = 2 ,
required = true )
// Ask for both optional ACCESS_FINE_LOCATION and WRITE_EXTERNAL_STORAGE
// permission on the third slide.
askForPermissions(
permissions = arrayOf(
Manifest .permission. ACCESS_FINE_LOCATION ,
Manifest .permission. WRITE_EXTERNAL_STORAGE
),
slideNumber = 3 ,
required = false ) 권한 요청에 대한 추가 제어가 필요한 경우 AppIntro 클래스 에서이 두 가지 메소드를 무시할 수 있습니다.
 override fun onUserDeniedPermission ( permissionName : String ) {
    // User pressed "Deny" on the permission dialog
}
override fun onUserDisabledPermission ( permissionName : String ) {
    // User pressed "Deny" + "Don't ask again" on the permission dialog
}
슬라이드 사이의 내비게이션을 제한하려면 (예 : 사용자가 계속 유지하려면 확인란을 전환해야 함) SlidePolicy 기능이 도움이 될 수 있습니다.
슬라이드에서 SlidePolicy 구현하기 만하면됩니다.
이 인터페이스에는 isPolicyRespected 속성과 사용자 정의 로직으로 구현 해야하는 onUserIllegallyRequestedNextPage 메소드가 포함됩니다.
 class MyFragment : Fragment (), SlidePolicy {

    // If user should be allowed to leave this slide
    override val isPolicyRespected : Boolean
        get() = false // Your custom logic here.

    override fun onUserIllegallyRequestedNextPage () {
        // User illegally requested next slide.
        // Show a toast or an informative message to the user.
    }
}
예제 앱에서 SlidePolicy 의 전체 작업 예제를 찾을 수 있습니다 - CustomsLidePolicyFragment.kt
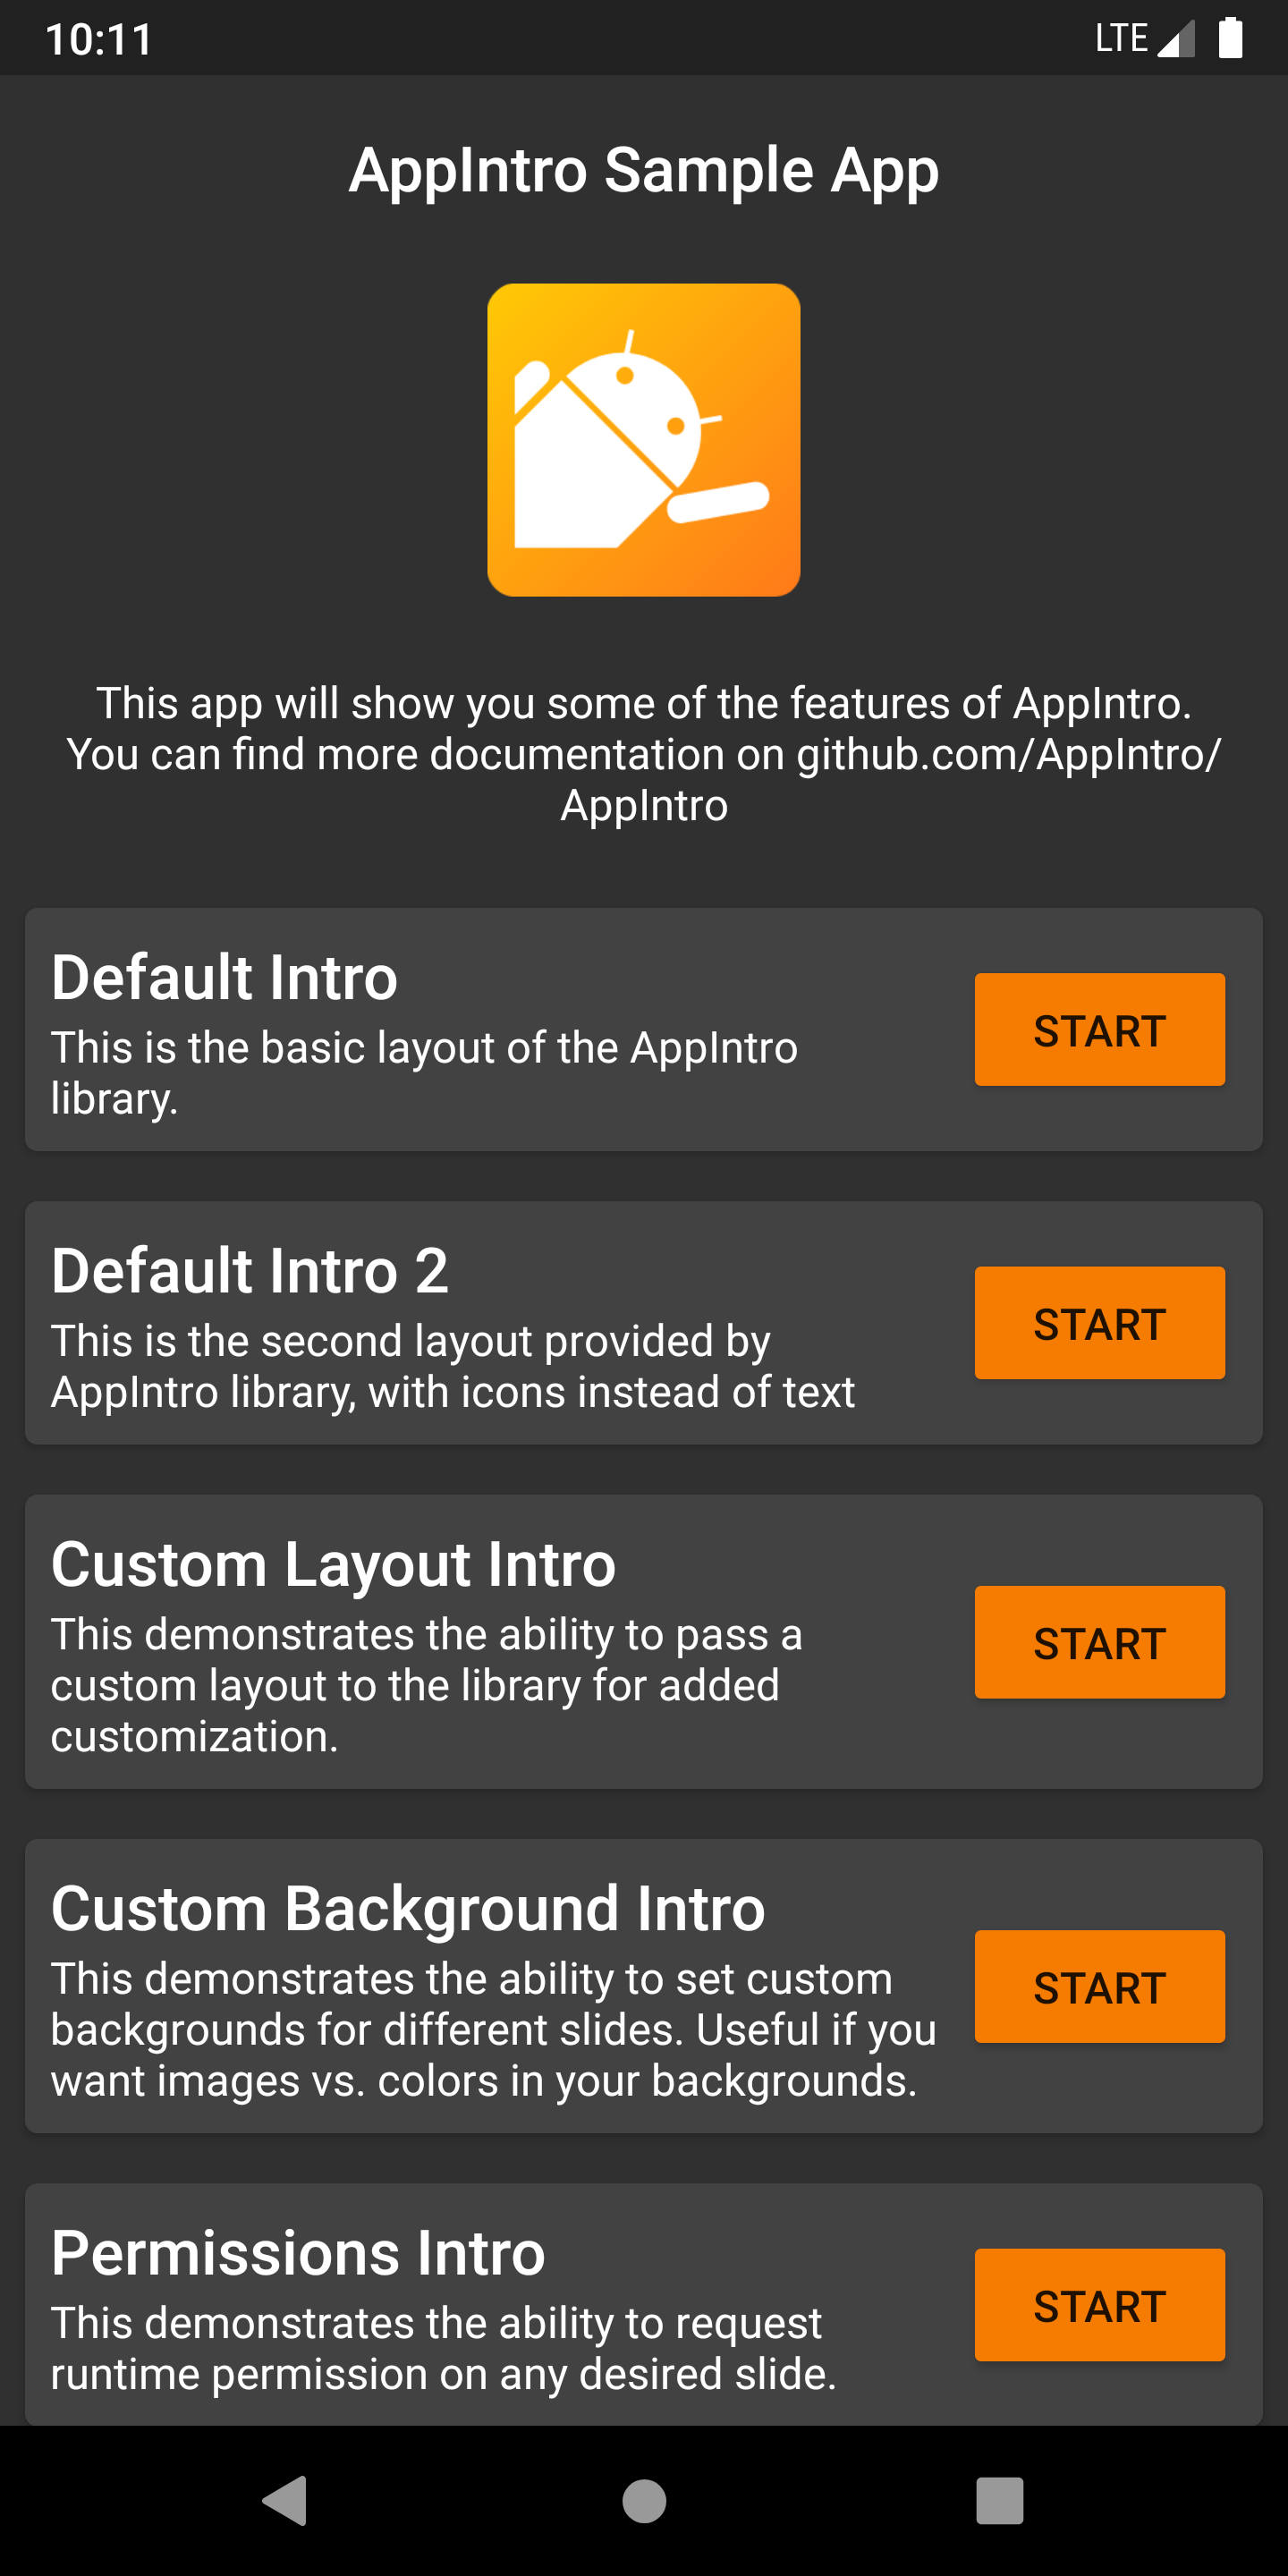
AppIntro에는 프로젝트에 영감으로 사용할 수있는 예와 사용 사례로 가득 찬 샘플 앱이 제공됩니다. /예제 폴더 내에서 찾을 수 있습니다.
Pre Merge Github Action 작업 작업에서 샘플 앱의 디버그 APK를 여기에서 출력 아티팩트로 얻을 수 있습니다.
Appintro가 국제화되도록 도와주고 싶습니까? 우리는 행복 이상입니다! AppIntro는 현재 다음 언어를 지원합니다.
새 번역을 추가하려면 values-xx 폴더 ( xx 가 2 글자 ISO 639-1 언어 코드) 내부에 새 strings.xml 파일로 풀 요청을 추가하십시오.
번역을 제공하려면 파일이 다음 문자열을 포함해야합니다.
<? xml version = " 1.0 " encoding = " utf-8 " ?>
< resources xmlns : tools = " http://schemas.android.com/tools " >
    < string name = " app_intro_skip_button " >[Translation for SKIP]</ string >
    < string name = " app_intro_next_button " >[Translation for NEXT]</ string >
    < string name = " app_intro_back_button " >[Translation for BACK]</ string >
    < string name = " app_intro_done_button " >[Translation for DONE]</ string >
    < string name = " app_intro_image_content_description " >[Translation for "graphics"]</ string >
</ resources >
영어 버전의 업데이트 된 버전은 여기에서 확인할 수 있습니다.
언어의 번역을 이미 사용할 수있는 경우 확인하고 결국 수정하십시오 (모든 문자열은 하위 집합뿐만 아니라 나열되어야합니다).
AppIntro의 개발은 메인 브랜치에서 발생합니다. 필요한 경우 jitpack에서 직접 SNAPSHOT 버전을 얻을 수 있습니다.
 repositories {
    maven { url " https://jitpack.io " }
}
dependencies {
implementation " com.github.AppIntro:AppIntro:main-SNAPSHOT "
}우리는 Kotlinlang Slack의 #appintro 채널에서 Appintro를 지원하고 있습니다. 와서 대화에 참여하십시오. Kotlinlang Slack에 액세스 할 수없는 경우 여기에서 액세스 권한을 요청할 수 있습니다.
우리는 기고자를 찾고 있습니다! 부끄러워하지 마십시오. ? 이 프로젝트를 개선하는 데 도움이되는 문제/당기 요청을 자유롭게 열어주십시오.
AppIntro는 현재 AppIntro Github Org에 의해 개발되고 유지됩니다. 새 PR을 제출할 때 다음 중 하나를 핑하십시오.
Appintro는 Androidx의 제 3 자 도서관에 의존하지 않습니다.
androidx.appcompat:appcompatandroidx.annotation:annotationandroidx.constraintlayout:constraintlayout Copyright (C) 2015-2020 AppIntro Developers
Licensed under the Apache License, Version 2.0 (the "License");
you may not use this file except in compliance with the License.
You may obtain a copy of the License at
http://www.apache.org/licenses/LICENSE-2.0
Unless required by applicable law or agreed to in writing, software
distributed under the License is distributed on an "AS IS" BASIS,
WITHOUT WARRANTIES OR CONDITIONS OF ANY KIND, either express or implied.
See the License for the specific language governing permissions and
limitations under the License.
앱에서 AppIntro를 사용하고 있고 여기에 나열되기를 원한다면 풀 요청을 열어 주시면 기꺼이 도와 드리겠습니다.


