AppIntro
AppIntro 6.3.1
Appintro是一个Android库,可帮助您为应用程序构建酷炫的轮播介绍。 Appintro支持请求权限,并帮助您在短短几分钟内创造出色的入职体验。

Appintro是通过Jitpack分发的。
要使用它,您需要将以下gradle依赖关系添加到您要使用appintro(而不是根文件)的模块的build.gradle文件中。
repositories {
    maven { url " https://jitpack.io " }
}
dependencies {
// AndroidX Capable version
implementation ' com.github.AppIntro:AppIntro:6.3.1 '
// *** OR ***
// Latest version compatible with the old Support Library
implementation ' com.github.AppIntro:AppIntro:4.2.3 '
}请注意,由于Appintro 5.x,库支持AndroidX。如果您尚未迁移,则可能要使用使用旧支持库软件包的库的先前版本(或尝试使用Jetifier反向模式)。
要使用appintro,您只需要创建一个新的活动,该活动会像以下内容一样扩展Appintro :
 class MyCustomAppIntro : AppIntro () {
    override fun onCreate ( savedInstanceState : Bundle ? ) {
        super .onCreate(savedInstanceState)
        // Make sure you don't call setContentView!

        // Call addSlide passing your Fragments.
        // You can use AppIntroFragment to use a pre-built fragment
        addSlide( AppIntroFragment .createInstance(
                title = " Welcome... " ,
                description = " This is the first slide of the example "
        ))
        addSlide( AppIntroFragment .createInstance(
                title = " ...Let's get started! " ,
                description = " This is the last slide, I won't annoy you more :) "
        ))
    }

    override fun onSkipPressed ( currentFragment : Fragment ? ) {
        super .onSkipPressed(currentFragment)
        // Decide what to do when the user clicks on "Skip"
        finish()
    }

    override fun onDonePressed ( currentFragment : Fragment ? ) {
        super .onDonePressed(currentFragment)
        // Decide what to do when the user clicks on "Done"
        finish()
    }
}请注意,您不得致电SetContentView。 AppIntro Super -Class正在为您照顾它。
另外,请确认您是用一个参数( Bundle ) onCreate的,而不是使用另一个替代(例如onCreate(Bundle, PersistableBundle) )。
最后,像这样声明您的清单中的活动:
< activity android : name = " com.example.MyCustomAppIntro "
android : label = " My Custom AppIntro " />我们建议不要将MyCustomAppIntro声明为您的第一个活动,除非您希望介绍每次启动您的应用程序启动。理想情况下,您应该仅向用户显示一次Appintro活动,并且一旦完成后就应该将其隐藏(您可以在SharedPreferences中使用标志)。
您可以在示例目录中找到许多Java语言的示例
如果您从Appintro v5.x迁移到V6.x ,请期待多次破坏更改。您可以在此其他迁移指南中找到有关如何更新代码的文档。
不要忘记检查ChangElog,以查看最新版本的Appintro中的所有更改。
添加新幻灯片的入口点是AppIntro类上的addSlide(fragment: Fragment)函数。您可以轻松地使用它为旋转木马添加新Fragment 。
该库配有几个UTIT课程,可帮助您使用几行创建幻灯片:
AppIntroFragment如果您只想自定义标题,描述,图像和颜色,则可以使用AppIntroFragment 。如果您想创建一个快速介绍:这就是建议的方法:
addSlide( AppIntroFragment .createInstance(
    title = " The title of your slide " ,
    description = " A description that will be shown on the bottom " ,
    imageDrawable = R .drawable.the_central_icon,
    backgroundDrawable = R .drawable.the_background_image,
    titleColorRes = R .color.yellow,
    descriptionColorRes = R .color.red,
    backgroundColorRes = R .color.blue,
    titleTypefaceFontRes = R .font.opensans_regular,
    descriptionTypefaceFontRes = R .font.opensans_regular,
))
所有参数都是可选的,因此您可以根据需要自定义幻灯片。
如果需要编程创建多个幻灯片,也可以使用SliderPage类。可以将此类传递到AppIntroFragment.createInstance(sliderPage: SliderPage)该阶层将从该实例开始创建一个新的幻灯片。
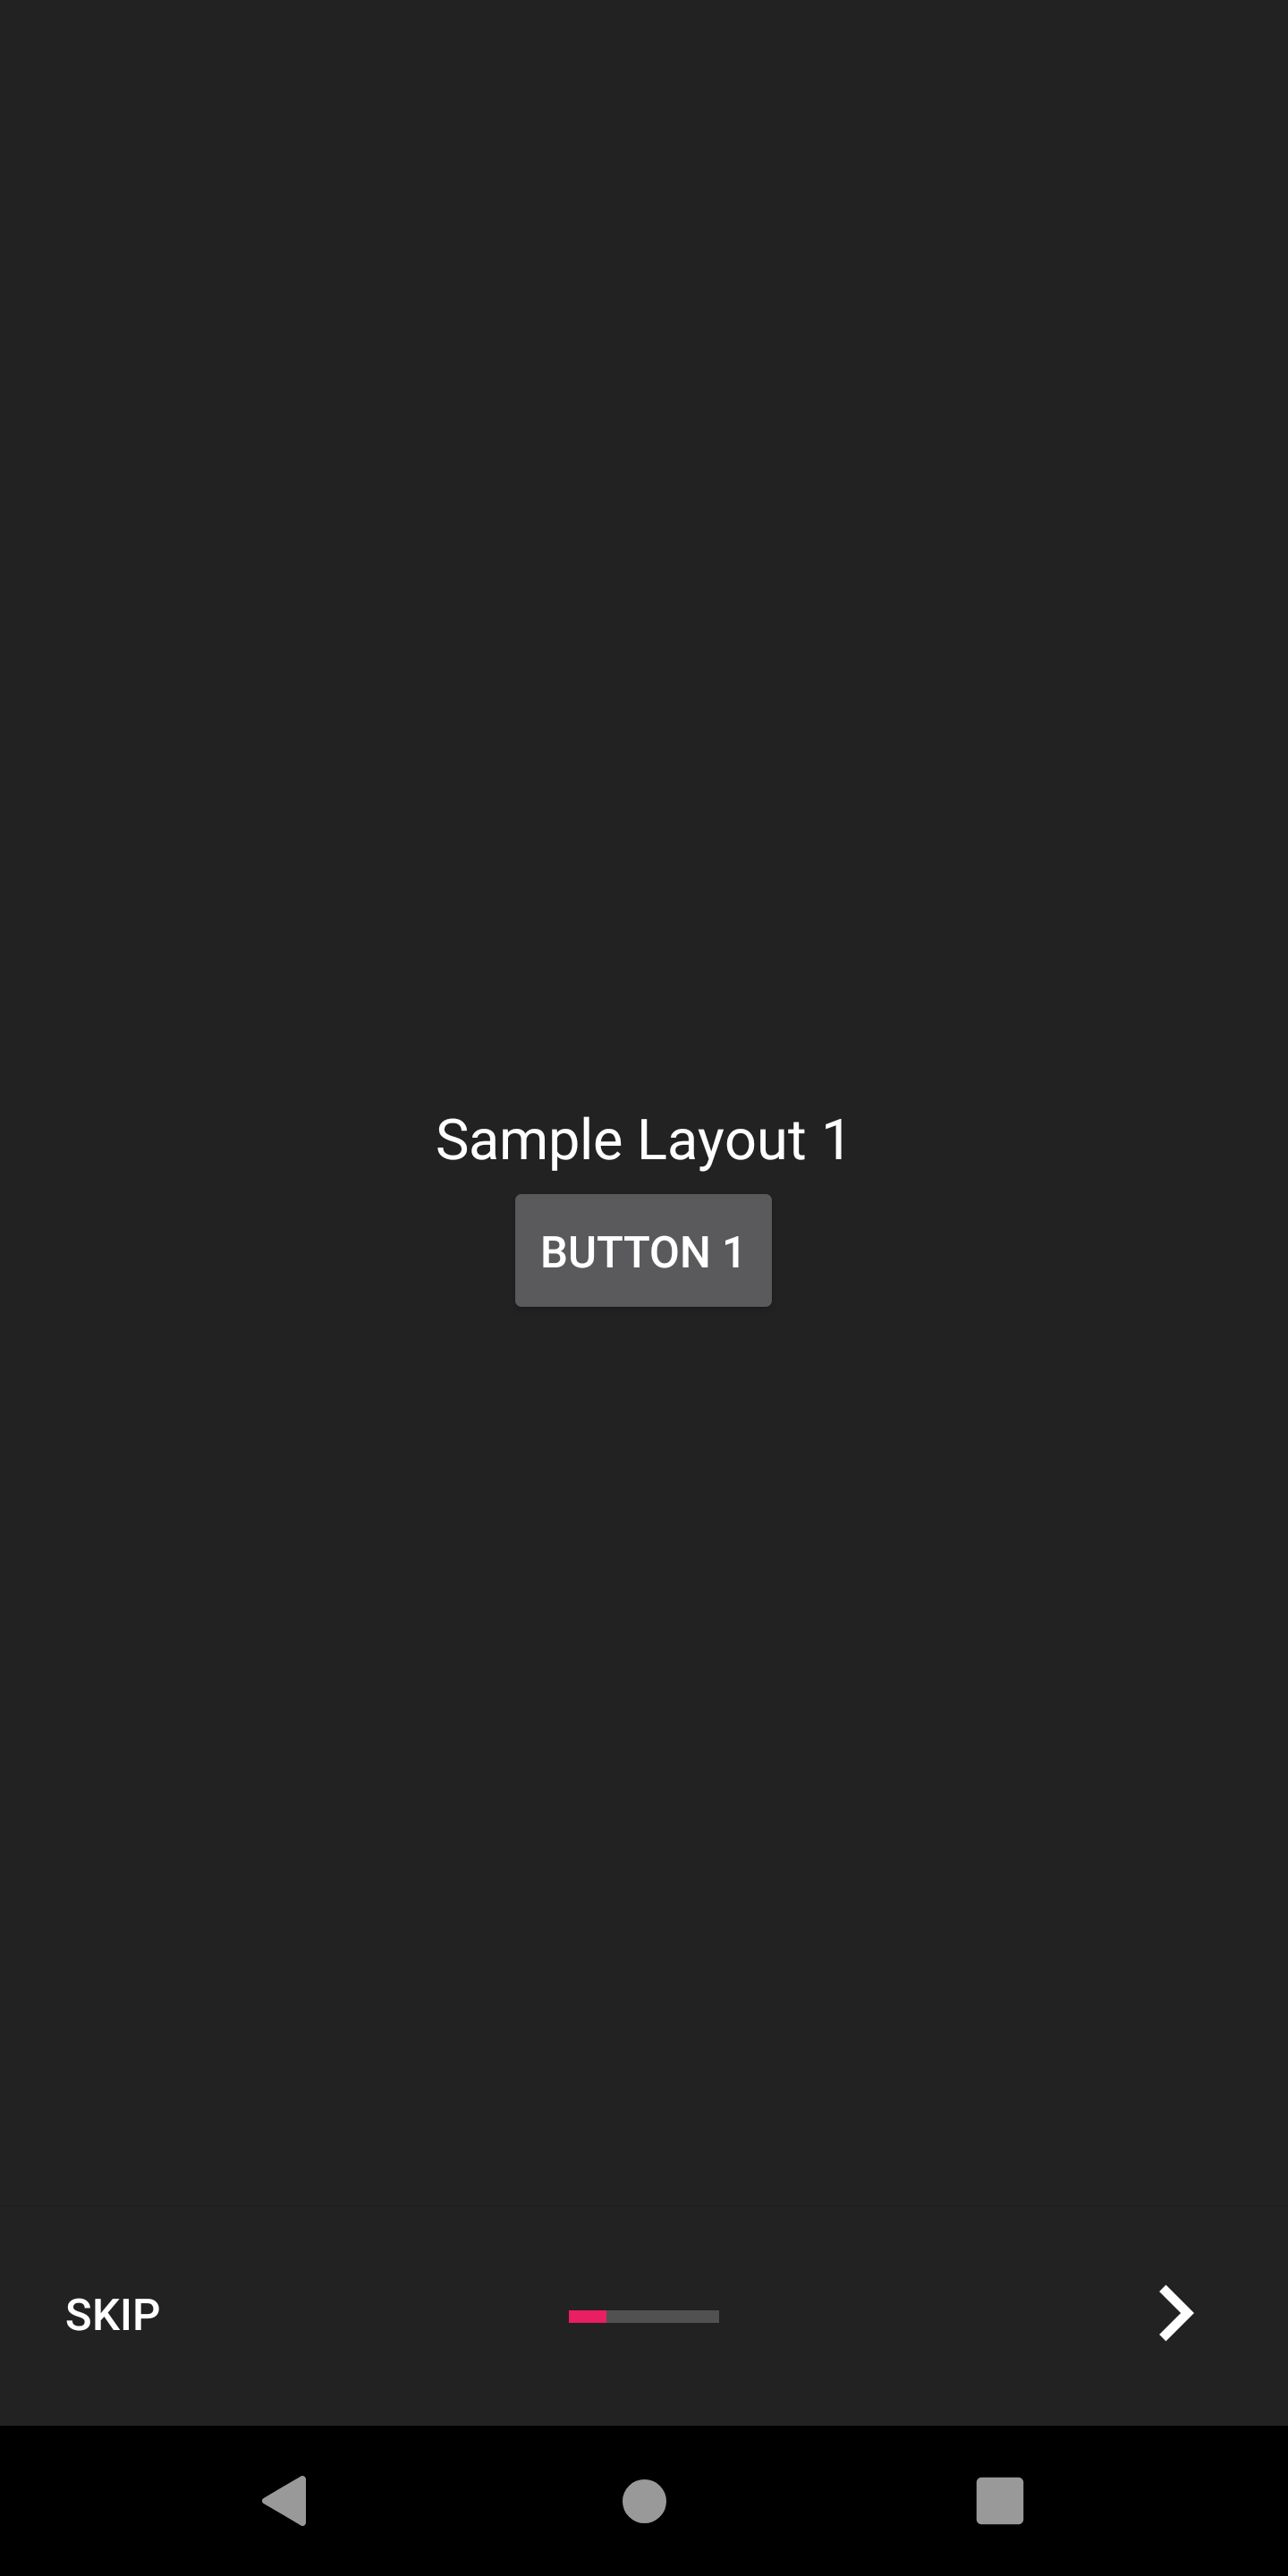
AppIntroCustomLayoutFragment如果您需要进一步控制幻灯片的自定义,则可以使用AppIntroCustomLayoutFragment 。这将允许您传递自定义布局资源文件:
AppIntroCustomLayoutFragment .newInstance( R .layout.intro_custom_layout1)这使您可以实现复杂的布局并将您的自定义逻辑包含在介绍中(另请参见幻灯片策略):
Appintro提供了多种配置选项,可帮助您自定义入职经验。
Appintro带有一套幻灯片变压器,您可以将其从包装盒中使用,以使幻灯片过渡动画。
| 滑动变压器 | 滑动变压器 |
|---|---|
褪色 | 飞涨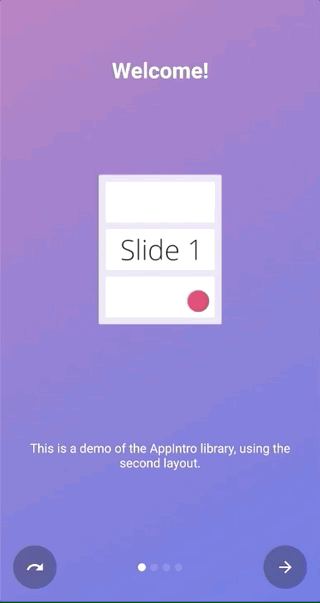 |
流动 | 滑过 |
深度 | 视差 |
您可以简单地调用setTransformer()并传递密封类AppIntroPageTransformerType的一个子类之一:
setTransformer( AppIntroPageTransformerType . Fade )
setTransformer( AppIntroPageTransformerType . Zoom )
setTransformer( AppIntroPageTransformerType . Flow )
setTransformer( AppIntroPageTransformerType . SlideOver )
setTransformer( AppIntroPageTransformerType . Depth )

// You can customize your parallax parameters in the constructors.
setTransformer( AppIntroPageTransformerType . Parallax (
                titleParallaxFactor = 1.0 ,
                imageParallaxFactor = - 1.0 ,
                descriptionParallaxFactor = 2.0
))您ViewPager.PageTransformer可以使用:
setCustomTransformer( ViewPager . PageTransformer )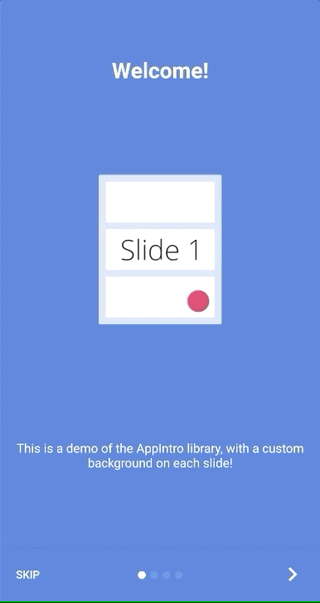
Appintro提供了使两个幻灯片背景之间的颜色过渡动画的可能性。默认情况下,此功能被禁用,您需要在Appintro上启用它:
isColorTransitionsEnabled = true启用它后,颜色将在幻灯片之间使用梯度进行动画。确保您在幻灯片中提供backgroundColor参数。
如果您提供自定义片段,则可以通过实现SlideBackgroundColorHolder界面来支持颜色过渡。
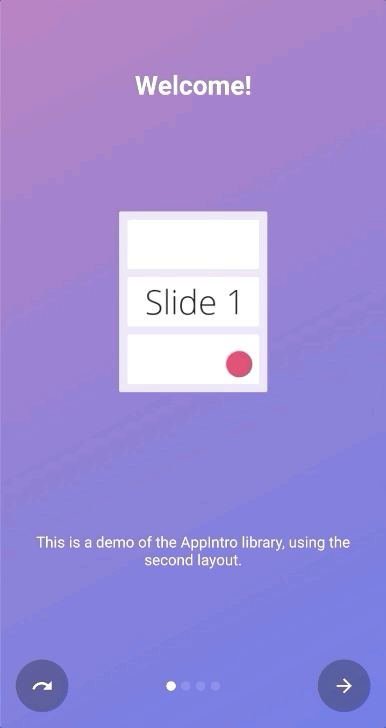
Appintro带有两个顶级布局,您可以使用。默认布局( AppIntro )具有文本按钮,而替代布局具有带有图标的按钮。
要更改窗口布局,您只需将超级类别更改为AppIntro2即可。添加和自定义appintro的方法没有变化。
 class MyCustomAppIntro : AppIntro2 () {
    // Same code as displayed in the `Basic Usage` section of this README
}| 页 | AppIntro | AppIntro2 |
|---|---|---|
| 标准页面 | 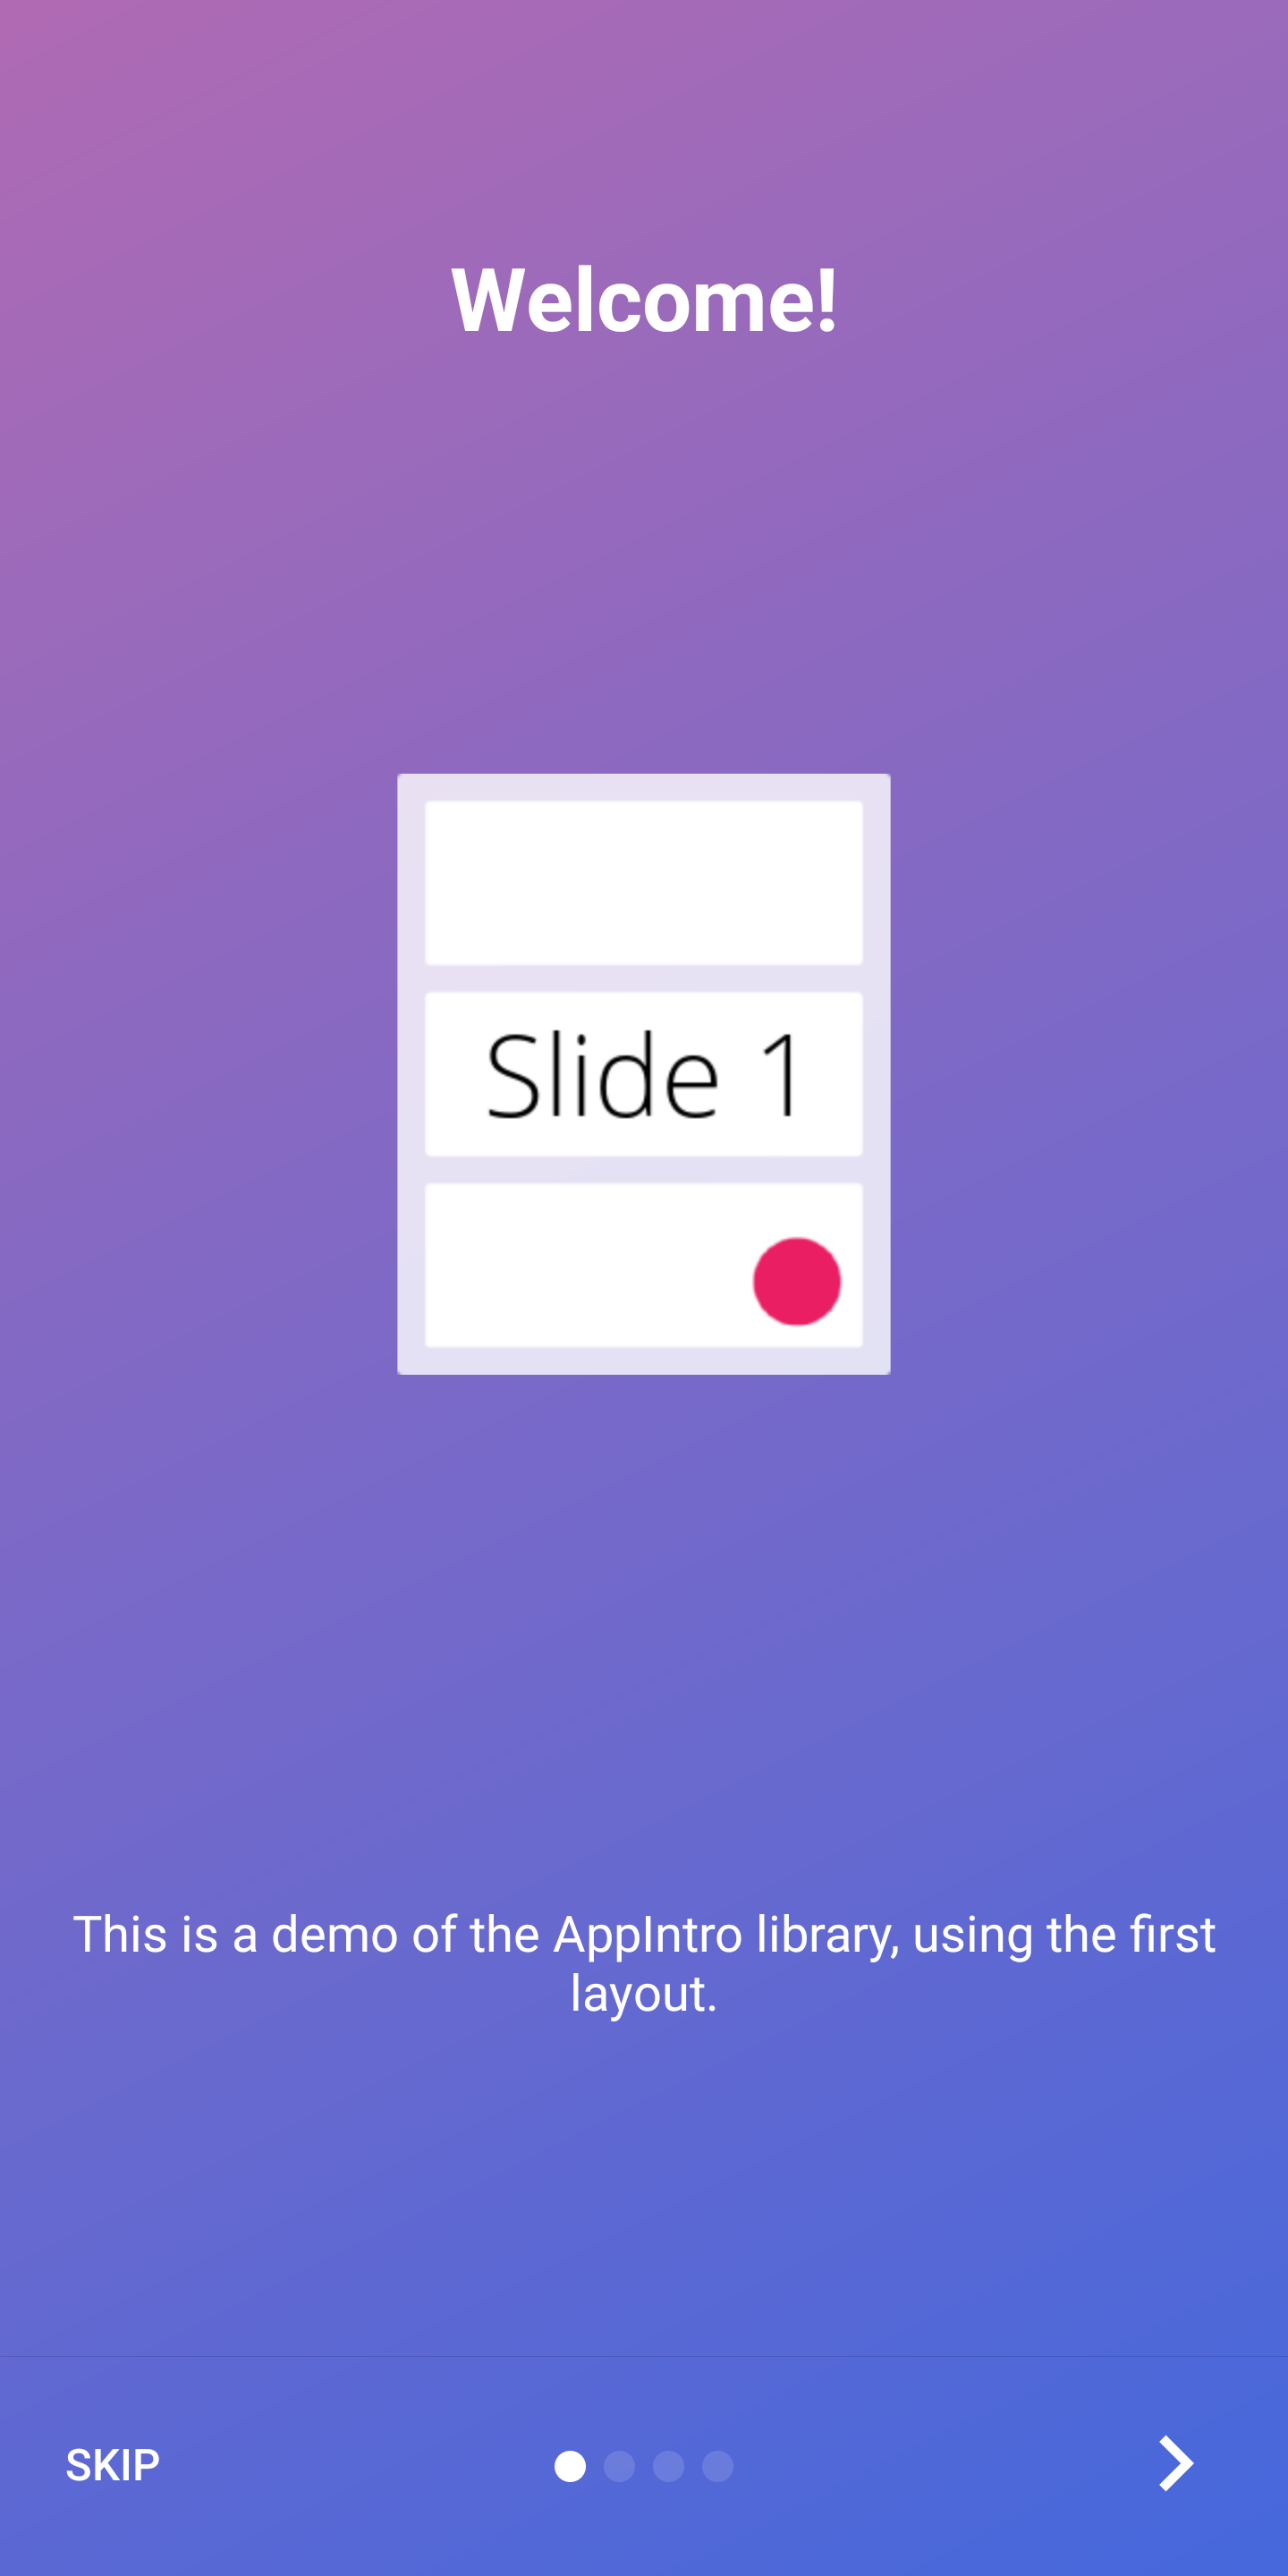 |  |
| 最后一页 | 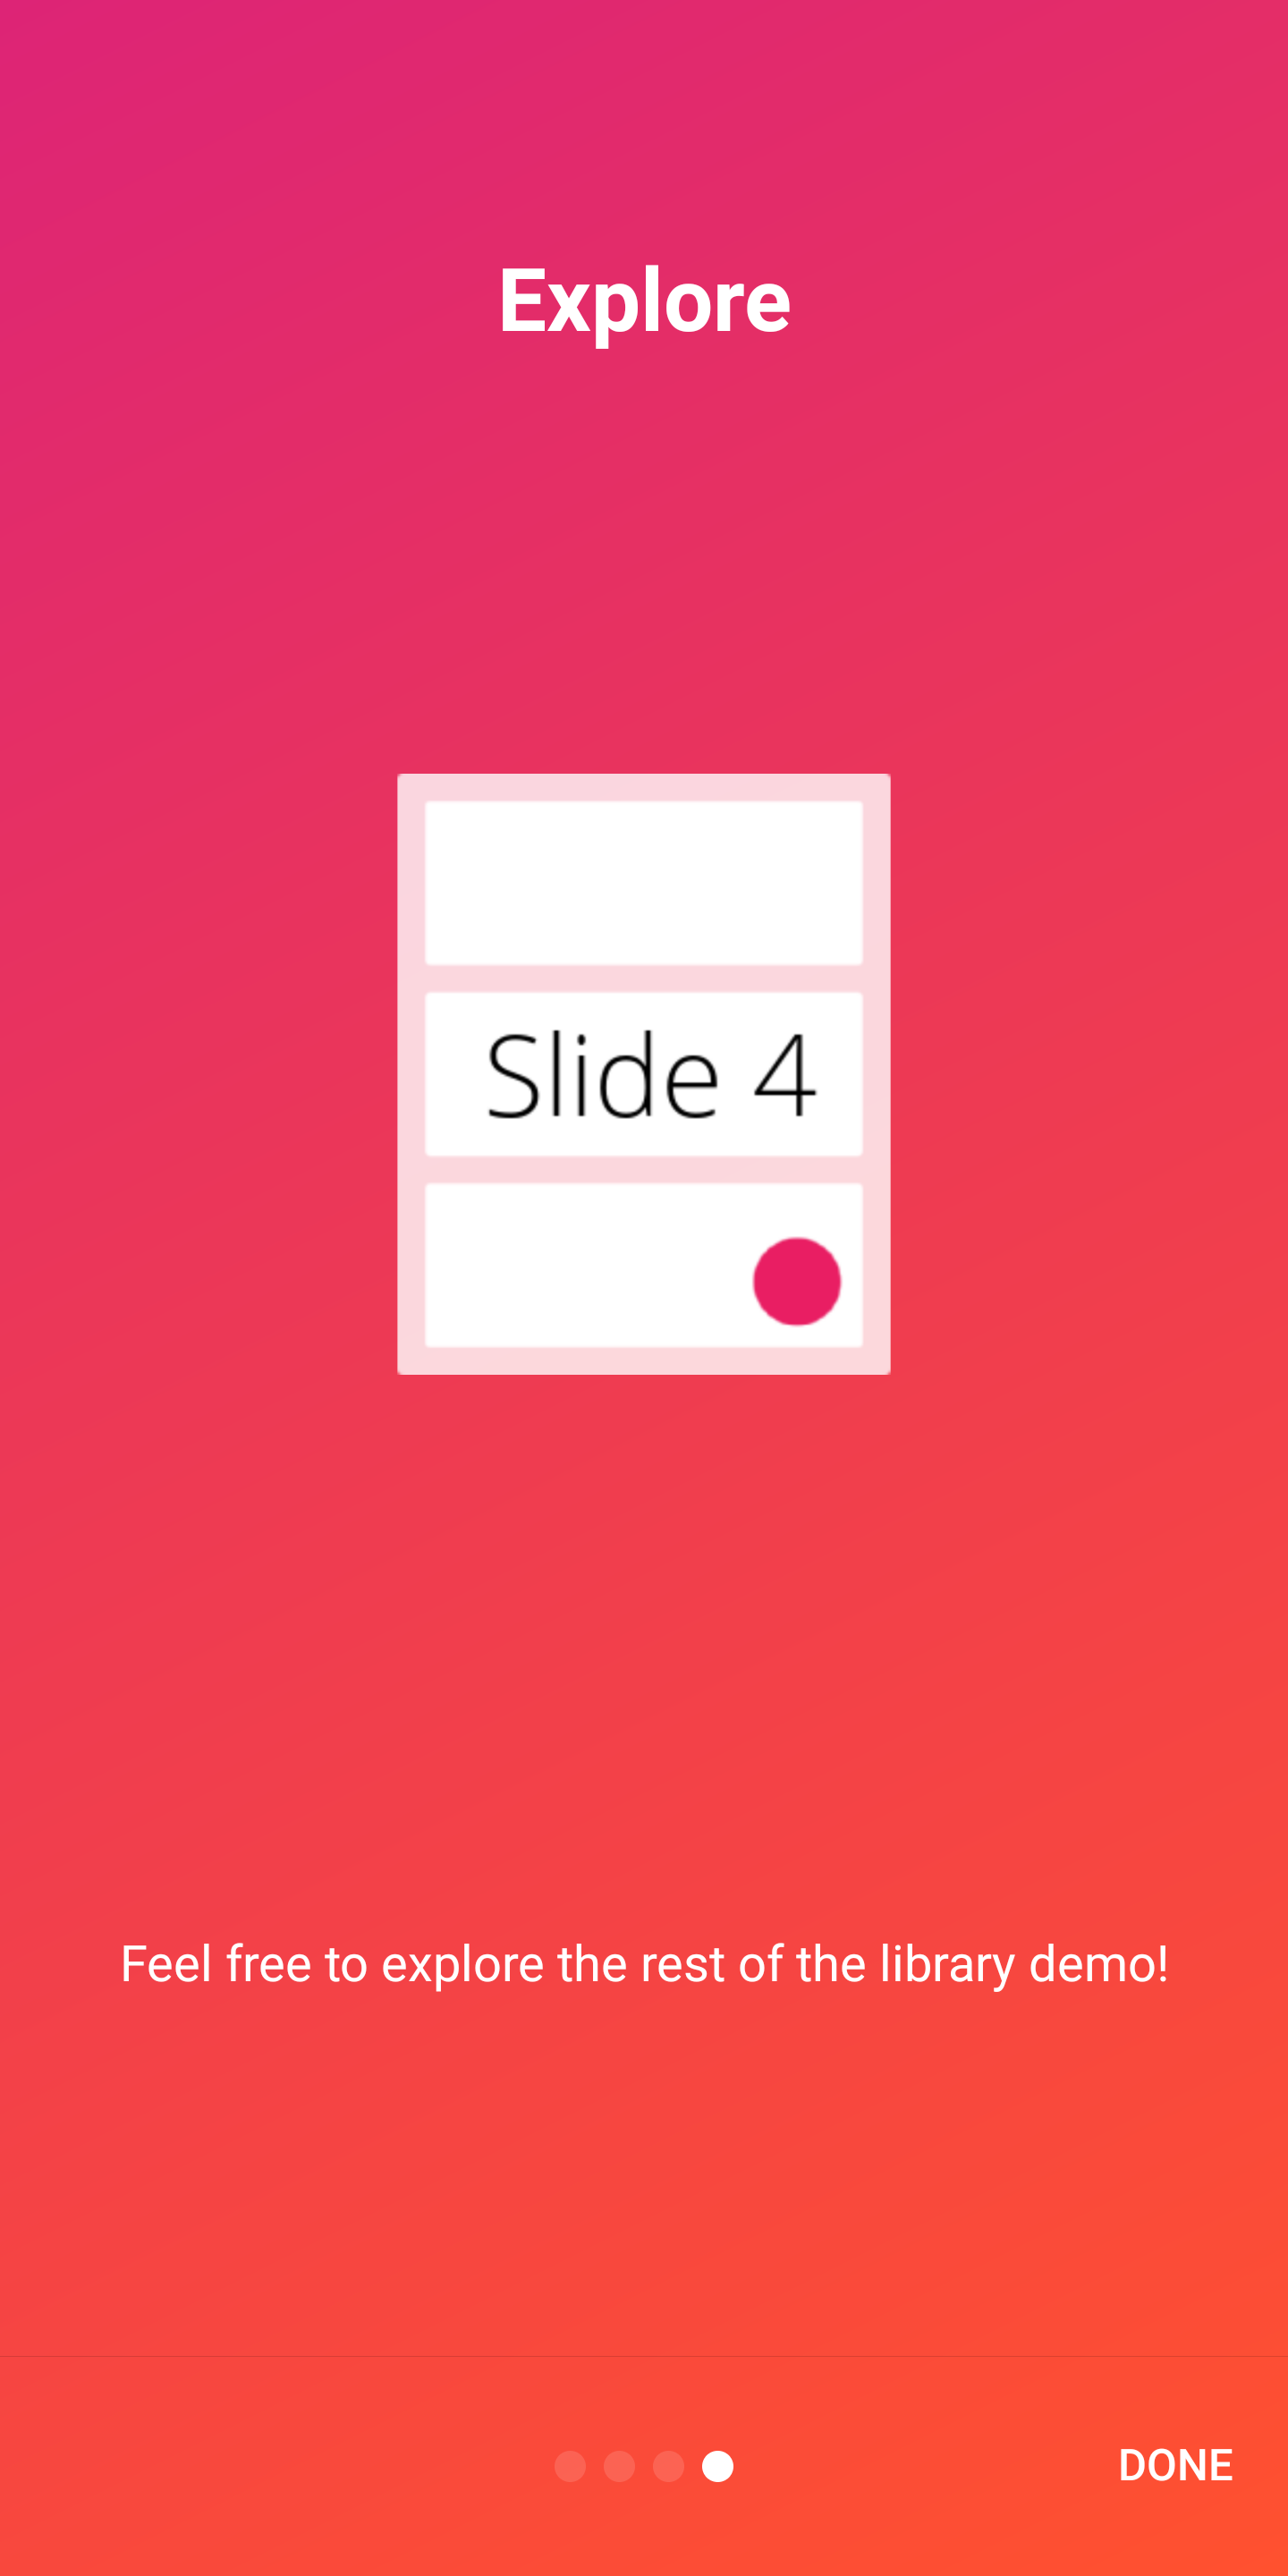 | 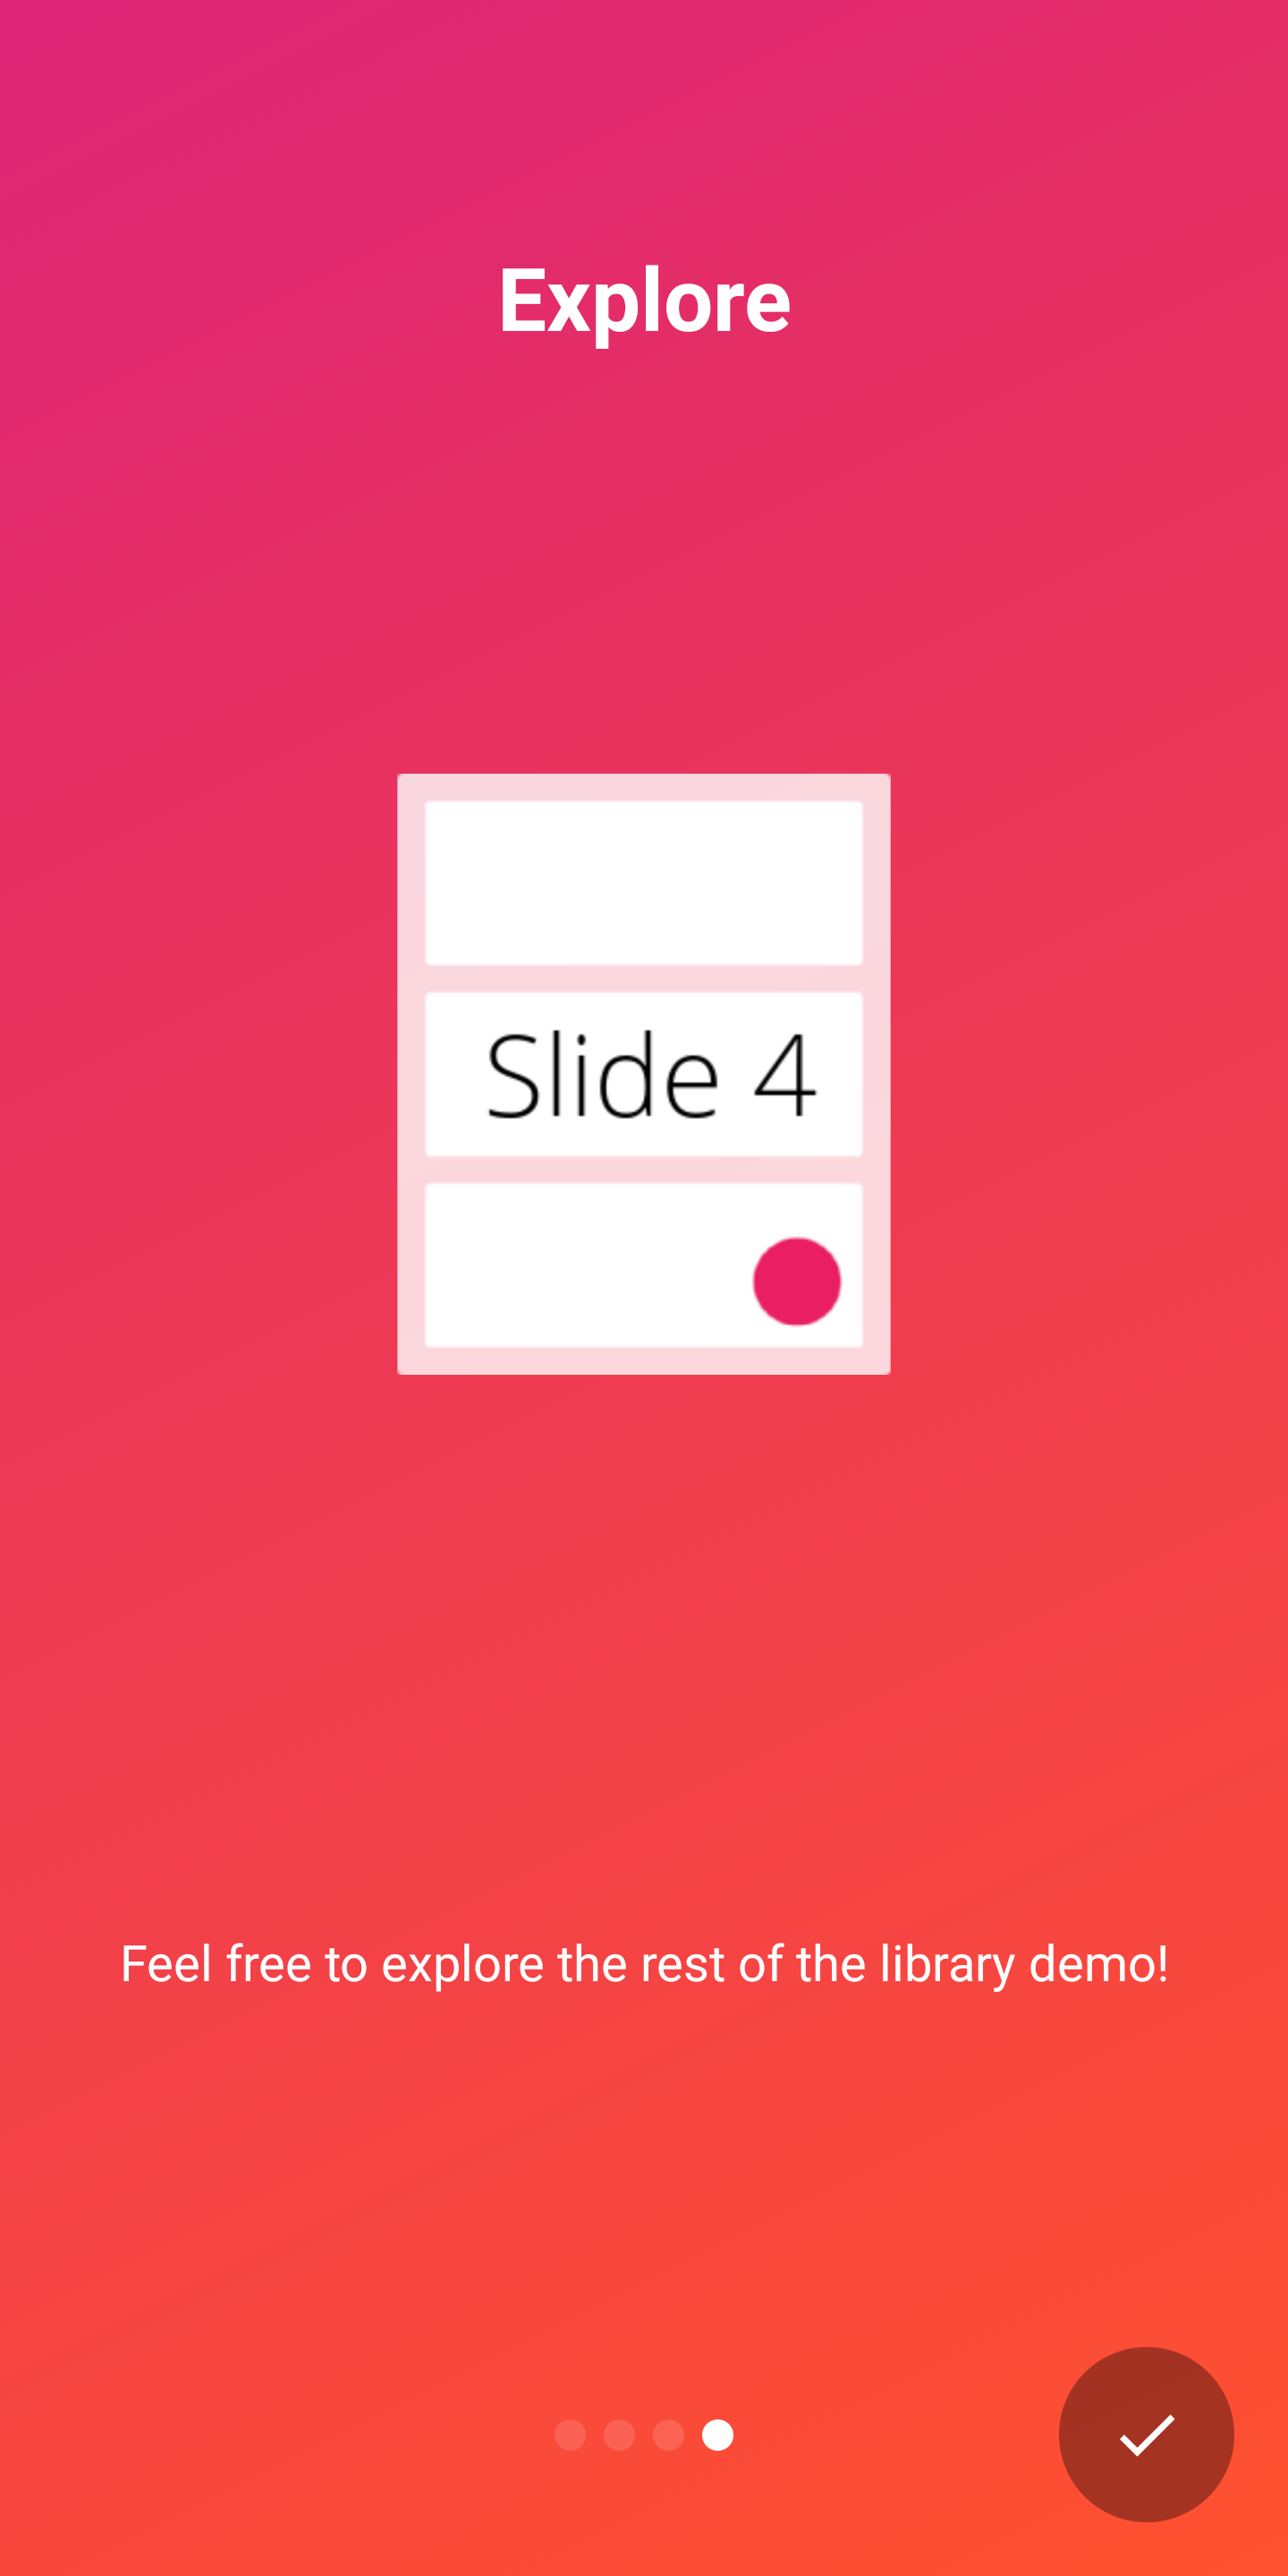 |
Appintro支持开箱即用的两个指标,以向用户显示介绍体验的进度:
DotIndicatorController表示DOT列表(默认)ProgressIndicatorController用进度栏表示。 DotIndicator | ProgressIndicator |
|---|---|
 |  |
此外,您可以通过提供IndicatorController接口的实现来提供自己的指标。
您可以在AppIntro类上使用以下API自定义指示器:
 // Toggle Indicator Visibility
isIndicatorEnabled = true

// Change Indicator Color
setIndicatorColor(
    selectedIndicatorColor = getColor( R .color.red),
    unselectedIndicatorColor = getColor( R .color.blue)
)

// Switch from Dotted Indicator to Progress Indicator
setProgressIndicator()

// Supply your custom `IndicatorController` implementation
indicatorController = MyCustomIndicator ( /* initialize me */ )如果您没有指定任何自定义,则将显示DotIndicatorController 。
Appintro支持在按钮点击上提供触觉振动反馈。请注意,您需要在应用清单中指定振动权限(库没有这样做)。如果您忘记指定许可,则该应用程序将遇到崩溃。
< uses-permission android : name = " android.permission.VIBRATE " />您可以使用以下方式启用和自定义振动
 // Enable vibration and set duration in ms
isVibrate = true
vibrateDuration = 50L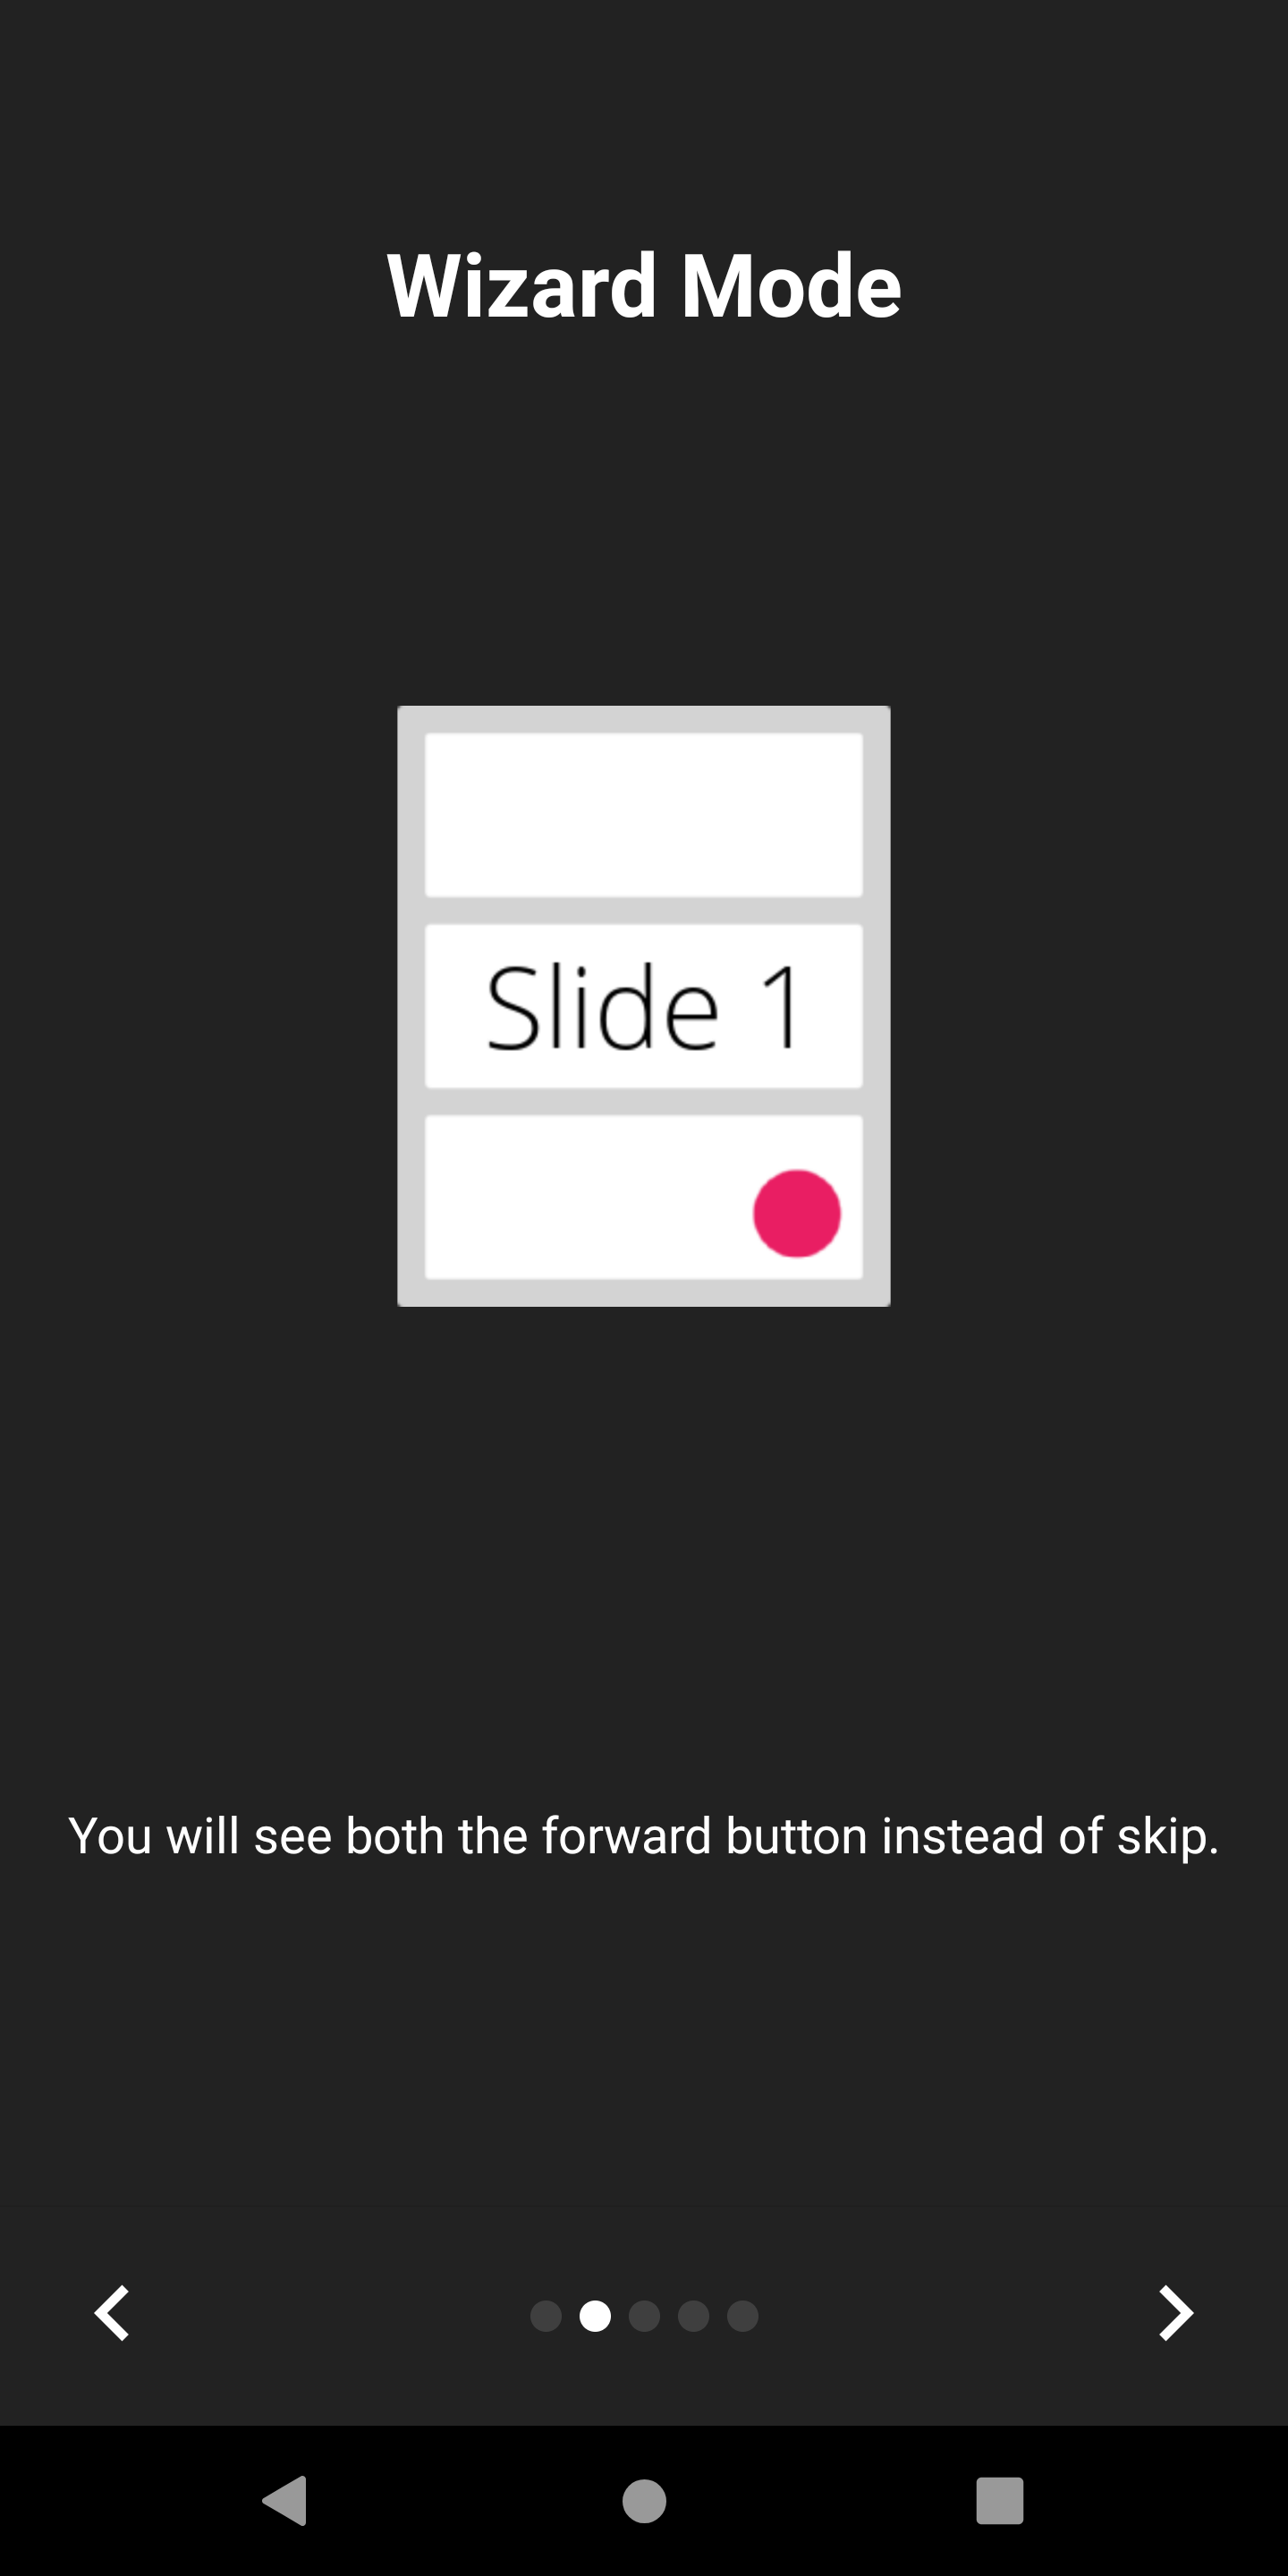

Appintro支持向导模式,在该模式下,跳过按钮将用后箭头替换。如果您正在向用户介绍他们需要执行的一组步骤,那么这很方便,他们可能经常来回来回走动。
您可以启用它:
isWizardMode = true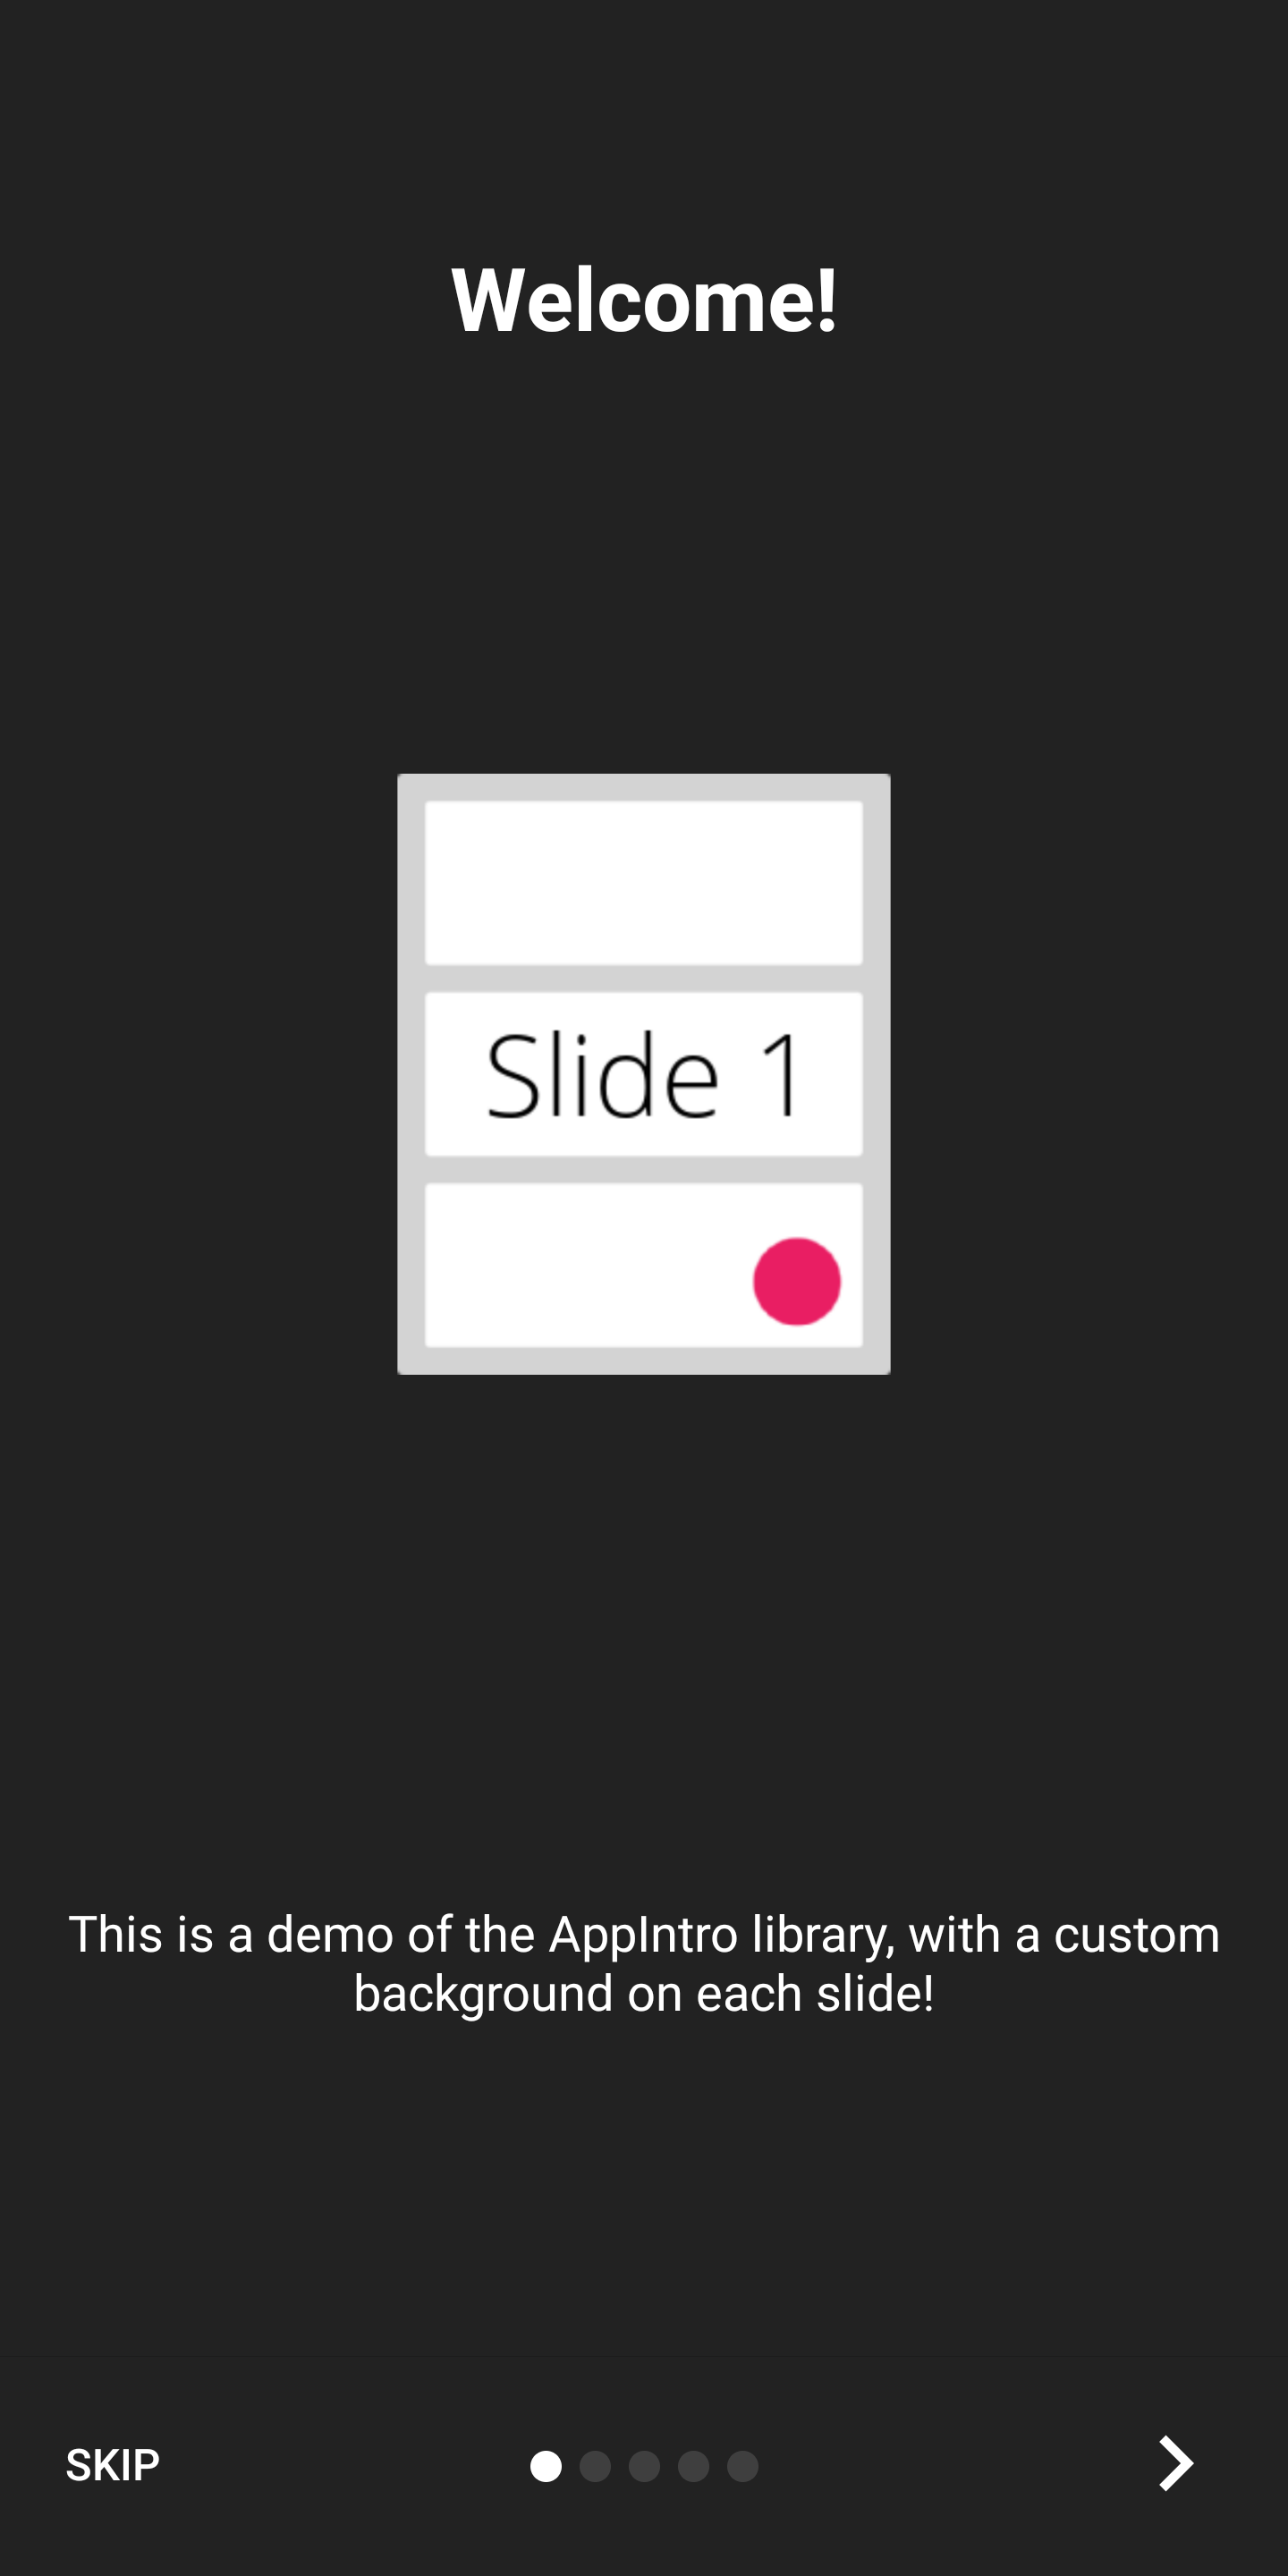

如果您想以全屏体验显示介绍,则可以启用沉浸式模式。这将隐藏状态栏和导航栏,用户将不得不从屏幕顶部滚动以再次显示它们。
这使您可以为您的介绍内容和图形提供更多空间。
您可以启用它:
setImmersiveMode()如果您不希望用户从介绍中返回,则可以锁定系统后按钮。如果您需要请求许可并且介绍体验不是可选的,这可能会很有用。
如果是这种情况,请设置为True以下标志:
isSystemBackButtonLocked = true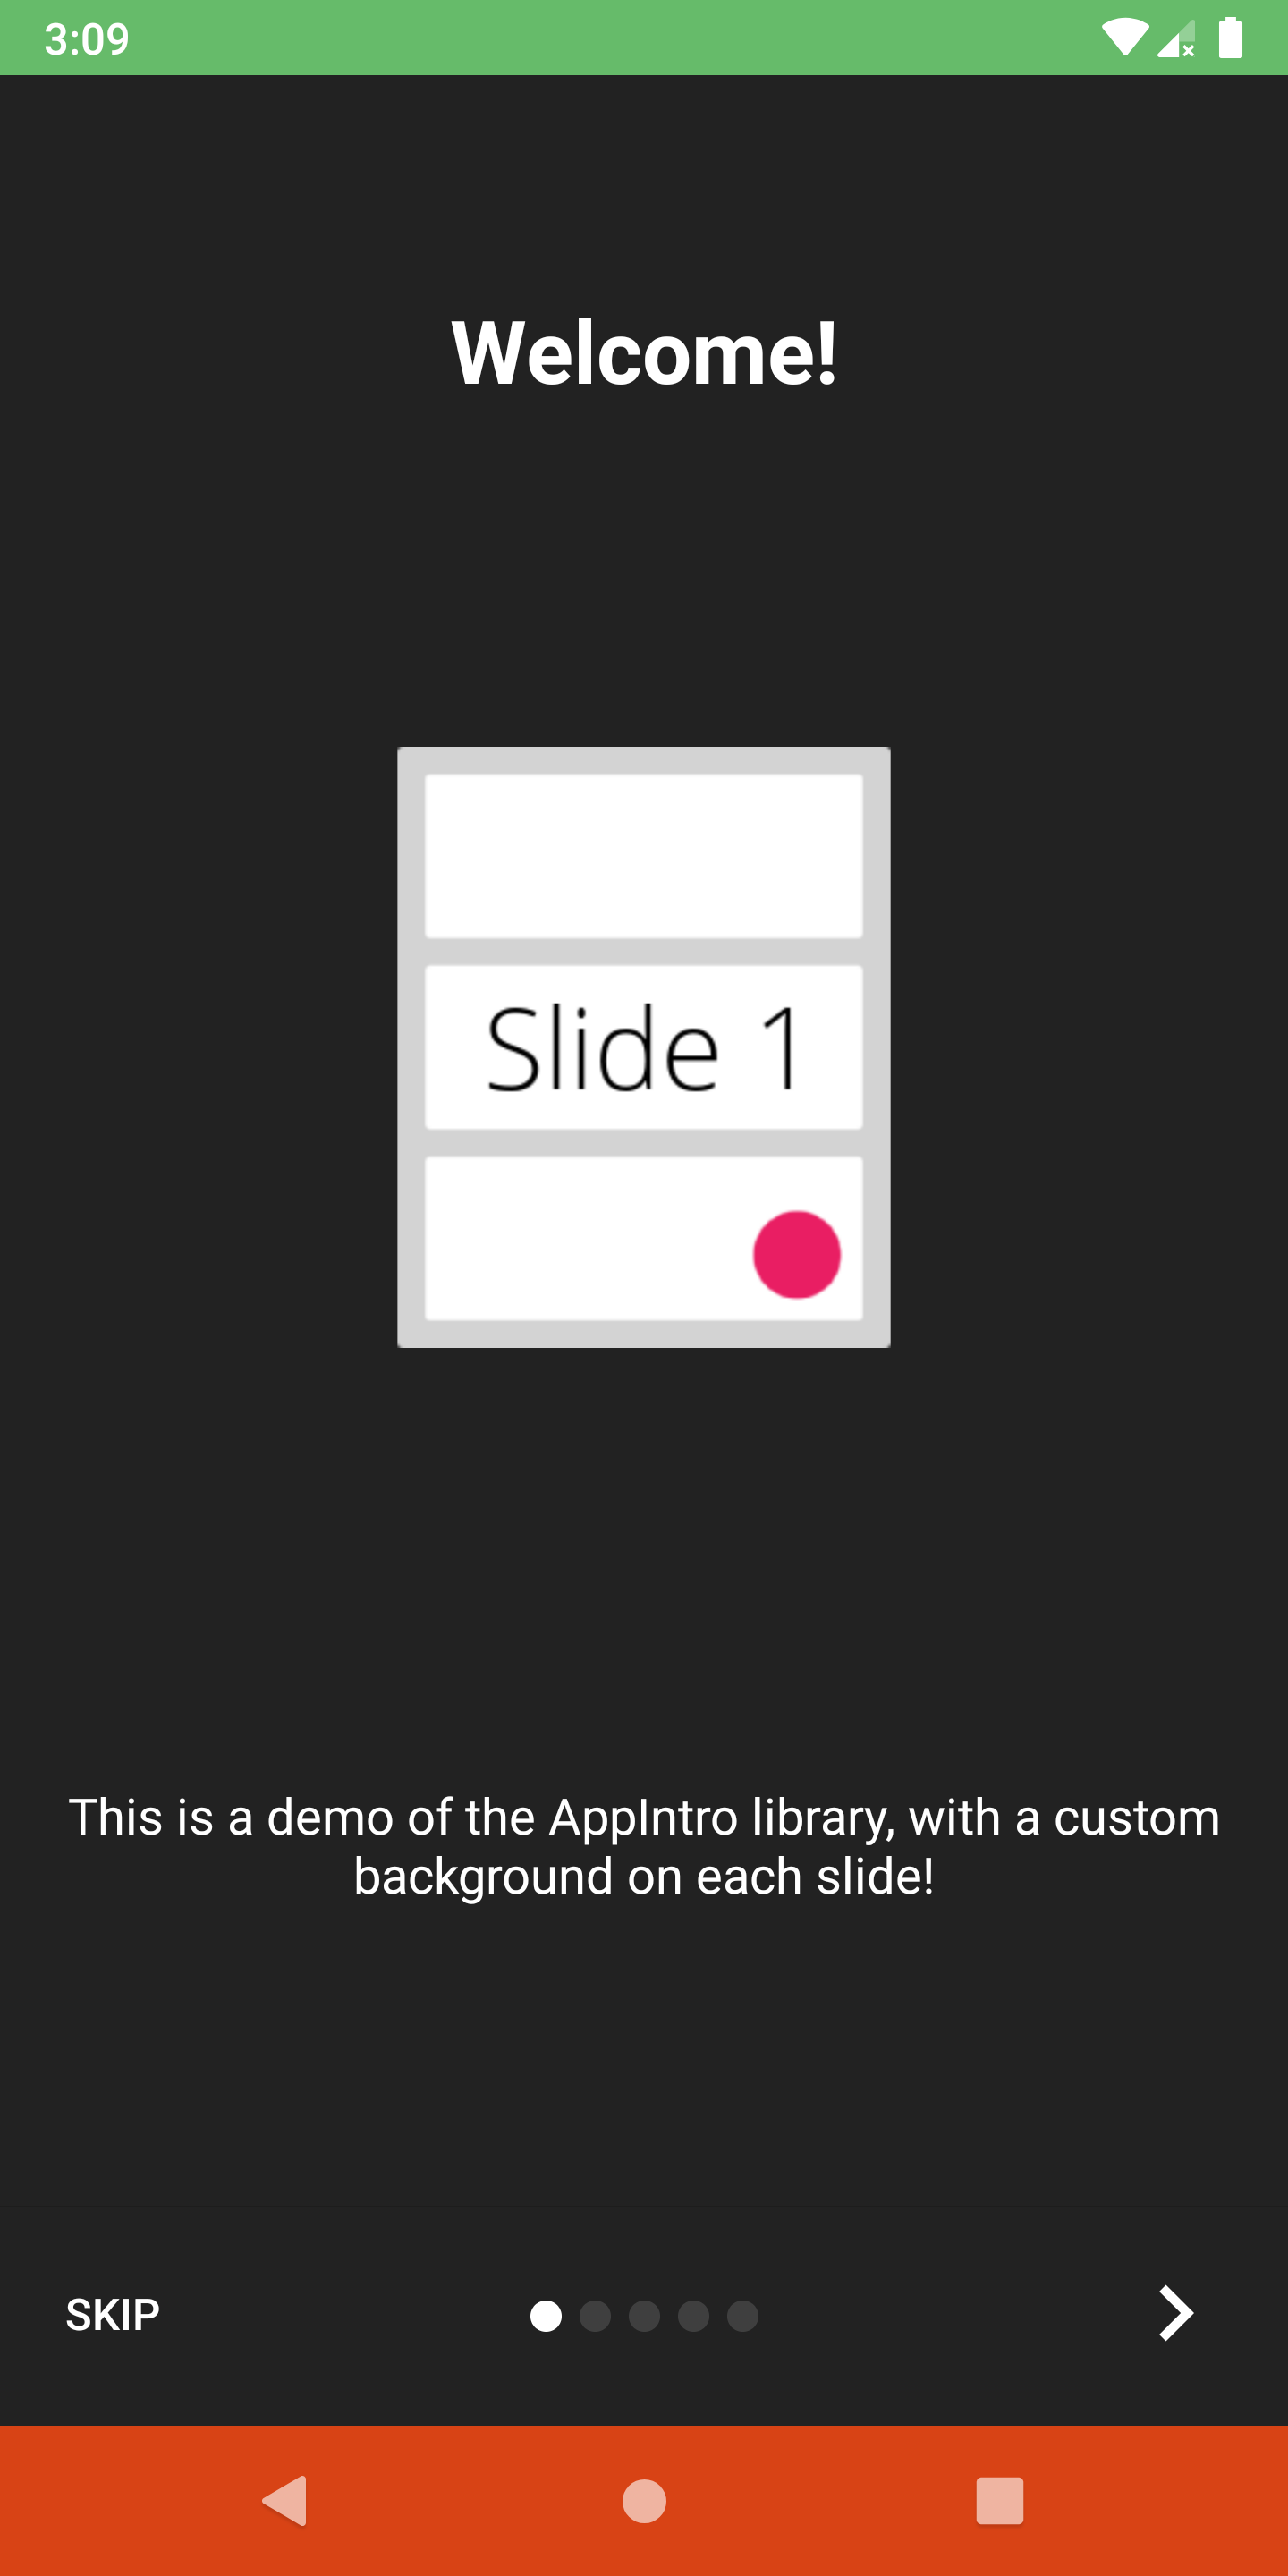
您可以使用以下方法自定义状态栏以及导航栏可见性和颜色:
 // Hide/Show the status Bar
showStatusBar( true )
// Control the status bar color
setStatusBarColor( Color . GREEN )
setStatusBarColorRes( R .color.green)

// Control the navigation bar color
setNavBarColor( Color . RED )
setNavBarColorRes( R .color.red)默认情况下,幻灯片使用屏幕上可用的整体尺寸,因此,如果您将背景颜色设置为非透明的,则底部栏可能会重叠幻灯片的内容。如果要确保条没有重叠内容,请使用setBarMargin函数如下:
setBarMargin( true )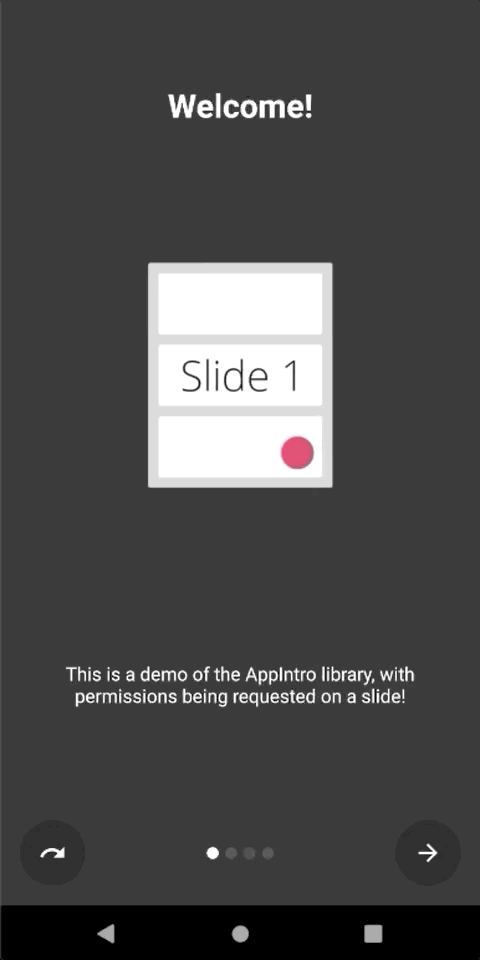
Appintro简化了向用户请求运行时权限的过程。您可以将幻灯片中的一个或多个许可请求与活动中的askForPermissions方法集成在一起。
请注意:
slideNumber处于一个基于一个基的编号(从1开始) // Ask for required CAMERA permission on the second slide.
askForPermissions(
permissions = arrayOf( Manifest .permission. CAMERA ),
slideNumber = 2 ,
required = true )
// Ask for both optional ACCESS_FINE_LOCATION and WRITE_EXTERNAL_STORAGE
// permission on the third slide.
askForPermissions(
permissions = arrayOf(
Manifest .permission. ACCESS_FINE_LOCATION ,
Manifest .permission. WRITE_EXTERNAL_STORAGE
),
slideNumber = 3 ,
required = false )如果您需要进一步控制权限请求,则可以覆盖AppIntro类上的这两种方法:
 override fun onUserDeniedPermission ( permissionName : String ) {
    // User pressed "Deny" on the permission dialog
}
override fun onUserDisabledPermission ( permissionName : String ) {
    // User pressed "Deny" + "Don't ask again" on the permission dialog
}如果要限制幻灯片之间的导航(即用户必须切换复选框才能继续),则SlidePolicy功能可能会对您有所帮助。
您所要做的就是在幻灯片中实现SlidePolicy 。
该界面包含isPolicyRespected属性和onUserIllegallyRequestedNextPage方法,您必须使用自定义逻辑来实现
 class MyFragment : Fragment (), SlidePolicy {

    // If user should be allowed to leave this slide
    override val isPolicyRespected : Boolean
        get() = false // Your custom logic here.

    override fun onUserIllegallyRequestedNextPage () {
        // User illegally requested next slide.
        // Show a toast or an informative message to the user.
    }
}您可以在示例应用程序中找到SlidePolicy的完整示例-CustomSlidePolicyFragment.kt
Appintro附带了一个示例应用程序,其中包含示例和用例,您可以用作项目的灵感。您可以在 /示例文件夹中找到它。
您可以在此处从Pre Merge github Action作业获得示例应用程序的调试APK 。
您想帮助Appintro成为国际吗?我们很高兴! Appintro当前支持以下语言。
要添加新的翻译,只需在values-xx文件夹中添加带有新strings.xml文件的拉请请求(其中xx是两个字母的ISO 639-1语言代码)。
为了提供翻译,您的文件需要包含以下字符串:
<? xml version = " 1.0 " encoding = " utf-8 " ?>
< resources xmlns : tools = " http://schemas.android.com/tools " >
    < string name = " app_intro_skip_button " >[Translation for SKIP]</ string >
    < string name = " app_intro_next_button " >[Translation for NEXT]</ string >
    < string name = " app_intro_back_button " >[Translation for BACK]</ string >
    < string name = " app_intro_done_button " >[Translation for DONE]</ string >
    < string name = " app_intro_image_content_description " >[Translation for "graphics"]</ string >
</ resources >
这里提供了英文版本翻译的更新版本。
如果您的语言翻译已经可用,请检查并最终对其进行修复(所有字符串都应列出,而不仅仅是子集)。
Appintro的开发发生在主要分支。如果需要,您可以直接从Jitpack获取SNAPSHOT版本。
 repositories {
    maven { url " https://jitpack.io " }
}
dependencies {
implementation " com.github.AppIntro:AppIntro:main-SNAPSHOT "
}我们正在Kotlinlang Slack上的#AppIntro频道上提供对Appintro的支持。快来加入那边的对话。如果您无法访问Kotlinlang Slack,则可以在此处请求访问。
我们正在寻找贡献者!不要害羞。 ?请随时打开问题/拉动请求,以帮助我改善该项目。
Appintro目前是由Appintro Github org开发和维护的。提交新公关时,请ping之一:
Appintro不依赖于Androidx以外的任何第三方库:
androidx.appcompat:appcompatandroidx.annotation:annotationandroidx.constraintlayout:constraintlayout Copyright (C) 2015-2020 AppIntro Developers
Licensed under the Apache License, Version 2.0 (the "License");
you may not use this file except in compliance with the License.
You may obtain a copy of the License at
http://www.apache.org/licenses/LICENSE-2.0
Unless required by applicable law or agreed to in writing, software
distributed under the License is distributed on an "AS IS" BASIS,
WITHOUT WARRANTIES OR CONDITIONS OF ANY KIND, either express or implied.
See the License for the specific language governing permissions and
limitations under the License.
如果您在应用程序中使用Appintro,并且想在此处列出,请打开一个拉请请求,我们很乐意包括您:


