AppIntro
AppIntro 6.3.1
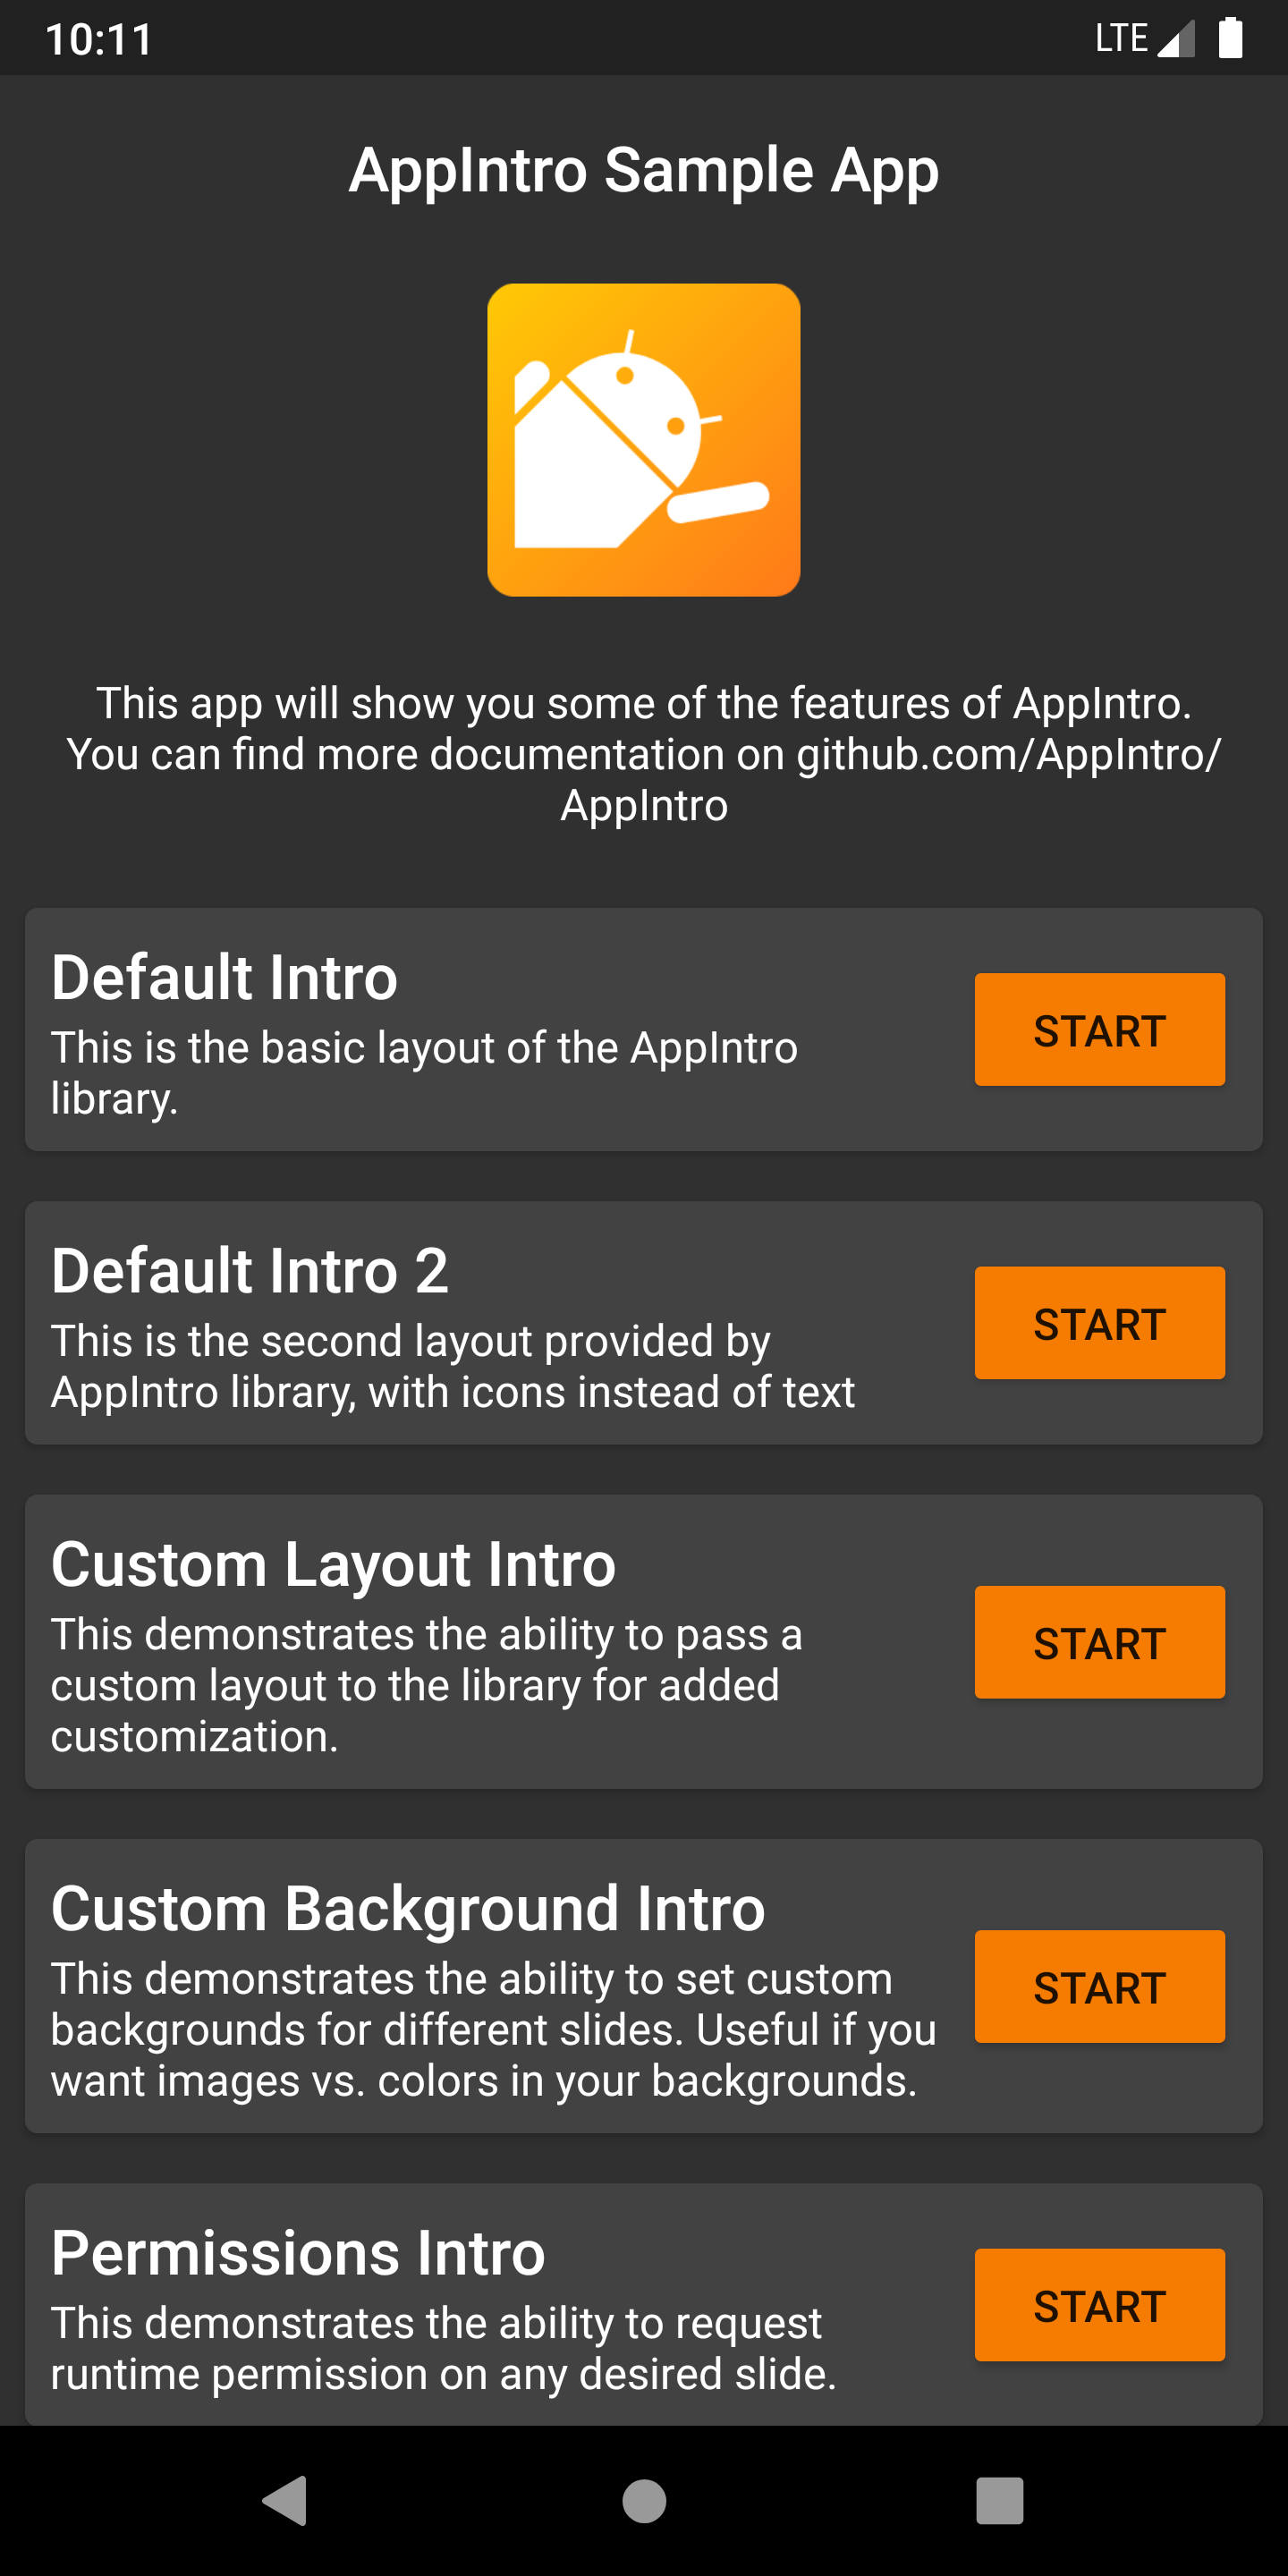
AppintroはAndroidライブラリで、アプリ用のクールなカルーセルイントロを構築するのに役立ちます。 Appintroは、許可を要求するためのサポートを受けており、わずか数分で優れたオンボーディングエクスペリエンスを作成するのに役立ちます。

AppintroはJitpackを介して配布されます。
それを使用するには、build.gradle依存関係をbuild.gradleファイル(ルートファイルではなく)を使用する必要があります。
repositories {
    maven { url " https://jitpack.io " }
}
dependencies {
// AndroidX Capable version
implementation ' com.github.AppIntro:AppIntro:6.3.1 '
// *** OR ***
// Latest version compatible with the old Support Library
implementation ' com.github.AppIntro:AppIntro:4.2.3 '
}Appintro 5.x以降、ライブラリはAndroid Xをサポートしていることに注意してください。まだ移行していない場合は、おそらく古いサポートライブラリパッケージを使用する以前のバージョンのライブラリを使用する必要があります(またはJetifier Reverse Modeを試してください)。
Appintroを使用するには、以下のようにAppintroを拡張する新しいアクティビティを作成する必要があります。
 class MyCustomAppIntro : AppIntro () {
    override fun onCreate ( savedInstanceState : Bundle ? ) {
        super .onCreate(savedInstanceState)
        // Make sure you don't call setContentView!

        // Call addSlide passing your Fragments.
        // You can use AppIntroFragment to use a pre-built fragment
        addSlide( AppIntroFragment .createInstance(
                title = " Welcome... " ,
                description = " This is the first slide of the example "
        ))
        addSlide( AppIntroFragment .createInstance(
                title = " ...Let's get started! " ,
                description = " This is the last slide, I won't annoy you more :) "
        ))
    }

    override fun onSkipPressed ( currentFragment : Fragment ? ) {
        super .onSkipPressed(currentFragment)
        // Decide what to do when the user clicks on "Skip"
        finish()
    }

    override fun onDonePressed ( currentFragment : Fragment ? ) {
        super .onDonePressed(currentFragment)
        // Decide what to do when the user clicks on "Done"
        finish()
    }
} SetContentViewに電話してはいけないことに注意してください。 AppIntro Superclassはあなたのためにそれを世話しています。
また、単一のパラメーター( Bundle )でonCreateオーバーライドすることを確認し、代わりに別のオーバーライド( onCreate(Bundle, PersistableBundle)など)を使用していないことを確認してください。
最後に、あなたのマニフェストでのアクティビティをそうすることを宣言します:
< activity android : name = " com.example.MyCustomAppIntro "
    android : label = " My Custom AppIntro " />
アプリが開始されるたびにイントロを起動したくない限り、 MyCustomAppIntro最初のアクティビティとして宣言しないことをお勧めします。理想的には、Appintroアクティビティをユーザーに1回だけ表示する必要があります。完了したら非表示にする必要があります( SharedPreferencesでフラグを使用できます)。
Java言語で多くの例をExamplesディレクトリで見つけることができます
Appintro v5.xからv6.xに移動している場合は、複数の壊れた変更を期待してください。この他の移行ガイドでコードを更新する方法に関するドキュメントを見つけることができます。
Changelogをチェックして、Appintroの最新バージョンのすべての変更を確認することを忘れないでください。
新しいスライドを追加するエントリポイントは、 AppIntroクラスのaddSlide(fragment: Fragment)関数です。それを使用して、カルーセルに新しいFragmentを追加できます。
ライブラリには、いくつかのラインでスライドを作成するのに役立ついくつかのユーティルクラスが付属しています。
AppIntroFragmentタイトル、説明、画像、色をカスタマイズしたい場合は、 AppIntroFragmentを使用できます。あなたが簡単なイントロを作成したい場合、それは提案されたアプローチです:
addSlide( AppIntroFragment .createInstance(
    title = " The title of your slide " ,
    description = " A description that will be shown on the bottom " ,
    imageDrawable = R .drawable.the_central_icon,
    backgroundDrawable = R .drawable.the_background_image,
    titleColorRes = R .color.yellow,
    descriptionColorRes = R .color.red,
    backgroundColorRes = R .color.blue,
    titleTypefaceFontRes = R .font.opensans_regular,
    descriptionTypefaceFontRes = R .font.opensans_regular,
))
すべてのパラメーターはオプションであるため、スライドを自由にカスタマイズすることができます。
いくつかのスライドをプログラム的に作成する必要がある場合は、 SliderPageクラスを使用することもできます。このクラスはAppIntroFragment.createInstance(sliderPage: SliderPage)に渡すことができ、そのインスタンスから始まる新しいスライドを作成します。
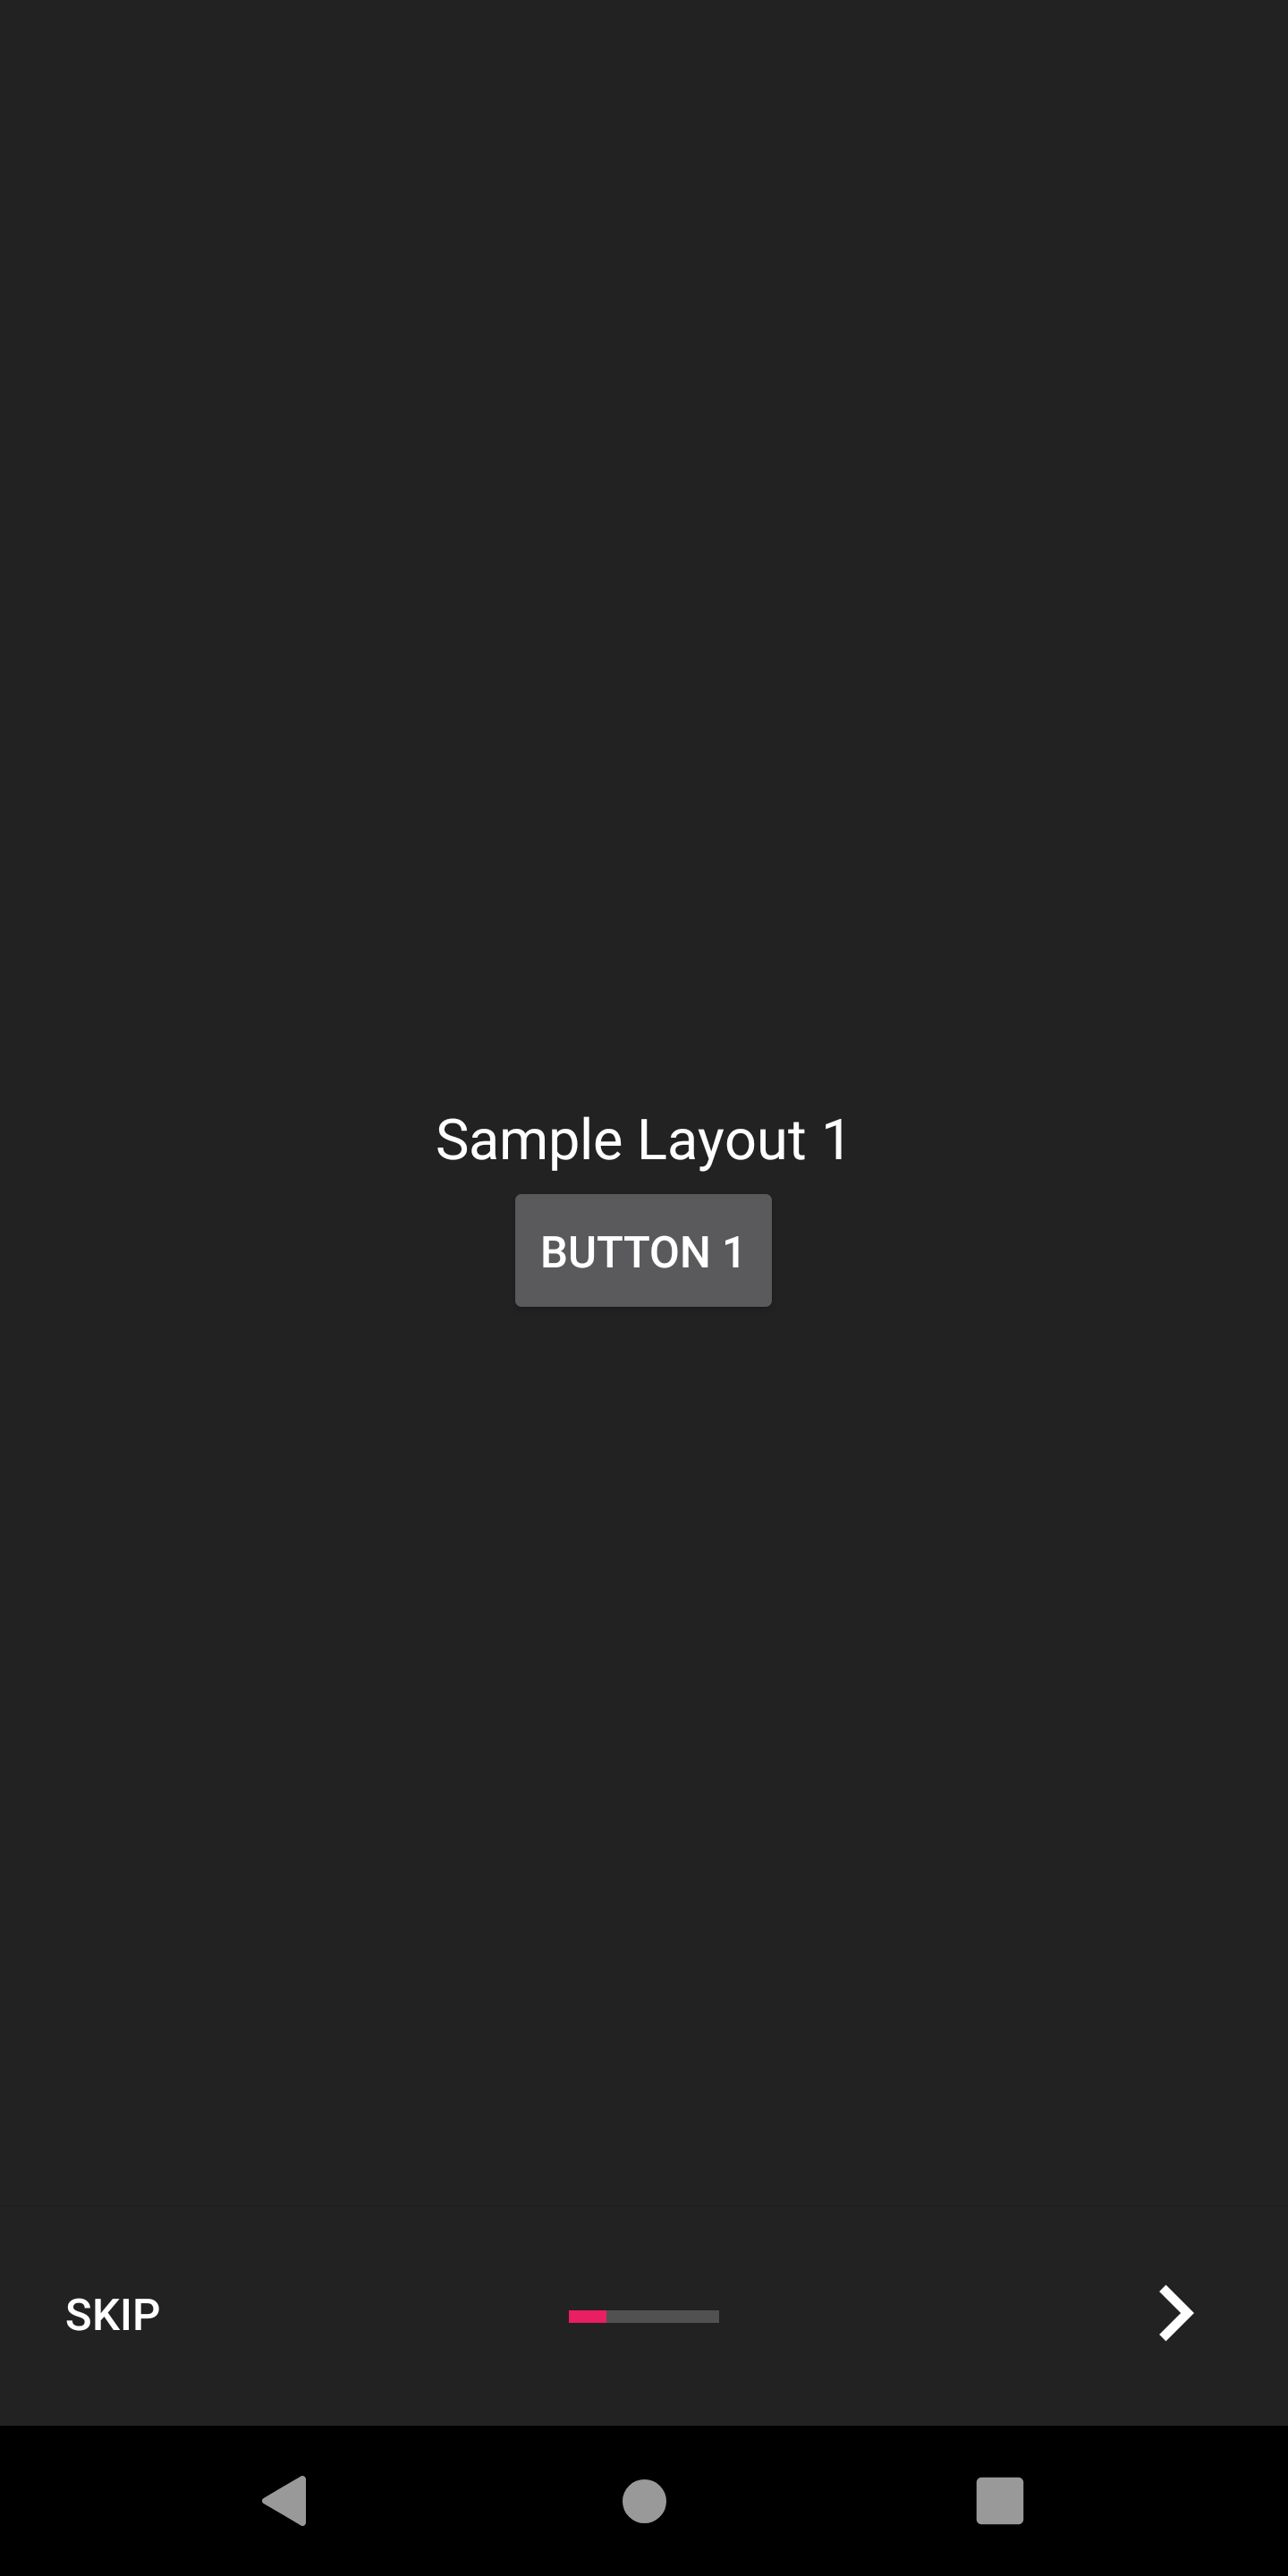
AppIntroCustomLayoutFragmentスライドのカスタマイズをさらに制御する必要がある場合は、 AppIntroCustomLayoutFragmentを使用できます。これにより、カスタムレイアウトリソースファイルを渡すことができます。
AppIntroCustomLayoutFragment .newInstance( R .layout.intro_custom_layout1)これにより、複雑なレイアウトを実現し、イントロにカスタムロジックを含めることができます(スライドポリシーも参照)。
Appintroは、オンボーディングエクスペリエンスをカスタマイズするのに役立ついくつかの構成オプションを提供します。
Appintroには、スライドトランスを使用してスライドトランジションをアニメーション化できるスライドトランスのセットが付属しています。
| スライドトランス | スライドトランス |
|---|---|
フェード | ズーム |
流れ | スライドします |
深さ | 視差 |
setTransformer()を呼び出して、密閉されたクラスのAppIntroPageTransformerTypeのサブクラスの1つを渡すだけです。
setTransformer( AppIntroPageTransformerType . Fade )
setTransformer( AppIntroPageTransformerType . Zoom )
setTransformer( AppIntroPageTransformerType . Flow )
setTransformer( AppIntroPageTransformerType . SlideOver )
setTransformer( AppIntroPageTransformerType . Depth )

// You can customize your parallax parameters in the constructors.
setTransformer( AppIntroPageTransformerType . Parallax (
                titleParallaxFactor = 1.0 ,
                imageParallaxFactor = - 1.0 ,
                descriptionParallaxFactor = 2.0
))また、カスタムスライドトランス( ViewPager.PageTransformerインターフェイスを実装)を次のように提供することもできます。
setCustomTransformer( ViewPager . PageTransformer )
Appintroは、2つのスライドの背景間の色の遷移をアニメーション化する可能性を提供します。この機能はデフォルトで無効になっているため、次のようなAppintroで有効にする必要があります。
isColorTransitionsEnabled = true有効にすると、勾配のスライド間で色がアニメーション化されます。スライドにbackgroundColorパラメーターを提供していることを確認してください。
カスタムフラグメントを提供している場合は、 SlideBackgroundColorHolderインターフェイスを実装することにより、カラートランジションをサポートできます。
Appintroには、使用できる2つのトップレベルのレイアウトが付属しています。デフォルトのレイアウト( AppIntro )にはテキストボタンがあり、代替レイアウトにはアイコン付きのボタンがあります。
ウィンドウレイアウトを変更するには、スーパークラスをAppIntro2に変更するだけです。 Appintroを追加およびカスタマイズする方法は変更されていません。
 class MyCustomAppIntro : AppIntro2 () {
    // Same code as displayed in the `Basic Usage` section of this README
}| ページ | AppIntro | AppIntro2 |
|---|---|---|
| 標準ページ | 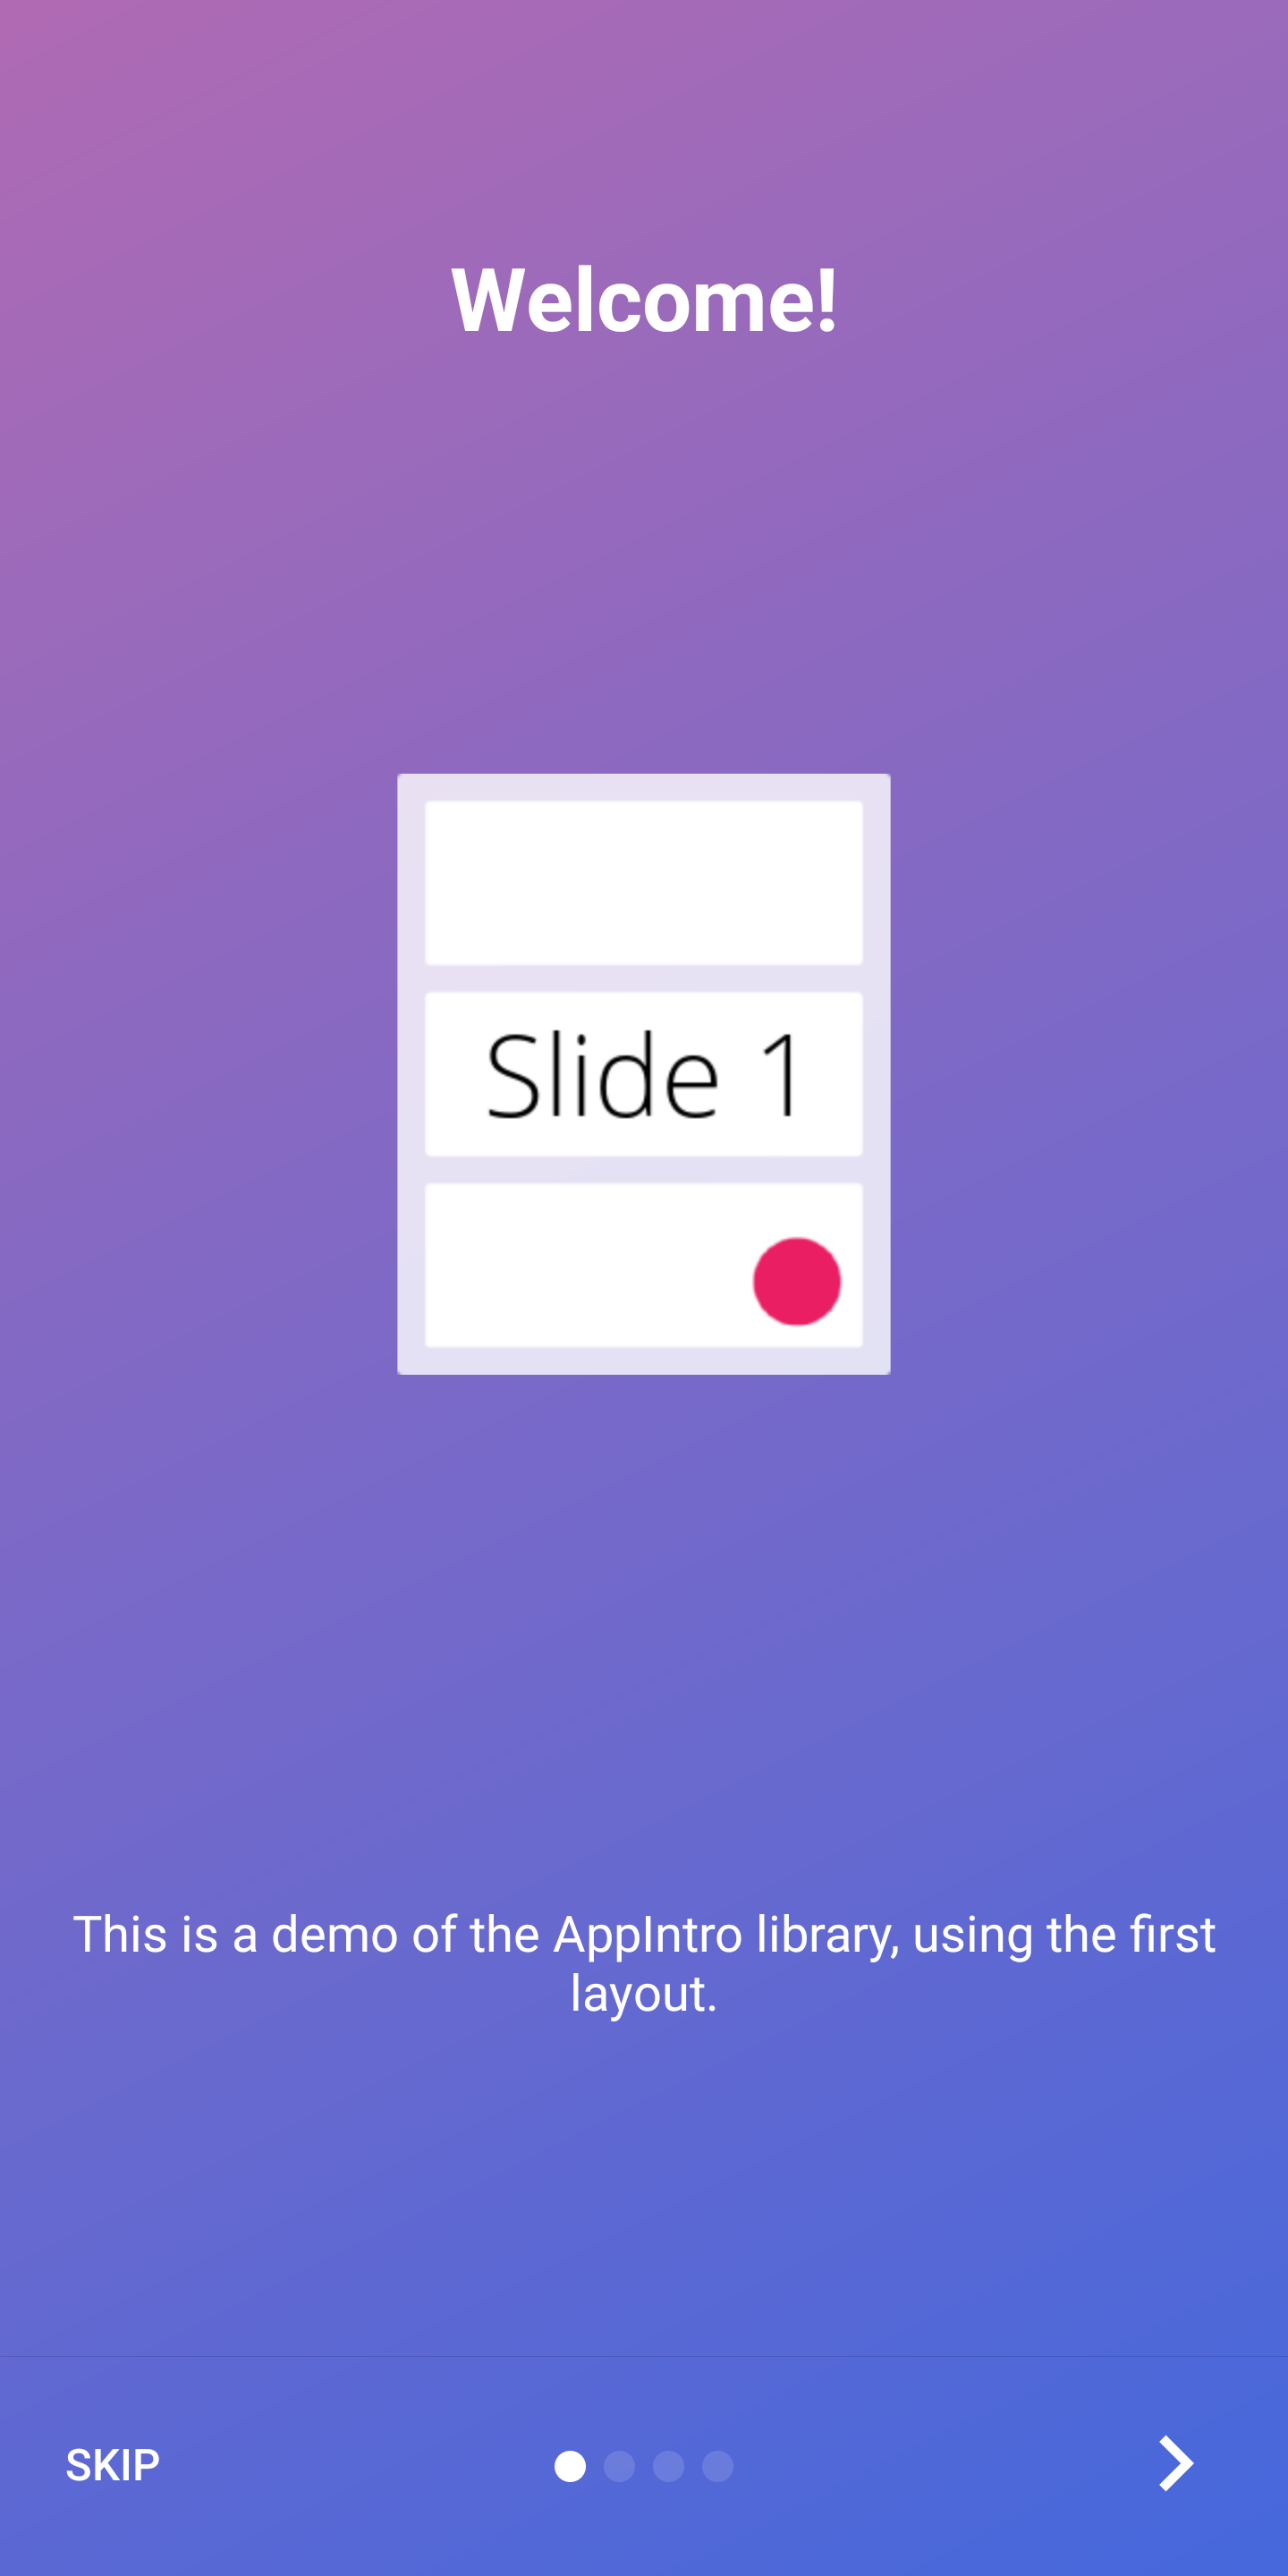 |  |
| 最後のページ | 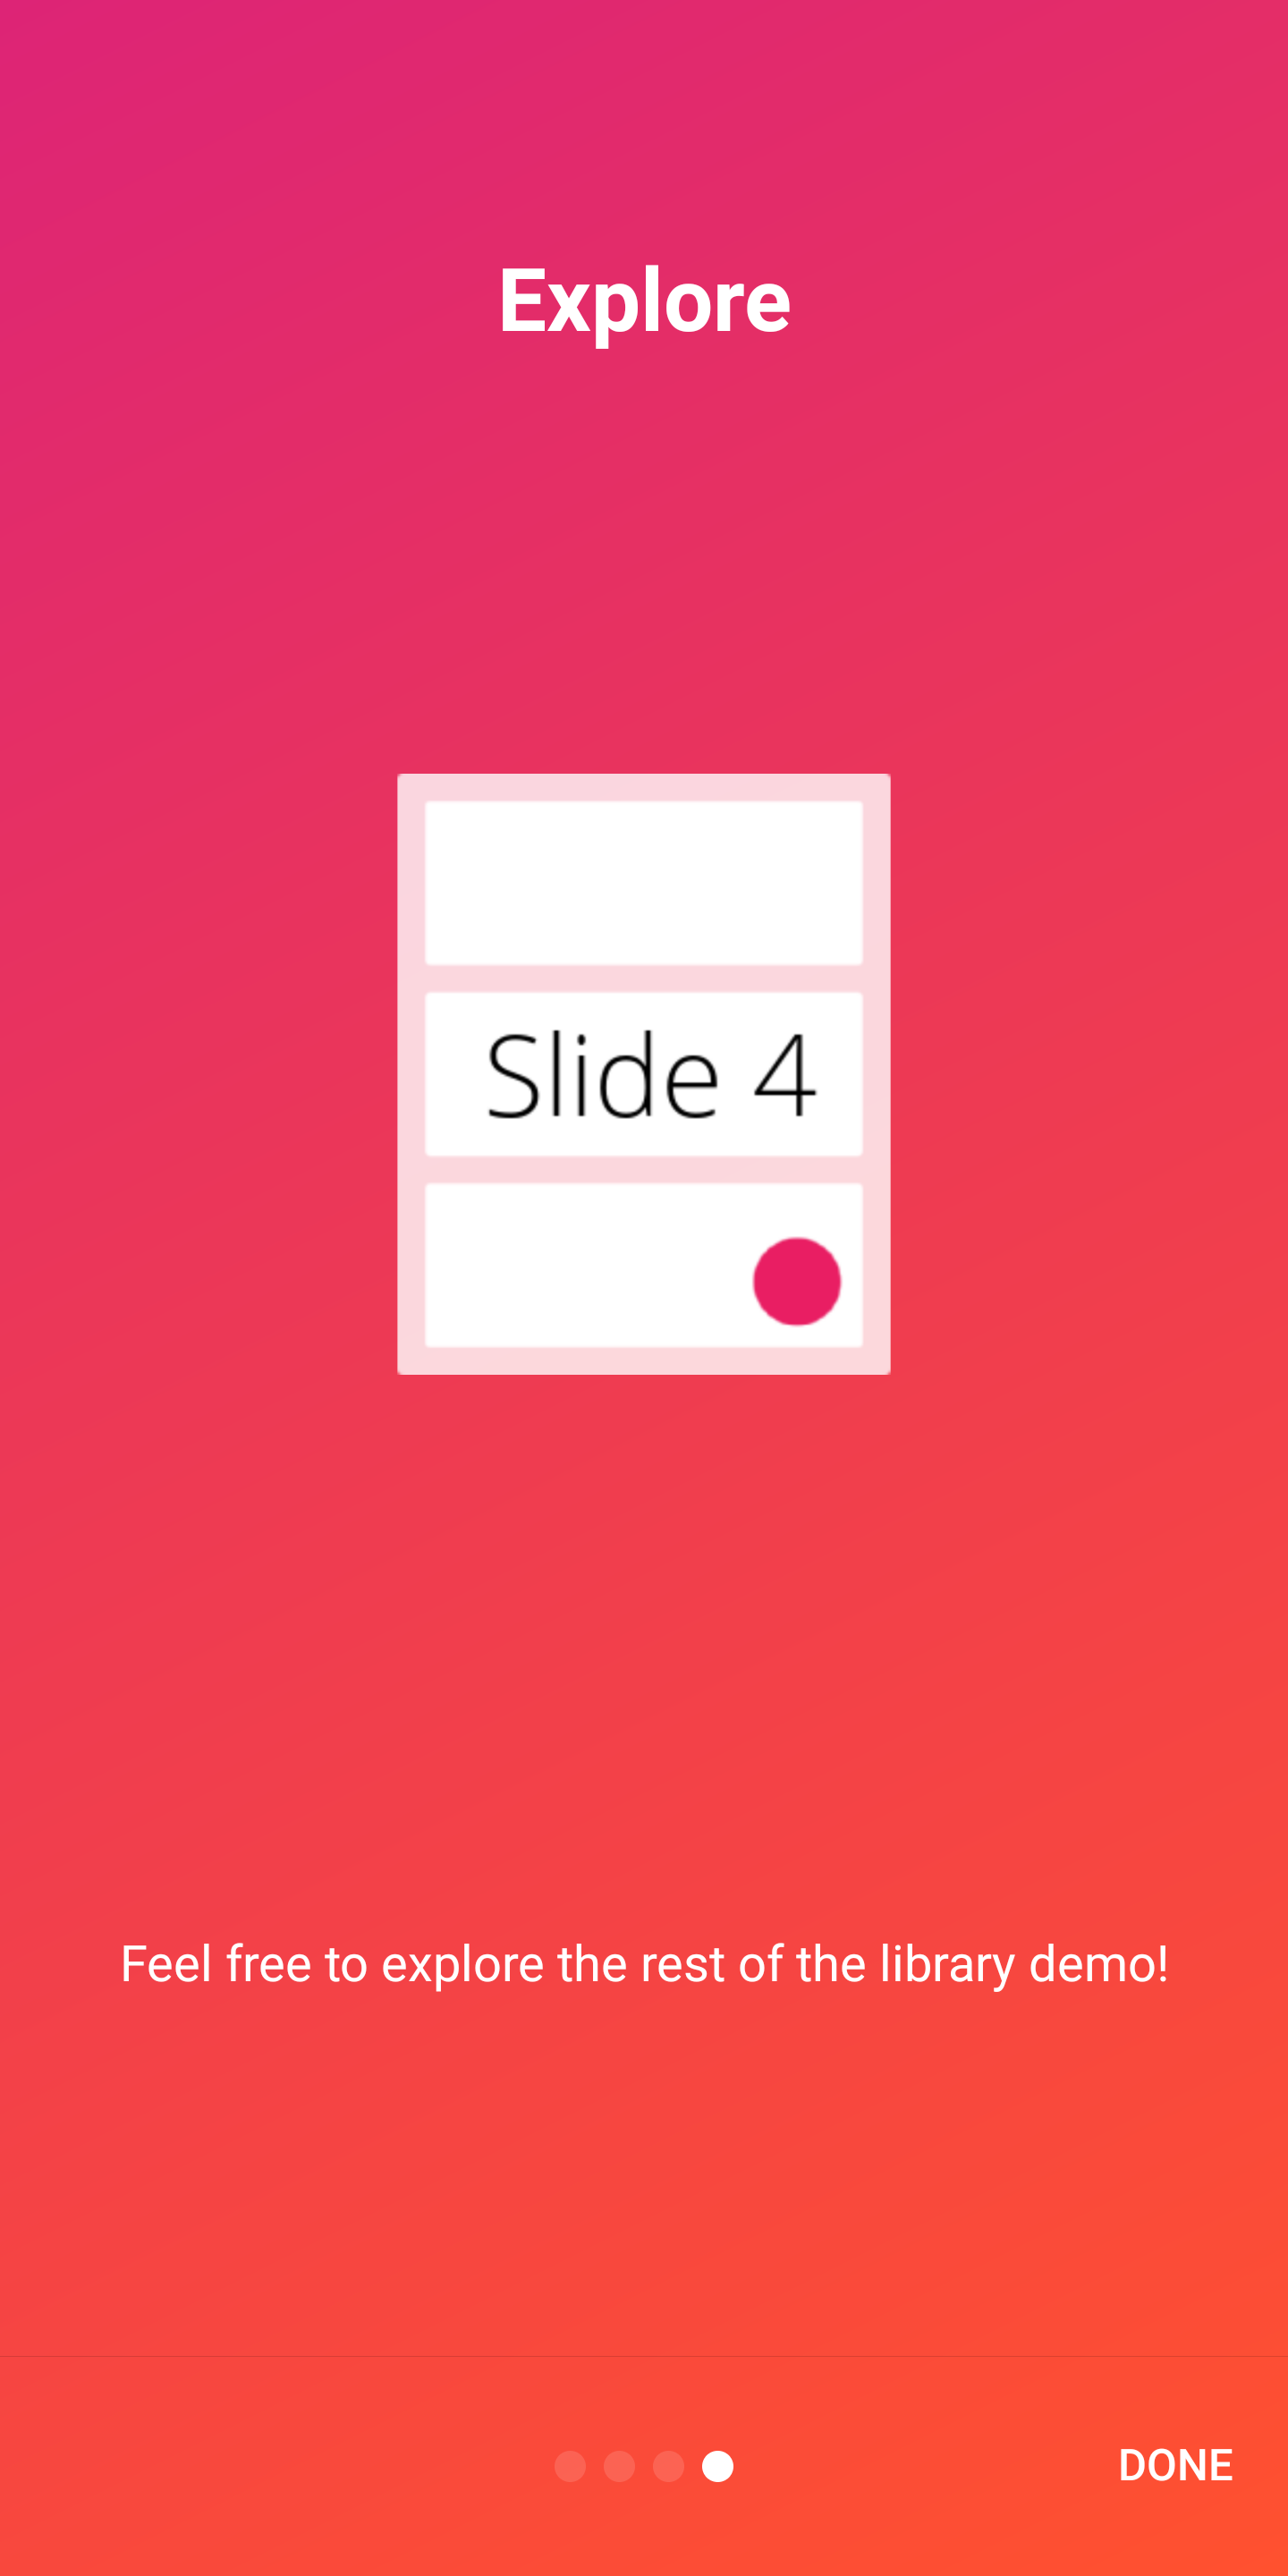 | 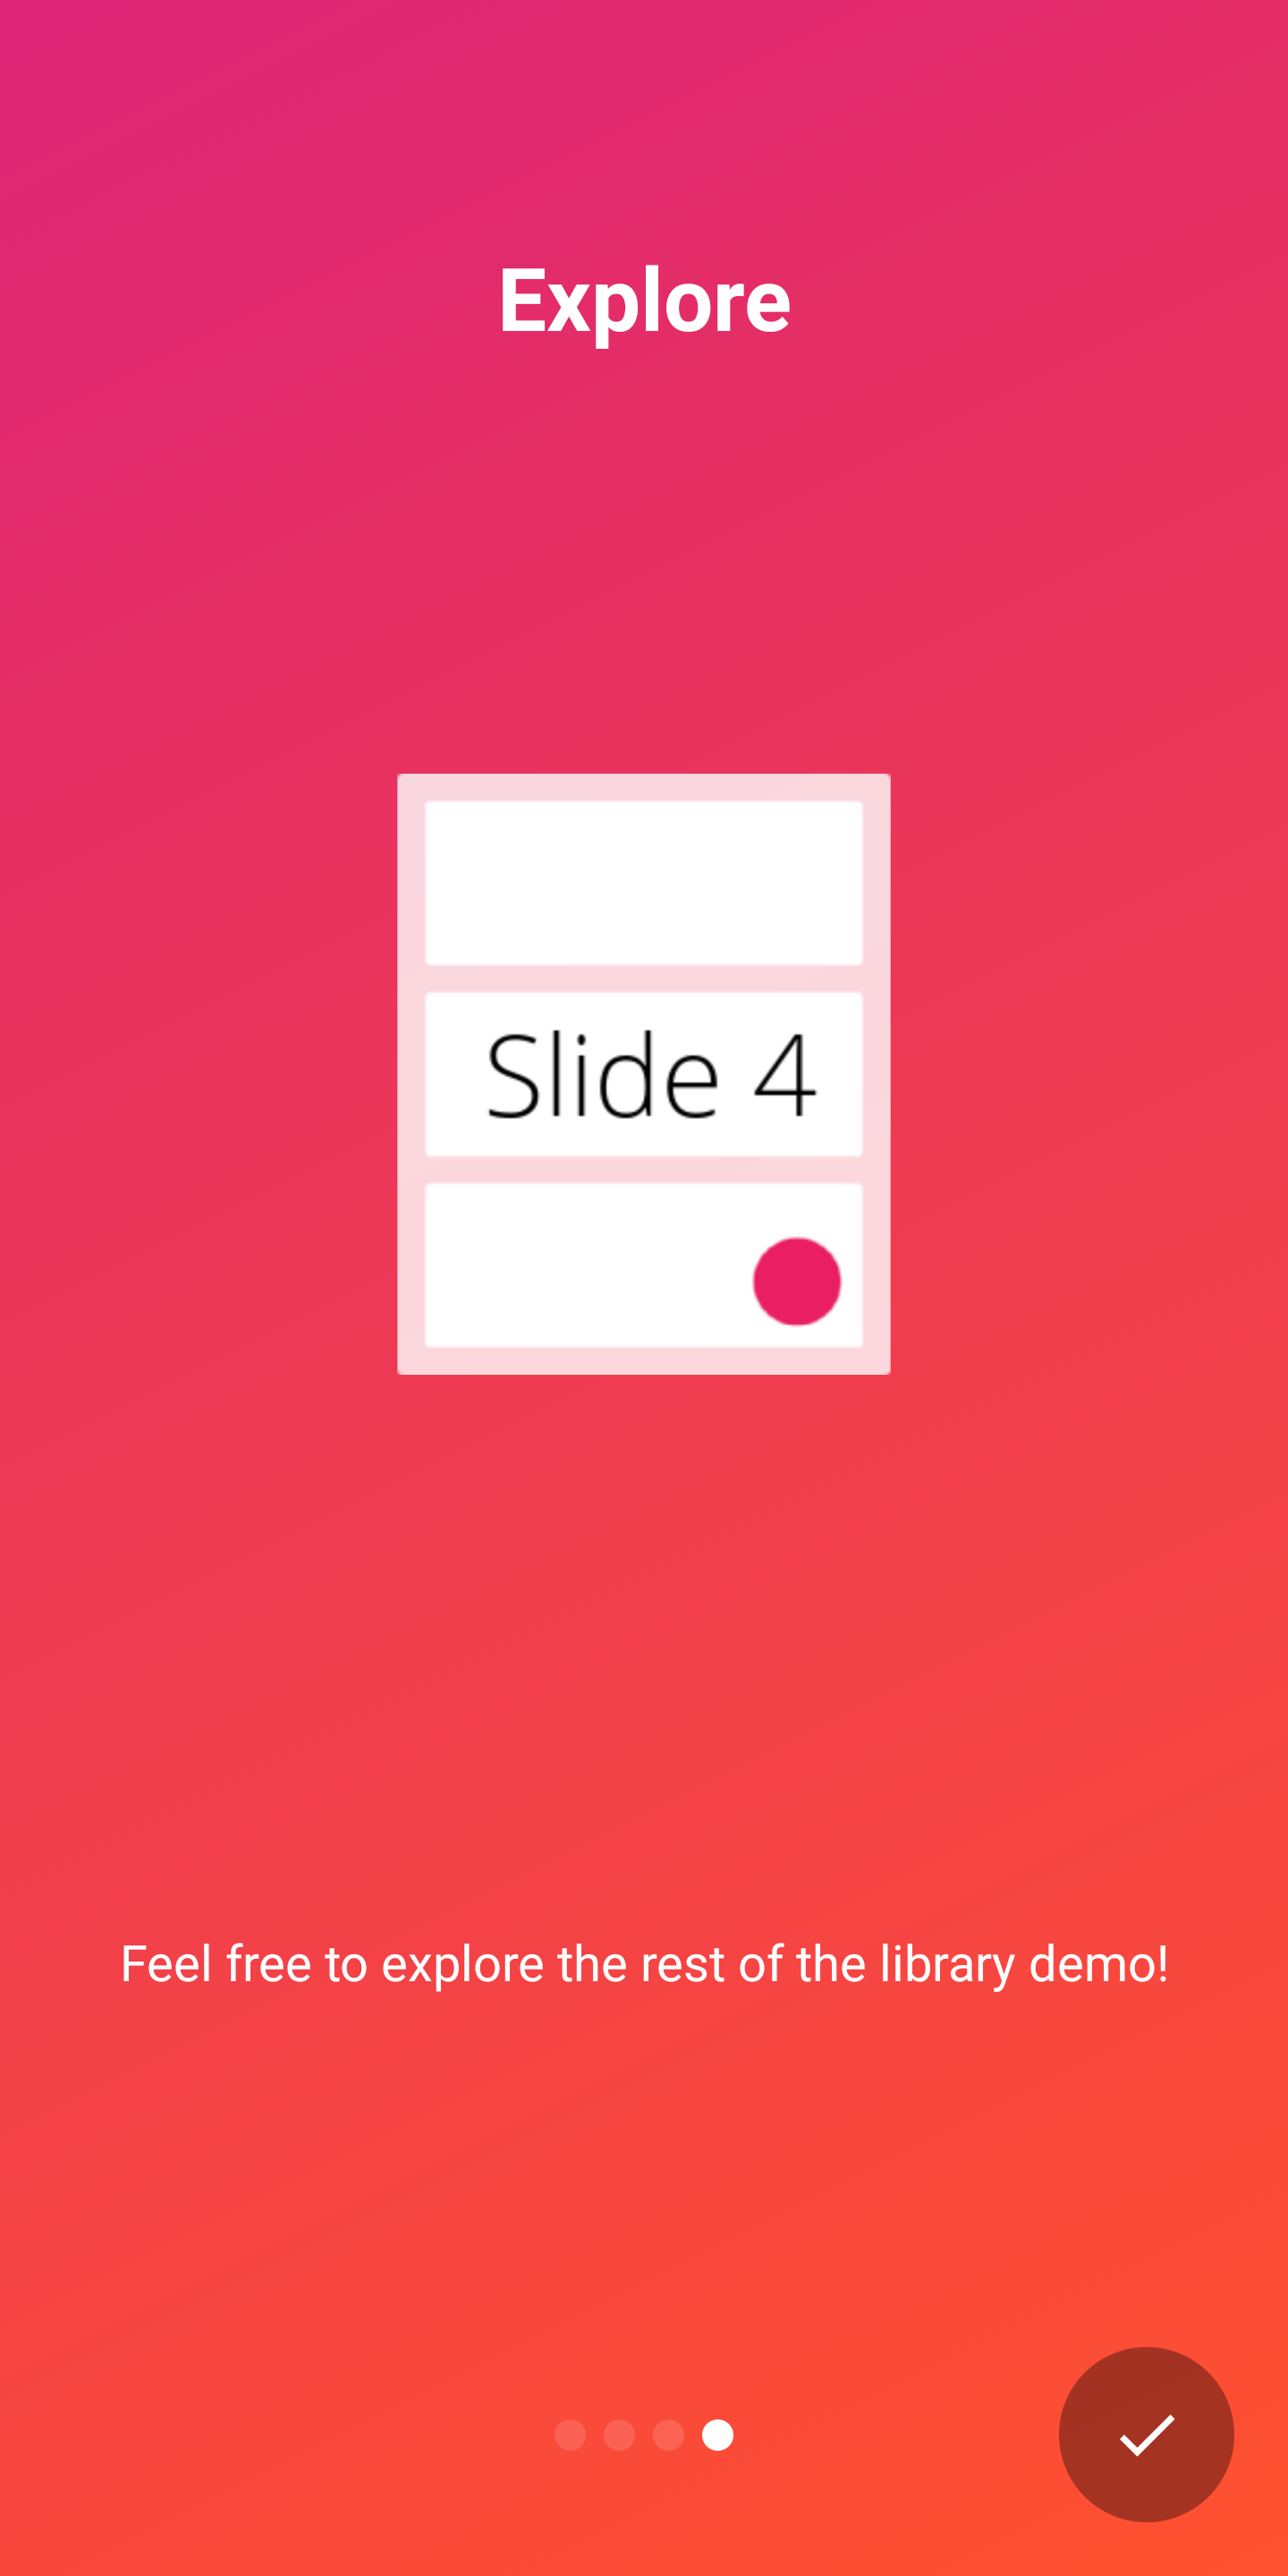 |
APPINTROは、2つの指標をサポートして、ユーザーへのイントロエクスペリエンスの進捗状況を示しています。
DotIndicatorControllerドットのリスト(デフォルト)で表されるProgressIndicatorController 、進行状況バーで表されます。 DotIndicator | ProgressIndicator |
|---|---|
 |  |
さらに、 IndicatorControllerインターフェイスの実装を提供することにより、独自のインジケータを提供できます。
AppIntroクラスで次のAPIを使用してインジケーターをカスタマイズできます。
 // Toggle Indicator Visibility
isIndicatorEnabled = true

// Change Indicator Color
setIndicatorColor(
    selectedIndicatorColor = getColor( R .color.red),
    unselectedIndicatorColor = getColor( R .color.blue)
)

// Switch from Dotted Indicator to Progress Indicator
setProgressIndicator()

// Supply your custom `IndicatorController` implementation
indicatorController = MyCustomIndicator ( /* initialize me */ )
カスタマイズを指定しない場合は、 DotIndicatorControllerが表示されます。
Appintroは、ボタンクリックに触覚振動フィードバックを提供することをサポートしています。アプリマニフェストで振動許可を指定する必要があることに注意してください(ライブラリはそれを行っていません)。許可を指定するのを忘れた場合、アプリにクラッシュが発生します。
< uses-permission android : name = " android.permission.VIBRATE " />次のように振動を有効にしてカスタマイズできます。
 // Enable vibration and set duration in ms
isVibrate = true
vibrateDuration = 50L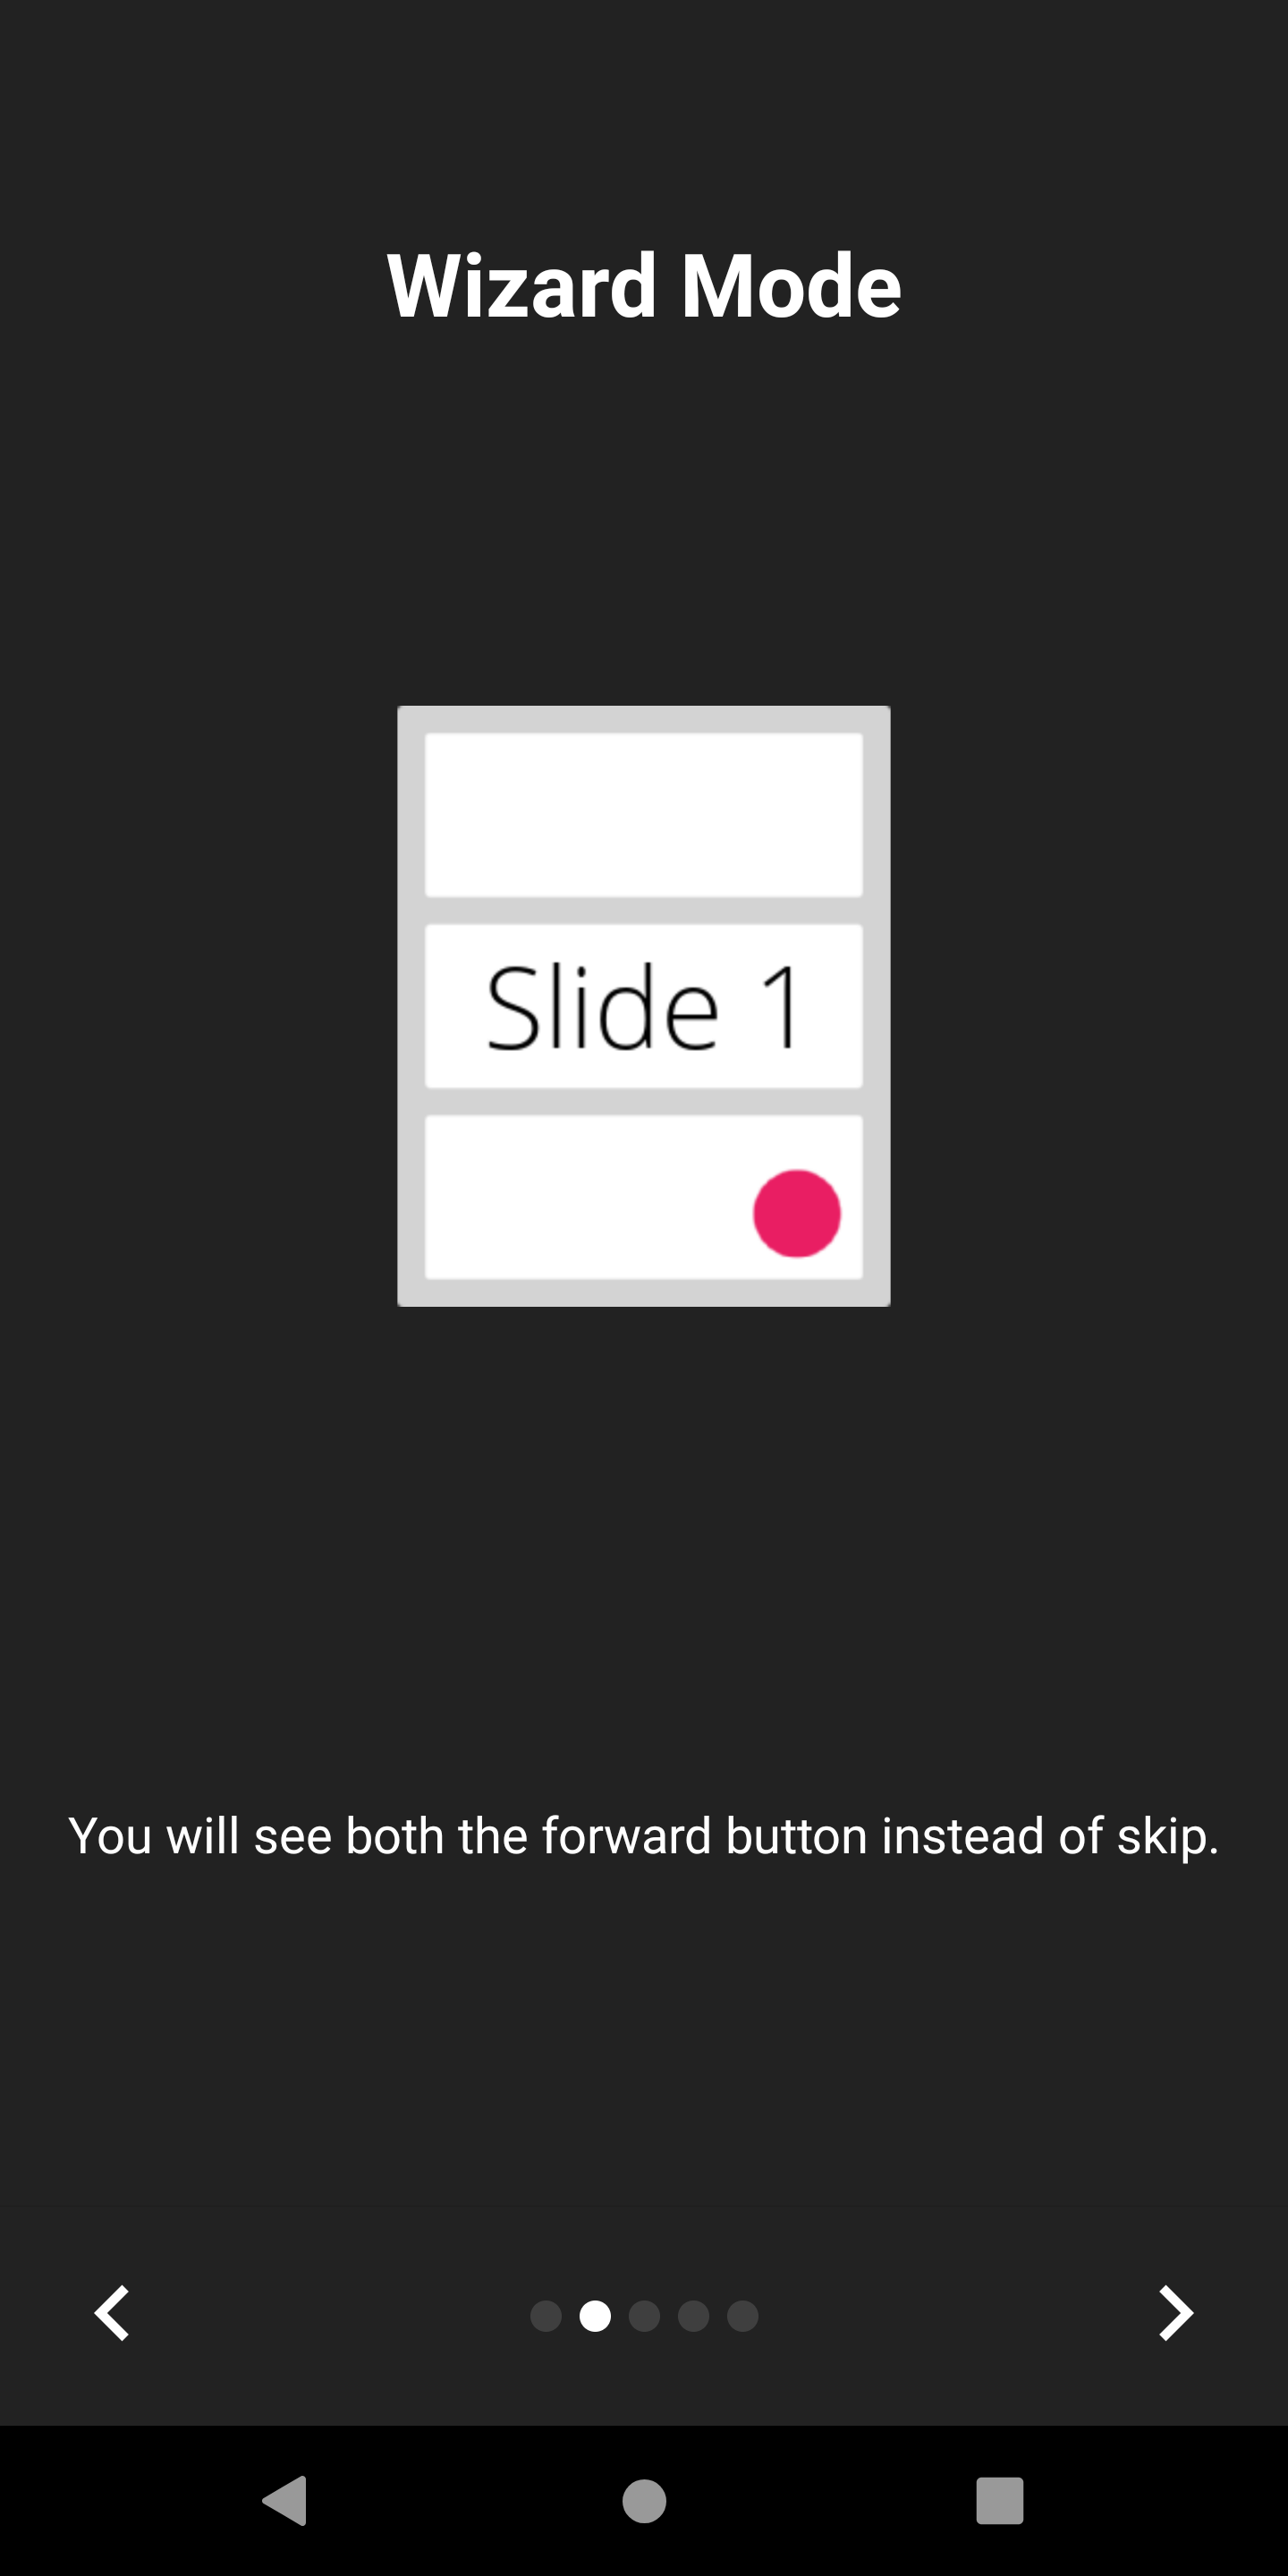

Appintroは、スキップボタンがバックアローに置き換えるウィザードモードをサポートします。これは、ユーザーに必要な一連の手順をユーザーに提示している場合に便利です。
あなたはそれを有効にすることができます:
isWizardMode = true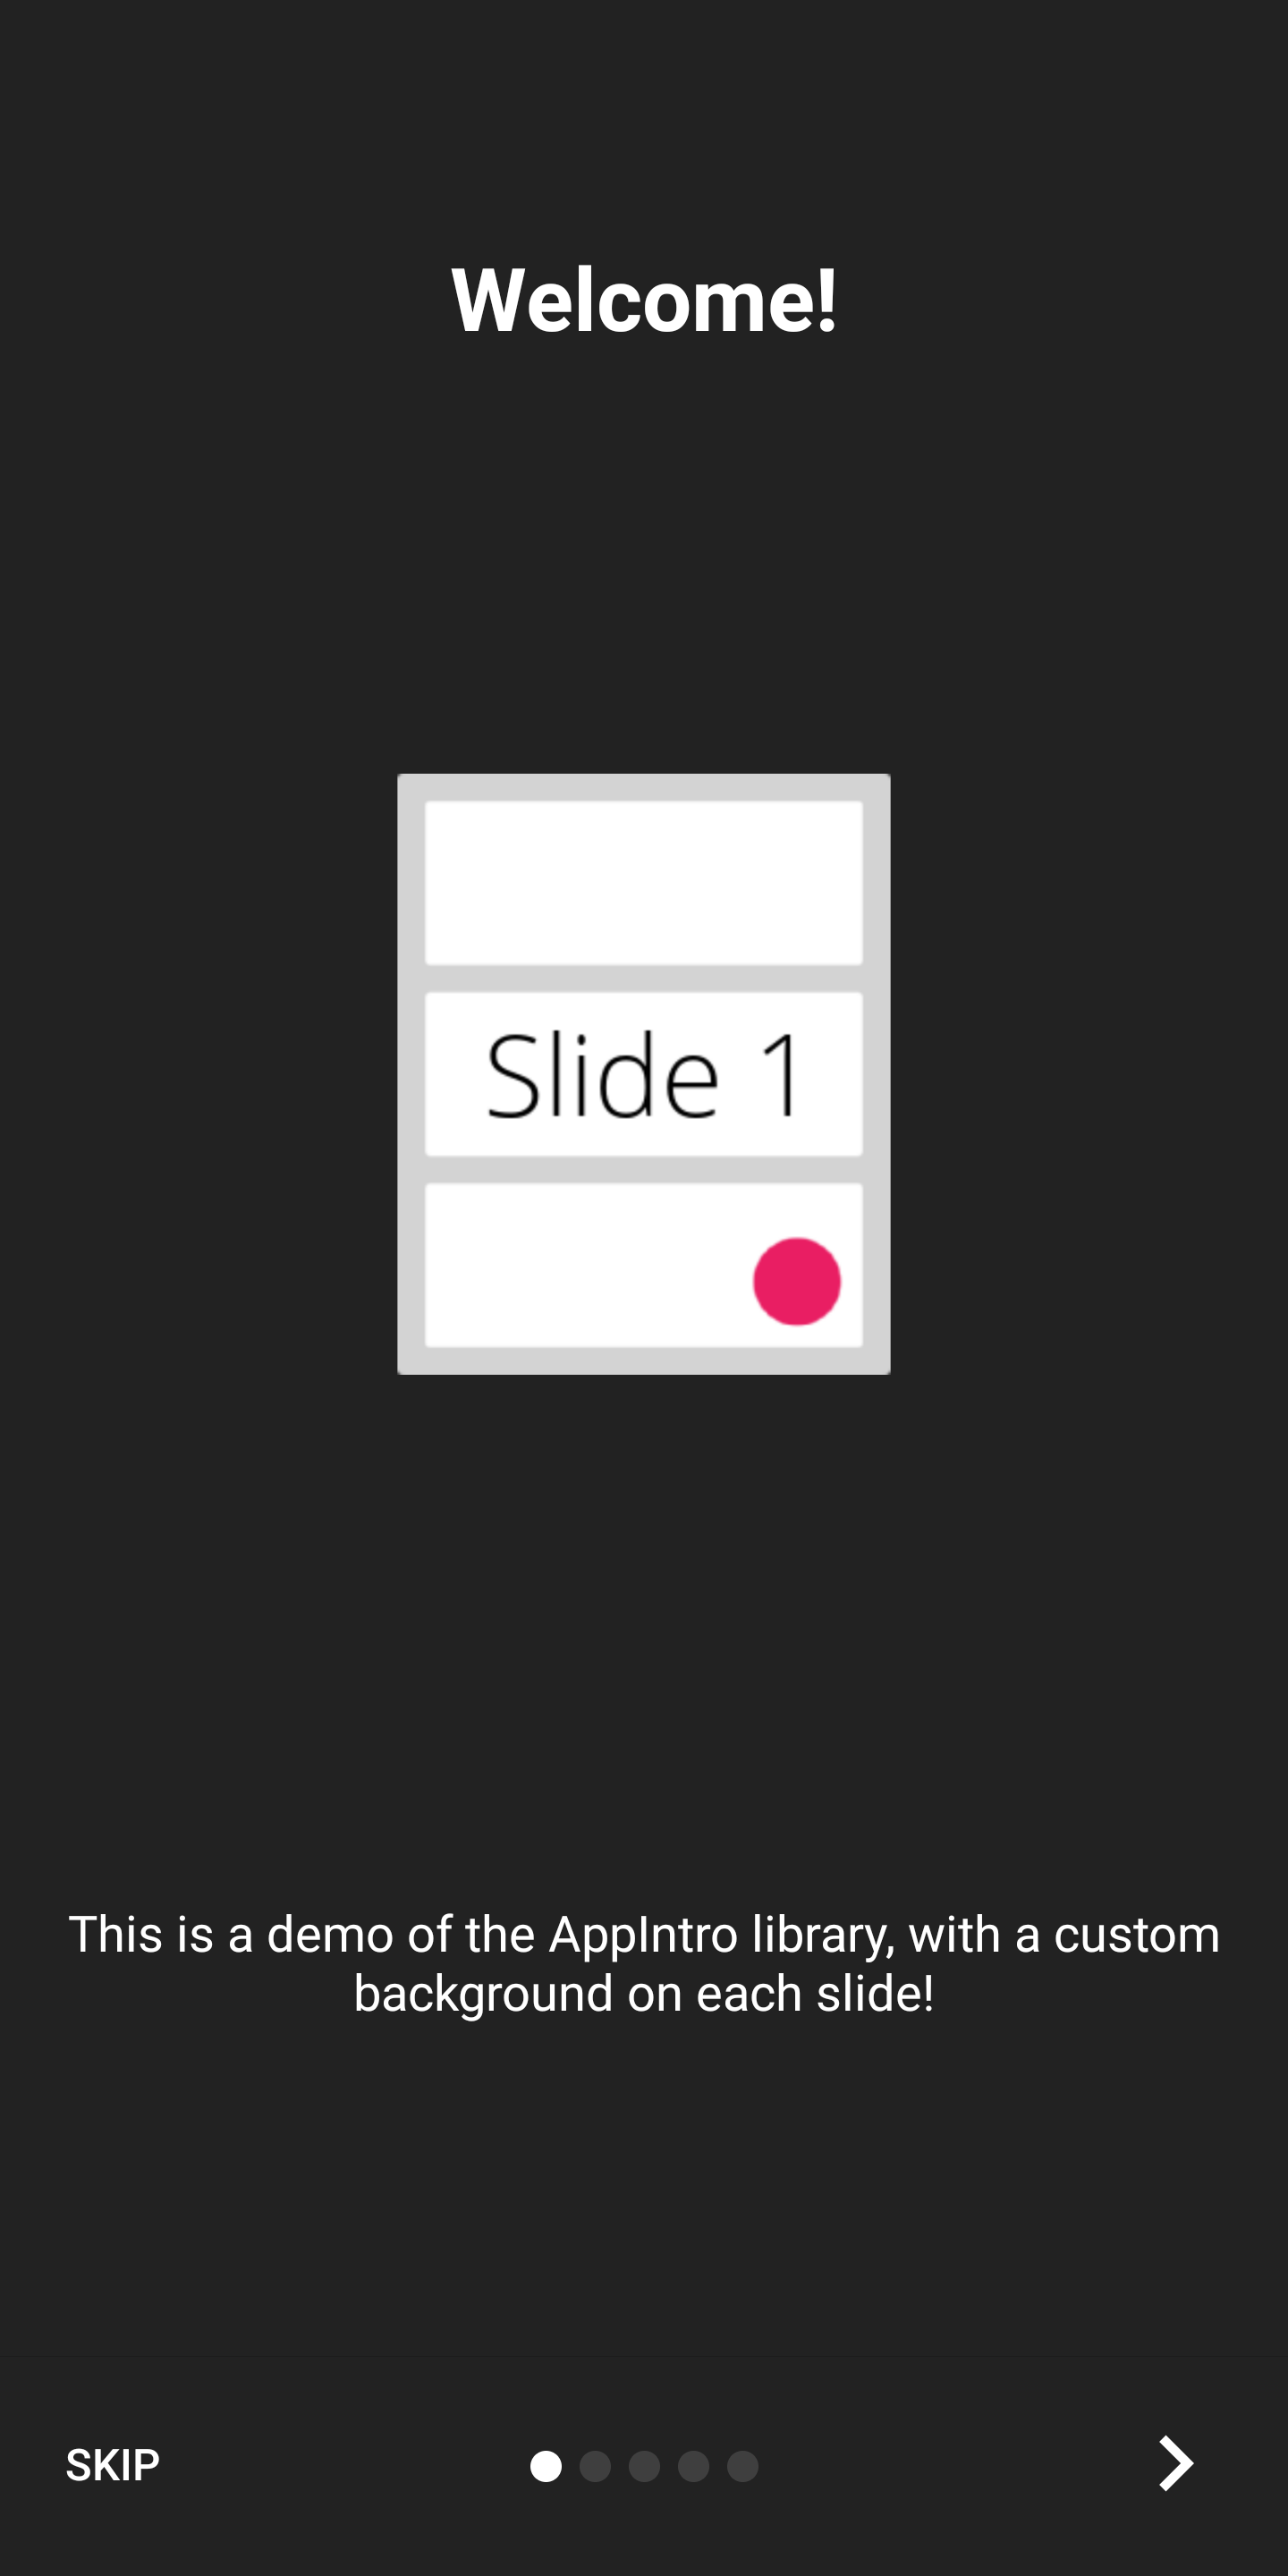

フルスクリーンエクスペリエンスでイントロを表示したい場合は、没入モードを有効にすることができます。これにより、ステータスバーとナビゲーションバーの両方が非表示になり、ユーザーは画面の上部からスクロールして再度表示する必要があります。
これにより、イントロコンテンツとグラフィックス用のスペースを増やすことができます。
あなたはそれを有効にすることができます:
setImmersiveMode()ユーザーをイントロから戻したくない場合は、システムバックボタンをロックできます。これは、許可を要求する必要があり、イントロエクスペリエンスがオプションではない場合に役立ちます。
この場合、次のフラグを真に設定してください。
isSystemBackButtonLocked = true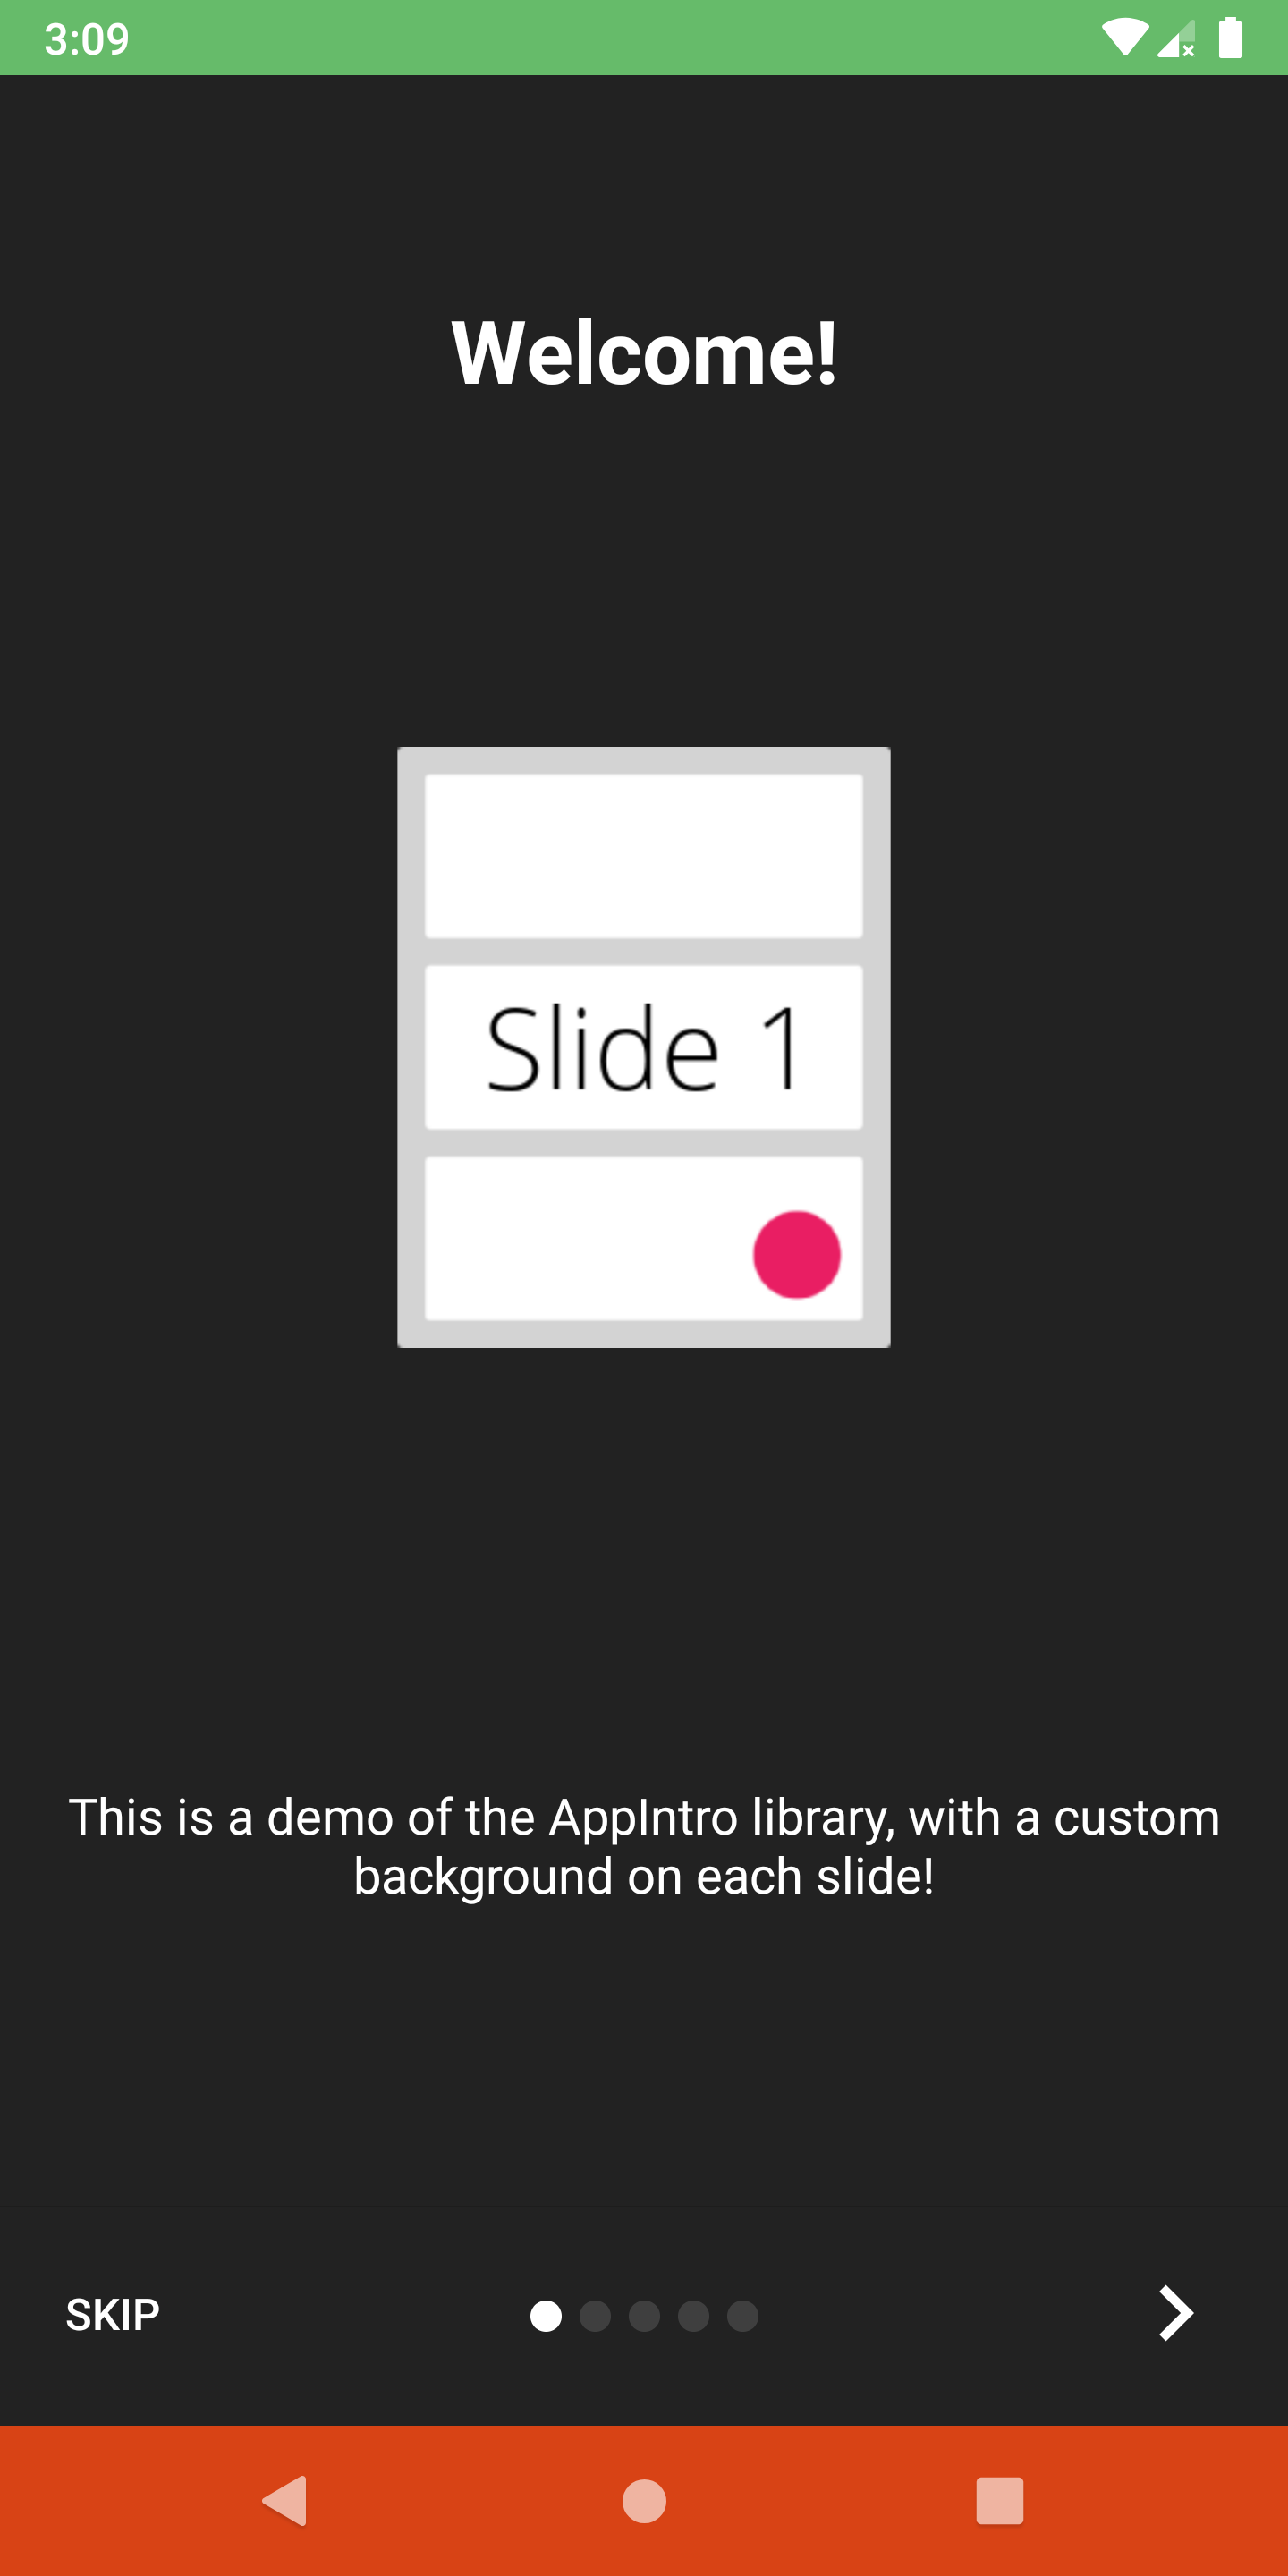
ステータスバーと、次の方法でナビゲーションバーの可視性と色をカスタマイズできます。
 // Hide/Show the status Bar
showStatusBar( true )
// Control the status bar color
setStatusBarColor( Color . GREEN )
setStatusBarColorRes( R .color.green)

// Control the navigation bar color
setNavBarColor( Color . RED )
setNavBarColorRes( R .color.red)デフォルトでは、スライドは画面で使用可能な全サイズを使用するため、背景色を非透明な色に設定した場合、ボトムバーがスライドのコンテンツとオーバーラップする可能性があります。バーがコンテンツと重複しないことを確認する場合は、次のようにsetBarMargin関数を使用します。
setBarMargin( true )
Appintroは、ユーザーにランタイムアクセス許可を要求するプロセスを簡素化します。アクティビティ内にaskForPermissionsメソッドを使用して、スライド内に1つ以上の許可リクエストを統合できます。
注意してください:
slideNumberは1ベースの番号付けです(1から始まります) // Ask for required CAMERA permission on the second slide.
askForPermissions(
permissions = arrayOf( Manifest .permission. CAMERA ),
slideNumber = 2 ,
required = true )
// Ask for both optional ACCESS_FINE_LOCATION and WRITE_EXTERNAL_STORAGE
// permission on the third slide.
askForPermissions(
permissions = arrayOf(
Manifest .permission. ACCESS_FINE_LOCATION ,
Manifest .permission. WRITE_EXTERNAL_STORAGE
),
slideNumber = 3 ,
required = false )許可リクエストでさらに制御する必要がある場合は、 AppIntroクラスでこれら2つの方法をオーバーライドできます。
 override fun onUserDeniedPermission ( permissionName : String ) {
    // User pressed "Deny" on the permission dialog
}
override fun onUserDisabledPermission ( permissionName : String ) {
    // User pressed "Deny" + "Don't ask again" on the permission dialog
}スライド間のナビゲーションを制限したい場合(つまり、ユーザーは続行するためにチェックボックスを切り替える必要があります)、 SlidePolicy機能が役立つ場合があります。
あなたがしなければならないのは、スライドにSlidePolicyを実装することです。
このインターフェイスには、カスタムロジックで実装する必要があるisPolicyRespectedプロパティとonUserIllegallyRequestedNextPageメソッドが含まれています
 class MyFragment : Fragment (), SlidePolicy {

    // If user should be allowed to leave this slide
    override val isPolicyRespected : Boolean
        get() = false // Your custom logic here.

    override fun onUserIllegallyRequestedNextPage () {
        // User illegally requested next slide.
        // Show a toast or an informative message to the user.
    }
}サンプルアプリでSlidePolicyの完全な実施例を見つけることができます-CordesslidePolicyFragment.kt
Appintroには、プロジェクトのインスピレーションとして使用できる例とユースケースがいっぱいのサンプルアプリが付属しています。 /サンプルフォルダー内で見つけることができます。
ここで出力アーティファクトとして、Merge Github ActionsのジョブからサンプルアプリのデバッグAPKを入手できます。
Appintroが国際的になるのを手伝いたいですか?私たちは幸せ以上です! Appintroは現在、次の言語をサポートしています。
新しい翻訳を追加するにはvalues-xxフォルダー内に新しいstrings.xmlファイルを使用してプルリクエストを追加するだけです( xxは2文字のISO 639-1言語コードです)。
翻訳を提供するには、ファイルが次の文字列を含める必要があります。
<? xml version = " 1.0 " encoding = " utf-8 " ?>
< resources xmlns : tools = " http://schemas.android.com/tools " >
    < string name = " app_intro_skip_button " >[Translation for SKIP]</ string >
    < string name = " app_intro_next_button " >[Translation for NEXT]</ string >
    < string name = " app_intro_back_button " >[Translation for BACK]</ string >
    < string name = " app_intro_done_button " >[Translation for DONE]</ string >
    < string name = " app_intro_image_content_description " >[Translation for "graphics"]</ string >
</ resources >
英語版の翻訳の更新バージョンはこちらから入手できます。
言語の翻訳が既に利用可能な場合は、それを確認して最終的に修正してください(すべての文字列をサブセットだけでなくリストする必要があります)。
Appintroの開発は、メインブランチで行われます。必要に応じて、JitPackからSNAPSHOTバージョンを直接入手できます。
 repositories {
    maven { url " https://jitpack.io " }
}
dependencies {
implementation " com.github.AppIntro:AppIntro:main-SNAPSHOT "
}Kotlinlang Slackの#AppintroチャンネルでAppintroのサポートを提供しています。あそこの会話に参加してください。 Kotlinlang Slackにアクセスできない場合は、こちらからアクセスをリクエストできます。
貢献者を探しています!恥ずかしがらないで。 ?このプロジェクトの改善を支援するために、お気軽に問題/プルリクエストを行います。
Appintroは現在、Appintro Github組織によって開発および維持されています。新しいPRを提出するときは、次の1つをpingしてください
Appintroは、Androidxのもの以外のサードパーティライブラリに依存していません。
androidx.appcompat:appcompatandroidx.annotation:annotationandroidx.constraintlayout:constraintlayout Copyright (C) 2015-2020 AppIntro Developers
Licensed under the Apache License, Version 2.0 (the "License");
you may not use this file except in compliance with the License.
You may obtain a copy of the License at
http://www.apache.org/licenses/LICENSE-2.0
Unless required by applicable law or agreed to in writing, software
distributed under the License is distributed on an "AS IS" BASIS,
WITHOUT WARRANTIES OR CONDITIONS OF ANY KIND, either express or implied.
See the License for the specific language governing permissions and
limitations under the License.
アプリでAppintroを使用していて、ここにリストされたい場合は、プルリクエストを開いてください。私たちはあなたを含めて喜んでいます。


