AppIntro
AppIntro 6.3.1
AppIntro เป็นห้องสมุด Android ที่ช่วยให้คุณสร้าง อินโทรแบบหมุนเย็น สำหรับแอปของคุณ AppIntro ได้รับการสนับสนุนสำหรับ การขอสิทธิ์ และช่วยให้คุณสร้างประสบการณ์การขึ้นเครื่องบินที่ยอดเยี่ยมในเวลาเพียงไม่กี่นาที

AppIntro มีการแจกจ่ายผ่าน jitpack
ในการใช้งานคุณต้องเพิ่มการพึ่งพา Gradle ต่อไปนี้ในไฟล์ build.gradle ของโมดูลที่คุณต้องการใช้ AppIntro (ไม่ใช่ไฟล์รูท)
repositories {
    maven { url " https://jitpack.io " }
}
dependencies {
// AndroidX Capable version
implementation ' com.github.AppIntro:AppIntro:6.3.1 '
// *** OR ***
// Latest version compatible with the old Support Library
implementation ' com.github.AppIntro:AppIntro:4.2.3 '
}โปรดทราบว่าตั้งแต่ AppIntro 5.x ห้องสมุดรองรับ Android X หากคุณยังไม่ได้ย้ายคุณอาจต้องการใช้ไลบรารีเวอร์ชันก่อนหน้านี้ที่ใช้แพ็คเกจ ไลบรารีสนับสนุนเก่า (หรือลองใช้โหมด Reverse Jetifier)
ในการใช้ AppIntro คุณเพียงแค่ต้องสร้าง กิจกรรมใหม่ที่ขยาย AppIntro ดังต่อไปนี้:
 class MyCustomAppIntro : AppIntro () {
    override fun onCreate ( savedInstanceState : Bundle ? ) {
        super .onCreate(savedInstanceState)
        // Make sure you don't call setContentView!

        // Call addSlide passing your Fragments.
        // You can use AppIntroFragment to use a pre-built fragment
        addSlide( AppIntroFragment .createInstance(
                title = " Welcome... " ,
                description = " This is the first slide of the example "
        ))
        addSlide( AppIntroFragment .createInstance(
                title = " ...Let's get started! " ,
                description = " This is the last slide, I won't annoy you more :) "
        ))
    }

    override fun onSkipPressed ( currentFragment : Fragment ? ) {
        super .onSkipPressed(currentFragment)
        // Decide what to do when the user clicks on "Skip"
        finish()
    }

    override fun onDonePressed ( currentFragment : Fragment ? ) {
        super .onDonePressed(currentFragment)
        // Decide what to do when the user clicks on "Done"
        finish()
    }
}
โปรดทราบว่าคุณ ต้องไม่โทร SetContentView AppIntro Superclass กำลังดูแลคุณ
นอกจากนี้ยังยืนยันว่าคุณกำลังเอาชนะ onCreate ด้วย พารามิเตอร์เดียว ( Bundle ) และคุณไม่ได้ใช้การแทนที่อีกครั้ง (เช่น onCreate(Bundle, PersistableBundle) ) แทน
ในที่สุดประกาศกิจกรรมในรายการของคุณเช่นนั้น:
< activity android : name = " com.example.MyCustomAppIntro "
    android : label = " My Custom AppIntro " />
เราขอแนะนำให้ไม่ประกาศ MyCustomAppIntro เป็นกิจกรรมแรกของคุณเว้นแต่ว่าคุณต้องการให้อินโทรเปิดตัวทุกครั้งที่แอปของคุณเริ่มต้น เป็นการดีที่คุณควรแสดงกิจกรรม AppIntro เพียงครั้งเดียวกับผู้ใช้เท่านั้นและคุณควรซ่อนไว้เมื่อเสร็จสิ้น (คุณสามารถใช้การตั้งค่าสถานะใน SharedPreferences )
คุณสามารถค้นหาตัวอย่างมากมายในภาษา Java ในไดเรกทอรีตัวอย่าง
หากคุณย้าย จาก AppIntro V5.X เป็น v6.x โปรดคาดหวังการเปลี่ยนแปลงหลายครั้ง คุณสามารถค้นหาเอกสารเกี่ยวกับวิธีการอัปเดตรหัสของคุณในคู่มือการโยกย้ายอื่น ๆ นี้
อย่าลืมตรวจสอบ Changelog เพื่อดูการเปลี่ยนแปลงทั้งหมดใน AppIntro เวอร์ชันล่าสุด
จุดเริ่มต้นเพื่อเพิ่มสไลด์ใหม่คือฟังก์ชั่น addSlide(fragment: Fragment) ในคลาส AppIntro คุณสามารถใช้มันเพื่อเพิ่ม Fragment ใหม่ให้กับม้าหมุน
ห้องสมุดมาพร้อมกับคลาส UTIL หลายคลาสเพื่อช่วยให้คุณสร้างสไลด์ของคุณด้วยสองสามบรรทัด:
AppIntroFragment คุณสามารถใช้ AppIntroFragment ได้หากคุณต้องการปรับแต่งชื่อเรื่องคำอธิบายภาพและสี นั่นคือวิธีการที่แนะนำหากคุณต้องการสร้างคำนำด่วน:
addSlide( AppIntroFragment .createInstance(
    title = " The title of your slide " ,
    description = " A description that will be shown on the bottom " ,
    imageDrawable = R .drawable.the_central_icon,
    backgroundDrawable = R .drawable.the_background_image,
    titleColorRes = R .color.yellow,
    descriptionColorRes = R .color.red,
    backgroundColorRes = R .color.blue,
    titleTypefaceFontRes = R .font.opensans_regular,
    descriptionTypefaceFontRes = R .font.opensans_regular,
))
พารามิเตอร์ทั้งหมดเป็นทางเลือกดังนั้นคุณสามารถปรับแต่งสไลด์ของคุณได้ฟรีตามที่คุณต้องการ
หากคุณต้องการสร้างสไลด์หลาย ๆ แบบคุณสามารถใช้คลาส SliderPage คลาสนี้สามารถส่งผ่านไปยัง AppIntroFragment.createInstance(sliderPage: SliderPage) ที่จะสร้างสไลด์ใหม่เริ่มต้นจากอินสแตนซ์นั้น
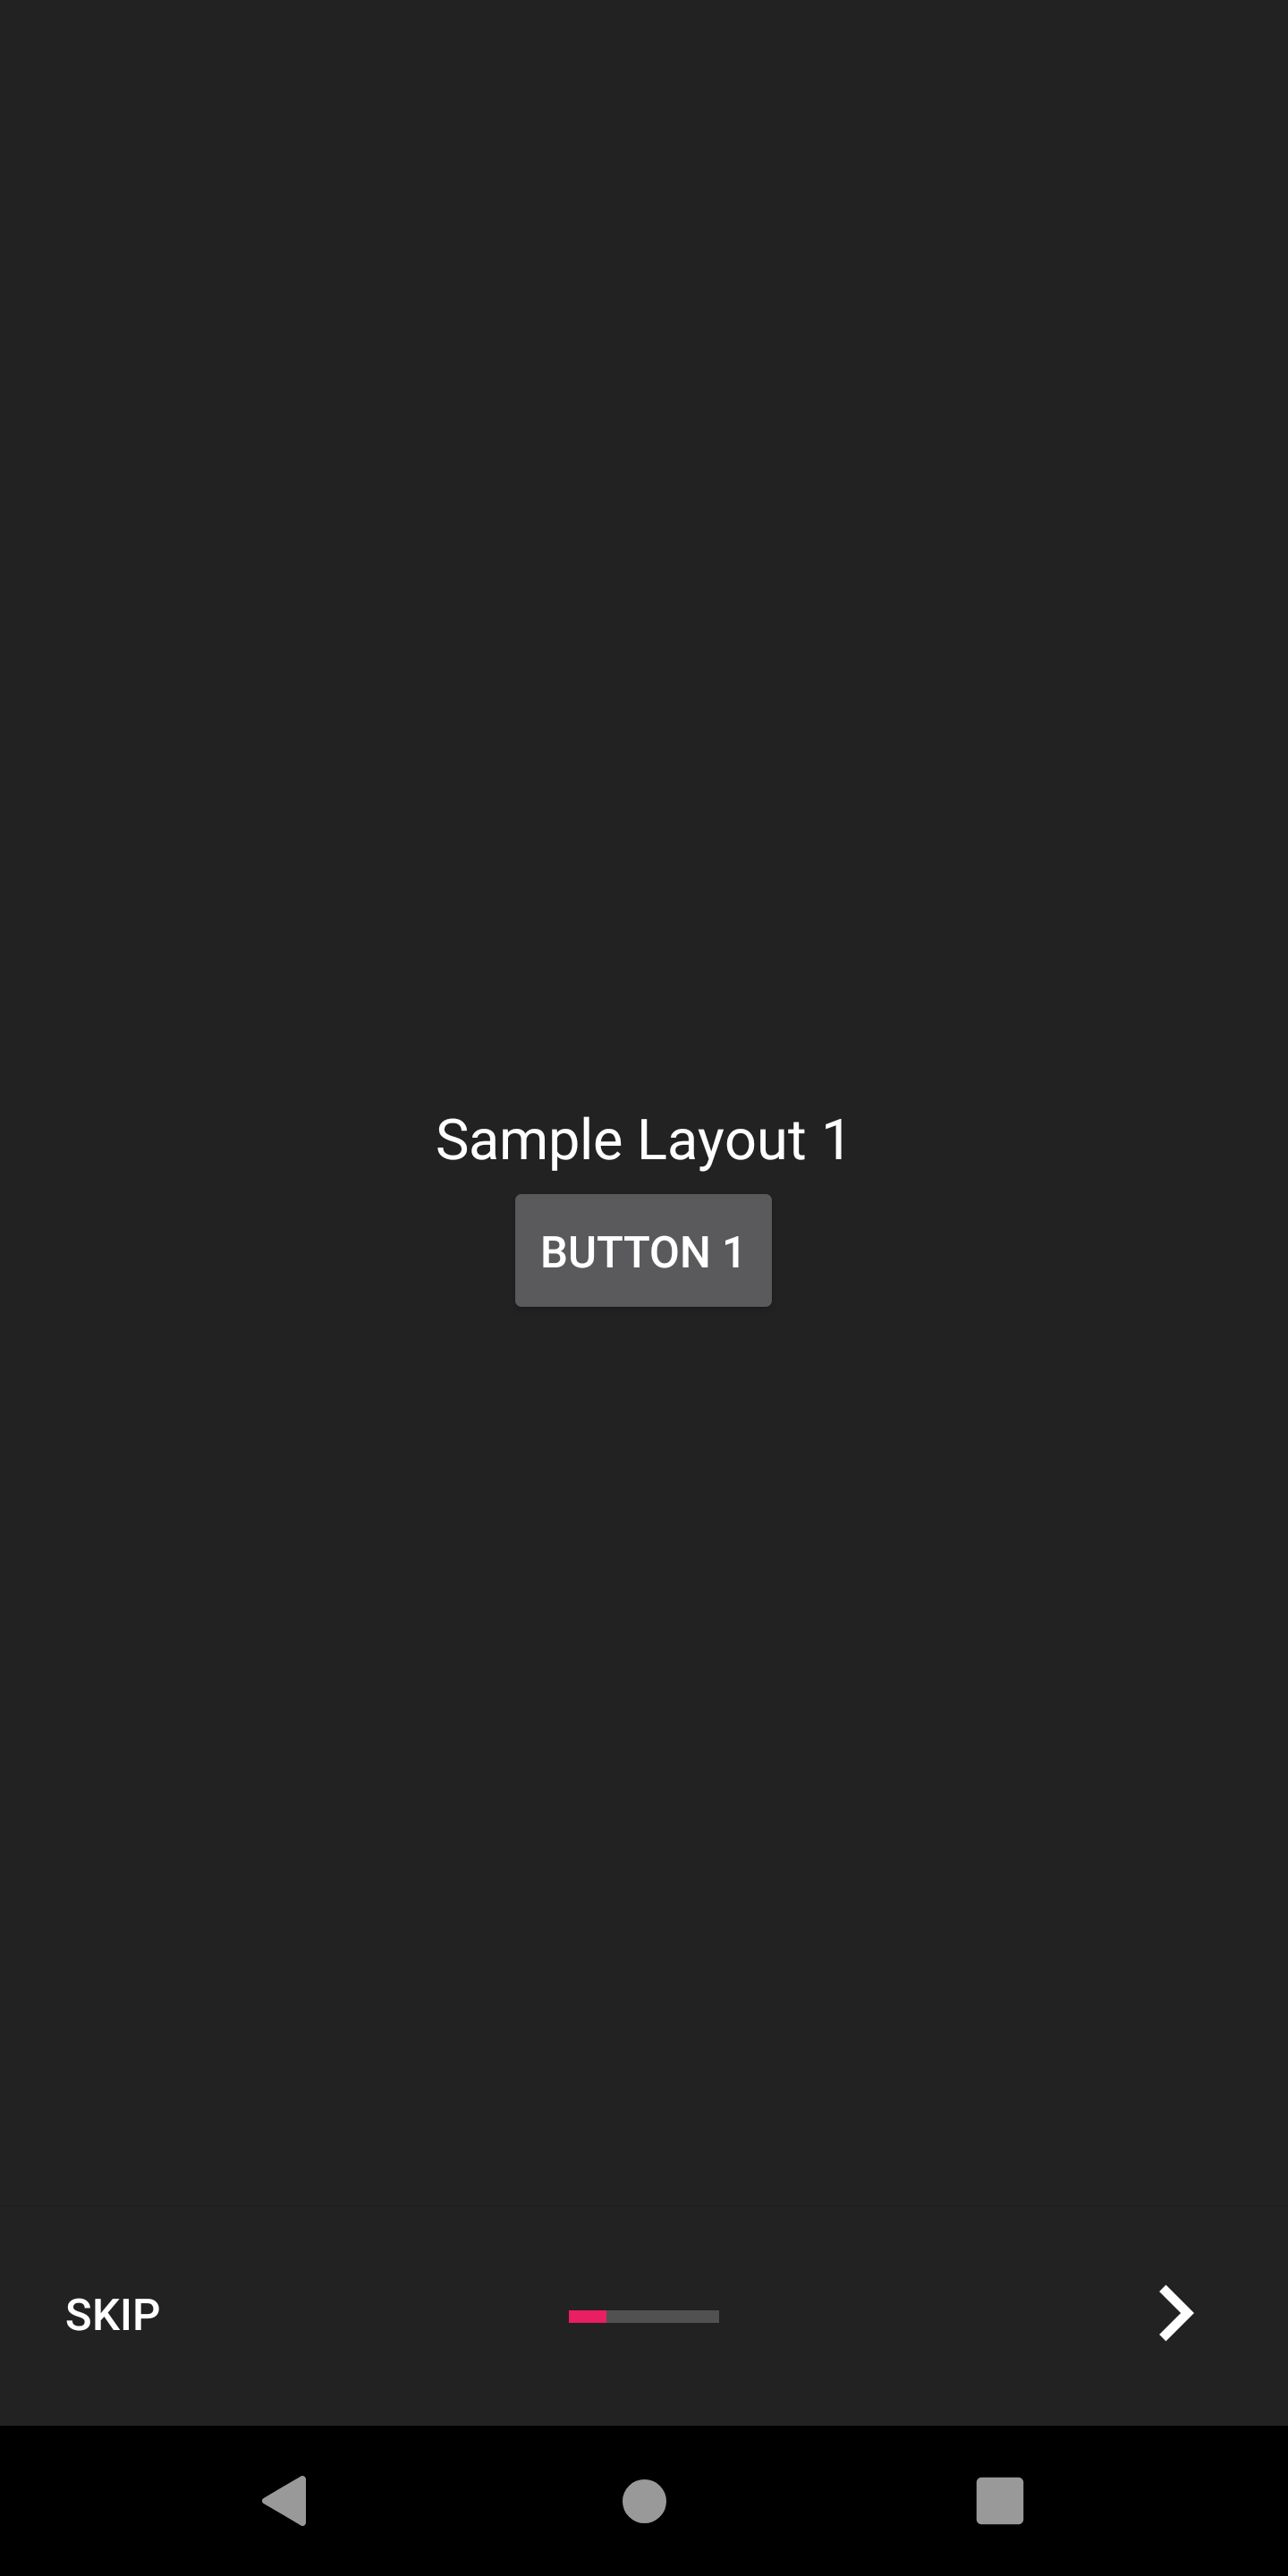
AppIntroCustomLayoutFragment หากคุณต้องการการควบคุมเพิ่มเติมเกี่ยวกับการปรับแต่งสไลด์ของคุณคุณสามารถใช้ AppIntroCustomLayoutFragment สิ่งนี้จะช่วยให้คุณผ่านไฟล์ทรัพยากรเค้าโครงที่กำหนดเองของคุณ:
AppIntroCustomLayoutFragment .newInstance( R .layout.intro_custom_layout1)สิ่งนี้จะช่วยให้คุณบรรลุเลย์เอาต์ที่ซับซ้อนและรวมถึงตรรกะที่กำหนดเองของคุณในอินโทร (ดูนโยบายสไลด์ด้วย):
AppIntro มีตัวเลือกการกำหนดค่าหลายประการเพื่อช่วยคุณปรับแต่งประสบการณ์การทำงานของคุณ
AppIntro มาพร้อมกับชุดของ หม้อแปลงสไลด์ ที่คุณสามารถใช้นอกกรอบเพื่อทำให้การเปลี่ยนสไลด์ของคุณเคลื่อนไหว
| สไลด์หม้อแปลง | สไลด์หม้อแปลง |
|---|---|
จางลง  | ซูม  |
ไหล  | เลื่อนไป  |
ความลึก  | Parallax  |
คุณสามารถเรียก setTransformer() และส่งผ่านคลาสย่อยของคลาสที่ปิดผนึก AppIntroPageTransformerType :
setTransformer( AppIntroPageTransformerType . Fade )
setTransformer( AppIntroPageTransformerType . Zoom )
setTransformer( AppIntroPageTransformerType . Flow )
setTransformer( AppIntroPageTransformerType . SlideOver )
setTransformer( AppIntroPageTransformerType . Depth )

// You can customize your parallax parameters in the constructors.
setTransformer( AppIntroPageTransformerType . Parallax (
                titleParallaxFactor = 1.0 ,
                imageParallaxFactor = - 1.0 ,
                descriptionParallaxFactor = 2.0
)) นอกจากนี้คุณยังสามารถให้หม้อแปลงสไลด์แบบกำหนดเองของคุณ (ใช้อินเตอร์เฟส ViewPager.PageTransformer ) ด้วย:
setCustomTransformer( ViewPager . PageTransformer )
AppIntro นำเสนอความเป็นไปได้ที่จะทำให้ การเปลี่ยนสี ระหว่างพื้นหลังสองสไลด์ ฟีเจอร์นี้ถูกปิดใช้งานตามค่าเริ่มต้นและคุณต้องเปิดใช้งานบน AppIntro ของคุณด้วย:
isColorTransitionsEnabled = true เมื่อคุณเปิดใช้งานสีจะมีภาพเคลื่อนไหวระหว่างสไลด์ด้วยการไล่ระดับสี ตรวจสอบให้แน่ใจว่าคุณมีพารามิเตอร์ backgroundColor ในสไลด์ของคุณ
หากคุณจัดหาชิ้นส่วนที่กำหนดเองคุณสามารถให้พวกเขาสนับสนุนการเปลี่ยนสีโดยใช้อินเทอร์เฟซ SlideBackgroundColorHolder
AppIntro จัดส่งด้วยเลย์เอาต์ระดับบนสุดสองแบบที่คุณสามารถใช้ได้ เค้าโครงเริ่มต้น ( AppIntro ) มีปุ่มข้อความในขณะที่เค้าโครงทางเลือกมีปุ่มที่มีไอคอน
ในการเปลี่ยนเค้าโครงหน้าต่างคุณสามารถเปลี่ยนซูเปอร์คลาสของคุณเป็น AppIntro2 ได้ วิธีการเพิ่มและปรับแต่ง AppIntro นั้นไม่เปลี่ยนแปลง
 class MyCustomAppIntro : AppIntro2 () {
    // Same code as displayed in the `Basic Usage` section of this README
}| หน้าหนังสือ | AppIntro | AppIntro2 |
|---|---|---|
| หน้ามาตรฐาน | 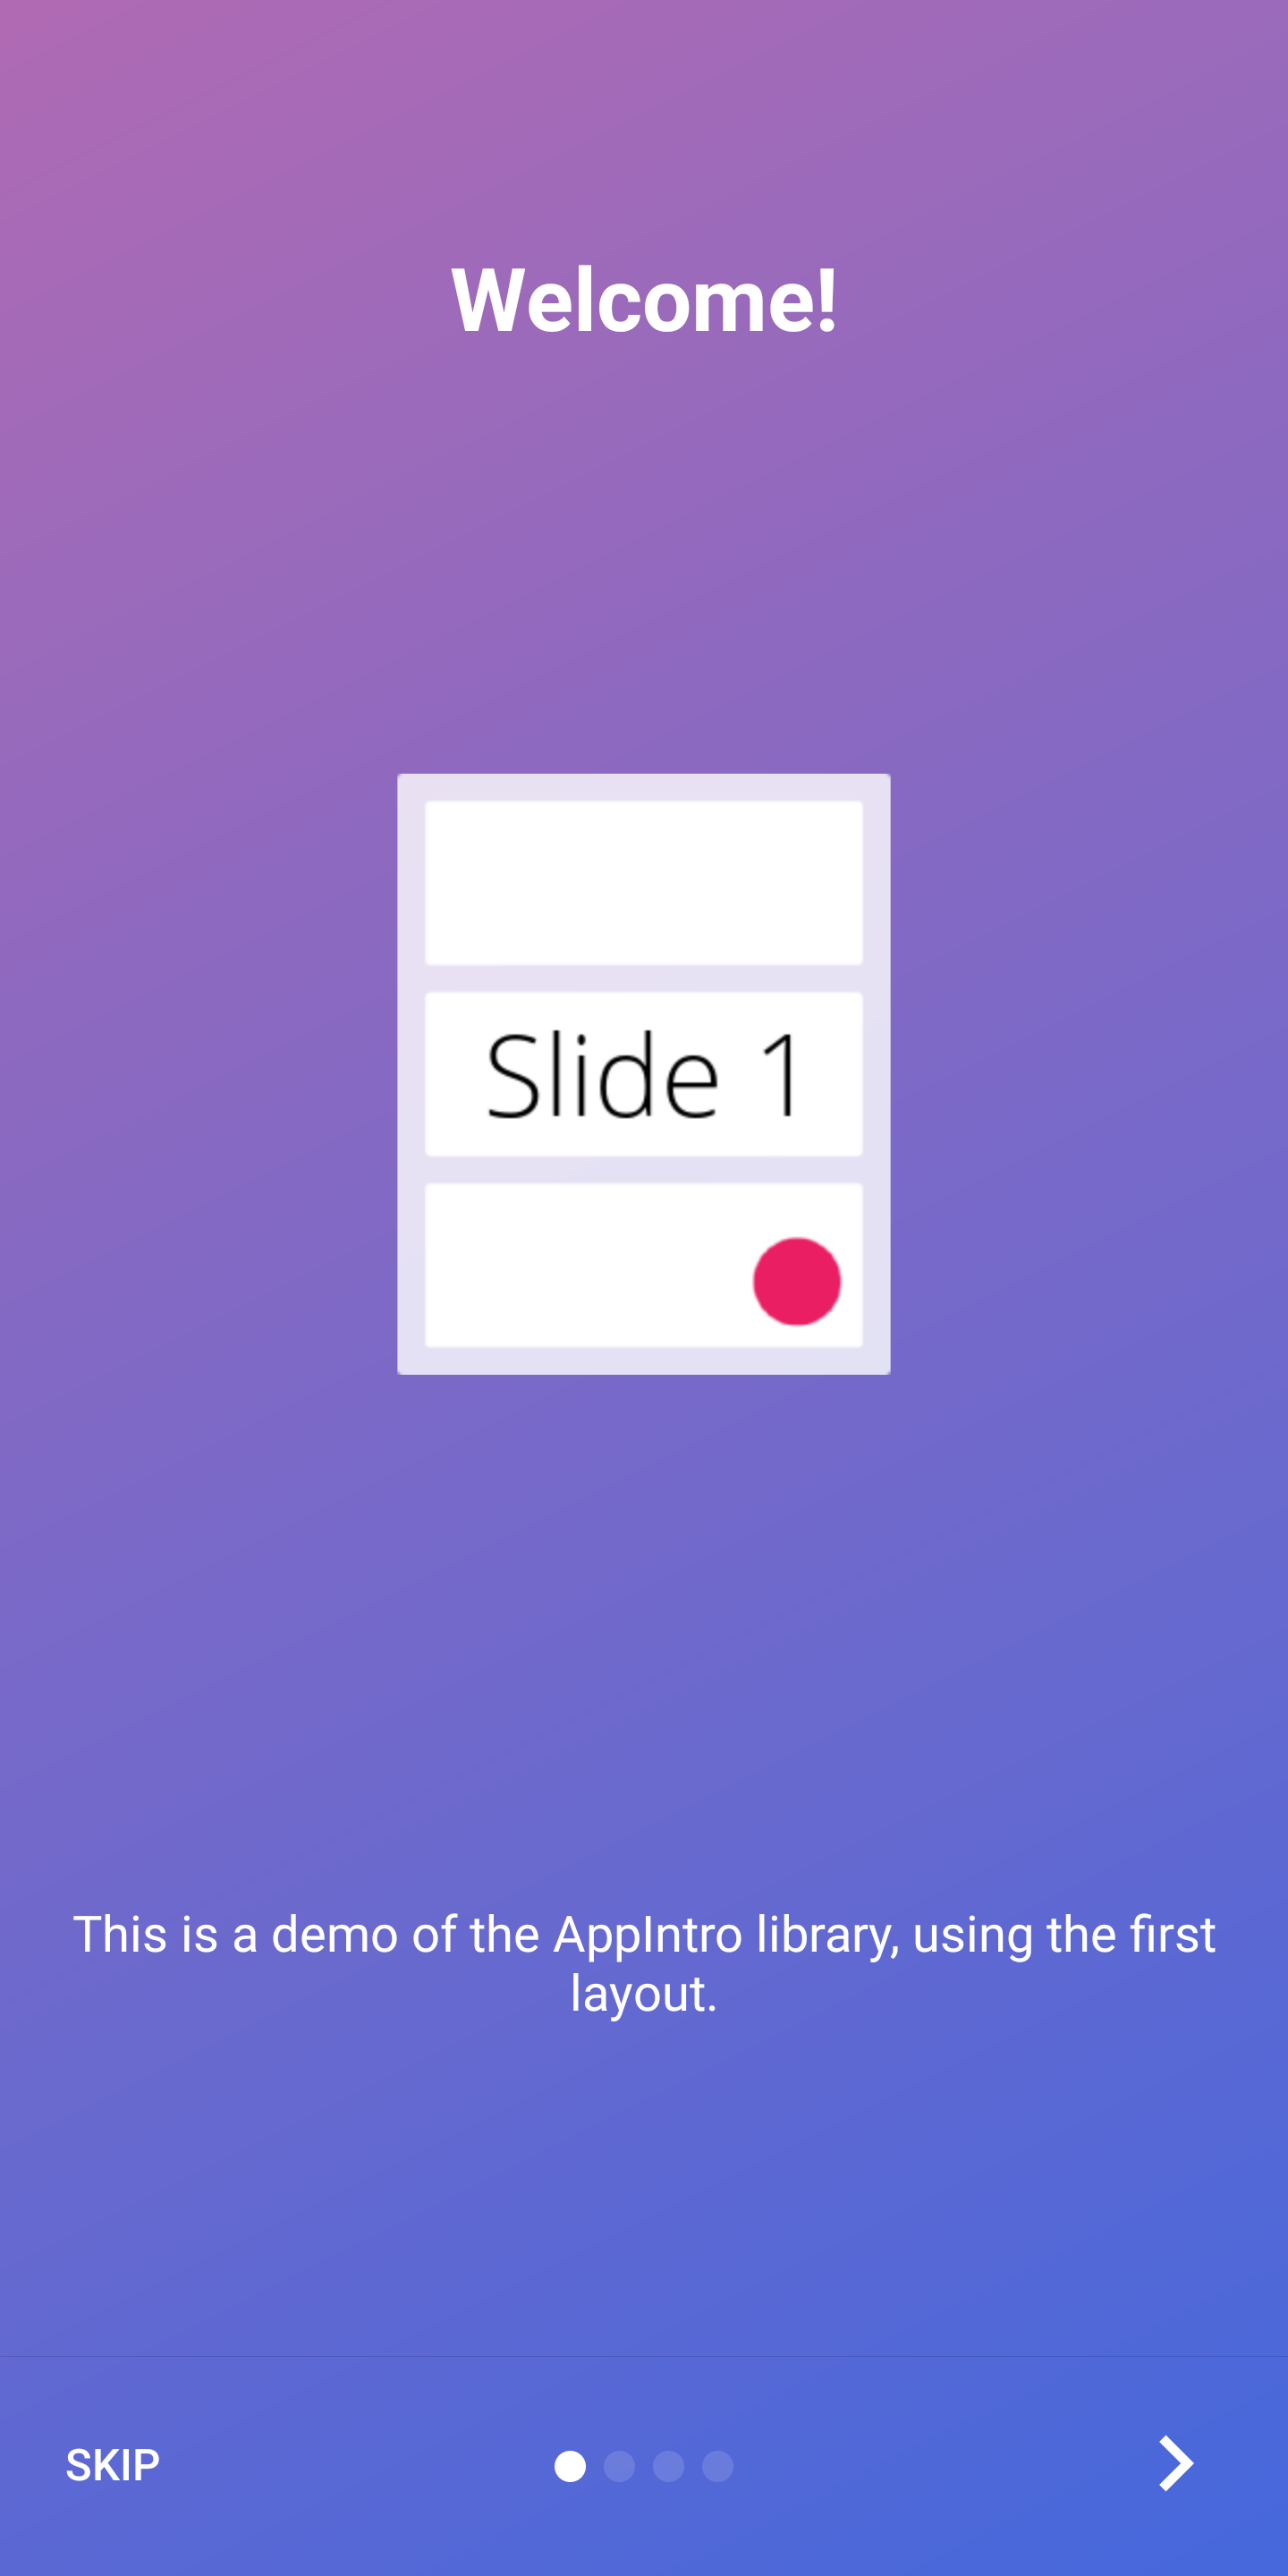 |  |
| หน้าสุดท้าย | 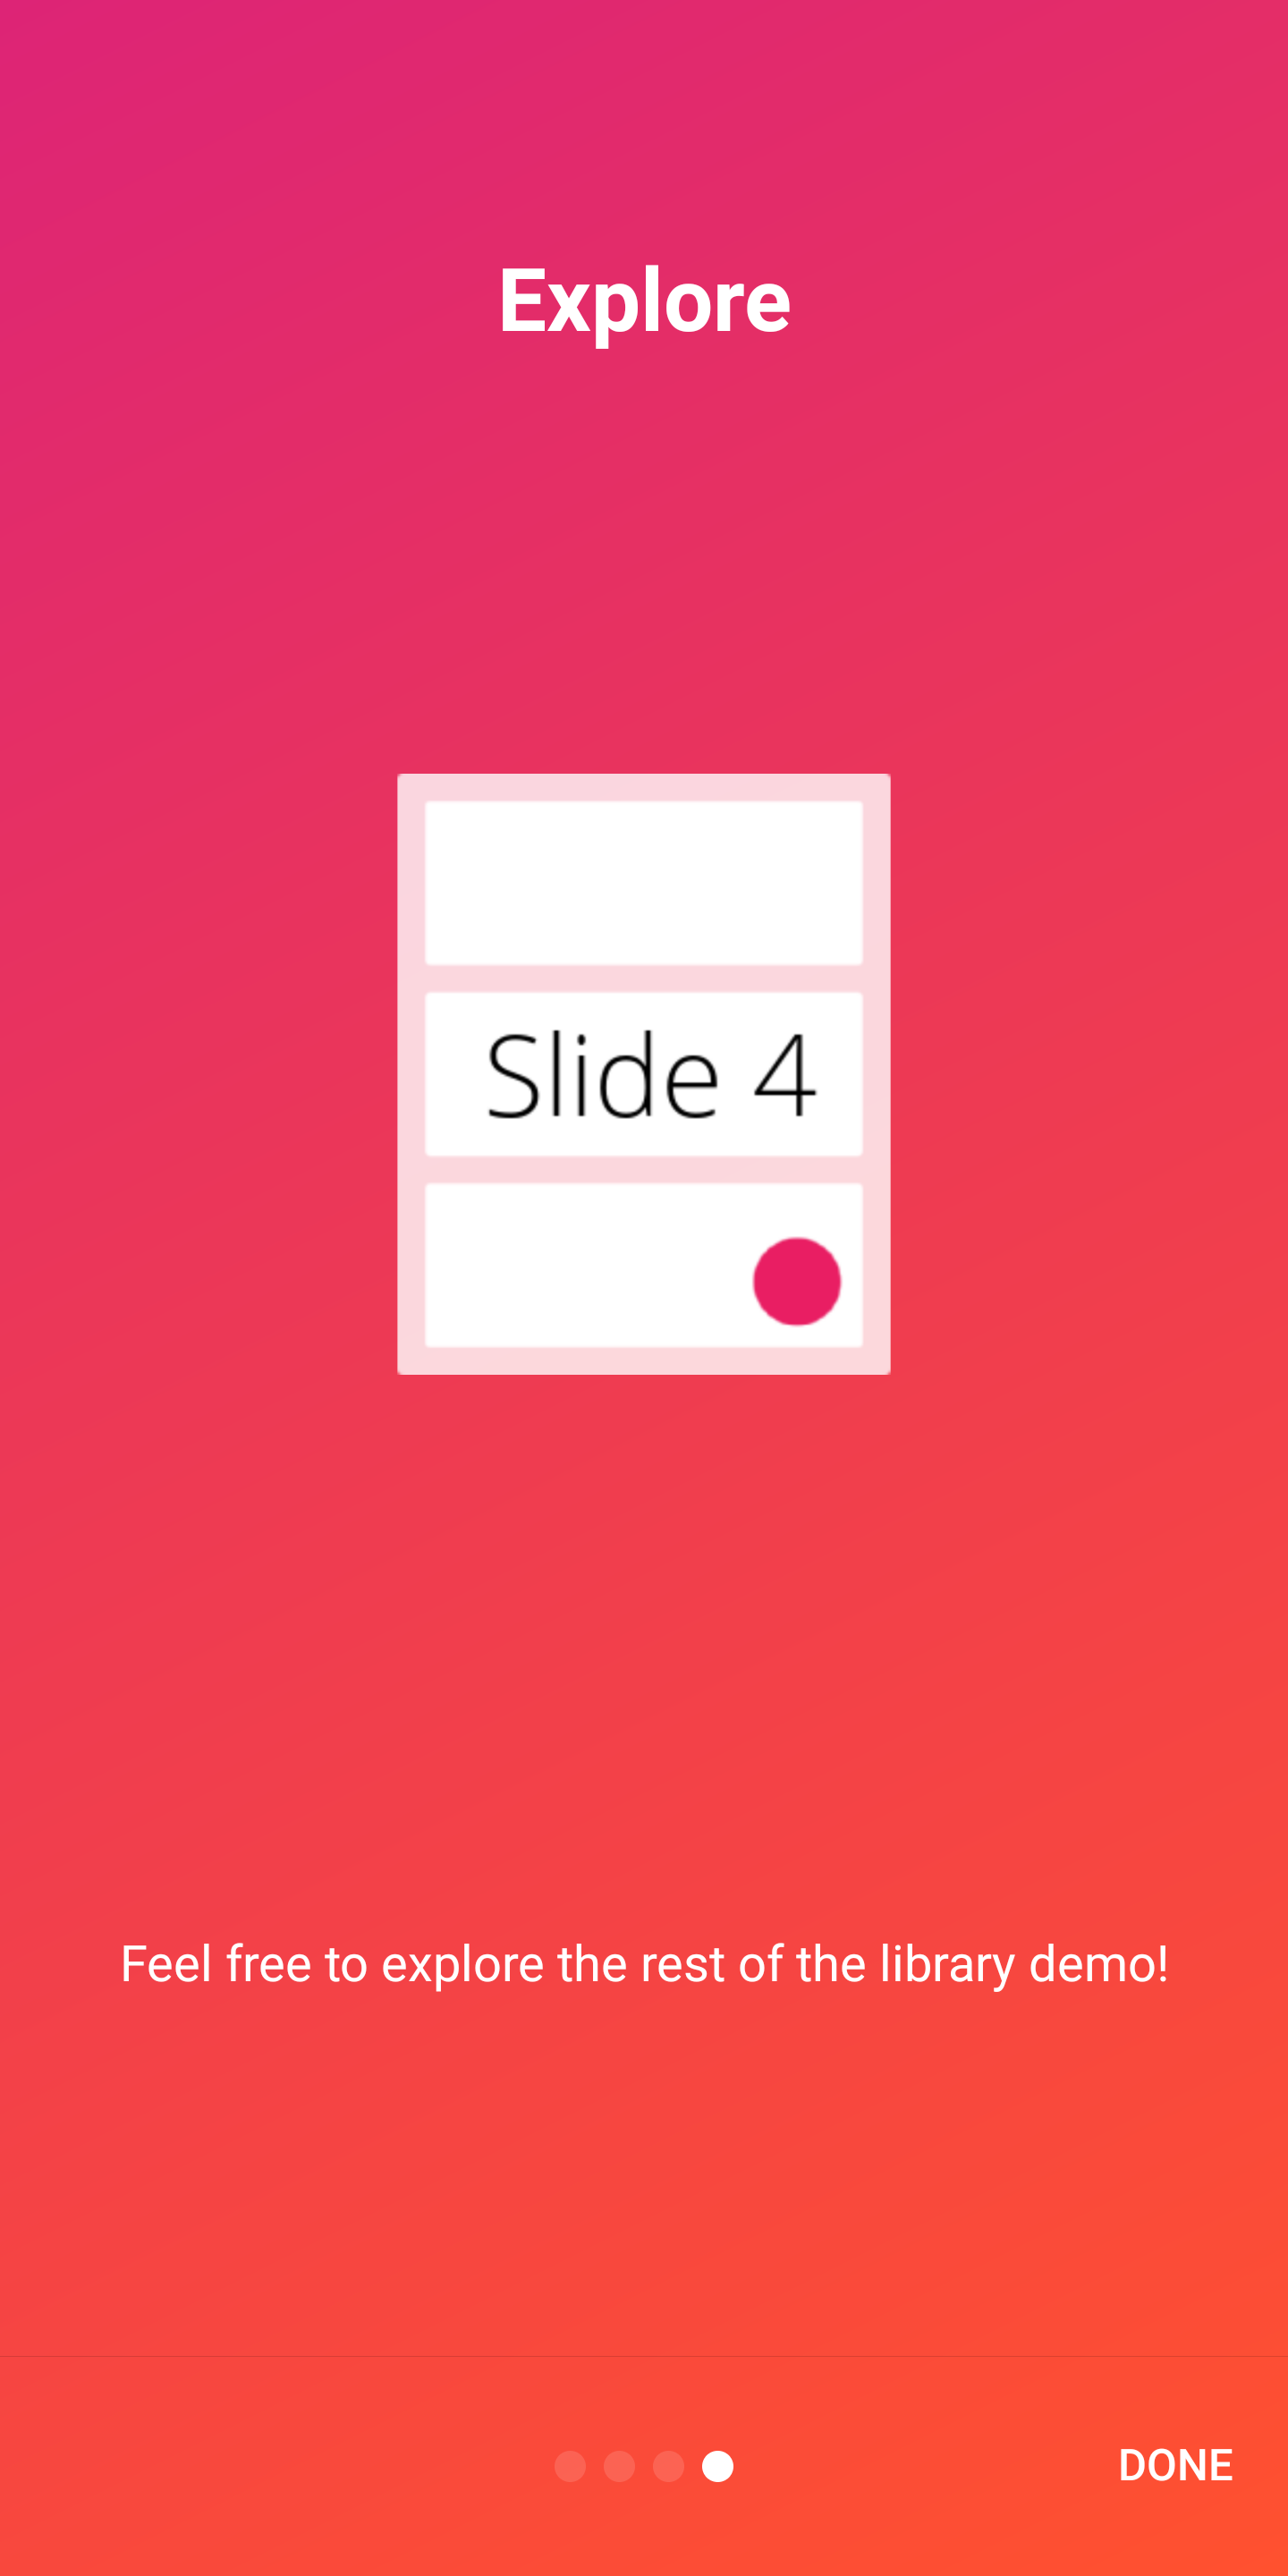 | 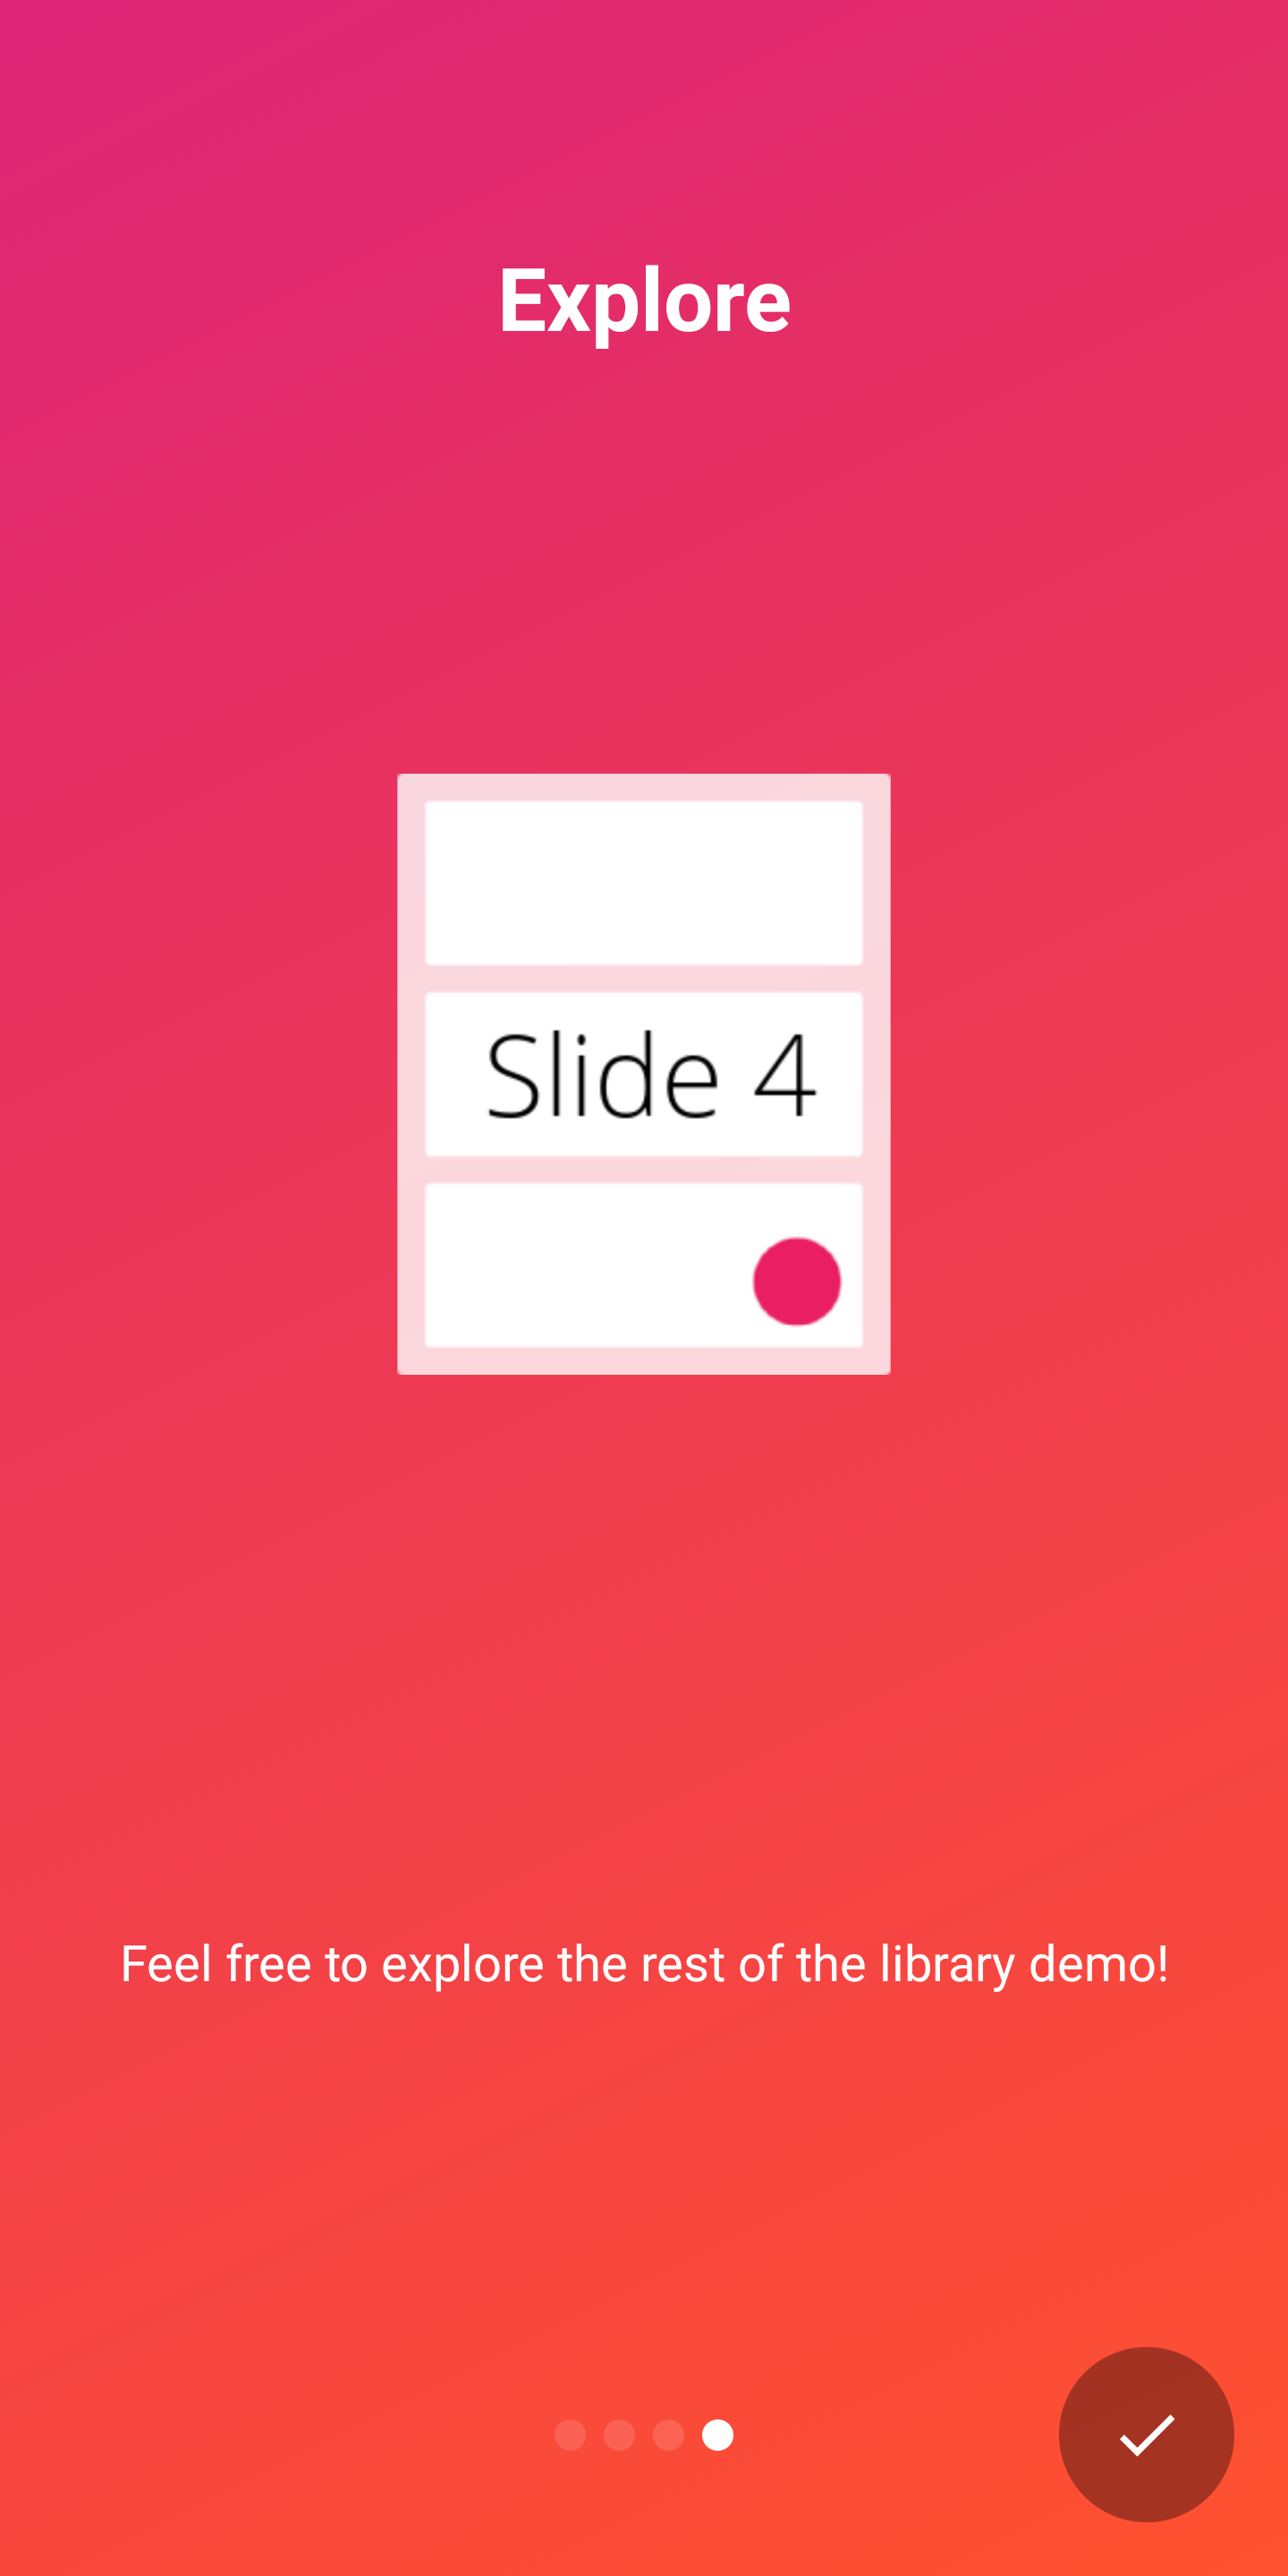 |
AppIntro รองรับสองตัวบ่งชี้นอกกรอบเพื่อแสดงความคืบหน้าของประสบการณ์การแนะนำให้กับผู้ใช้:
DotIndicatorController แสดงด้วยรายการ DOT (ค่าเริ่มต้น)ProgressIndicatorController แสดงด้วยแถบความคืบหน้า DotIndicator | ProgressIndicator |
|---|---|
 |  |
นอกจากนี้คุณสามารถจัดหาตัวบ่งชี้ของคุณเองได้โดยให้การใช้งานอินเทอร์เฟซ IndicatorController
คุณสามารถปรับแต่งตัวบ่งชี้ด้วย API ต่อไปนี้ในคลาส AppIntro :
 // Toggle Indicator Visibility
isIndicatorEnabled = true

// Change Indicator Color
setIndicatorColor(
    selectedIndicatorColor = getColor( R .color.red),
    unselectedIndicatorColor = getColor( R .color.blue)
)

// Switch from Dotted Indicator to Progress Indicator
setProgressIndicator()

// Supply your custom `IndicatorController` implementation
indicatorController = MyCustomIndicator ( /* initialize me */ )
หากคุณไม่ได้ระบุการปรับแต่งใด ๆ จะมีการแสดง DotIndicatorController
AppIntro รองรับการให้ข้อเสนอ แนะการสั่นสะเทือน แบบสัมผัสบนปุ่มคลิกปุ่ม โปรดทราบว่าคุณ ต้องระบุสิทธิ์การสั่นสะเทือน ในรายการแอปของคุณ (ห้องสมุดไม่ได้ทำ) หากคุณลืมระบุการอนุญาตแอปจะประสบกับความผิดพลาด
< uses-permission android : name = " android.permission.VIBRATE " />คุณสามารถเปิดใช้งานและปรับแต่งการสั่นสะเทือนด้วย:
 // Enable vibration and set duration in ms
isVibrate = true
vibrateDuration = 50L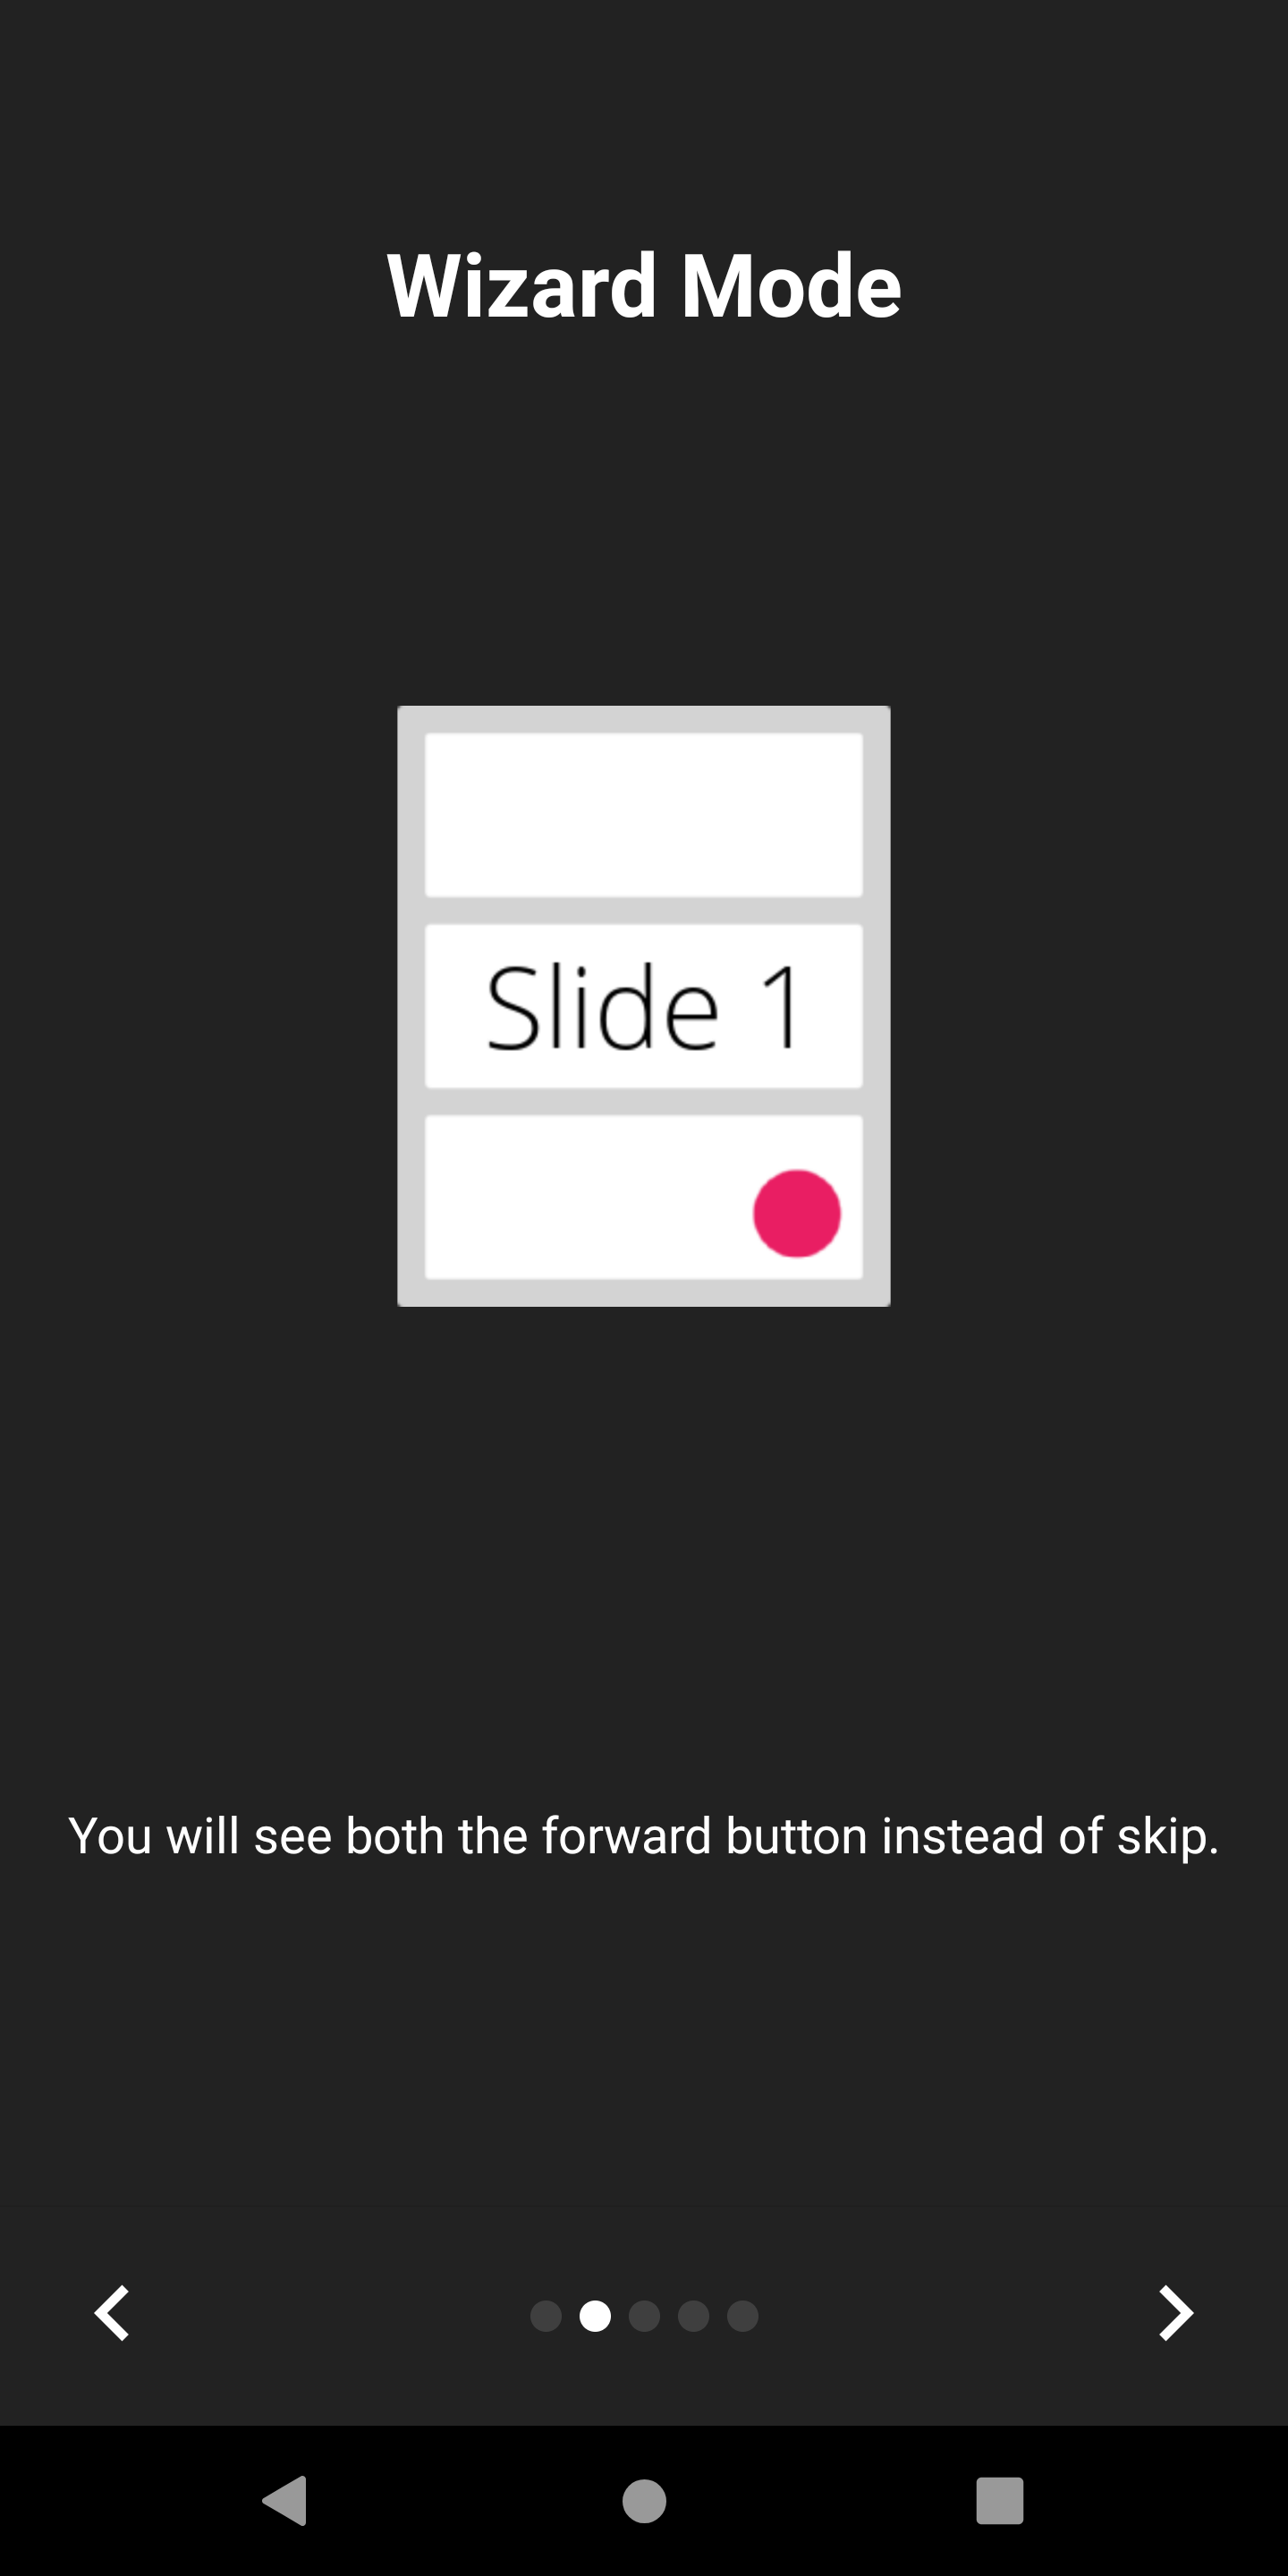

AppIntro รองรับโหมด ตัวช่วยสร้าง ที่ปุ่มข้ามจะถูกแทนที่ด้วยลูกศรด้านหลัง สิ่งนี้มีประโยชน์หากคุณนำเสนอตัวช่วยสร้างให้กับผู้ใช้ของคุณด้วยชุดขั้นตอนที่พวกเขาต้องทำและพวกเขาอาจกลับไปกลับมาบ่อยครั้ง
คุณสามารถเปิดใช้งานได้ด้วย:
isWizardMode = true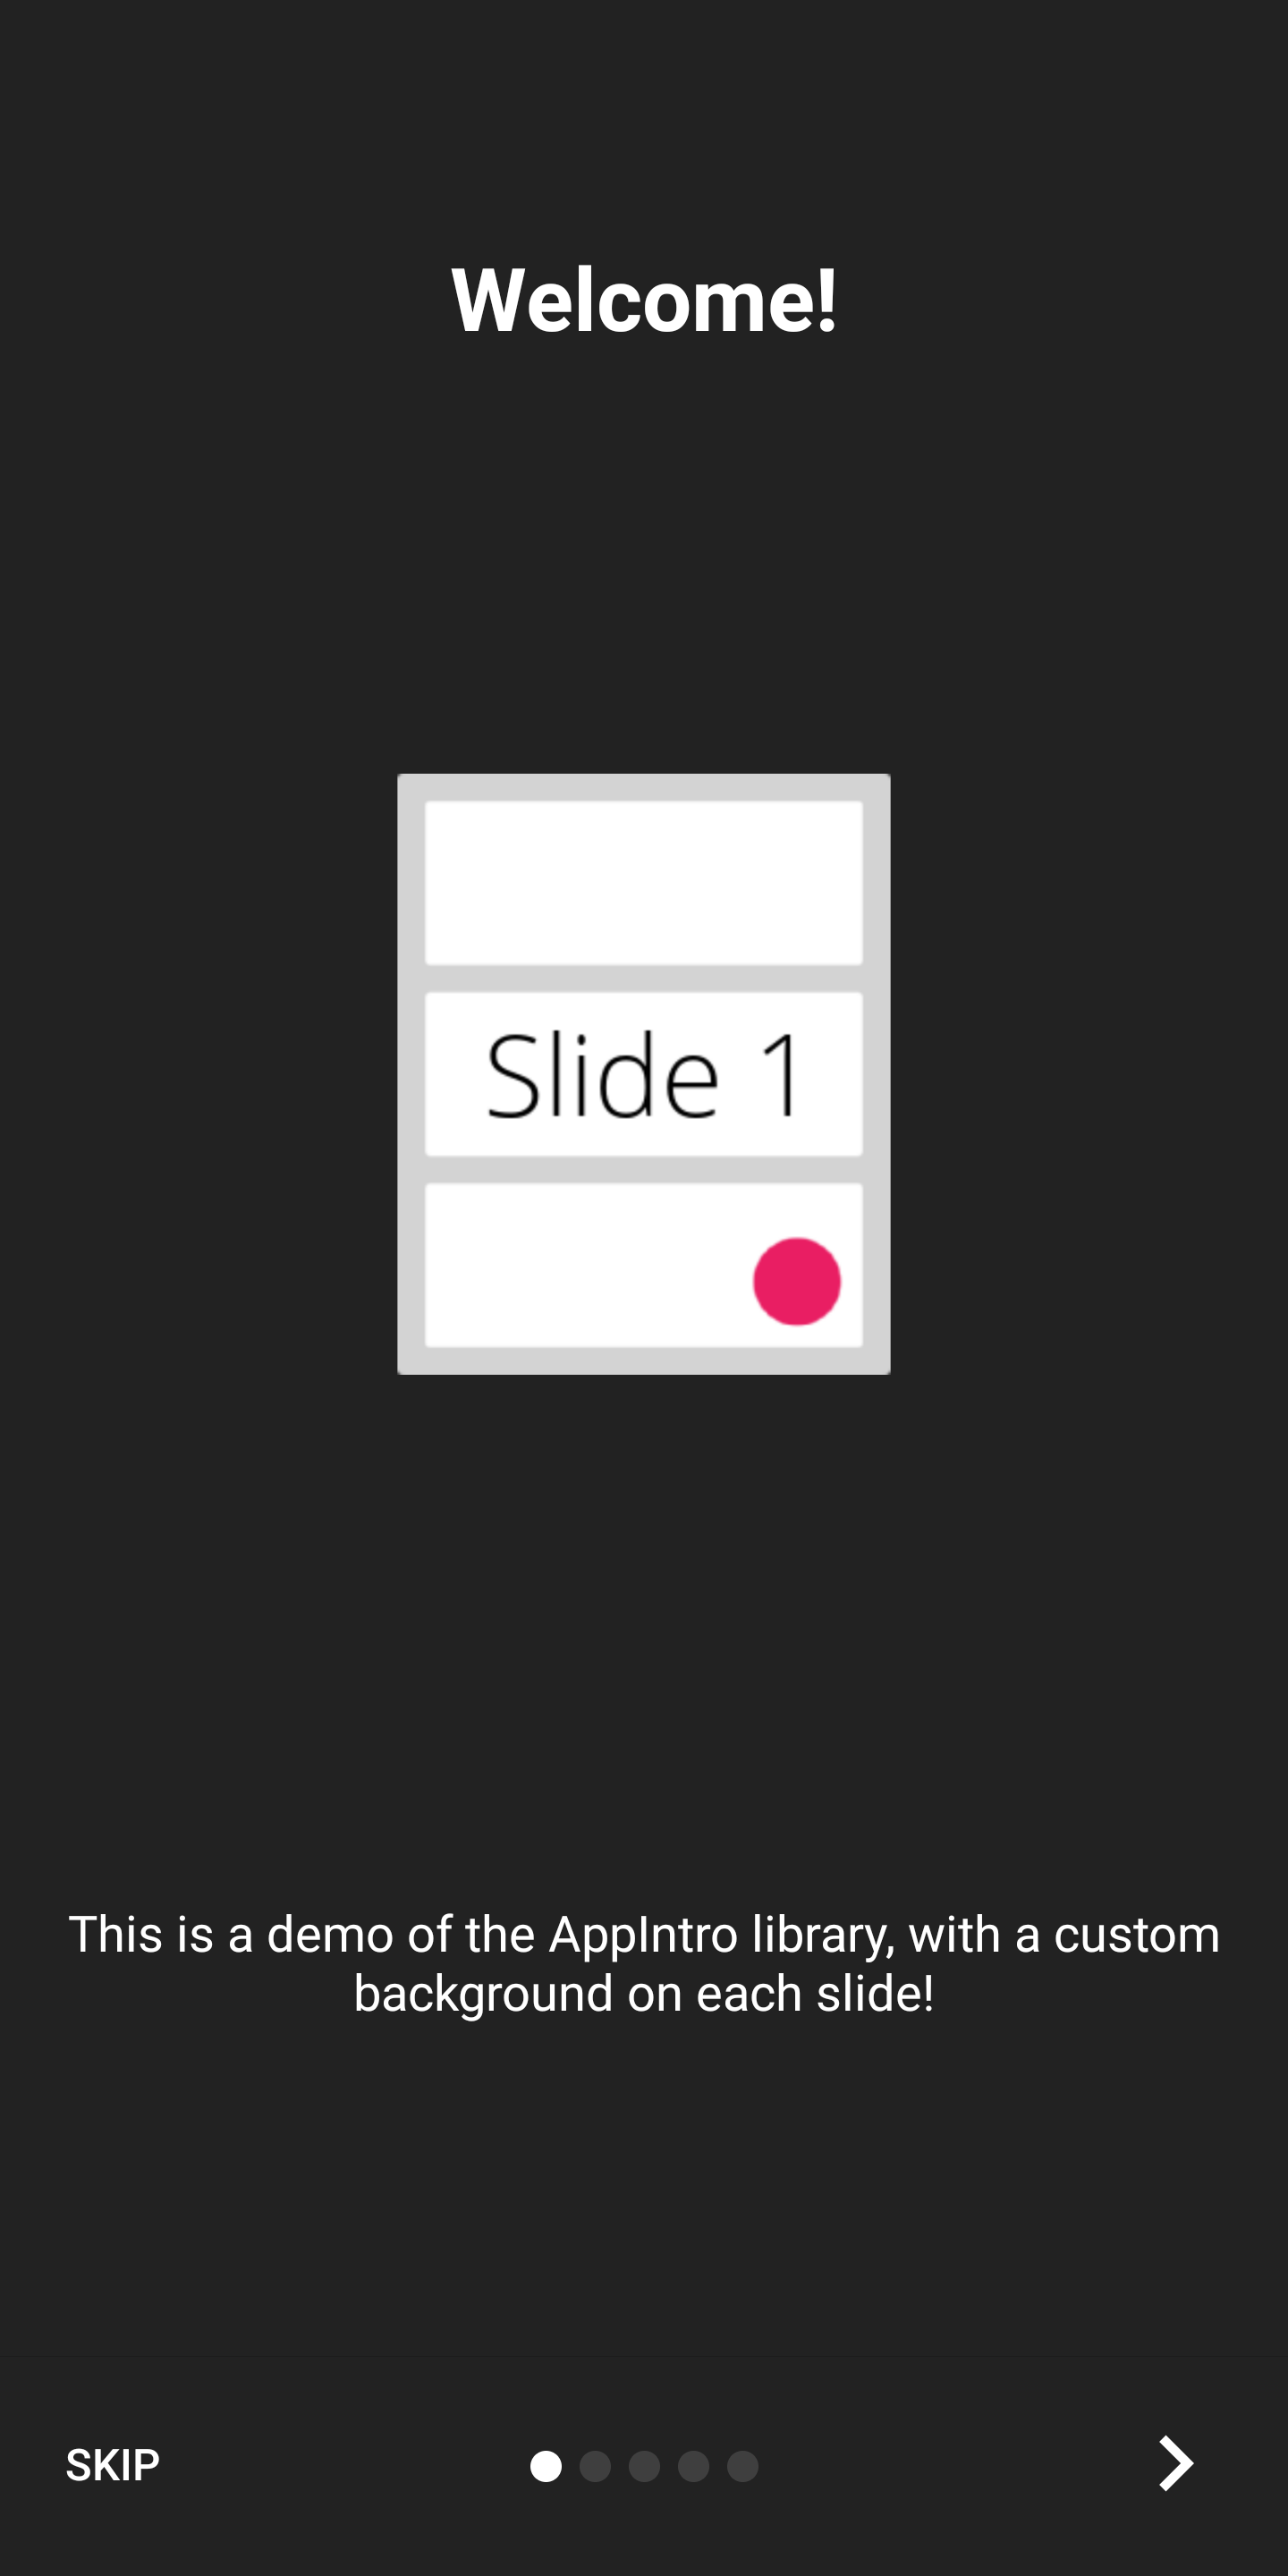

หากคุณต้องการแสดงอินโทรของคุณด้วยประสบการณ์แบบเต็มหน้าจอคุณสามารถเปิดใช้งานโหมด Immersive สิ่งนี้จะซ่อนทั้ง แถบสถานะ และ แถบการนำทาง และผู้ใช้จะต้องเลื่อนจากด้านบนของหน้าจอเพื่อแสดงอีกครั้ง
สิ่งนี้ช่วยให้คุณมีพื้นที่มากขึ้นสำหรับเนื้อหาอินโทรและกราฟิกของคุณ
คุณสามารถเปิดใช้งานได้ด้วย:
setImmersiveMode()คุณสามารถล็อคปุ่มระบบย้อนกลับของระบบได้หากคุณไม่ต้องการให้ผู้ใช้กลับมาจากอินโทร สิ่งนี้อาจเป็นประโยชน์หากคุณต้องการขออนุญาตและประสบการณ์การแนะนำไม่เป็นทางเลือก
หากเป็นกรณีนี้โปรดตั้งค่าการตั้งค่าสถานะต่อไปนี้จริง:
isSystemBackButtonLocked = true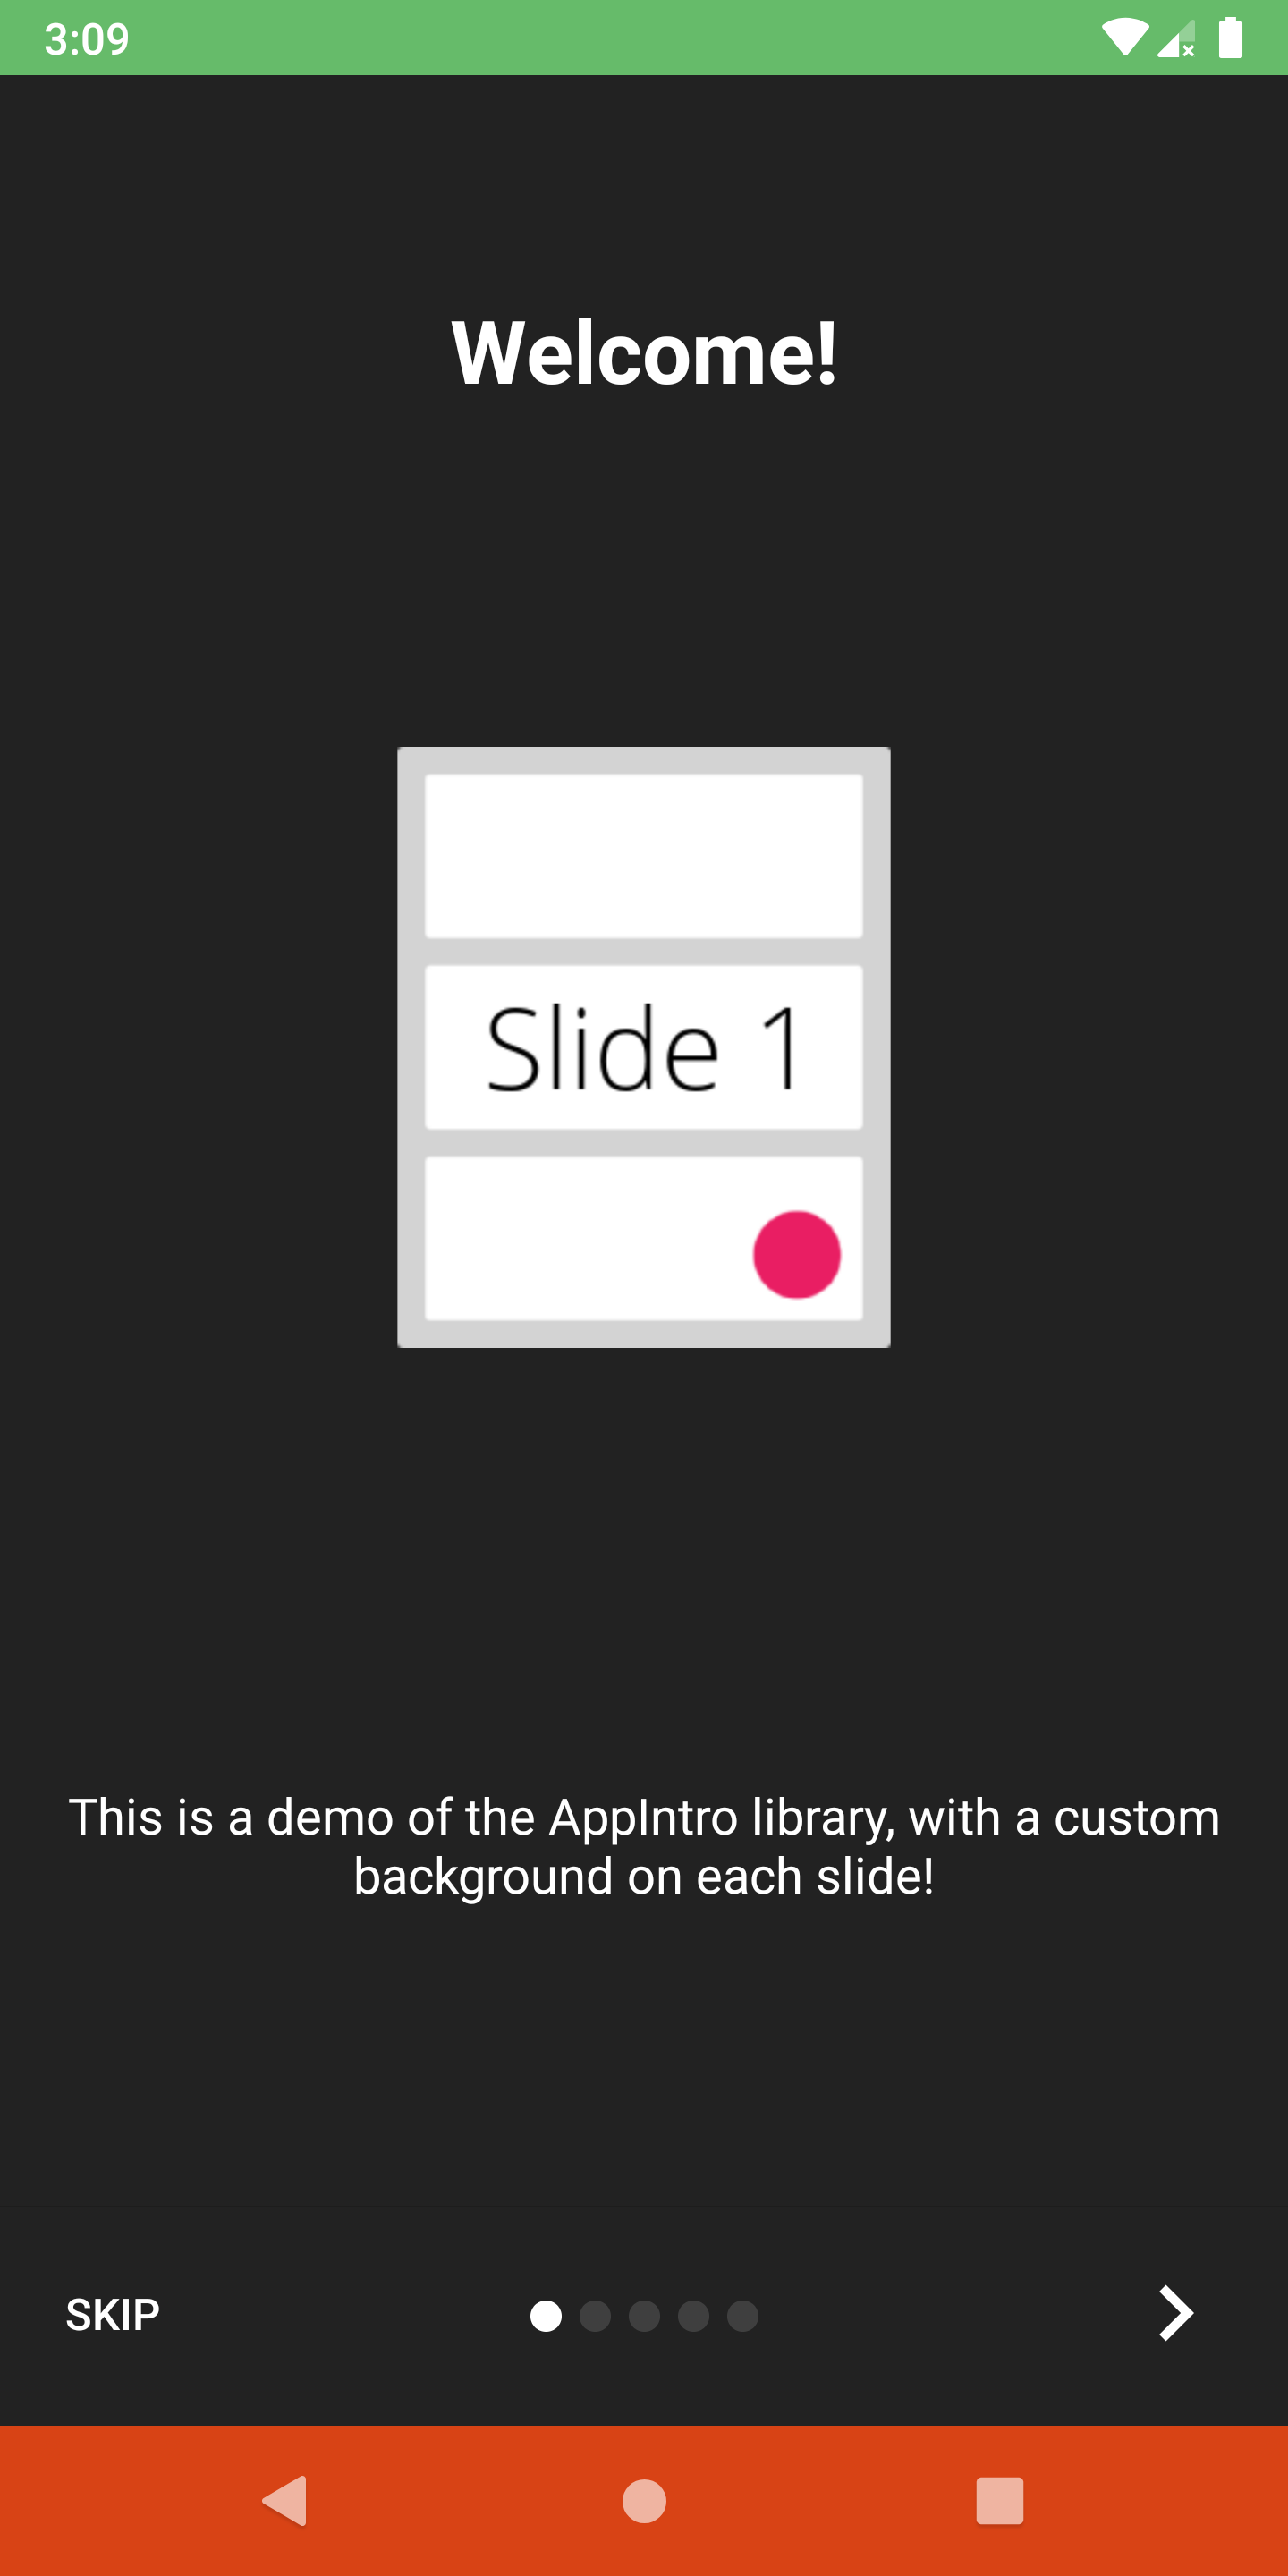
คุณสามารถปรับแต่ง แถบสถานะ และการมองเห็นและสี แถบนำทาง ด้วยวิธีการต่อไปนี้:
 // Hide/Show the status Bar
showStatusBar( true )
// Control the status bar color
setStatusBarColor( Color . GREEN )
setStatusBarColorRes( R .color.green)

// Control the navigation bar color
setNavBarColor( Color . RED )
setNavBarColorRes( R .color.red) โดยค่าเริ่มต้นสไลด์จะใช้ขนาดทั้งหมดที่มีอยู่ในหน้าจอดังนั้นอาจเกิดขึ้นได้ว่าแถบด้านล่างจะซ้อนทับเนื้อหาของสไลด์หากคุณตั้งค่าสีพื้นหลังเป็นสีที่ไม่โปร่งใส หากคุณต้องการตรวจสอบให้แน่ใจว่าแถบไม่ทับซ้อนเนื้อหาให้ใช้ฟังก์ชัน setBarMargin ดังนี้:
setBarMargin( true )
AppIntro ช่วยลดความซับซ้อนของกระบวนการขอ สิทธิ์รันไทม์ ให้กับผู้ใช้ของคุณ คุณสามารถรวมคำขอการอนุญาตอย่างน้อยหนึ่งรายการไว้ในสไลด์ด้วยวิธี askForPermissions ในกิจกรรมของคุณ
โปรดทราบว่า:
slideNumber อยู่ใน หมายเลขที่ใช้หนึ่ง (เริ่มจาก 1) // Ask for required CAMERA permission on the second slide.
askForPermissions(
permissions = arrayOf( Manifest .permission. CAMERA ),
slideNumber = 2 ,
required = true )
// Ask for both optional ACCESS_FINE_LOCATION and WRITE_EXTERNAL_STORAGE
// permission on the third slide.
askForPermissions(
permissions = arrayOf(
Manifest .permission. ACCESS_FINE_LOCATION ,
Manifest .permission. WRITE_EXTERNAL_STORAGE
),
slideNumber = 3 ,
required = false ) หากคุณต้องการการควบคุมเพิ่มเติมเกี่ยวกับคำขออนุญาตคุณสามารถแทนที่ทั้งสองวิธีในคลาส AppIntro :
 override fun onUserDeniedPermission ( permissionName : String ) {
    // User pressed "Deny" on the permission dialog
}
override fun onUserDisabledPermission ( permissionName : String ) {
    // User pressed "Deny" + "Don't ask again" on the permission dialog
} หากคุณต้องการ จำกัด การนำทางระหว่างสไลด์ของคุณ (เช่นผู้ใช้จะต้องสลับช่องทำเครื่องหมายเพื่อดำเนินการต่อ) คุณลักษณะ SlidePolicy อาจช่วยคุณได้
สิ่งที่คุณต้องทำคือใช้ SlidePolicy ในสไลด์ของคุณ
อินเทอร์เฟซนี้มีคุณสมบัติ isPolicyRespected และวิธีการ onUserIllegallyRequestedNextPage ที่คุณต้องนำไปใช้กับตรรกะที่กำหนดเองของคุณ
 class MyFragment : Fragment (), SlidePolicy {

    // If user should be allowed to leave this slide
    override val isPolicyRespected : Boolean
        get() = false // Your custom logic here.

    override fun onUserIllegallyRequestedNextPage () {
        // User illegally requested next slide.
        // Show a toast or an informative message to the user.
    }
}
คุณสามารถค้นหาตัวอย่างการทำงานเต็มรูปแบบของ SlidePolicy ในแอพตัวอย่าง - CustomsLidePolicyFragment.kt
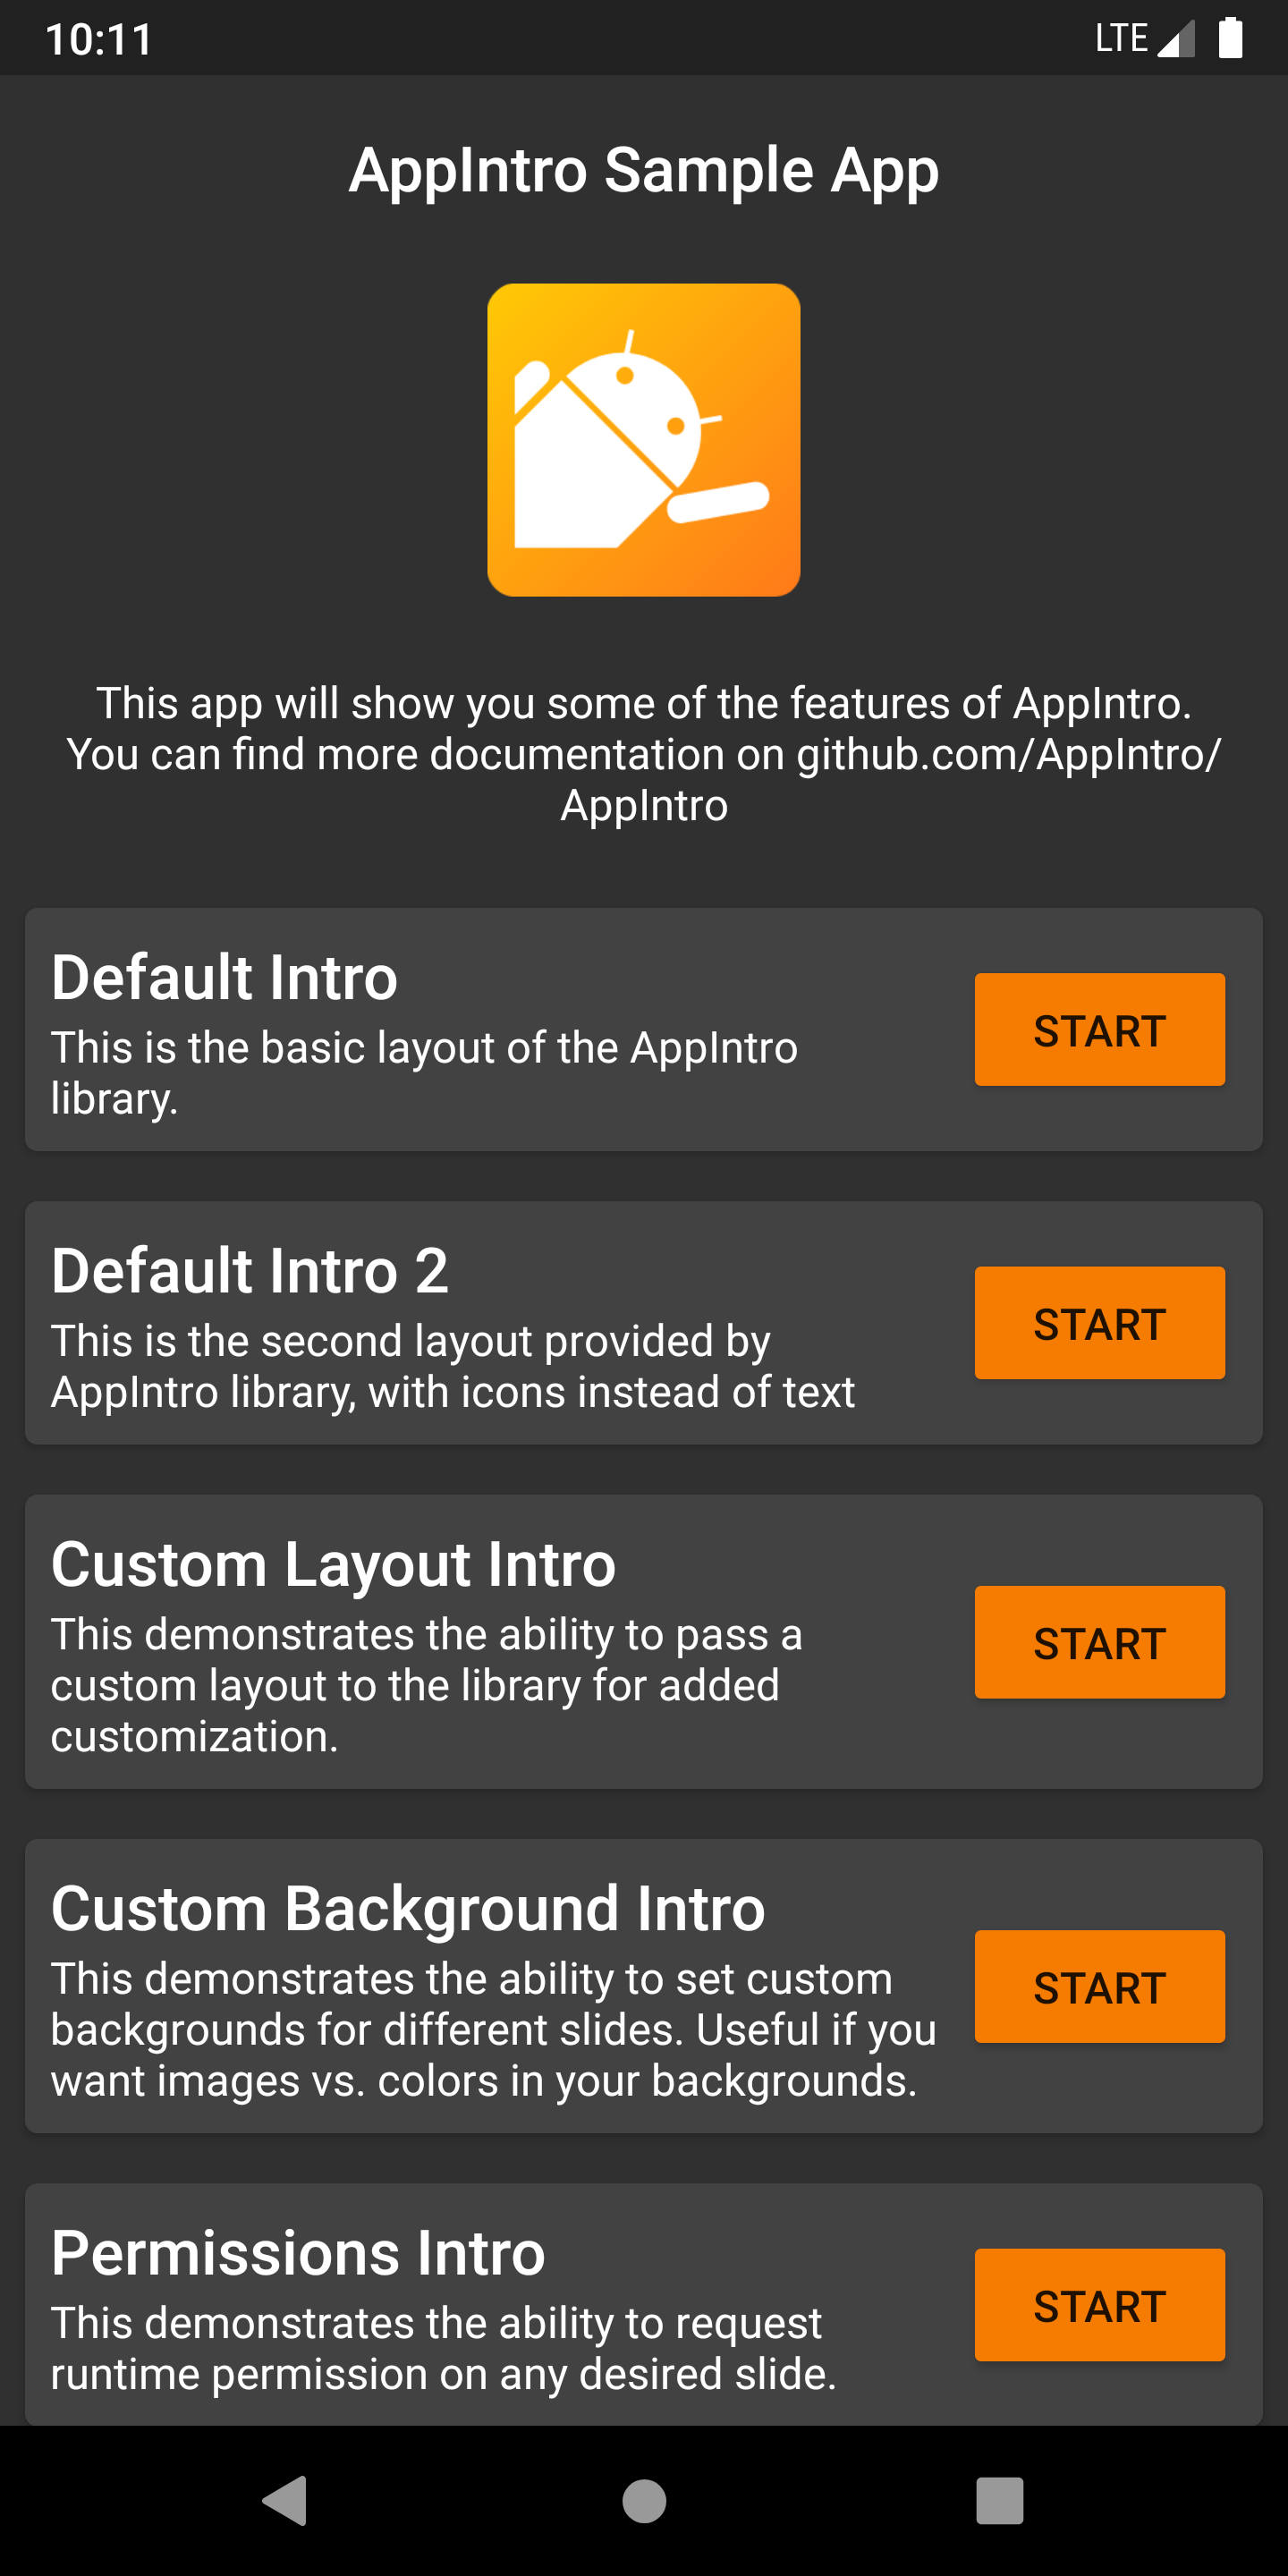
AppIntro มาพร้อมกับ แอพตัวอย่าง ที่เต็มไปด้วยตัวอย่างและใช้กรณีที่คุณสามารถใช้เป็นแรงบันดาลใจสำหรับโครงการของคุณ คุณสามารถค้นหาได้ภายในโฟลเดอร์ /ตัวอย่าง
คุณสามารถรับ การดีบัก APK ของแอพตัวอย่างจากงานการกระทำ ก่อนการผสาน ของ GitHub เป็นงานที่ส่งออกได้ที่นี่
คุณต้องการช่วย AppIntro เป็นสากลหรือไม่? เรามีความสุขมากกว่า! ปัจจุบัน AppIntro รองรับภาษาต่อไปนี้
ในการเพิ่มการแปลใหม่เพียงเพิ่มคำขอดึงด้วยไฟล์ strings.xml ใหม่ภายในโฟลเดอร์ values-xx (โดยที่ xx เป็นรหัสภาษา ISO 639-1 สองตัวอักษร)
เพื่อให้การแปลไฟล์ของคุณจำเป็นต้องมีสตริงต่อไปนี้:
<? xml version = " 1.0 " encoding = " utf-8 " ?>
< resources xmlns : tools = " http://schemas.android.com/tools " >
    < string name = " app_intro_skip_button " >[Translation for SKIP]</ string >
    < string name = " app_intro_next_button " >[Translation for NEXT]</ string >
    < string name = " app_intro_back_button " >[Translation for BACK]</ string >
    < string name = " app_intro_done_button " >[Translation for DONE]</ string >
    < string name = " app_intro_image_content_description " >[Translation for "graphics"]</ string >
</ resources >
การแปลเวอร์ชันภาษาอังกฤษเวอร์ชันอัปเดตมีอยู่ที่นี่
หากการแปลในภาษาของคุณมีอยู่แล้วโปรดตรวจสอบและแก้ไขในที่สุด (สตริงทั้งหมดควรอยู่ในรายการไม่ใช่แค่ชุดย่อย)
การพัฒนา AppIntro เกิดขึ้นในสาขาหลัก คุณสามารถรับเวอร์ชัน SNAPSHOT ได้โดยตรงจาก jitpack หากจำเป็น
 repositories {
    maven { url " https://jitpack.io " }
}
dependencies {
implementation " com.github.AppIntro:AppIntro:main-SNAPSHOT "
}เราให้การสนับสนุน AppIntro บนช่อง #AppIntro บน Kotlinlang Slack มาร่วมการสนทนาที่นั่น หากคุณไม่สามารถเข้าถึง Kotlinlang Slack ได้คุณสามารถขอการเข้าถึงได้ที่นี่
เรากำลังมองหาผู้มีส่วนร่วม! อย่าอาย - อย่าลังเลที่จะเปิดปัญหา/ดึงคำขอเพื่อช่วยฉันปรับปรุงโครงการนี้
AppIntro ได้รับการพัฒนาและบำรุงรักษาโดย Appintro GitHub org เมื่อส่ง PR ใหม่โปรดส่งหนึ่งใน:
AppIntro ไม่ได้พึ่งพาห้องสมุดบุคคลที่สามใด ๆ นอกเหนือจาก Androidx:
androidx.appcompat:appcompatandroidx.annotation:annotationandroidx.constraintlayout:constraintlayout Copyright (C) 2015-2020 AppIntro Developers
Licensed under the Apache License, Version 2.0 (the "License");
you may not use this file except in compliance with the License.
You may obtain a copy of the License at
http://www.apache.org/licenses/LICENSE-2.0
Unless required by applicable law or agreed to in writing, software
distributed under the License is distributed on an "AS IS" BASIS,
WITHOUT WARRANTIES OR CONDITIONS OF ANY KIND, either express or implied.
See the License for the specific language governing permissions and
limitations under the License.
หากคุณใช้ AppIntro ในแอพของคุณและต้องการที่จะอยู่ในรายการที่นี่โปรดเปิดคำขอดึงและเราจะมีความสุขมากกว่าที่จะรวมคุณ:


