k8s for docker desktop
1.0.0
中文| English
說明:
git checkout v1.30.2git checkout v1.29.2git checkout v1.29.1git checkout v1.28.2git checkout v1.27.2git checkout v1.25.9git checkout v1.25.4git checkout v1.25.2git checkout v1.25.0git checkout v1.24.2git checkout v1.24.0注:
images.properties文件指明所需鏡像版本,並歡迎提交Pull Requestkubeadm config images list --kubernetes-version v1.30.2為Kubernetes 配置CPU 和內存資源,建議分配4GB 或更多內存。
從阿里雲鏡像服務下載Kubernetes 所需要的鏡像
在Mac 上執行如下腳本
./load_images.sh在Windows上,使用PowerShell
.load_images.ps1說明:
Set-ExecutionPolicy RemoteSigned命令。images.properties文件自行加載你自己需要的鏡像開啟Kubernetes,並等待Kubernetes 開始運行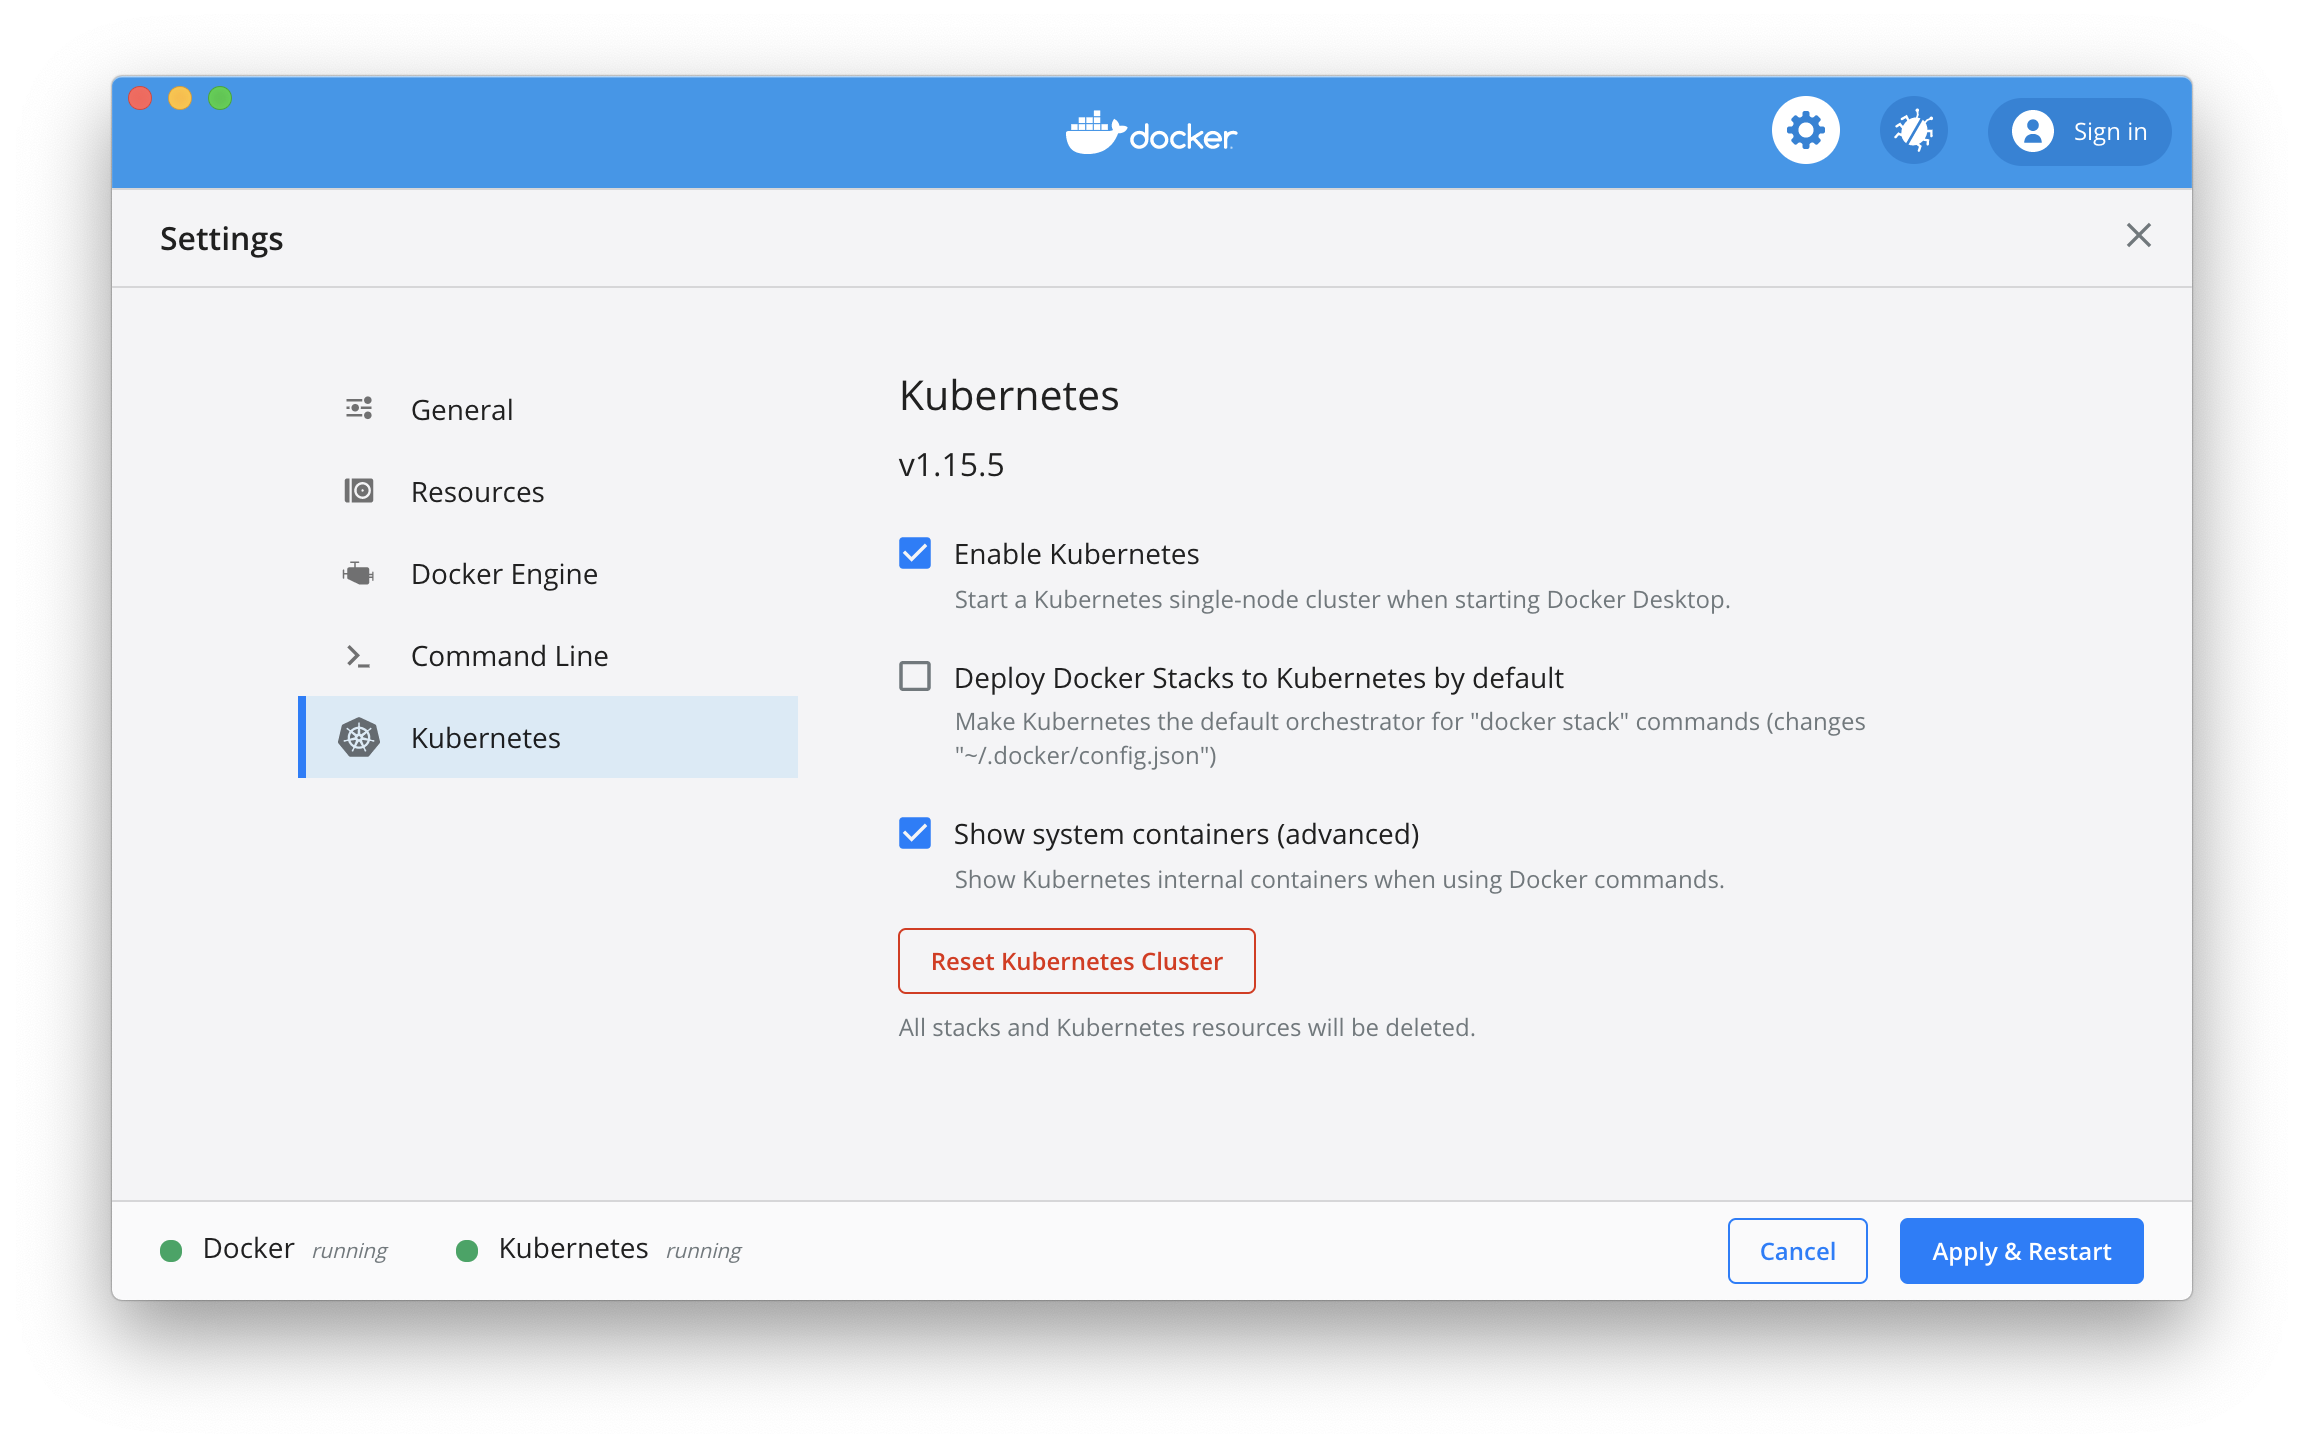
TIPS :
在Mac上:
如果在Kubernetes部署的過程中出現問題,可以通過docker desktop應用日誌獲得實時日誌信息:
pred= ' process matches ".*(ocker|vpnkit).*"
  || (process in {"taskgated-helper", "launchservicesd", "kernel"} && eventMessage contains[c] "docker") '
/usr/bin/log stream --style syslog --level=debug --color=always --predicate " $pred "
在Windows上:
如果在Kubernetes部署的過程中出現問題,可以在C:ProgramDataDockerDesktop下的service.txt 查看Docker日誌, 在C:UsersyourUserNameAppDataLocalDocker下的log.txt 查看Kubernetes日誌
問題診斷:
如果看到Kubernetes一直在啟動狀態,請參考
rm -fr '~/Library/Group Containers/group.com.docker/pki'K8S進入容器方法
K8s如何進入一個pod裡有多個容器的方法
kubectl --namespace=kube-system exec -it kube-dns-1336009800-15b1h --container nginx -- sh
或
kubectl --namespace=kube-system exec -it kube-dns-1336009800-15b1h -c nginx -- sh
註釋:--namespace 為命名空間kube-dns為pod的名字,-c或-container為Pod裡其中的一個容器名字
可選操作: 切換Kubernetes運行上下文至docker-desktop (之前版本的context 為docker-for-desktop)
kubectl config use-context docker-desktop驗證Kubernetes 集群狀態
kubectl cluster-info
kubectl get nodeskubectl apply -f https://raw.githubusercontent.com/kubernetes/dashboard/v2.5.1/aio/deploy/recommended.yaml或
kubectl apply -f kubernetes-dashboard.yaml檢查kubernetes-dashboard 應用狀態
kubectl get pod -n kubernetes-dashboard開啟API Server 訪問代理
kubectl proxy通過如下URL 訪問Kubernetes dashboard
http://localhost:8001/api/v1/namespaces/kubernetes-dashboard/services/https:kubernetes-dashboard:/proxy/
授權kube-system默認服務賬號
kubectl apply -f kube-system-default.yaml對於Mac環境
TOKEN= $( kubectl -n kube-system describe secret default | awk ' $1=="token:"{print $2} ' )
kubectl config set-credentials docker-desktop --token= " ${TOKEN} "
echo $TOKEN
對於Windows環境
 $TOKEN = (( kubectl - n kube - system describe secret default | Select - String "token : ") - split " + ")[ 1 ]
kubectl config set-credentials docker-desktop --token=" ${TOKEN} "
echo $TOKEN 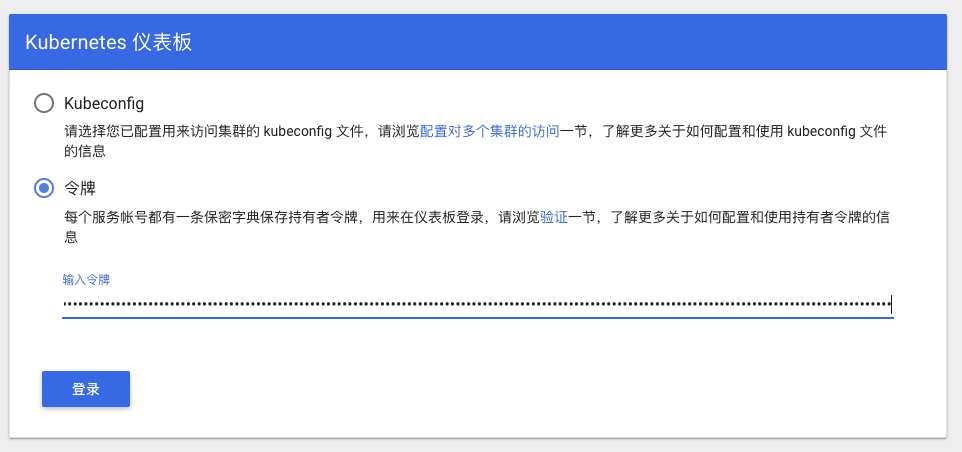
選擇令牌
輸入上文控制台輸出的內容
或者選擇Kubeconfig文件,路徑如下:
 Mac: $HOME/.kube/config
Win: %UserProfile%.kubeconfig
點擊登陸,進入Kubernetes Dashboard
說明:如果測試Istio,不需要安裝Ingress
源地址安裝說明
驗證
kubectl get pods --all-namespaces -l app.kubernetes.io/name=ingress-nginx部署測試應用,詳情參見社區文章
kubectl create -f sample/apple.yaml
kubectl create -f sample/banana.yaml
kubectl create -f sample/ingress.yaml
測試示例應用
$ curl -kL http://localhost/apple
apple
$ curl -kL http://localhost/banana
banana
刪除示例應用
kubectl delete -f sample/apple.yaml
kubectl delete -f sample/banana.yaml
kubectl delete -f sample/ingress.yamlkubectl delete -f https://raw.githubusercontent.com/kubernetes/ingress-nginx/controller-v1.2.0/deploy/static/provider/cloud/deploy.yaml或
kubectl delete -f ingress-nginx-controller.yaml可以根據文檔安裝helm v3 https://helm.sh/docs/intro/install/ 在國內由於helm的cdn節點使用的是谷歌云所以可能訪問不到,可以參考已存在的官方issue: helm/helm#7028
 # Use homebrew on Mac
brew install helm

# Add helm repo
helm repo add stable http://mirror.azure.cn/kubernetes/charts/

# Update charts repo
helm repo update如果在後續使用helm 安裝組件的過程中出現版本兼容問題,可以參考通过二进制包安装思路安裝匹配的版本
 # Use Chocolatey on Windows
# 注:安装的时候需要保证网络能够访问googleapis这个域名
choco install kubernetes-helm

# Change helm repo
helm repo add stable http://mirror.azure.cn/kubernetes/charts/

# Update charts repo
helm repo update安裝Wordpress
helm install wordpress stable/wordpress查看wordpress 發布狀態
helm status wordpress卸載wordpress 發布
helm uninstall wordpress說明:Istio Ingress Gateway和Ingress缺省的端口衝突,請移除Ingress並進行下面測試
可以根據文檔安裝Istio https://istio.io/docs/setup/getting-started/
例如下載Istio版本1.22.1(其他更新版本可以自行替換), 執行如下命令:
curl -L https://istio.io/downloadIstio | ISTIO_VERSION=1.22.1 sh -
cd istio-1.22.1
export PATH= $PWD /bin: $PATH
注意: Windows環境未經嚴格測試。
在Windows上,您可以手工下載Istio安裝包,或者把getLatestIstio.ps1拷貝到你希望下載Istio 的目錄,並執行- 說明:根據社區提供的安裝腳本修改而來
.getLatestIstio.ps1istioctl install --set profile=demo -ykubectl get pods -n istio-systemdefault名空間開啟自動sidecar 注入kubectl label namespace default istio-injection=enabled
kubectl get namespace -L istio-injection請參考https://istio.io/docs/examples/bookinfo/
kubectl apply -f samples/bookinfo/platform/kube/bookinfo.yaml查看示例應用資源
kubectl get svc,pod確認示例應用在運行中
kubectl exec -it $( kubectl get pod -l app=ratings -o jsonpath= ' {.items[0].metadata.name} ' ) -c ratings -- curl productpage:9080/productpage | grep -o " <title>.*</title> "創建Ingress Gateway
kubectl apply -f samples/bookinfo/networking/bookinfo-gateway.yaml查看Gateway 配置
kubectl get gateway確認示例應用可以訪問
 export GATEWAY_URL=localhost:80
curl -s http:// ${GATEWAY_URL} /productpage | grep -o " <title>.*</title> "
可以通過瀏覽器訪問
http://localhost/productpage
samples/bookinfo/platform/kube/cleanup.shistioctl manifest generate --set profile=demo | kubectl delete -f -

