react native rich editor
v1.9.0
Android 및 iOS (MacOS 및 Windows)의 완벽한 기능적 풍부한 텍스트 편집기?
Flutter를 사용하려면 Flutter_Rich_Editor를 추가하도록 여기에서 확인할 수 있습니다.
 yarn add react-native-pell-rich-editor
or
npm i react-native-pell-rich-editor
또한 여기에 지시 사항을 따르고 기본 react-native-webview 종속성을 추가하십시오.
### usecontainer = {true} 스크롤 뷰에 배치하고 스크롤 막대 위치를 처리하려면 콜백 메소드 oncursorPosition 추가해야합니다. 예제 this.scrollRef.current.scrollTo({y: scrollY - 30, animated: true});
RichEditor편집기 구성 요소. 이 구성 요소를 View Hierarchy에 배치하여 완벽하게 기능적 인 풍부한 텍스트 편집기를 받으십시오.
RichEditor 다음과 같은 선택적 소품을 가져옵니다.
html
사용자 정의 HTML을 수락하여 자신의 사용자 정의를 만들 수 있습니다.
placeholder
편집기 콘텐츠 자리 표시자를 감싸십시오
initialContentHTML
로드의 컨텐츠 섹션에 렌더링 될 HTML.
initialFocus
초기 컨텐츠 요청 초점에 대한 부울 값. 기본값은 false 입니다.
disabled
편집기를 비활성화하기위한 부울 값. 기본값은 false 입니다.
enterKeyHint
문자열 값을 설정하려면 리턴 키 유형 - returnKeyType
editorInitializedCallback
편집기가 초기화 될 때 호출되는 함수.
editorStyle
컨테이너 또는 풍부한 편집기 용 스타일은 더 어둡거나 가벼운 설정입니다. 다음 옵션이 포함 된 개체 :
backgroundColor : 편집기 배경색color : 편집기 텍스트 색상caretColor 커서/선택 색상placeholderColor : 편집기 자리 표시 자 텍스트 색상contentCSSText : 편집기 컨텐츠 CSS 텍스트 (초기 유효)cssText : 편집기 글로벌 CSS 텍스트 (초기 유효)initialCSSText : 인라인 스타일 시트의 시작 부분에 CSS를 주입합니다. 사용자 정의 글꼴을 통합하는 데 유용합니다 (아래 참조). 편집기 데이터 수정 후 onChange 콜백
높이 변경 후 콜백을 onHeightChange
onMessage 콜백 외부 임원 내부 유형 처리
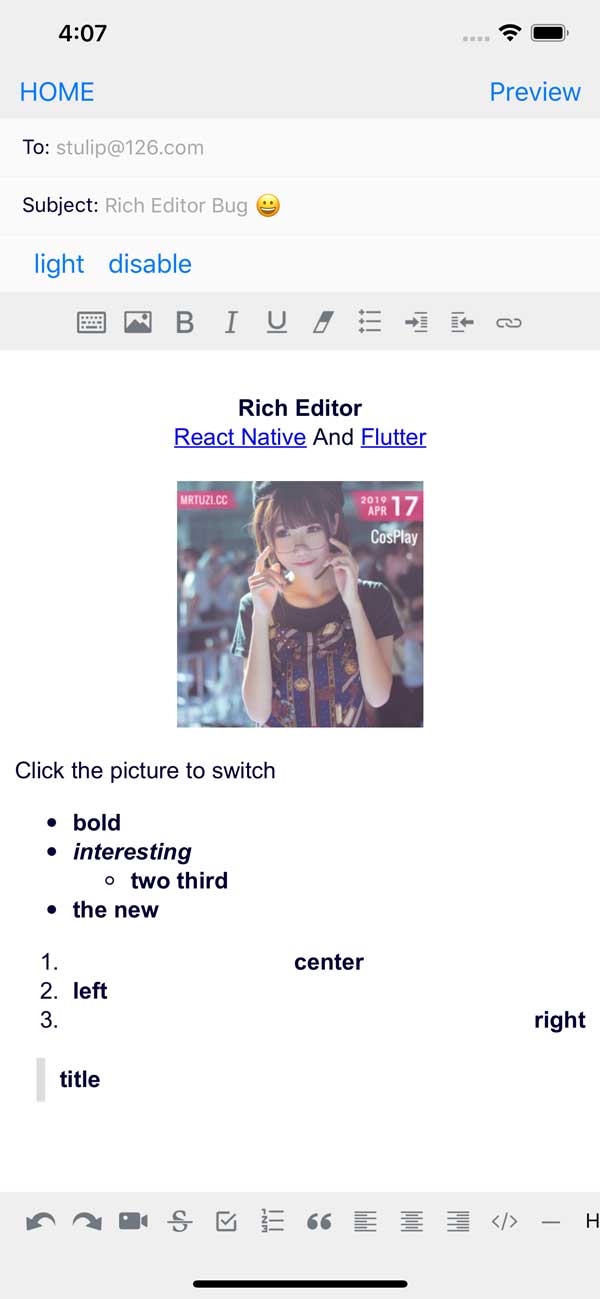
< img src ="" onclick =" _.sendEvent('ImgClick') " contenteditable =" false " /> command 편집기에서 JS를 실행합니다
 // $ = document
 this . richText . current ?. commandDOM ( '$.execCommand(' insertHTML ', false, "<br/>")' ) ;
commandDOM 편집기에서 DOM을 조작합니다
 // $ = document.querySelector
 this . richText . current ?. commandDOM ( `$('#title').style.color=' ${ color } '` ) ;
useContainer 뷰 컨테이너가 웹 뷰 주위에 포장되는지 결정하는 부울 값. 기본값은 참입니다. 자신의 견해를 사용 하여이 라이브러리를 랩핑하는 경우이 값을 False로 설정하십시오.
styleWithCSS True, Style 속성은 태그의 스타일 속성이 수정됩니다. 그렇지 않으면 전용 태그가 생성됩니다. 기본값은 False입니다
initialHeight USEcontainer는 초기 높이의 인라인보기에 따라 거짓입니다.
pasteAsPlainText 클립 보드 페이스트가 형식을 유지하는지 또는 일반 텍스트로 수행되는지 결정하는 부울 값 (기본값으로 거짓)
useCharacter 중국어를 비활성화하는 옵션을 사용하면 Android에서 오류없이 영어 문자를 지원할 수 있습니다. 거꾸로 호환성을 위해 기본적으로 true 로 설정하십시오.
defaultHttps https : // 링크 시작으로 준비하는 부울 값 (기본값으로)
onPaste 콜백 클립 보드 페이스트 값
onKeyUp 콜백 키업 이벤트 (Android 229 버그)
onKeyDown 콜백 키 다운 이벤트 (Android 229 버그)
onInput 콜백 입력 값
onLink Callback 링크를 클릭하십시오
onFocus 콜백 편집기 초점
onBlur 콜백 편집기 Blur
onCursorPosition Callback 커서의 위치를 입력하십시오 this.scrollRef.current.scrollTo({y: scrollY - 30, duration: 100, animated: true});
RichEditor 또한 ref 에 사용할 수있는 방법이 있습니다.
setContentHTML(html: string)insertImage(url: string, style?: string)insertLink(title: string, url: string)insertText(text: string)insertHTML(html: string)insertVideo(url: string, style?: string)setContentFocusHandler(handler: Function)blurContentEditor()focusContentEditor() 이 메소드는 커서 위치가 변경되거나 커서 위치에서 편집기의 스타일로 변경 될 때 호출되는 함수를 등록합니다. 콜백은 커서 위치에서 활성화되는 다양한 actions 으로 호출되어 도구 모음이 변경에 응답 할 수 있습니다.
registerToolbar(listener: Function) < RichEditor
ref = { ( r ) => this . richtext = r }
initialContentHTML = { 'Hello <b>World</b> <p>this is a new paragraph</p> <p>this is another new paragraph</p>' }
editorInitializedCallback = { ( ) => this . onEditorInitialized ( ) }
/> 사용자 정의 글꼴을 사용하려면 editorStyle Props의 initialCSSText 사용해야합니다.
stylesheet.js 파일을 만듭니다. const FontFamilyStylesheet = `
@font-face {
font-family: 'Your Font Family';
src: url('data:font/ttf;charset=utf-8;base64,...............'); // You can also use a web url here
font-weight: normal;
}
` ;
export default FontFamilyStylesheet ;RichEditor 구성 요소를 통합 한 경우 파일을 가져 와서 활용하십시오. import FontFamilyStylesheet from 'stylesheet.js' ;
const fontFamily = 'Your_Font_Family' ;
const initialCSSText = { initialCSSText : ` ${ FontFamilyStylesheet } ` , contentCSSText : `font-family: ${ fontFamily } ` }
< RichEditor editorStyle = { initialCSSText } / > initialCSSText 의 작동 방식에 대한 자세한 내용은 PR을 확인하십시오. 또한이 문제에 대한 신용 및 Base64 인코딩 된 글꼴 파일을 사용하는 방법을 설명하는 그의 포크.
RichToolbar 편집기를 쉽게 제어 할 수있는 툴바를 제공하는 구성 요소입니다. RichEditor 구성 요소와 함께 사용하도록 설계되었습니다.
RichToolbar 에는 필요한 속성이 하나 있습니다.
getEditor() RichEditor 구성 요소에 ref 반환하는 함수를 제공해야합니다.
이는 도구 모음이 렌더링되기 전에 첫 번째 렌더링이 끝날 때까지 ref 생성되지 않기 때문입니다. 이는 직접 통과 한 ref 필연적으로 정의 undefined 것으로 통과 될 것임을 의미합니다.
RichToolbar 구성 요소가 지원하는 다른 소품은 다음과 같습니다.
actions
이 도구 모음에서 제공 할 actions array . 기본 조치는 다음과 같습니다.
actions.insertImageactions.setBoldactions.setItalicactions.insertBulletsListactions.insertOrderedListactions.insertLinkactions.keyboardactions.setStrikethroughactions.setUnderlineactions.removeFormatactions.insertVideoactions.checkboxListactions.undoactions.redo onPressAddImage 함수는 addImage 작용이 탭 될 때 호출됩니다.
insert insert 링크 버튼을 누를 때 발생하는 일에 대한 onInsertLink Logic
disabled
편집기를 비활성화하기위한 부울 값. 기본값은 false 입니다.
iconTint
unselectedButtonStyle
selectedIconTint
selectedButtonStyle
disabledIconTint
disabledButtonStyle
이들은 스타일링 액션 버튼을위한 옵션을 제공합니다.
iconSize
아이콘의 크기를 픽셀로 정의합니다. 기본값은 50입니다.
renderAction
Altenative에서는 기본값 대신 사용될 렌더링 기능을 제공 할 수 있으므로 Tollbar 설계를 완전히 제어 할 수 있습니다.
iconMap
RichTextToolbar 에는 렌더링하는 기본 작업에 대한 기본 아이콘이 제공됩니다. 이를 무시하거나 비 디폴트 조치를위한 아이콘을 추가하려면이 소품의 사전으로 제공하십시오.
 const richText = React . createRef ( ) || useRef ( ) ;
< RichToolbar editor = { that . richText } /> 자신의 맞춤 조치를 정의하려면 :
actions 배열에서 액션 이름을 문자열로 보내십시오.iconMap 과 함께 아이콘을 포함하십시오 < RichToolbar
editor = { that . richText }
actions = { [
actions . setBold ,
actions . setItalic ,
actions . insertBulletsList ,
actions . insertOrderedList ,
actions . insertImage ,
'customAction' ,
] }
iconMap = { {
customAction : customIcon ,
} }
customAction = { this . handleCustomAction }
/> import React from "react" ;
import { Text , Platform , KeyboardAvoidingView , SafeAreaView , ScrollView } from "react-native" ;
import { actions , RichEditor , RichToolbar } from "react-native-pell-rich-editor" ;
const handleHead = ( { tintColor } ) => < Text style = { { color : tintColor } } > H1 </ Text >
const TempScreen = ( ) => {
const richText = React . useRef ( ) ;
return (
< SafeAreaView >
< ScrollView >
< KeyboardAvoidingView behavior = { Platform . OS === "ios" ? "padding" : "height" } style = { { flex : 1 } } >
< Text > Description: </ Text >
< RichEditor
ref = { richText }
onChange = { descriptionText => {
console . log ( "descriptionText:" , descriptionText ) ;
} }
/>
</ KeyboardAvoidingView >
</ ScrollView >
< RichToolbar
editor = { richText }
actions = { [ actions . setBold , actions . setItalic , actions . setUnderline , actions . heading1 ] }
iconMap = { { [ actions . heading1 ] : handleHead } }
/>
</ SafeAreaView >
) ;
} ;
export default TempScreen ;