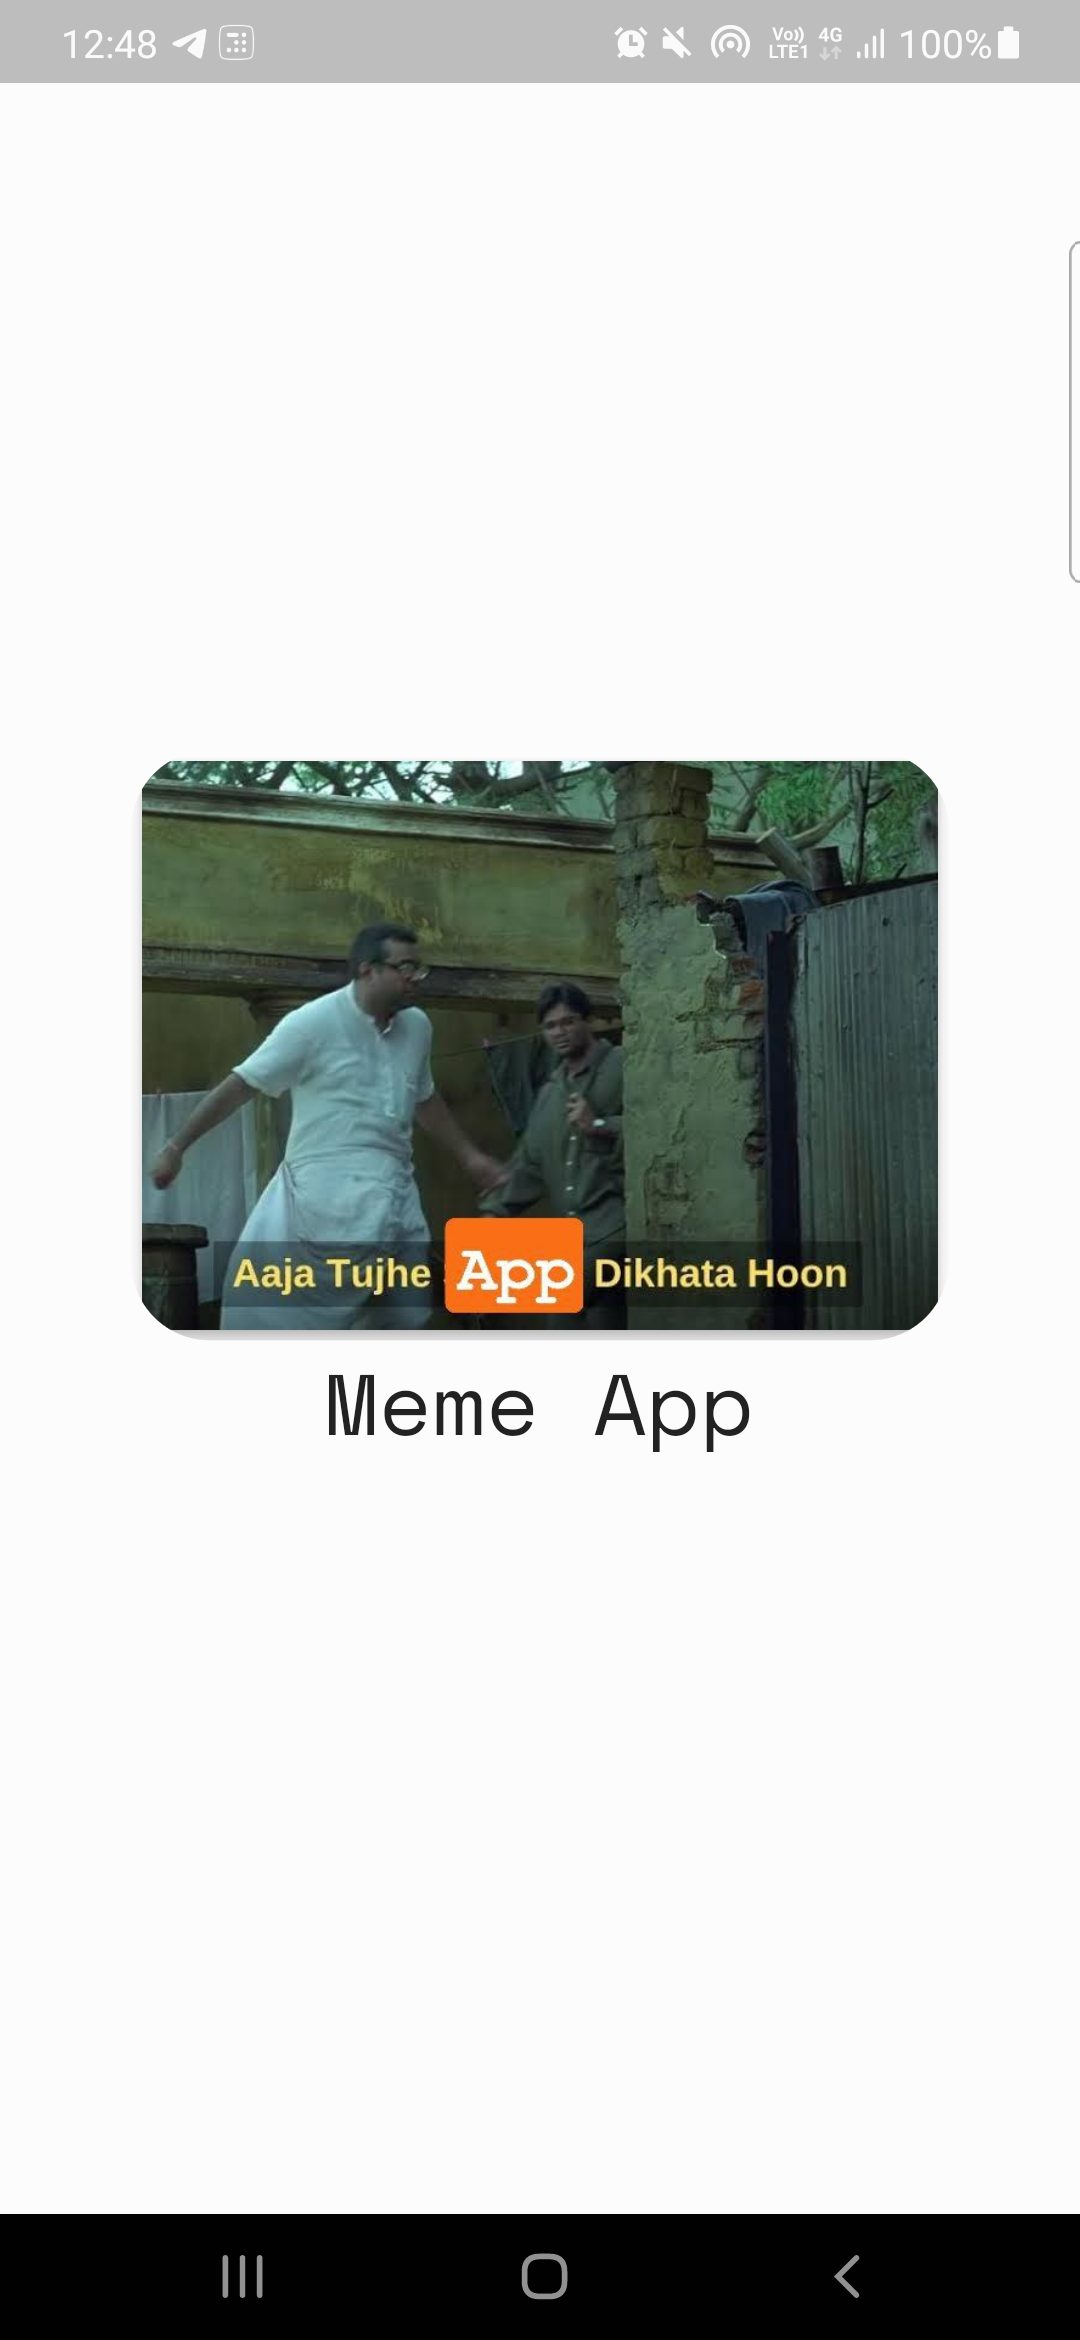
MemeAppFlutter
1.0.0
ここのコード:home_page.dart
メメサピからのデータを解析します
 Future < MemesModel > getMemesApi () async {
  final response =
      await http. get ( Uri . parse ( "https://api.imgflip.com/get_memes" ));
  var data = jsonDecode (response.body);
  if (response.statusCode == 200 ) {
    return MemesModel . fromJson (data);
  } else {
    return MemesModel . fromJson (data);
  }
} class _HomePageState extends State < HomePage > {
late Future < MemesModel > memes;
@override
void initState () {
super . initState ();
memes = getMemesApi ();
}body : FutureBuilder < MemesModel >(
future : memes,
builder : (context, snapshot) {snapshot.hasData 、 snapshot.harError )snapshot.hasDataの場合、uiをレンダリングする場合、 snapshot.hasErrorがエラーを表示する場合は、circularprogressindicatorをレンダリングします。つまり、データが取得されるのを待ちます。 DynamicHeightGridView (
crossAxisCount : 2 ,
mainAxisSpacing : 10 ,
crossAxisSpacing : 25 ,
itemCount :
//nullcheck operator
snapshot.hasData ? snapshot.data ! .data ! .memes ! .length : 1 ,
builder : (context, index) {
//data fetched successfully
if (snapshot.hasData) {
//render UI here
} //data couldn't be fetched due to some error
else if (snapshot.hasError) {
return Center (
child : Text ( "Error Occured : ${ snapshot . error }" ),
); //waiting for data to be fetched (just the way youtube videos show circular progressor while buffering)
else {
return const Center (
child : CircularProgressIndicator (
color : Colors .teal,
));
}プロバイダーは州管理ツールです。詳細についてはこちらをご覧ください:Providerexample
注:プロバイダーを理解するのにかかる場合がありますが、私のケースも違いはありませんでした。 (覚えておいてください:一晩は何も来ません、良いことに時間がかかります!)
プロバイダーを使用して2つの基本的な要件があります。
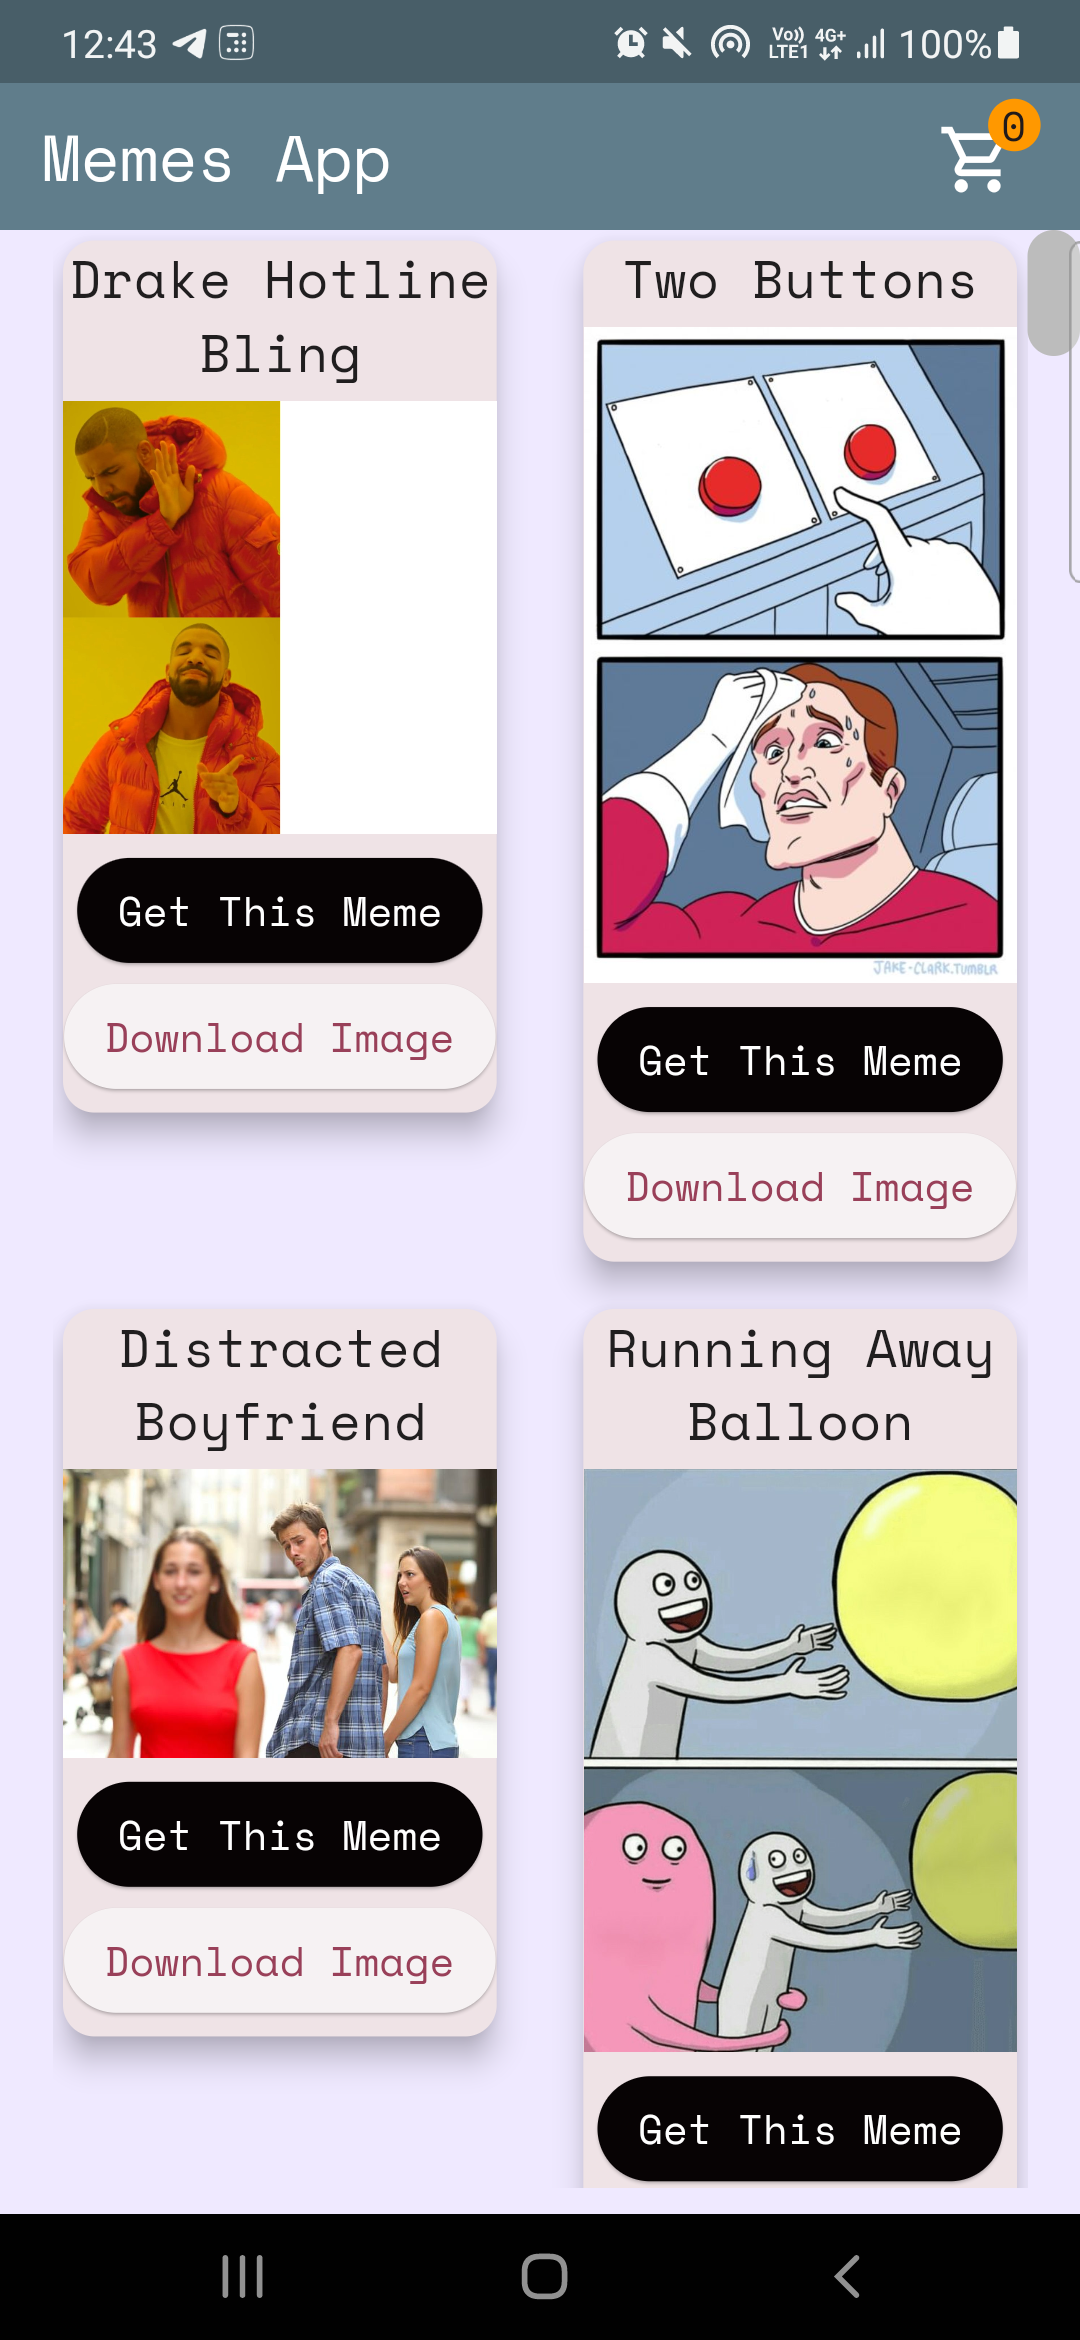
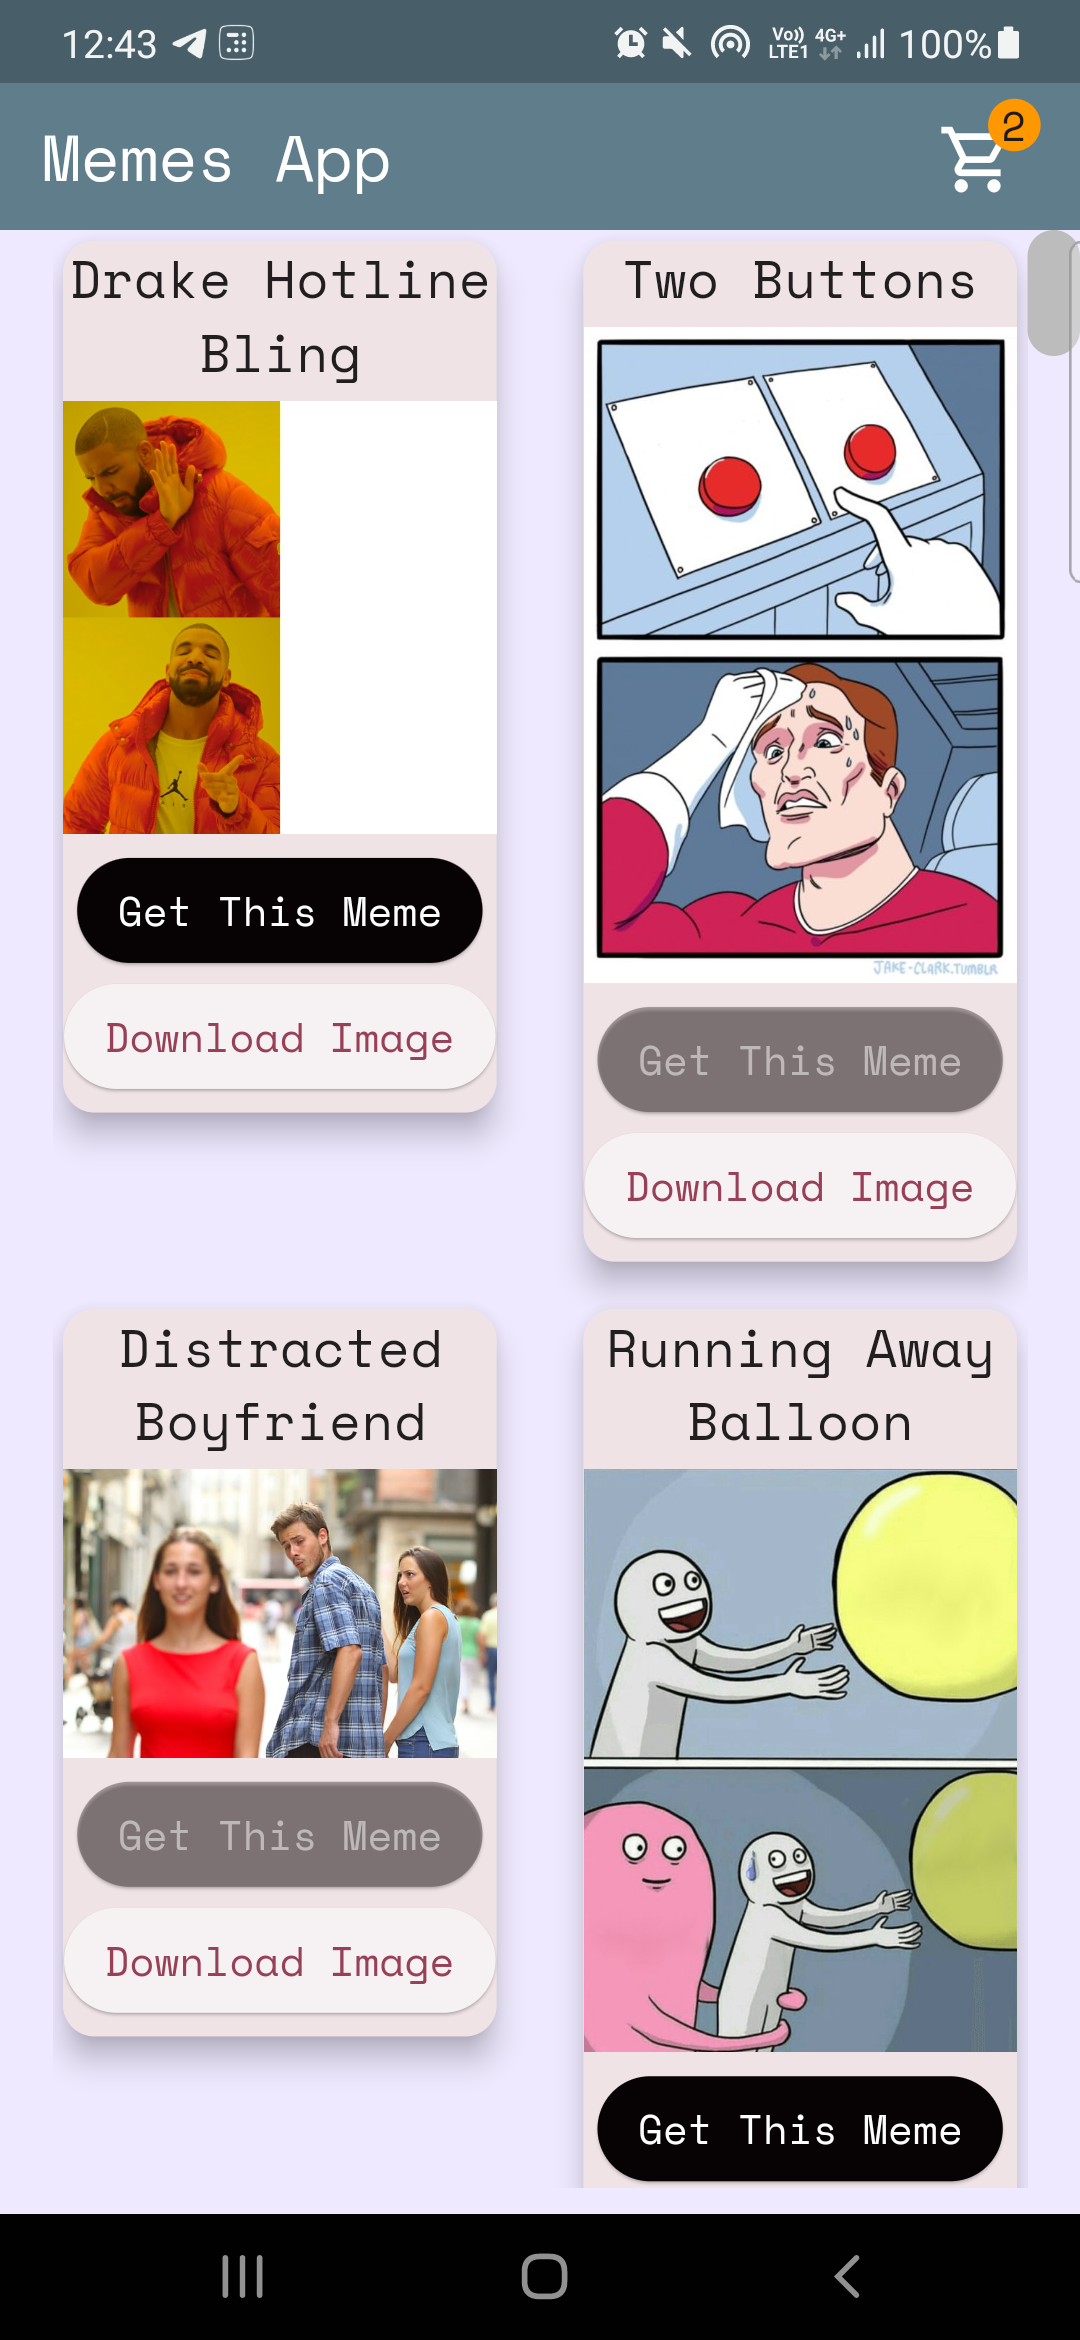
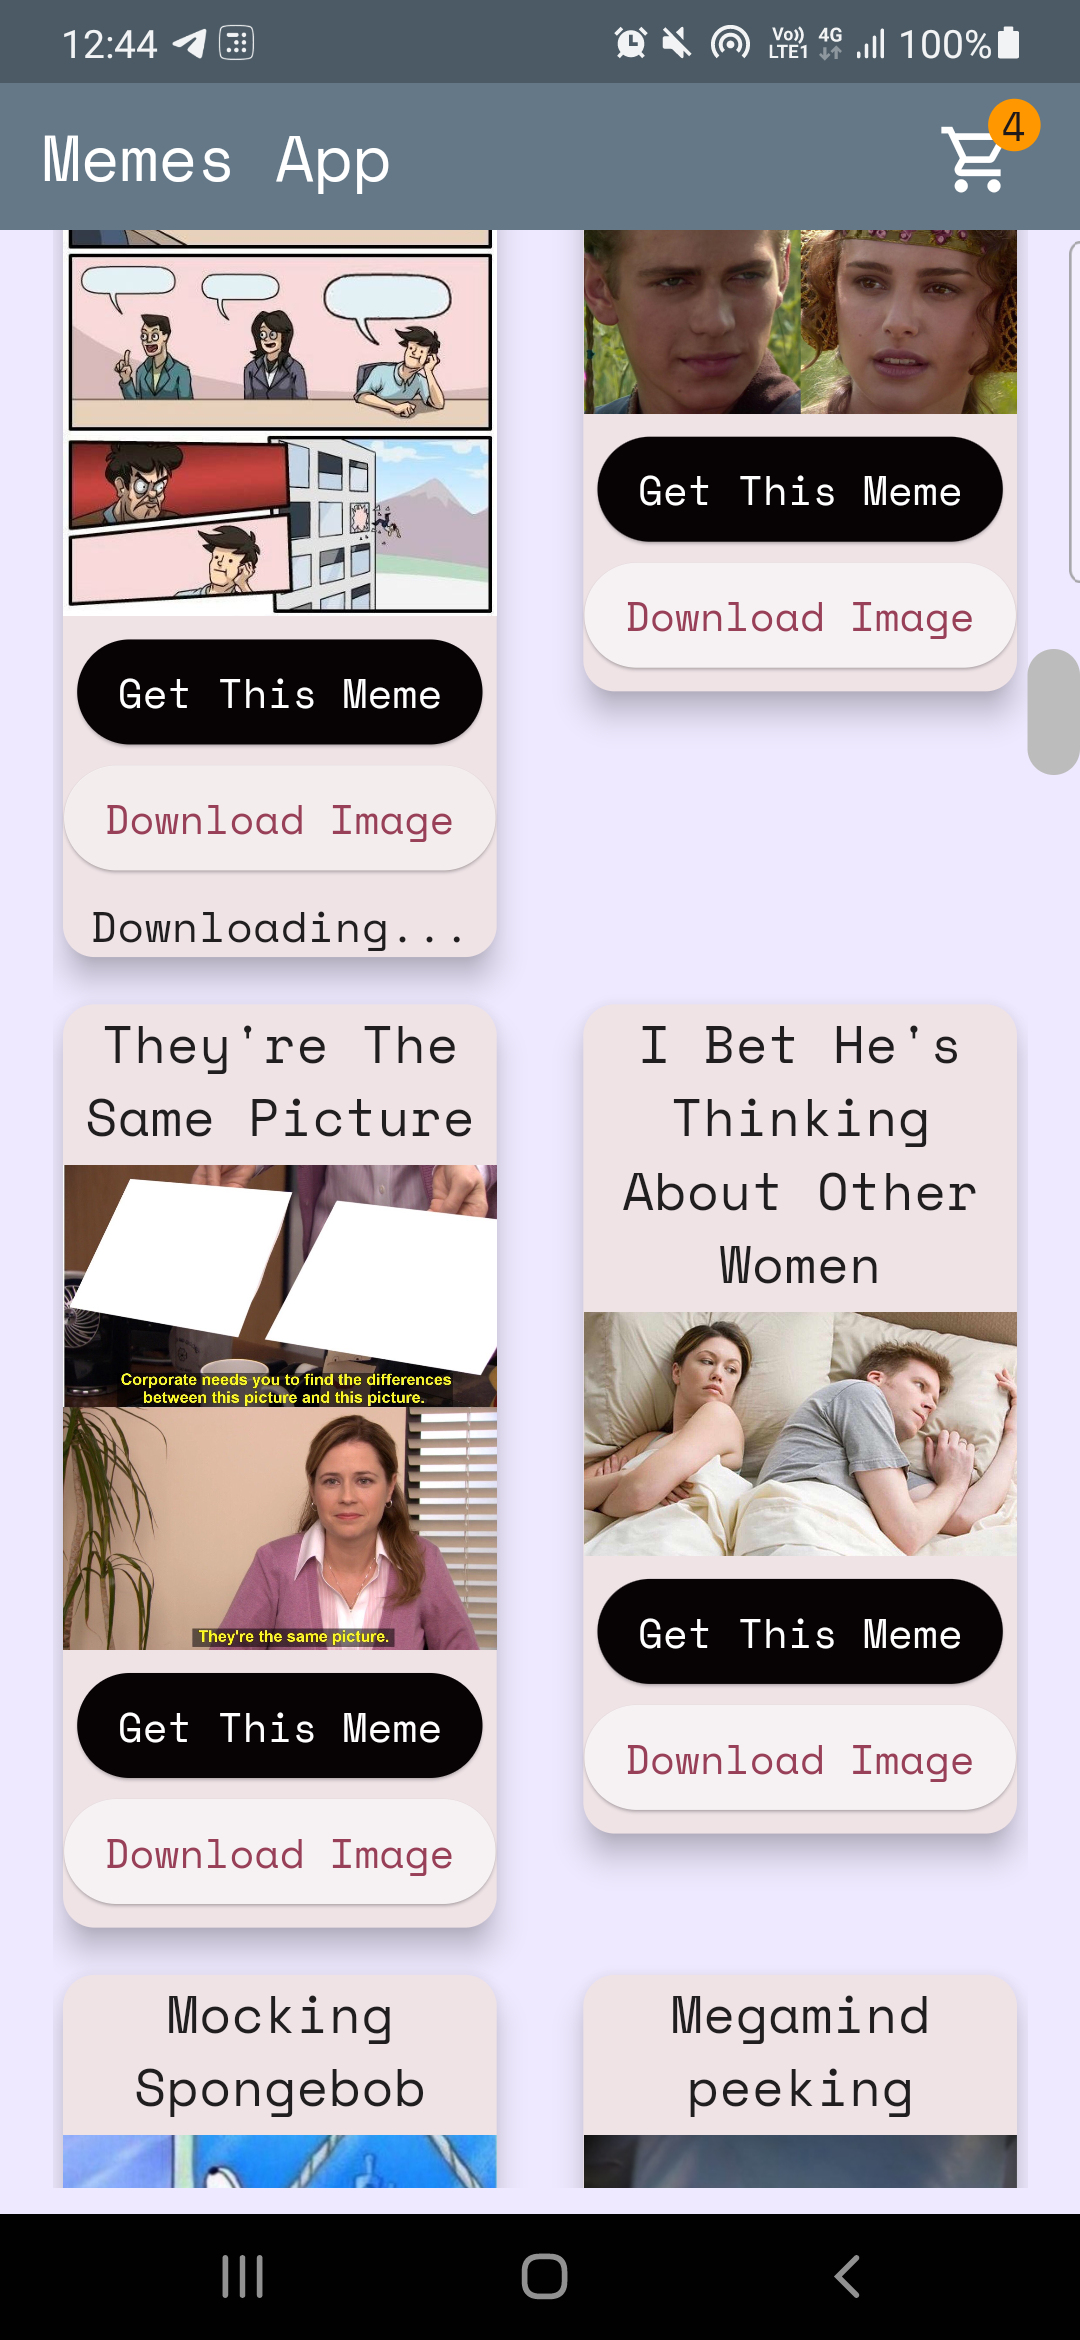
ケース1:インクリメント/減少ホームページのカートアイコンのカウンター値(上記の画像を参照)。
ケース2:カートページの構築。
ケース-1:インクリメント/減少反コードはこちら:cart_counter_provider.dart
 import 'package:flutter/cupertino.dart' ;

class CartCounterProvider extends ChangeNotifier {
  int cartCount;
  CartCounterProvider ({ this .cartCount = 0 });

  int get getCartCount => cartCount;

  void increment () {
    cartCount += 1 ;
    notifyListeners ();
  }

  void decrement () {
    cartCount -= 1 ;
    notifyListeners ();
  }
}
次に、ボタンが押されたときにプロバイダーが必要になりますか?
ここでコードします
context. read < CartCounterProvider >(). increment ();ここでコードします
 //just inside the build method this cartCounter will watch the value of the counter
//button pressed -> increment() method called using provider -> cartCounter watches the value and updates accordingly
int cartCounter = context. watch < CartCounterProvider >().getCartCount;
読み取りと時計を使用することは、それを行う1つの方法です。もう1つは、作成したプロバイダークラスのインスタンスを使用することです。ケース2のこのアプローチについて説明しましょう。
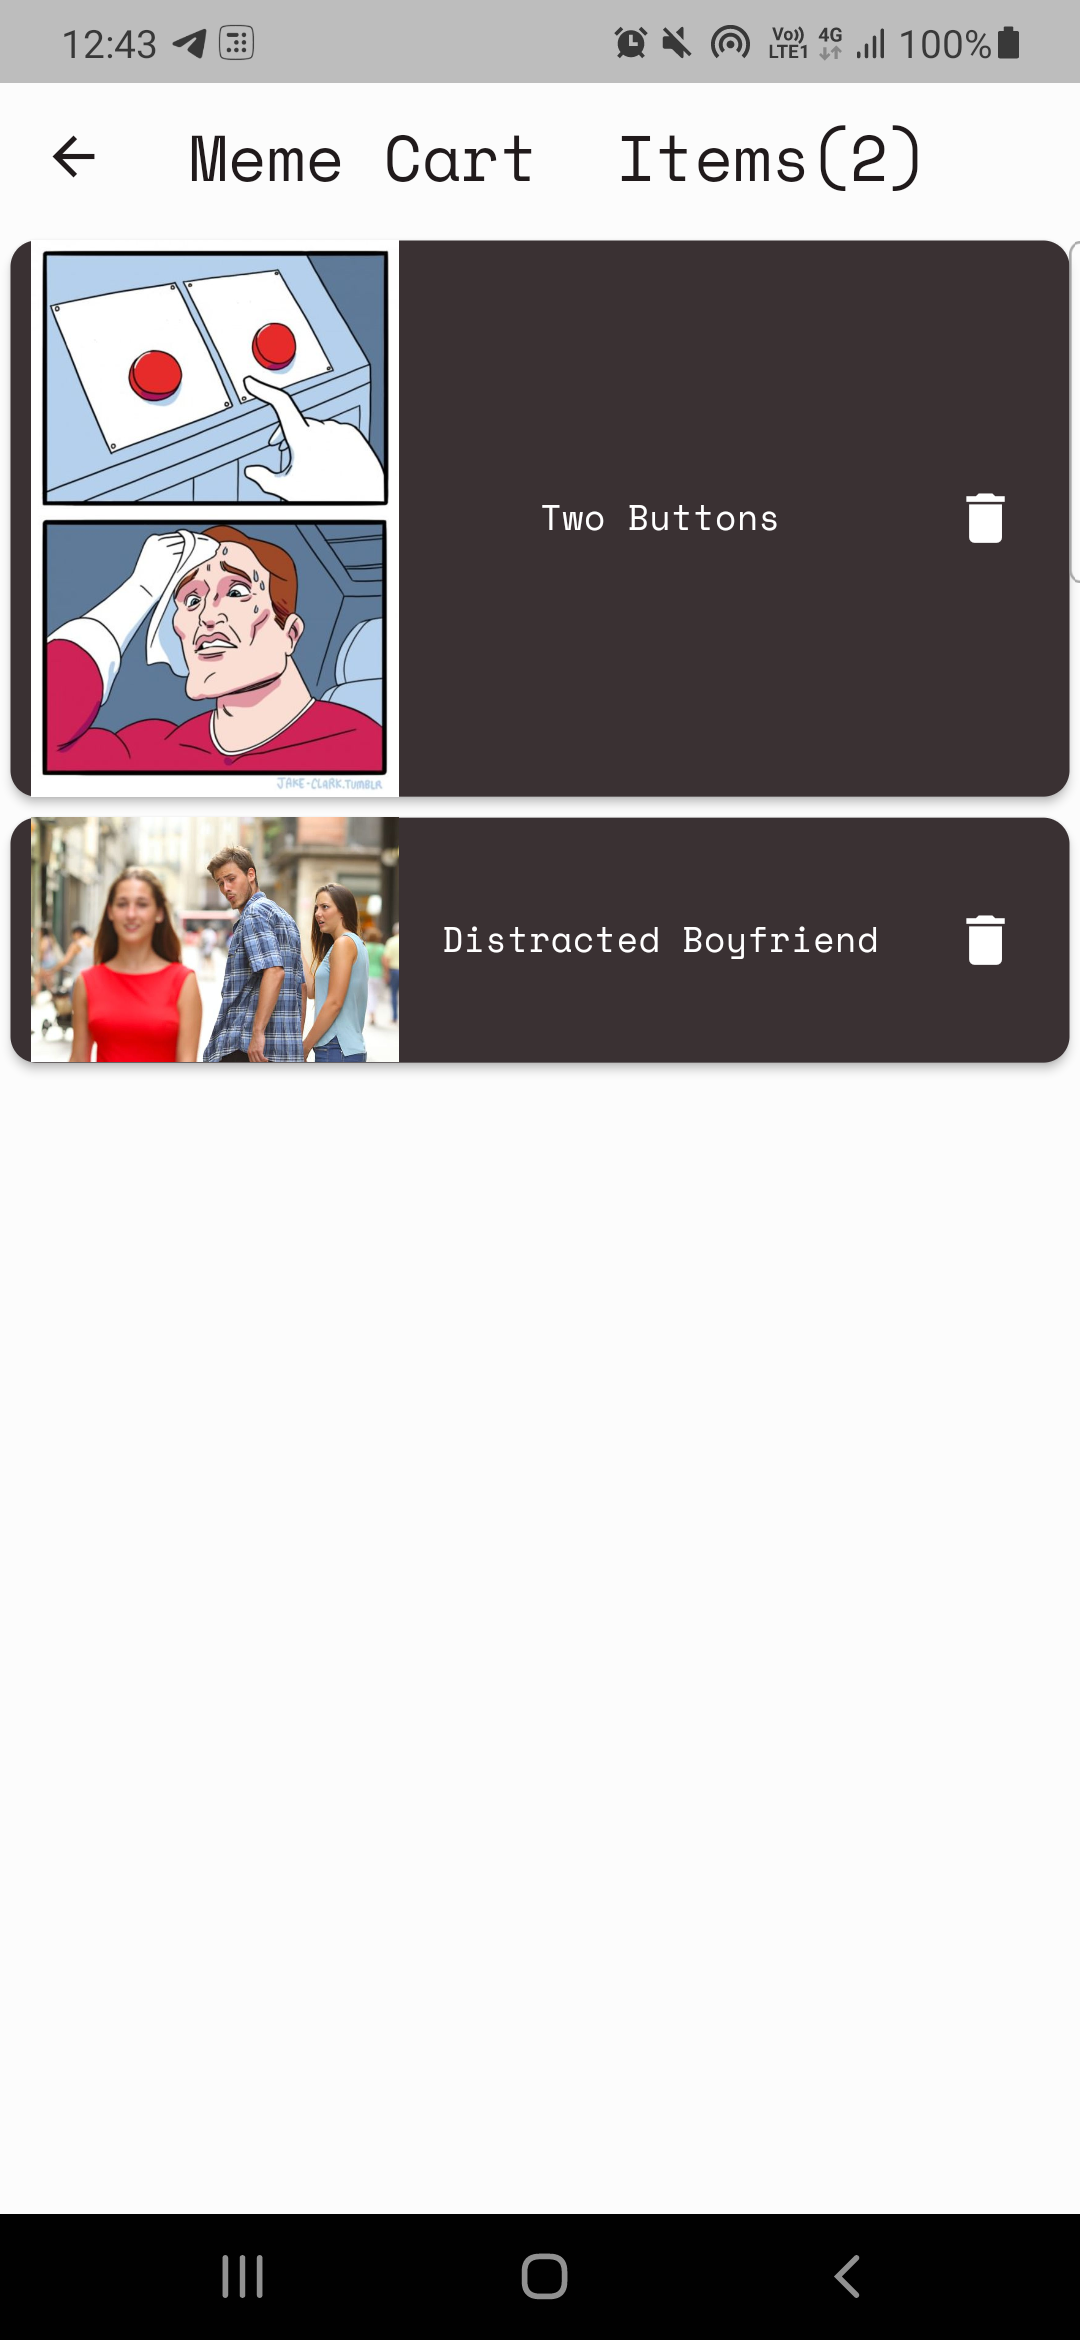
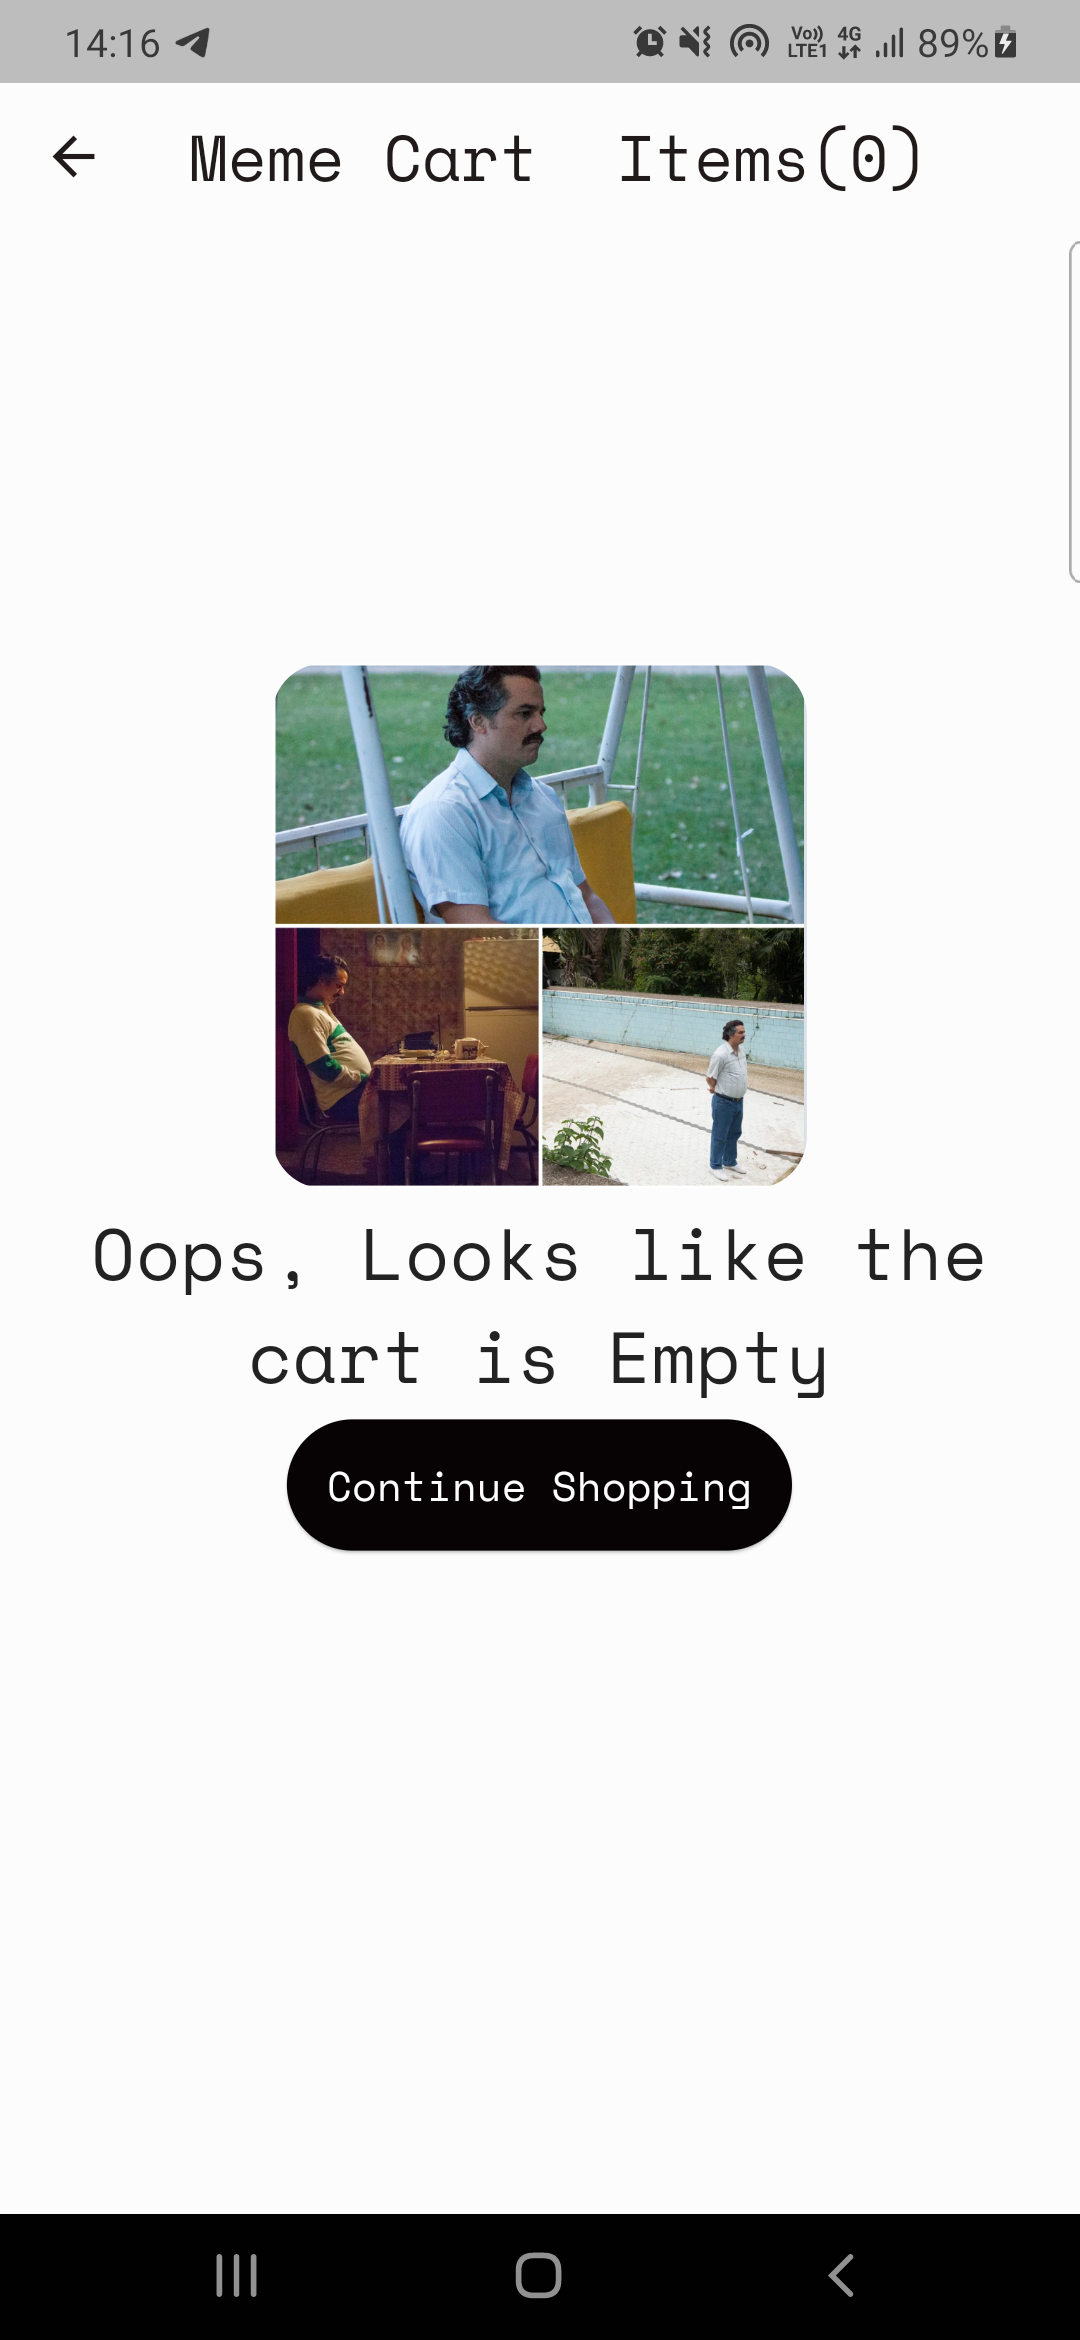
ケース2:カートページの構築。
注:実装する前に、常に機能を定義してみてください。
カートページの計画は簡単です:
カートを表示するためのプロバイダークラス(MemeCartProvider)
code meme_cart_provider.dart
 //read below about CartCardModel first

import 'package:memeapp/models/cart_card_model.dart' ;
import 'package:flutter/cupertino.dart' ;

class MemeCartProvider extends ChangeNotifier {

  //now it's convenient for us to display the memes, we just need a list of CartCardModel!
  //each instance of this class will have the respective id, imageURL, and name of the meme.
  //We just need to traverse and display this list in the cart page, thats it!


  //_cartList will have the id, imageURL, name of only those memes that are added to cart by user
  final List < CartCardModel > _cartList = < CartCardModel > [];

  //memesIdList will only contain the meme ID's which will be used to add/remove memes from the cart
  //also used to prevent duplicates
  List < String > ? memesIdList = < String > [];

  List < CartCardModel > get getCartList => _cartList;
  List < String > ? get getMemesIdList => memesIdList;

  void addItem ( CartCardModel addThisItem) {
    _cartList. add (addThisItem);
    notifyListeners ();
  }

  void removeItem ( String memeId) {
    _cartList. removeWhere ((element) => element.id == memeId);
    memesIdList ! . remove (memeId);
    notifyListeners ();
  }
}CARTCARDMODEL CART_CARD_MODEL.DART
 //each instance of this class (CartCardModel) will have the info of id, imageURL, and name.
//it will now be easier to display the memes in the cart page
class CartCardModel {
  String id;
  String ? nameCart;
  String ? imageUrlCart;
  CartCardModel ({
    required this .id,
    this .nameCart,
    this .imageUrlCart,
  });
}
今では、カートページにミームをレンダリングするのが便利です。それに応じて、リストを横断し、アイテムを表示するだけです。
しかし、ユーザーによって追加されたアイテムのみがレンダリングされることをどのように確認しますか?プロバイダーは、再び!
code cart_page.dart
  //define an instance of MemeCartProvider class like this inside the build method
   Widget build ( BuildContext context) {
    var memeCartProvider = Provider . of < MemeCartProvider >(context);
ここでコードします
 //wrap the Listview.builder with CONSUMER<MemeCartProvider>
Consumer < MemeCartProvider >(
              builder : (context, value, child) {
                //ListView will traverse CartCardModel list and render memes accordingly
                return ListView . builder (
                  //itemCount is simply the length of the list.
                  itemCount : value.getMemesIdList ! .length,
                  itemBuilder : ((context, index) {
                    object / instance of CartCardModel class using MemeCartProvider
                    CartCardModel cartObject = value.getCartList[index];
ここでコードします
 //render the image using cartObject
 Image . network (
                "${ cartObject . imageUrlCart }" ,
                     width : 140 ,
              ),

 //render the name using cartObject
 Text (
                  //limiting name to 20 characters
                  cartObject.nameCart ! .length > 20
                   ? "${ cartObject . nameCart !. substring ( 0 , 20 )}..."
                   : "${ cartObject . nameCart }" ,
最後になりましたが、削除機能を実装する必要があります
 onPressed : () {
                   //we will remove the item from the list
                   value. removeItem (cartObject.id);

                   //why this line? you might've guessed it already, if not, dont worry
                   //remember we incrementes the counter value when user added items to the cart
                   //now user is deleting items, hence we need to decreament that counter value too!, right?
                   context. read < CartCounterProvider >(). decrement ();
               },
そして...それはラップです!これがあなたを助けてくれて、あなたが何か新しいことを学んだことを願っています。必要に応じて、このレポを与えることを検討してください。クエリがある場合は、私の社会を通してきっと私に連絡することができます。
ではごきげんよう?


