MemeAppFlutter
1.0.0
Código aquí: home_page.dart
Anualización de los datos de Memesapi
 Future < MemesModel > getMemesApi () async {
  final response =
      await http. get ( Uri . parse ( "https://api.imgflip.com/get_memes" ));
  var data = jsonDecode (response.body);
  if (response.statusCode == 200 ) {
    return MemesModel . fromJson (data);
  } else {
    return MemesModel . fromJson (data);
  }
} class _HomePageState extends State < HomePage > {
late Future < MemesModel > memes;
@override
void initState () {
super . initState ();
memes = getMemesApi ();
}body : FutureBuilder < MemesModel >(
future : memes,
builder : (context, snapshot) {snapshot.hasData , snapshot.harError )snapshot.hasData renderiza la interfaz de usuario, de lo contrario, si snapshot.hasError muestra el error, de lo contrario, representa un CircularProgressIndicator, es decir, mientras espera que los datos se obtengan. DynamicHeightGridView (
crossAxisCount : 2 ,
mainAxisSpacing : 10 ,
crossAxisSpacing : 25 ,
itemCount :
//nullcheck operator
snapshot.hasData ? snapshot.data ! .data ! .memes ! .length : 1 ,
builder : (context, index) {
//data fetched successfully
if (snapshot.hasData) {
//render UI here
} //data couldn't be fetched due to some error
else if (snapshot.hasError) {
return Center (
child : Text ( "Error Occured : ${ snapshot . error }" ),
); //waiting for data to be fetched (just the way youtube videos show circular progressor while buffering)
else {
return const Center (
child : CircularProgressIndicator (
color : Colors .teal,
));
}El proveedor es una herramienta de gestión estatal, puede referirse más al respecto aquí: ProvaderExample
Nota: Puede tomar algún tiempo comprender el proveedor, mi caso no fue diferente. (Recuerde: nada viene de la noche a la mañana, ¡las cosas buenas toman tiempo!)
Tenemos 2 requisitos básicos utilizando el proveedor.
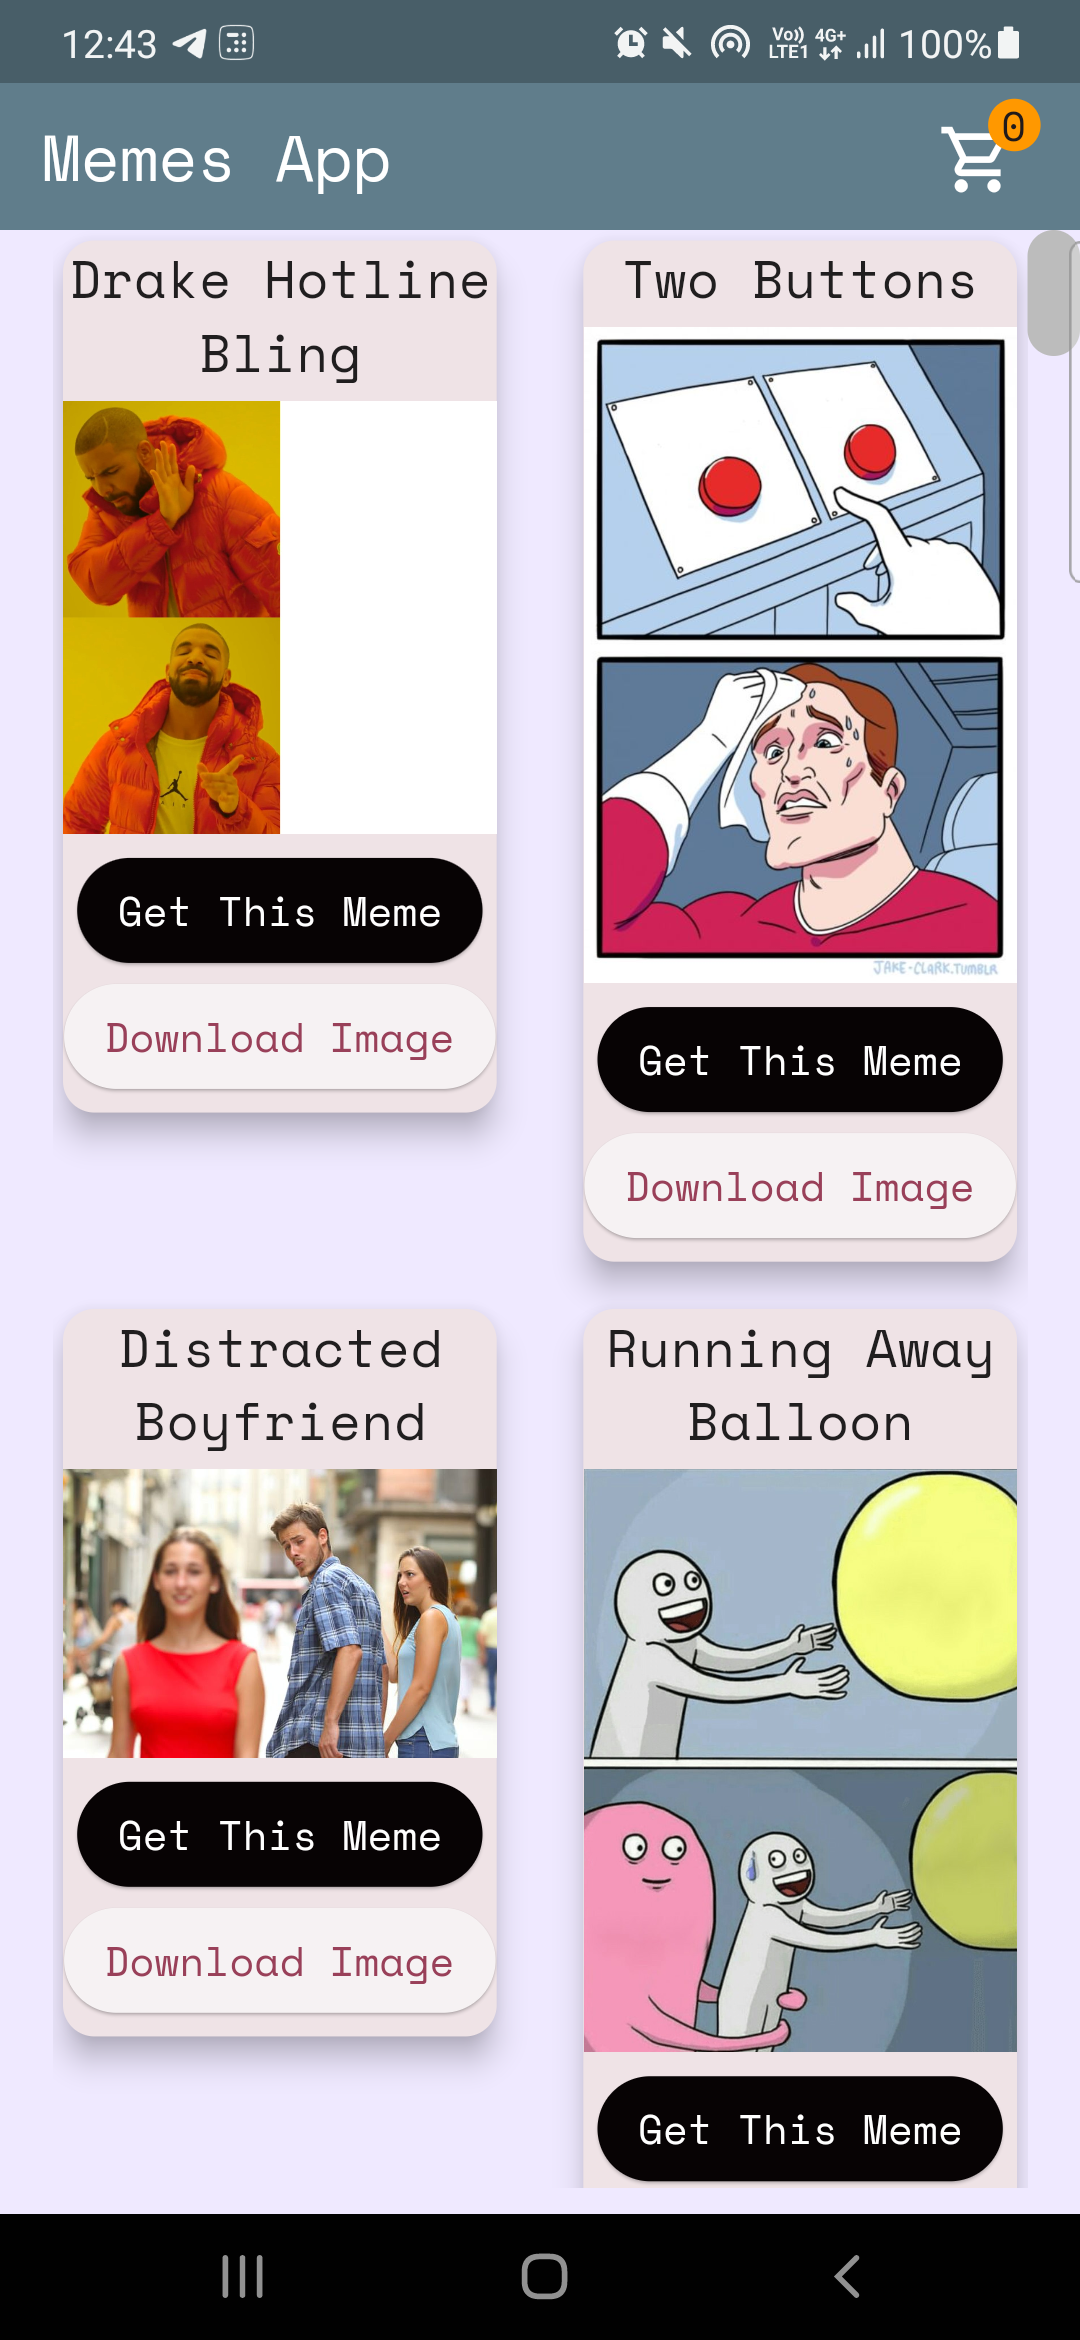
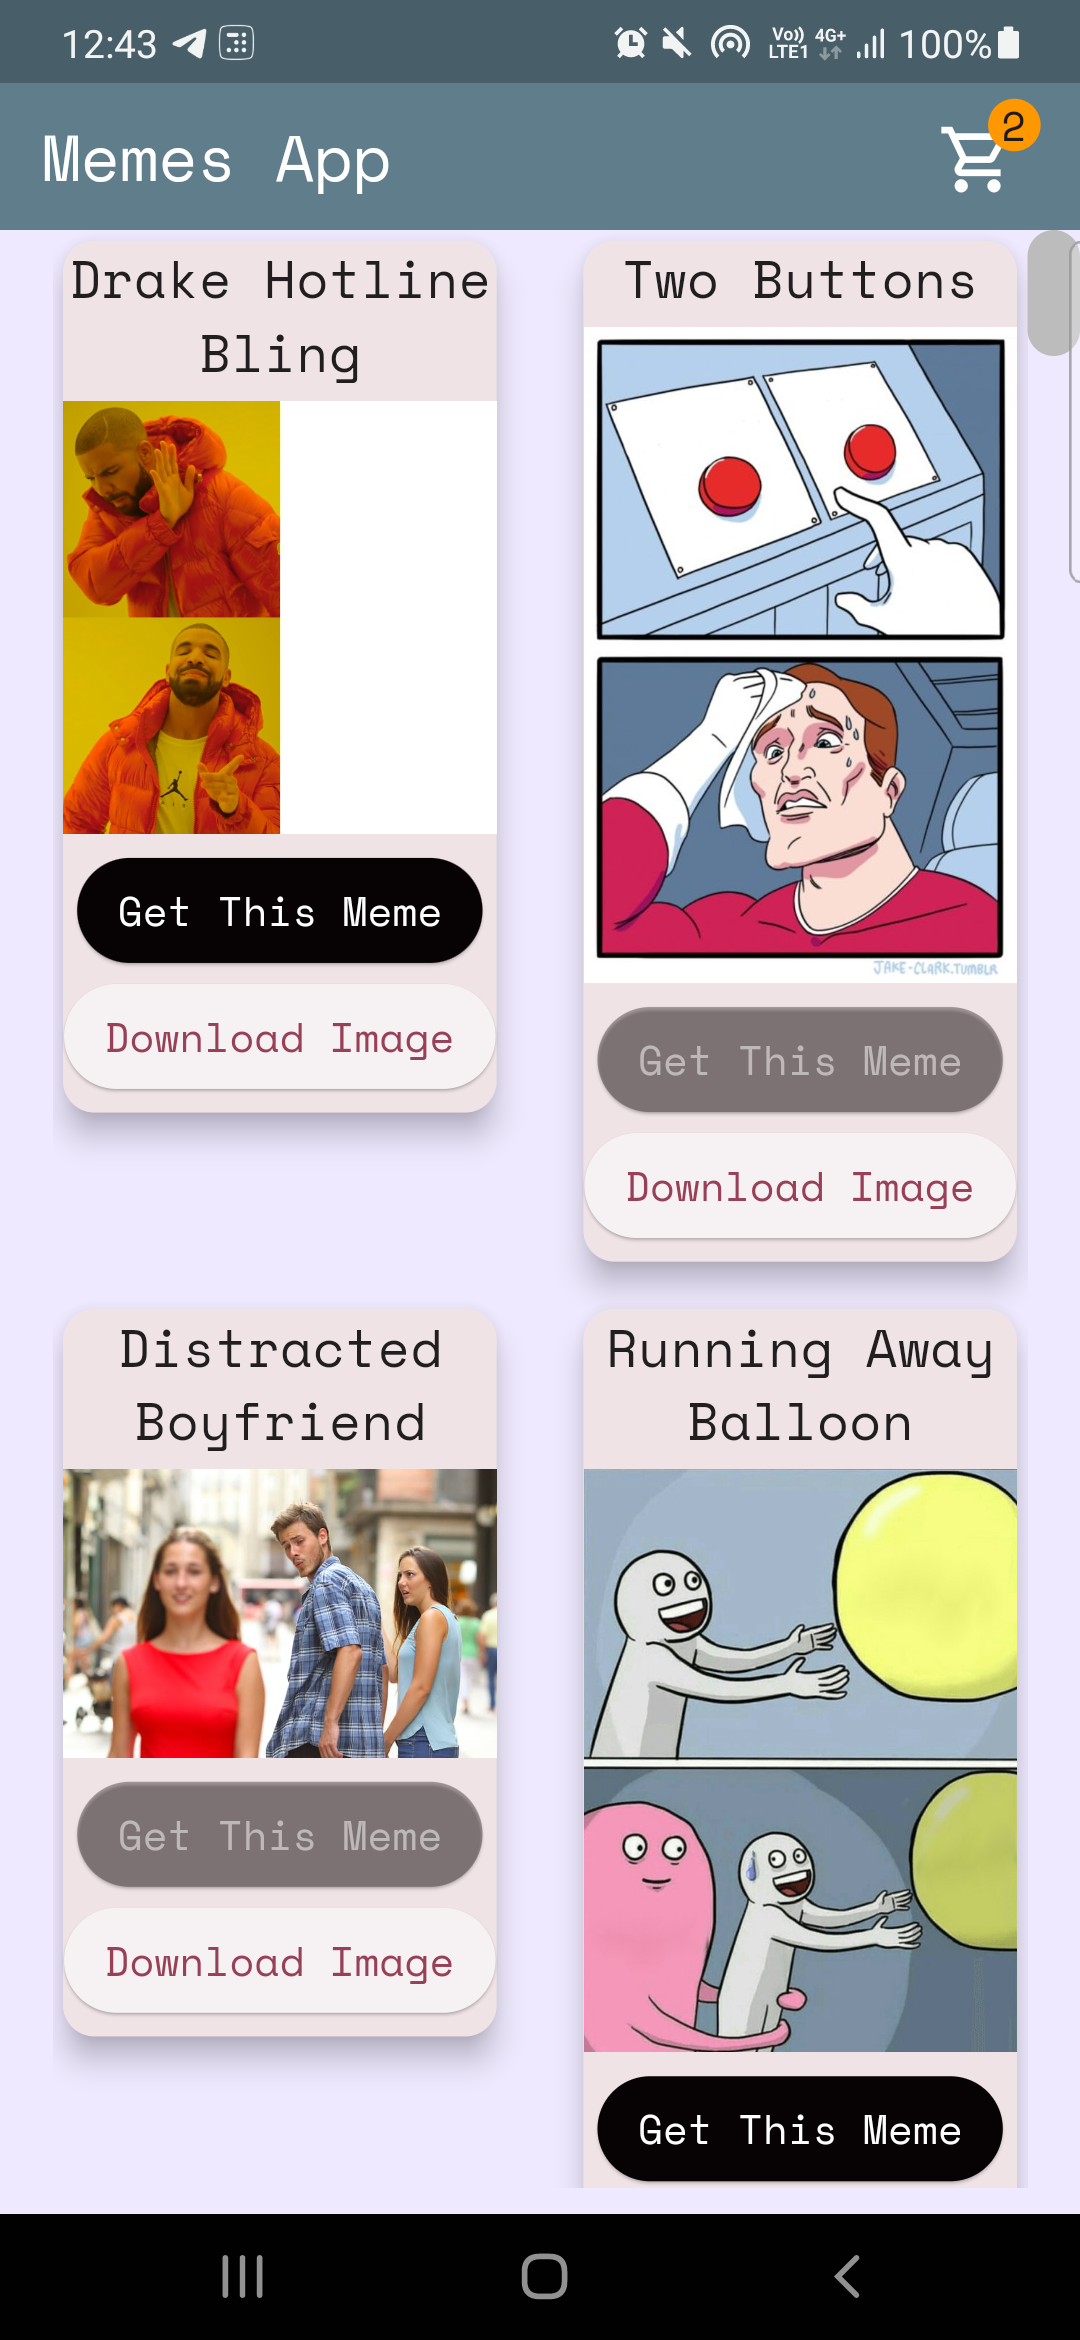
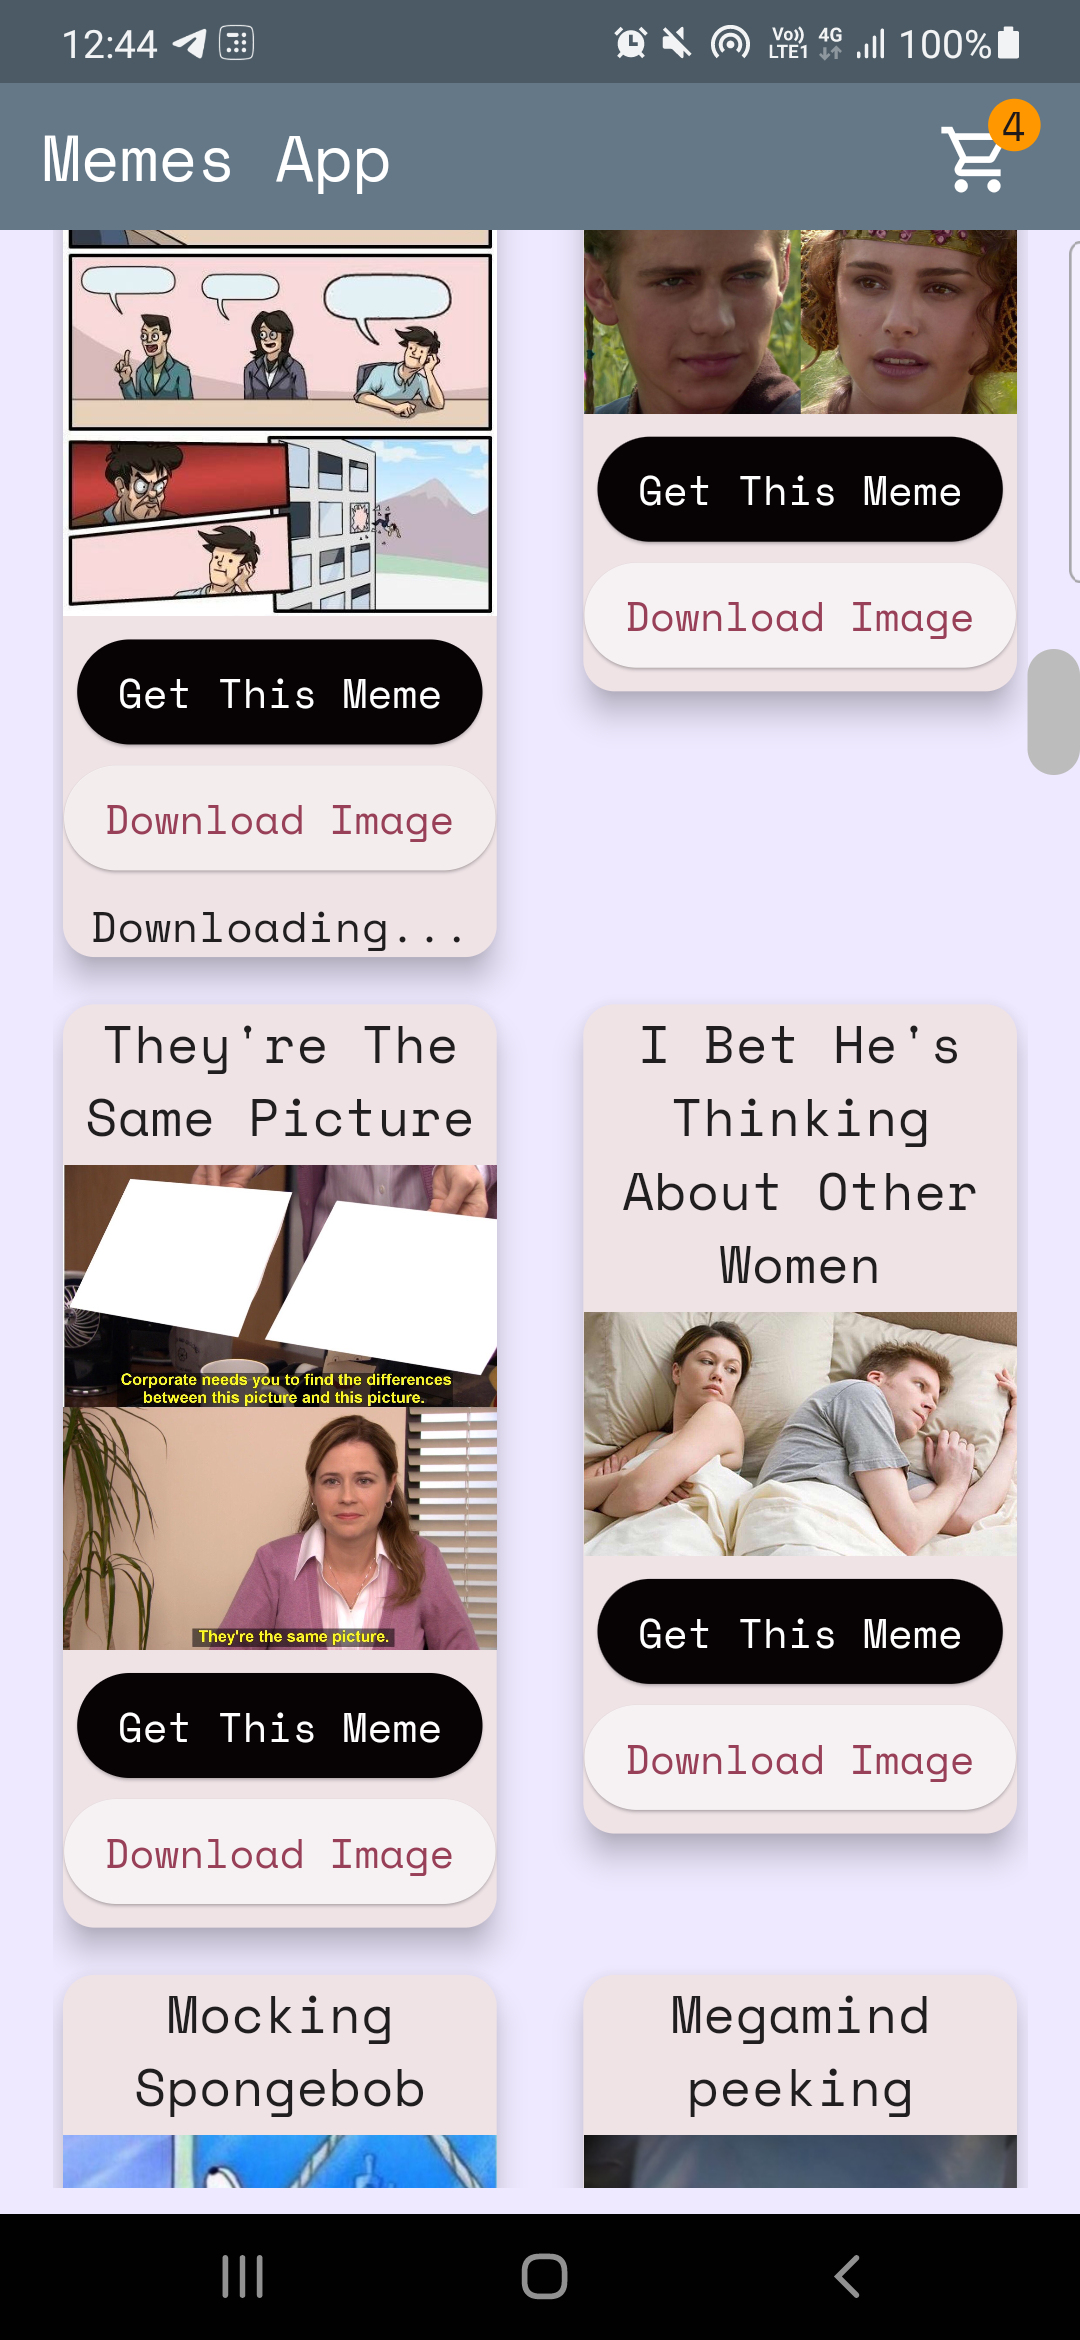
Caso-1: Incremento/disminución El valor de contador en el icono del carrito en la página de inicio (consulte las imágenes arriba).
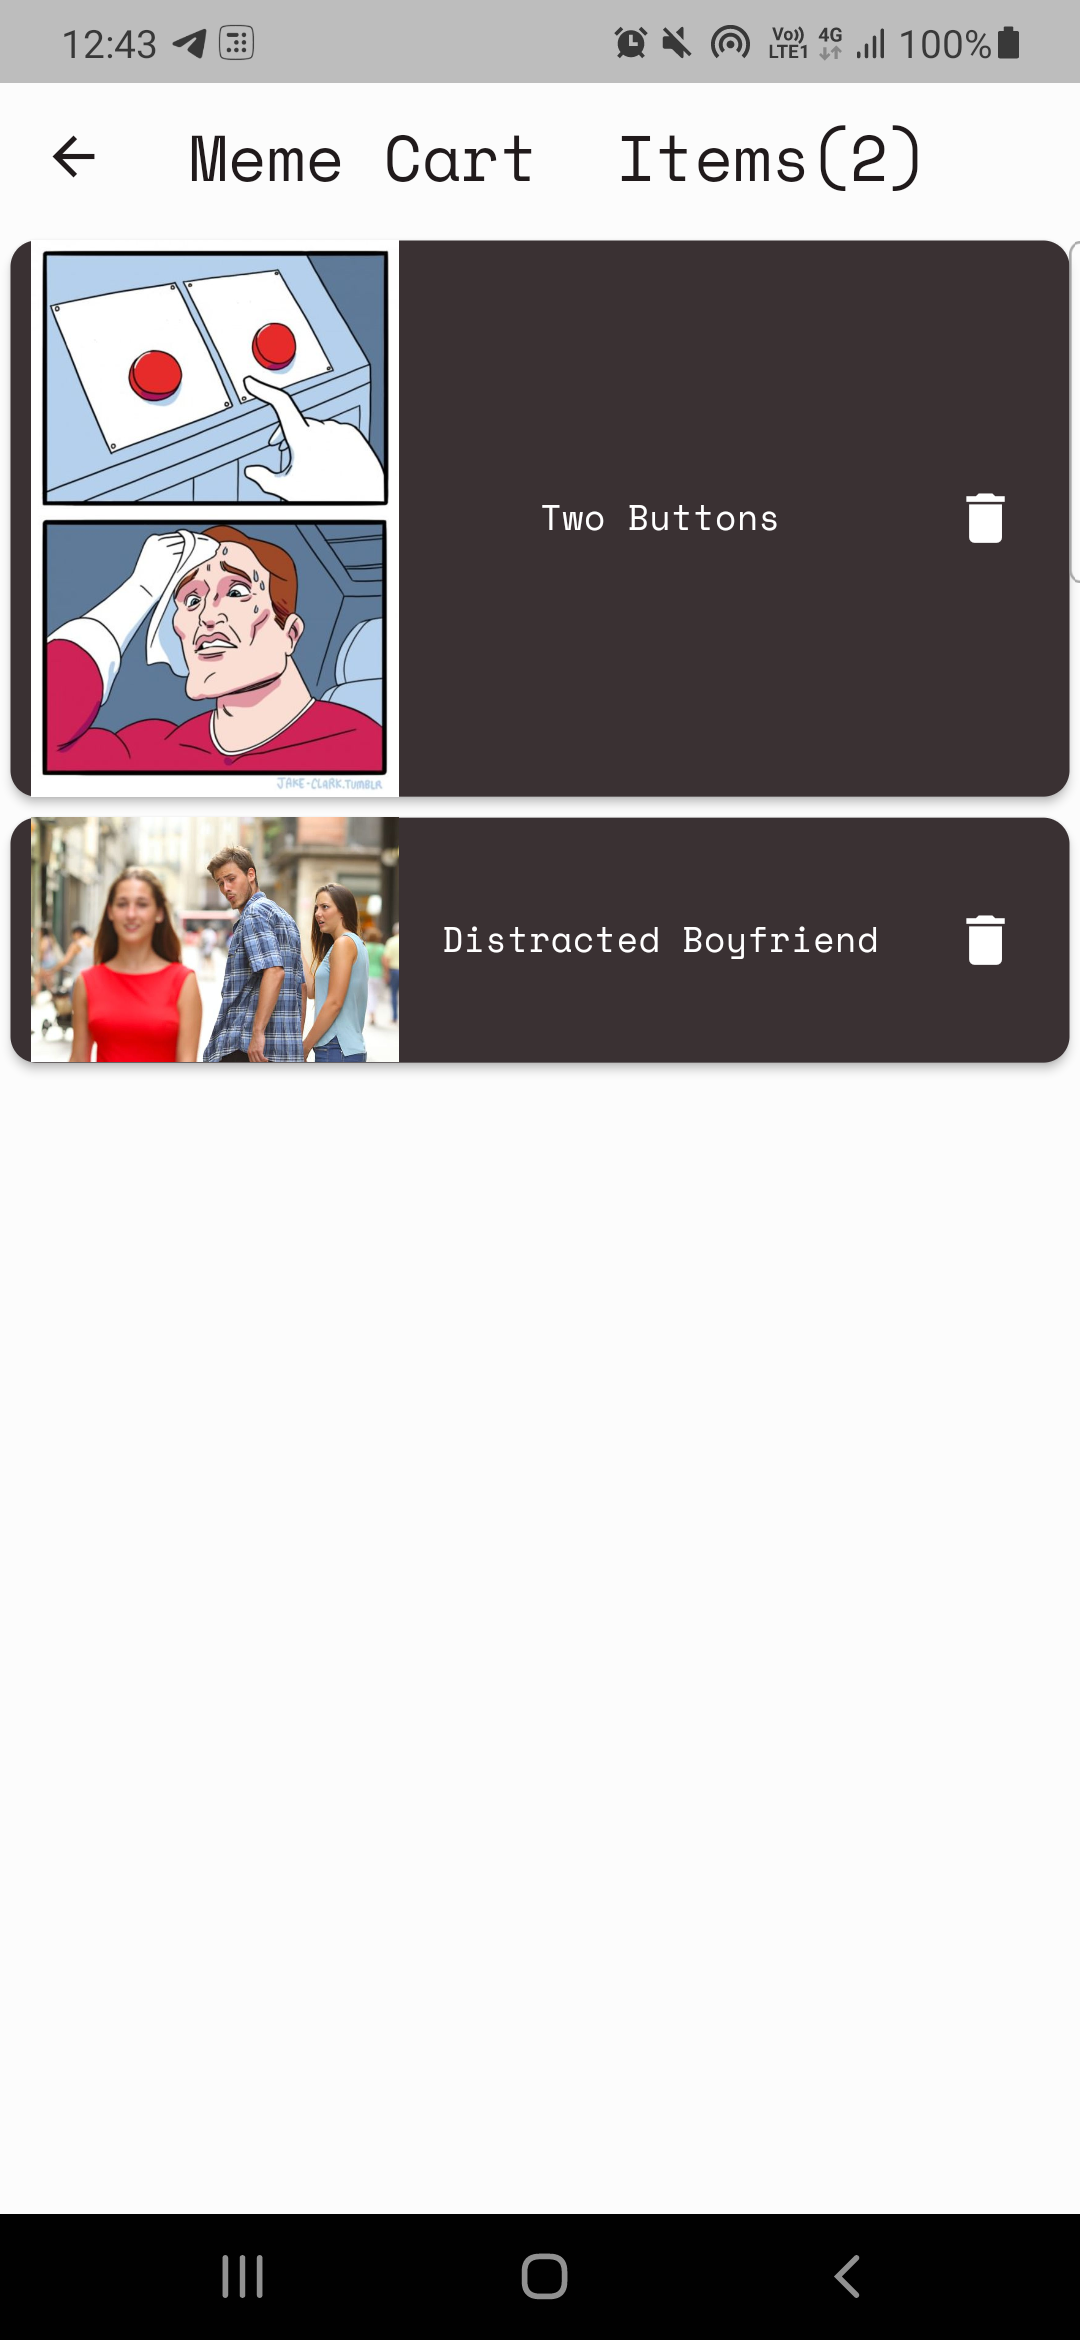
Caso-2: Construyendo la página del carrito.
Case-1: código de contador de incremento/disminución aquí: CART_COUNTER_PROVIDER.DART
 import 'package:flutter/cupertino.dart' ;

class CartCounterProvider extends ChangeNotifier {
  int cartCount;
  CartCounterProvider ({ this .cartCount = 0 });

  int get getCartCount => cartCount;

  void increment () {
    cartCount += 1 ;
    notifyListeners ();
  }

  void decrement () {
    cartCount -= 1 ;
    notifyListeners ();
  }
}
A continuación, ¿cuándo necesitaremos el proveedor?, Cuando se presione el botón!, Por lo tanto, escriba el código dentro de la función OnPressed () del botón "Obtenga este meme"
Código aquí
context. read < CartCounterProvider >(). increment ();Código aquí
 //just inside the build method this cartCounter will watch the value of the counter
//button pressed -> increment() method called using provider -> cartCounter watches the value and updates accordingly
int cartCounter = context. watch < CartCounterProvider >().getCartCount;
Usar leer y ver es una forma de hacerlo. Otro es usar la instancia de la clase de proveedor que hizo, discutamos este enfoque para el caso-2.
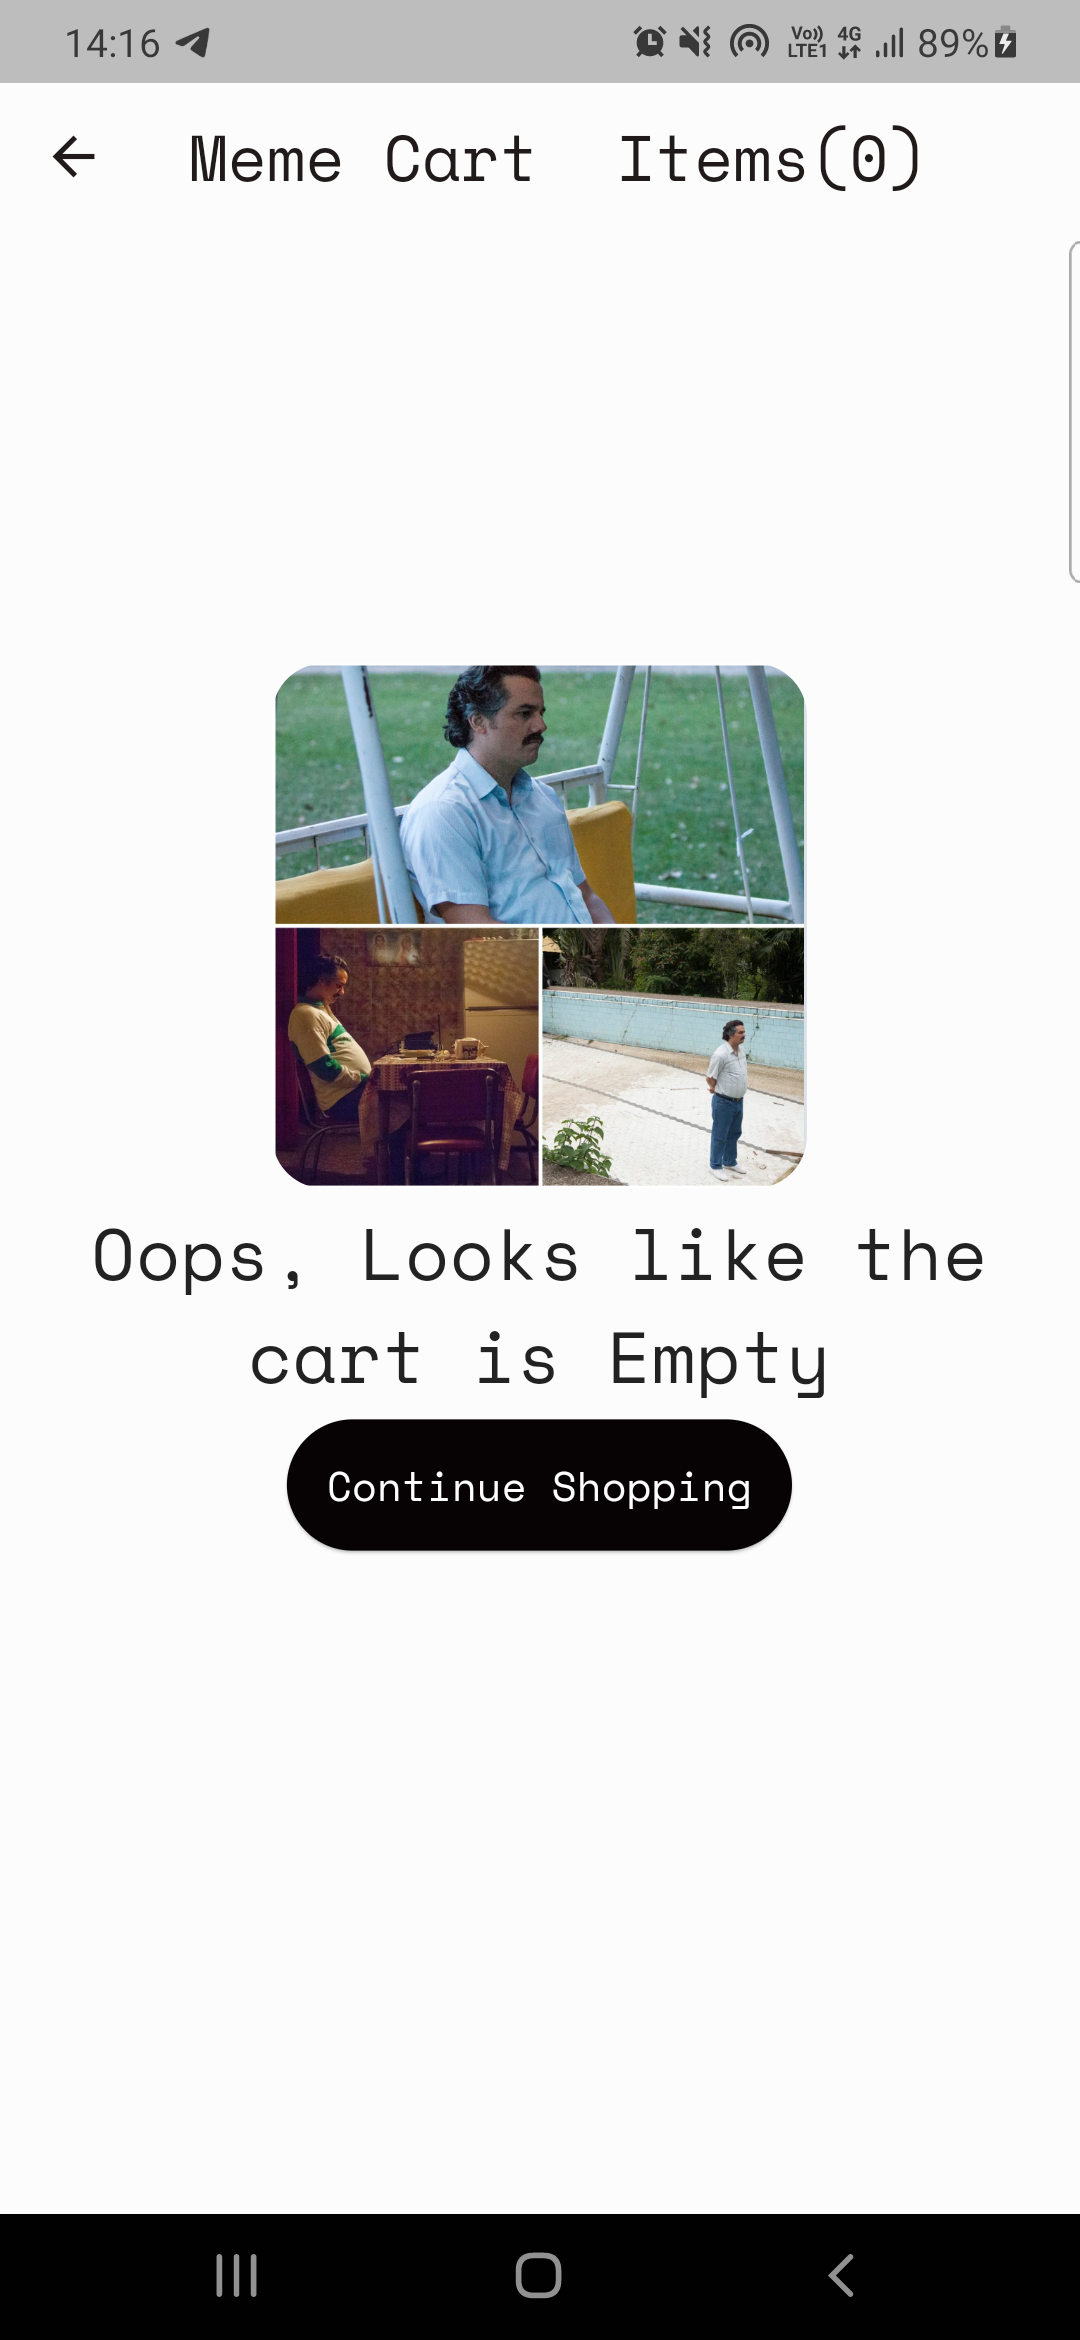
Caso-2: Construyendo la página del carrito.
Nota: Siempre intente definir las funcionalidades anteriores antes de implementar.
El plan para la página del carrito es simple:
Clase de proveedor para mostrar CART (MemECARTProvider)
Código meme_cart_provider.dart
 //read below about CartCardModel first

import 'package:memeapp/models/cart_card_model.dart' ;
import 'package:flutter/cupertino.dart' ;

class MemeCartProvider extends ChangeNotifier {

  //now it's convenient for us to display the memes, we just need a list of CartCardModel!
  //each instance of this class will have the respective id, imageURL, and name of the meme.
  //We just need to traverse and display this list in the cart page, thats it!


  //_cartList will have the id, imageURL, name of only those memes that are added to cart by user
  final List < CartCardModel > _cartList = < CartCardModel > [];

  //memesIdList will only contain the meme ID's which will be used to add/remove memes from the cart
  //also used to prevent duplicates
  List < String > ? memesIdList = < String > [];

  List < CartCardModel > get getCartList => _cartList;
  List < String > ? get getMemesIdList => memesIdList;

  void addItem ( CartCardModel addThisItem) {
    _cartList. add (addThisItem);
    notifyListeners ();
  }

  void removeItem ( String memeId) {
    _cartList. removeWhere ((element) => element.id == memeId);
    memesIdList ! . remove (memeId);
    notifyListeners ();
  }
}CartCardModel CART_CARD_MODEL.DART
 //each instance of this class (CartCardModel) will have the info of id, imageURL, and name.
//it will now be easier to display the memes in the cart page
class CartCardModel {
  String id;
  String ? nameCart;
  String ? imageUrlCart;
  CartCardModel ({
    required this .id,
    this .nameCart,
    this .imageUrlCart,
  });
}
Ahora es conveniente para nosotros representar memes en la página del carrito. Simplemente atravesamos la lista y mostramos elementos en consecuencia.
Pero, ¿cómo nos aseguraremos de que solo esos elementos sean representados que agregaron el usuario? ¡Proveedor es, nuevamente!.
Código CART_PAGE.DART
  //define an instance of MemeCartProvider class like this inside the build method
   Widget build ( BuildContext context) {
    var memeCartProvider = Provider . of < MemeCartProvider >(context);
Código aquí
 //wrap the Listview.builder with CONSUMER<MemeCartProvider>
Consumer < MemeCartProvider >(
              builder : (context, value, child) {
                //ListView will traverse CartCardModel list and render memes accordingly
                return ListView . builder (
                  //itemCount is simply the length of the list.
                  itemCount : value.getMemesIdList ! .length,
                  itemBuilder : ((context, index) {
                    object / instance of CartCardModel class using MemeCartProvider
                    CartCardModel cartObject = value.getCartList[index];
Código aquí
 //render the image using cartObject
 Image . network (
                "${ cartObject . imageUrlCart }" ,
                     width : 140 ,
              ),

 //render the name using cartObject
 Text (
                  //limiting name to 20 characters
                  cartObject.nameCart ! .length > 20
                   ? "${ cartObject . nameCart !. substring ( 0 , 20 )}..."
                   : "${ cartObject . nameCart }" ,
Por último, pero no menos importante, necesitamos implementar la función Eliminar
 onPressed : () {
                   //we will remove the item from the list
                   value. removeItem (cartObject.id);

                   //why this line? you might've guessed it already, if not, dont worry
                   //remember we incrementes the counter value when user added items to the cart
                   //now user is deleting items, hence we need to decreament that counter value too!, right?
                   context. read < CartCounterProvider >(). decrement ();
               },
Y ... ¡eso es una envoltura! Espero que esto te haya ayudado y que hayas aprendido algo nuevo. Si lo desea, considere dar este repositorio a. En caso de que tenga alguna consulta, seguramente puede comunicarse conmigo a través de mis sociales.
¿MIS MEJORES DESEOS?


