maui role based data access
1.0.0
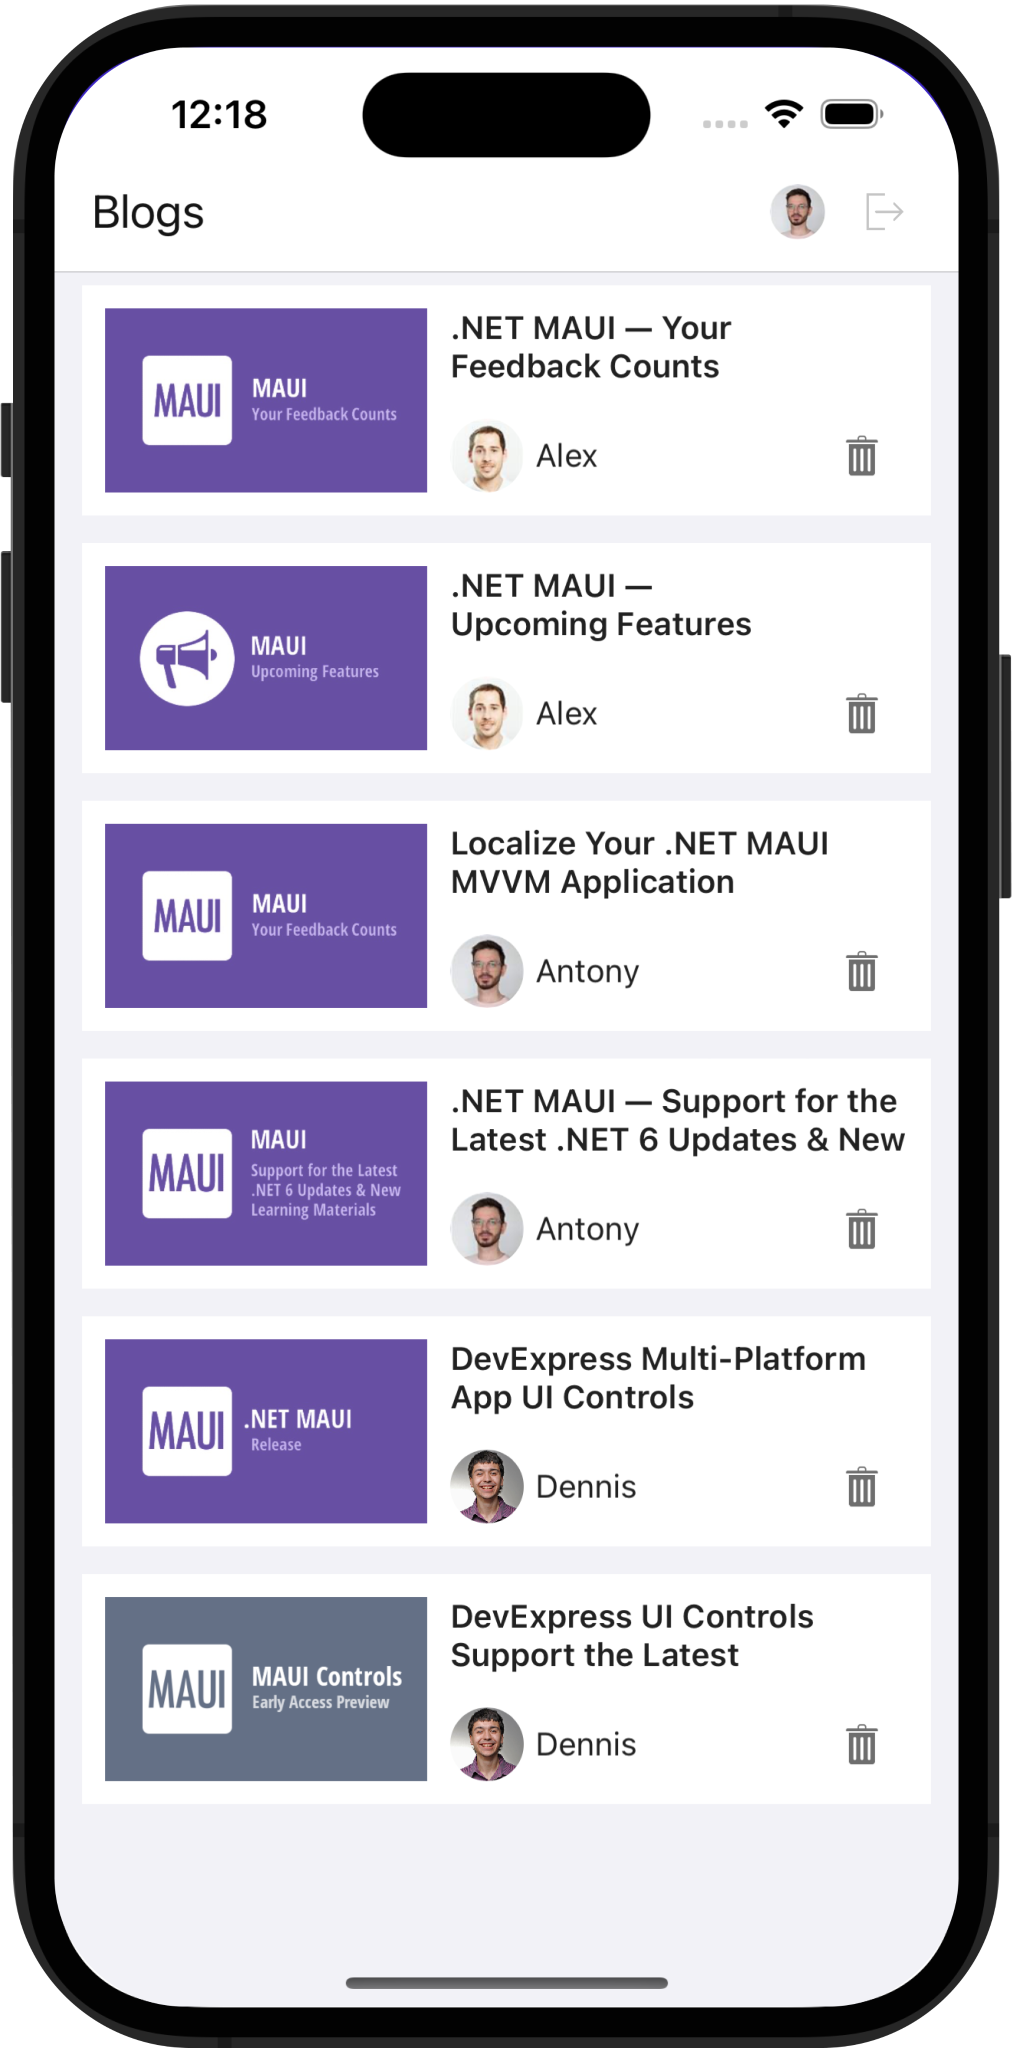
此示例使用我們的免費.NET應用程序安全和Web API服務來實現身份驗證和基於角色的數據訪問。我們運行了一個內置的嚮導來生成現成的身份驗證服務。該服務使用實體框架核心訪問數據庫。 .NET MAUI應用程序將請求發送到Web API服務以獲取或修改數據。
如果您是DEVEXPRESS .NET應用程序安全和Web API服務的新手,則可能需要查看以下資源:
創建一個獨立的Web API應用程序
通過EF Core&ASP.NET進行基於角色的訪問控制的CRUD Web API的1鍵解決方案
SQL Server,如果您在Windows上運行此解決方案。
作為管理員運行Visual Studio並打開解決方案。管理員特權允許IDE運行Web服務項目時創建數據庫。
在“調試下拉菜單”中選擇WebAPI 。此選擇使Kestrel成為用於調試的Web服務器。

如果您更喜歡IIS Express而不是Kestrel,請在“調試下拉菜單”中選擇IIS Express 。使用外部文本編輯器將以下代碼添加到.vsMAUI_WebAPIconfigapplicationhost.config :
< sites >
    < site name = " WebSite1 " id = " 1 " serverAutoStart = " true " >
    <!-* ... -->
        < bindings >
            < binding protocol = " http " bindingInformation = " *:65201:* " />
            < binding protocol = " https " bindingInformation = " *:44317:* " />
            < binding protocol = " https " bindingInformation = " *:44317:localhost " />
            < binding protocol = " http " bindingInformation = " *:65201:localhost " />
        </ bindings >
    </ site >
    <!-* ... -->
</ sites >右鍵單擊MAUI項目,選擇Set as Startup Project ,然後選擇模擬器。請注意,在USB上附加的物理設備無法訪問機器的本地主機。
右鍵單擊WebAPI項目,然後選擇Debug > Start new instance 。
右鍵單擊MAUI項目,然後選擇Debug > Start new instance 。
DeVexpress Web API服務使用JSON Web令牌(JWT)授權用戶。要獲取令牌,請將用戶名和密碼傳遞到身份驗證的端點。在此示例中,令牌生成邏輯在WebAPIService.RequestTokenAsync方法中實現:
  private async Task < HttpResponseMessage > RequestTokenAsync ( string userName , string password ) {
        return await HttpClient . PostAsync ( $ " { ApiUrl } Authentication/Authenticate" ,
                                            new StringContent ( JsonSerializer . Serialize ( new { userName , password = $ " { password } " } ) , Encoding . UTF8 ,
                                            ApplicationJson ) ) ;
  }
將令牌包括在httpclient.defaultrequestheaders.uthorization中。然後,所有後續請求都可以訪問私人端點和數據:
HttpClient . DefaultRequestHeaders . Authorization = new AuthenticationHeaderValue ( "Bearer" , await tokenResponse . Content . ReadAsStringAsync ( ) ) ;文件要查看:webApiservice.cs
我們在WebApi服務中實現了以下自定義端點:
CanteletPost端點使您可以將請求從移動設備發送到服務,並檢查當前用戶是否可以刪除帖子。這使您可以在UI中顯示/隱藏刪除按鈕。
文件要查看:updater.cs
當前使用者端點返回有關身份驗證用戶的信息。
文件要查看:updater.cs
getAuthorimage端點通過用戶ID檢索作者圖像。
文件要查看:updater.cs
getPostImage端點通過POST ID檢索圖像。
文件要查看:updater.cs
Updater.UpdateDatabaseAfterUpdateSchema方法生成用戶並指定其登錄憑據。您可以直接在數據庫中修改用戶密碼。注意:我們的跨平台.NET應用程序框架(XAF UI)允許您快速構建訪問同一數據庫的桌面或Web UI。
文件要查看:updater.cs
Updater類中的PermissionPolicyRole對象添加用戶權限。以下代碼段調用AddObjectPermissionFromLambda方法以配置“查看器”角色(允許用戶讀取已發布的帖子):
role . AddObjectPermissionFromLambda ( SecurityOperations . Read , p => p . IsPublished , SecurityPermissionState . Allow ) ;文件要查看:updater.cs
AddTypePermissionsRecursively firmitional Adderional方法修改了“編輯”角色的特權(Alex,Antony和Dennis)。該方法為Post類型添加了CRUD權限(創建,讀取,更新,刪除):
role . AddTypePermissionsRecursively < Post > ( SecurityOperations . Read | SecurityOperations . Write | SecurityOperations . Create | SecurityOperations . DeleteObject , SecurityPermissionState . Allow ) ;文件要查看:updater.cs
使用textedit.starticon和passwordEdit.starticon屬性在TextEdit和passwandEdit控件中顯示圖標。
< dxe : TextEdit LabelText = " Login " StartIcon = " editorsname " .../>
< dxe : PasswordEdit LabelText = " Password " StartIcon = " editorspassword " .../>
文件要查看:loginpage.xaml
要驗證密碼eDIT控件中的用戶輸入,請使用editbase.haserror和editbase.Errortext.Sinarted屬性。
< dxe : PasswordEdit ... HasError = " {Binding HasError} " ErrorText = " {Binding ErrorText} " />文件要查看:loginpage.xaml
 public class LoginViewModel : BaseViewModel {
    // ...
    string errorText ;
    bool hasError ;
    // ...

    public string ErrorText {
        get => errorText ;
        set => SetProperty ( ref errorText , value ) ;
    }

    public bool HasError {
        get => hasError ;
        set => SetProperty ( ref hasError , value ) ;
    }
    async void OnLoginClicked ( ) {
        /// ...
        string response = await DataStore . Authenticate ( userName , password ) ;
        if ( ! string . IsNullOrEmpty ( response ) ) {
            ErrorText = response ;
            HasError = true ;
            return ;
        }
        HasError = false ;
        await Navigation . NavigateToAsync < SuccessViewModel > ( ) ;
    }
}
文件要查看:loginviewmodel.cs
指定textEdit.ReturnType繼承的屬性,以在編輯TextEdIt Control的值之後將possedeDit控件聚焦。
使用passwordEdit.turncommand屬性指定用戶輸入密碼時運行的命令(登錄):
< dxe : PasswordEdit ReturnCommand = " {Binding LoginCommand} " />文件要查看:loginpage.xaml
 public class LoginViewModel : BaseViewModel {
    // ...
    public LoginViewModel ( ) {
        LoginCommand = new Command ( OnLoginClicked ) ;
        SignUpCommand = new Command ( OnSignUpClicked ) ;
        PropertyChanged +=
            ( _ , __ ) => LoginCommand . ChangeCanExecute ( ) ;

    }
    // ...
    public Command LoginCommand { get ; }
    public Command SignUpCommand { get ; }
    // ...
}
文件要查看:loginviewmodel.cs
我們在此項目中啟用了圖像緩存。為了實現這一目標,我們需要通過其URI識別圖像。為了創建URI,我們使用獲得主機名和作者/帖子ID的多點。有關圖像緩存的其他信息,請參閱MAUI文檔。
< dx : DXImage >
    < dx : DXImage .Source>
        < MultiBinding StringFormat = " {}{0}PublicEndpoint/PostImage/{1} " >
            < Binding Source = " {x:Static webService:WebAPIService.ApiUrl} " />
            < Binding Path = " PostId " />
        </ MultiBinding >
    </ dx : DXImage .Source>
</ dx : DXImage >
檔案查看:itemspage.xaml
Android模擬器和iOS模擬器請求證書以通過HTTPS訪問服務。在此示例中,我們以調試模式切換到HTTP:
#if ! DEBUG
    app . UseHttpsRedirection ( ) ;
#endif< network-security-config >
< domain-config cleartextTrafficPermitted = " true " >
< domain includeSubdomains = " true " >10.0.2.2</ domain >
</ domain-config >
</ network-security-config >< key >NSAppTransportSecurity</ key >
< dict >
< key >NSAllowsLocalNetworking</ key >
< true />
</ dict >這使您無需創建開發證書或實現HTTPCLIENT處理程序即可繞過證書檢查。
有關更多信息,請參閱來自Android模擬器和iOS模擬器的本地Web服務的連接。
我們建議您僅在開發/調試應用程序時才使用HTTP。在生產中,出於安全原因使用HTTP。
(您將被重定向到devexpress.com提交您的答复)


