maui role based data access
1.0.0
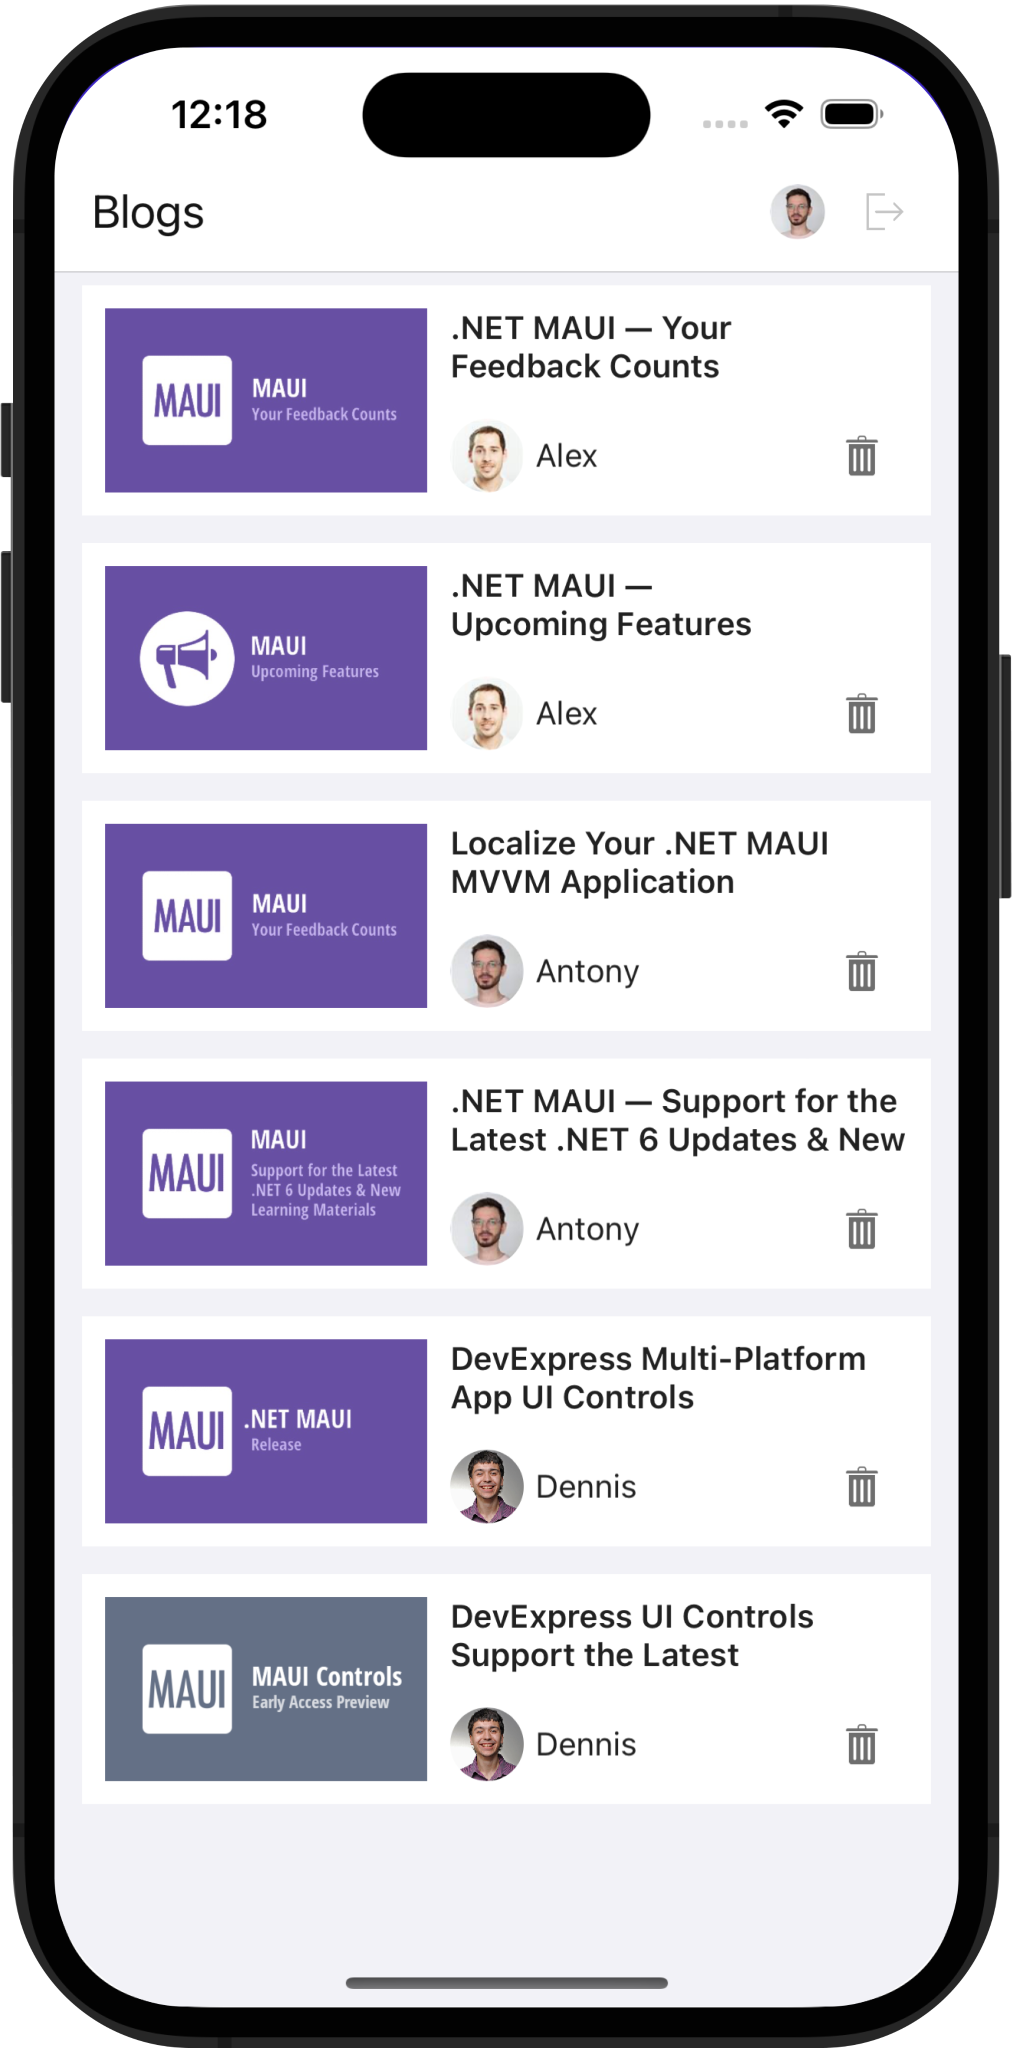
この例では、無料の.NETアプリセキュリティとWeb APIサービスを使用して、認証とロールベースのデータアクセスを実装しています。組み込みのウィザードを実行して、すぐに使用できる認証サービスを生成しました。このサービスは、エンティティフレームワークコアを使用してデータベースにアクセスします。 .NET MAUIアプリケーションは、データを取得または変更するためにWeb APIサービスにリクエストを送信します。
Devexpress .NET App Security&Web APIサービスに慣れていない場合は、次のリソースを確認することができます。
スタンドアロンWeb APIアプリケーションを作成します
EF Core&ASP.NETを介したロールベースのアクセス制御を備えたCRUD Web API用の1クリックソリューション
このソリューションをWindowsで実行する場合、SQLサーバー。
管理者としてVisual Studioを実行し、ソリューションを開きます。管理者の特権により、Webサービスプロジェクトを実行するときにIDEがデータベースを作成できるようになります。
デバッグドロップダウンメニューでWebAPIを選択します。この選択により、デバッグが実行されるWebサーバーとしてKestrelが可能になります。

KestrelにIIS Expressをご希望の場合は、デバッグドロップダウンメニューでIIS Expressを選択します。外部テキストエディターを使用して、次のコードを.vsMAUI_WebAPIconfigapplicationhost.configに追加します:
< sites >
    < site name = " WebSite1 " id = " 1 " serverAutoStart = " true " >
    <!-* ... -->
        < bindings >
            < binding protocol = " http " bindingInformation = " *:65201:* " />
            < binding protocol = " https " bindingInformation = " *:44317:* " />
            < binding protocol = " https " bindingInformation = " *:44317:localhost " />
            < binding protocol = " http " bindingInformation = " *:65201:localhost " />
        </ bindings >
    </ site >
    <!-* ... -->
</ sites > MAUIプロジェクトを右クリックして、 Set as Startup Project選択し、エミュレータを選択します。 USBに添付されている物理デバイスは、マシンのローカルホストにアクセスできないことに注意してください。
WebAPIプロジェクトを右クリックしてDebug > Start new instance 。
MAUIプロジェクトを右クリックしてDebug > Start new instance 。
DevexPress Web APIサービスは、JSON Web Tokens(JWT)を使用してユーザーを承認します。トークンを取得するには、ユーザー名とパスワードを認証エンドポイントに渡します。この例では、トークン生成ロジックがWebAPIService.RequestTokenAsyncメソッドに実装されています。
  private async Task < HttpResponseMessage > RequestTokenAsync ( string userName , string password ) {
        return await HttpClient . PostAsync ( $ " { ApiUrl } Authentication/Authenticate" ,
                                            new StringContent ( JsonSerializer . Serialize ( new { userName , password = $ " { password } " } ) , Encoding . UTF8 ,
                                            ApplicationJson ) ) ;
  }
httpclient.defaultrequestheaders.authorizationにトークンを含めます。その後のすべての要求は、プライベートエンドポイントとデータにアクセスできます。
HttpClient . DefaultRequestHeaders . Authorization = new AuthenticationHeaderValue ( "Bearer" , await tokenResponse . Content . ReadAsStringAsync ( ) ) ;見てください:webapiservice.cs
WebApiサービスに次のカスタムエンドポイントを実装しました。
CandeLetePostエンドポイントを使用すると、モバイルデバイスからリクエストをサービスに送信し、現在のユーザーが投稿を削除できるかどうかを確認できます。これにより、UIの削除ボタンを表示/非表示にすることができます。
見てください:updater.cs
Currentuserのエンドポイントは、認証されたユーザーに関する情報を返します。
見てください:updater.cs
getauthorimageエンドポイントは、ユーザーIDで著者画像を取得します。
見てください:updater.cs
getpostimageエンドポイントは、投稿IDで画像を取得します。
見てください:updater.cs
Updater.UpdateDatabaseAfterUpdateSchemaメソッドは、ユーザーを生成し、ログイン資格情報を指定します。データベースでユーザーのパスワードを直接変更できます。注:クロスプラットフォーム.NETアプリケーションフレームワーク(XAF UI)を使用すると、同じデータベースにアクセスするデスクトップまたはWeb UIをすばやく構築できます。
見てください:updater.cs
UpdaterクラスのPermissionPolicyRoleオブジェクトは、ユーザー許可を追加します。次のコードスニペットは、 AddObjectPermissionFromLambdaメソッドを呼び出して、「ビューアー」ロールを構成します(ユーザーが公開された投稿を読むことができます):
role . AddObjectPermissionFromLambda ( SecurityOperations . Read , p => p . IsPublished , SecurityPermissionState . Allow ) ;見てください:updater.cs
AddTypePermissionsRecursivelyメソッドは、「編集者」の役割(Alex、Antony、およびDennis)の特権を修正します。このメソッドは、 Postタイプにcrud権限(作成、読み取り、更新、削除)を追加します。
role . AddTypePermissionsRecursively < Post > ( SecurityOperations . Read | SecurityOperations . Write | SecurityOperations . Create | SecurityOperations . DeleteObject , SecurityPermissionState . Allow ) ;見てください:updater.cs
textedit.starticonおよびpasswordedit.starticonプロパティを使用して、TextEditおよびPasswordEditコントロールにアイコンを表示します。
< dxe : TextEdit LabelText = " Login " StartIcon = " editorsname " .../>
< dxe : PasswordEdit LabelText = " Password " StartIcon = " editorspassword " .../>
見てください:loginpage.xaml
PasswordEditコントロールのユーザー入力を検証するには、editbase.haserrorおよびeditbase.errortext継承プロパティを使用します。
< dxe : PasswordEdit ... HasError = " {Binding HasError} " ErrorText = " {Binding ErrorText} " />見てください:loginpage.xaml
 public class LoginViewModel : BaseViewModel {
    // ...
    string errorText ;
    bool hasError ;
    // ...

    public string ErrorText {
        get => errorText ;
        set => SetProperty ( ref errorText , value ) ;
    }

    public bool HasError {
        get => hasError ;
        set => SetProperty ( ref hasError , value ) ;
    }
    async void OnLoginClicked ( ) {
        /// ...
        string response = await DataStore . Authenticate ( userName , password ) ;
        if ( ! string . IsNullOrEmpty ( response ) ) {
            ErrorText = response ;
            HasError = true ;
            return ;
        }
        HasError = false ;
        await Navigation . NavigateToAsync < SuccessViewModel > ( ) ;
    }
}
見てください:loginviewmodel.cs
TextEdit Controlの値が編集された後、TextEdit.ReturnType継承プロパティを指定してPasswordEditコントロールに焦点を合わせます。
passwordedit.returncommandプロパティを使用して、ユーザーがパスワードを入力したときに実行されるコマンド(ログイン)を指定します。
< dxe : PasswordEdit ReturnCommand = " {Binding LoginCommand} " />見てください:loginpage.xaml
 public class LoginViewModel : BaseViewModel {
    // ...
    public LoginViewModel ( ) {
        LoginCommand = new Command ( OnLoginClicked ) ;
        SignUpCommand = new Command ( OnSignUpClicked ) ;
        PropertyChanged +=
            ( _ , __ ) => LoginCommand . ChangeCanExecute ( ) ;

    }
    // ...
    public Command LoginCommand { get ; }
    public Command SignUpCommand { get ; }
    // ...
}
見てください:loginviewmodel.cs
このプロジェクトで画像キャッシュを有効にしました。それを達成するには、URIによって画像を識別する必要がありました。 URIを作成するには、ホスト名と著者/投稿IDを取得するマルチバインディングを使用します。画像キャッシングの詳細については、MAUIドキュメントを参照してください。
< dx : DXImage >
    < dx : DXImage .Source>
        < MultiBinding StringFormat = " {}{0}PublicEndpoint/PostImage/{1} " >
            < Binding Source = " {x:Static webService:WebAPIService.ApiUrl} " />
            < Binding Path = " PostId " />
        </ MultiBinding >
    </ dx : DXImage .Source>
</ dx : DXImage >
見てください:itemspage.xaml
AndroidエミュレータとiOSシミュレーターは、HTTPSを介してサービスにアクセスするための証明書を要求します。この例では、デバッグモードでHTTPに切り替えます。
#if ! DEBUG
    app . UseHttpsRedirection ( ) ;
#endif< network-security-config >
< domain-config cleartextTrafficPermitted = " true " >
< domain includeSubdomains = " true " >10.0.2.2</ domain >
</ domain-config >
</ network-security-config >< key >NSAppTransportSecurity</ key >
< dict >
< key >NSAllowsLocalNetworking</ key >
< true />
</ dict >これにより、開発証明書を作成したり、HTTPClientハンドラーを実装することなく、証明書チェックをバイパスできます。
詳細については、AndroidエミュレーターとiOSシミュレーターのローカルWebサービスへのConnectへのConnectを参照してください。
アプリケーションを開発/デバッグするときにのみHTTPを使用することをお勧めします。生産では、セキュリティ上の理由でHTTPSを使用します。
(あなたはあなたの応答を送信するためにdevexpress.comにリダイレクトされます)


