best coding fonts
2024-06-25
我建议使用壳和编程的字体的存储库,其中大多数都带有连接线和Powerline/nerdfont Glyphs(图标)支持!
注意:此存储库中包含的字体是我修补或值得保留的字体。如果我使用基本书呆子字体,我将尝试简单地链接到原始作者的回购/网站。
如果给您错误,则在字体中使用名称+字体( '' )
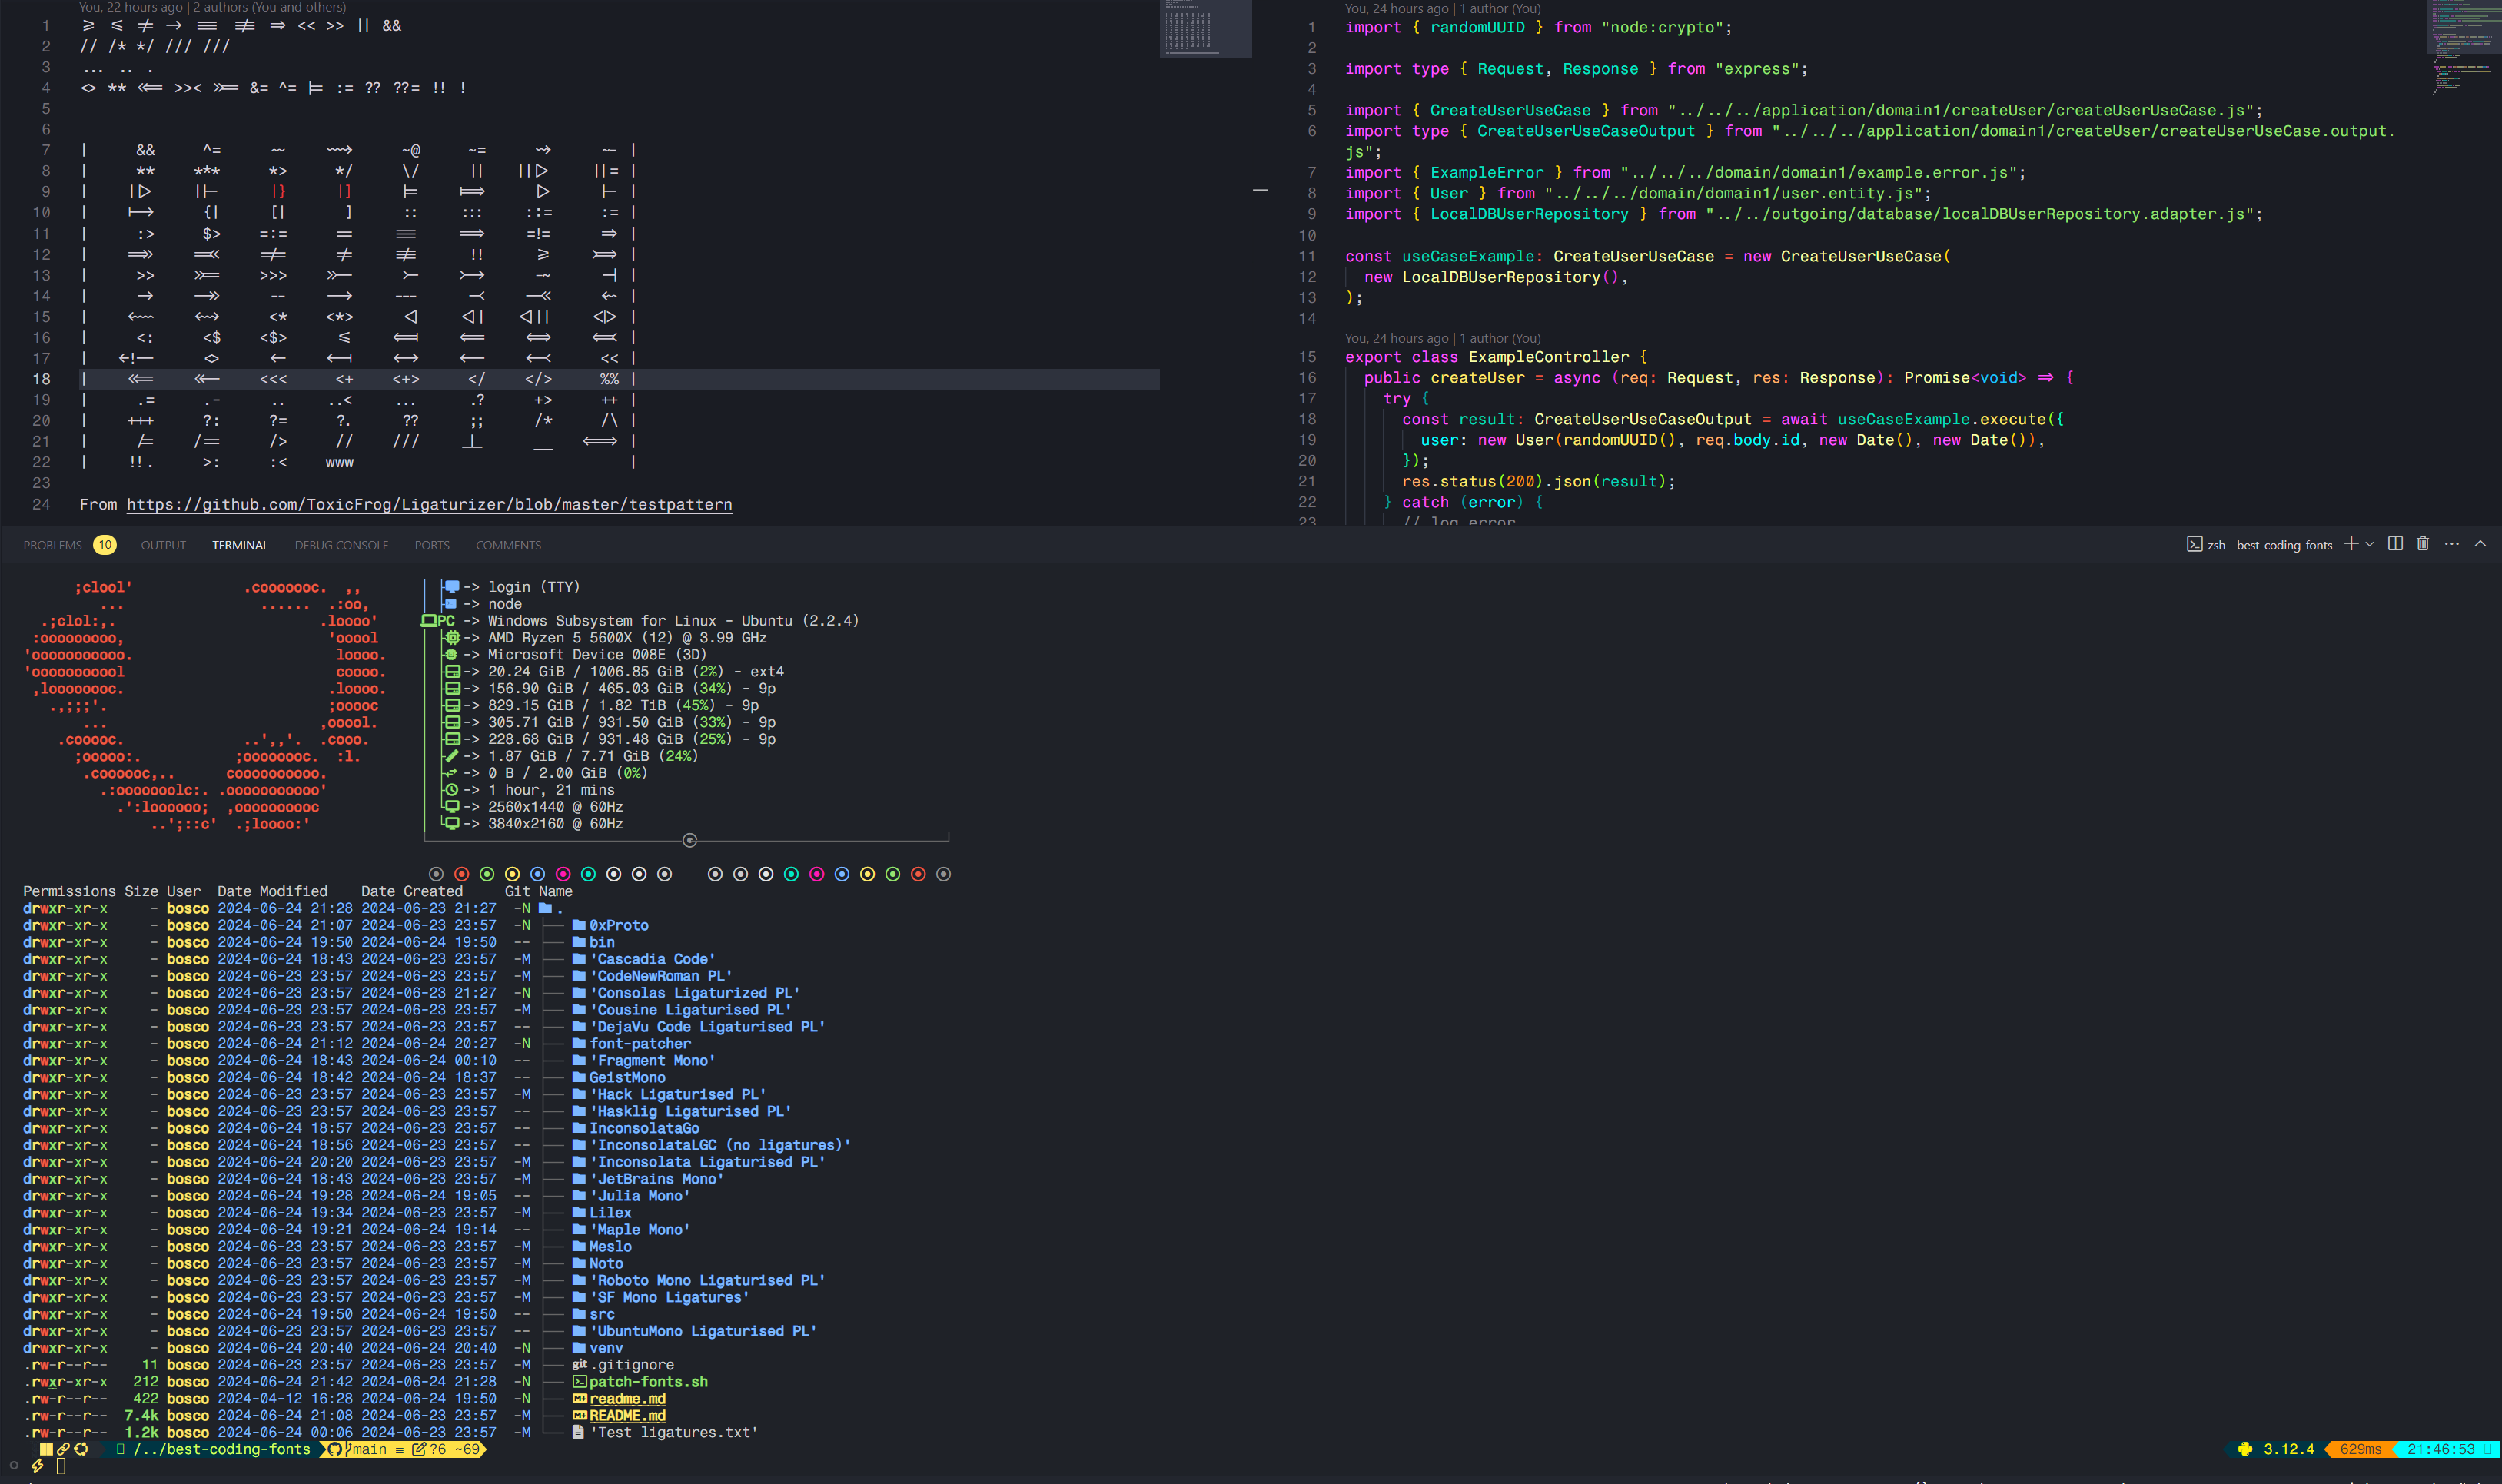
'0xProto v1.6 Ligaturised NF' , '0xProto v2 Ligaturised NF' , '0xProto v2 NF' , '0xProto v2 Nerd Font'没有连字(修补后忘了屏幕截图):
v1.6韧带: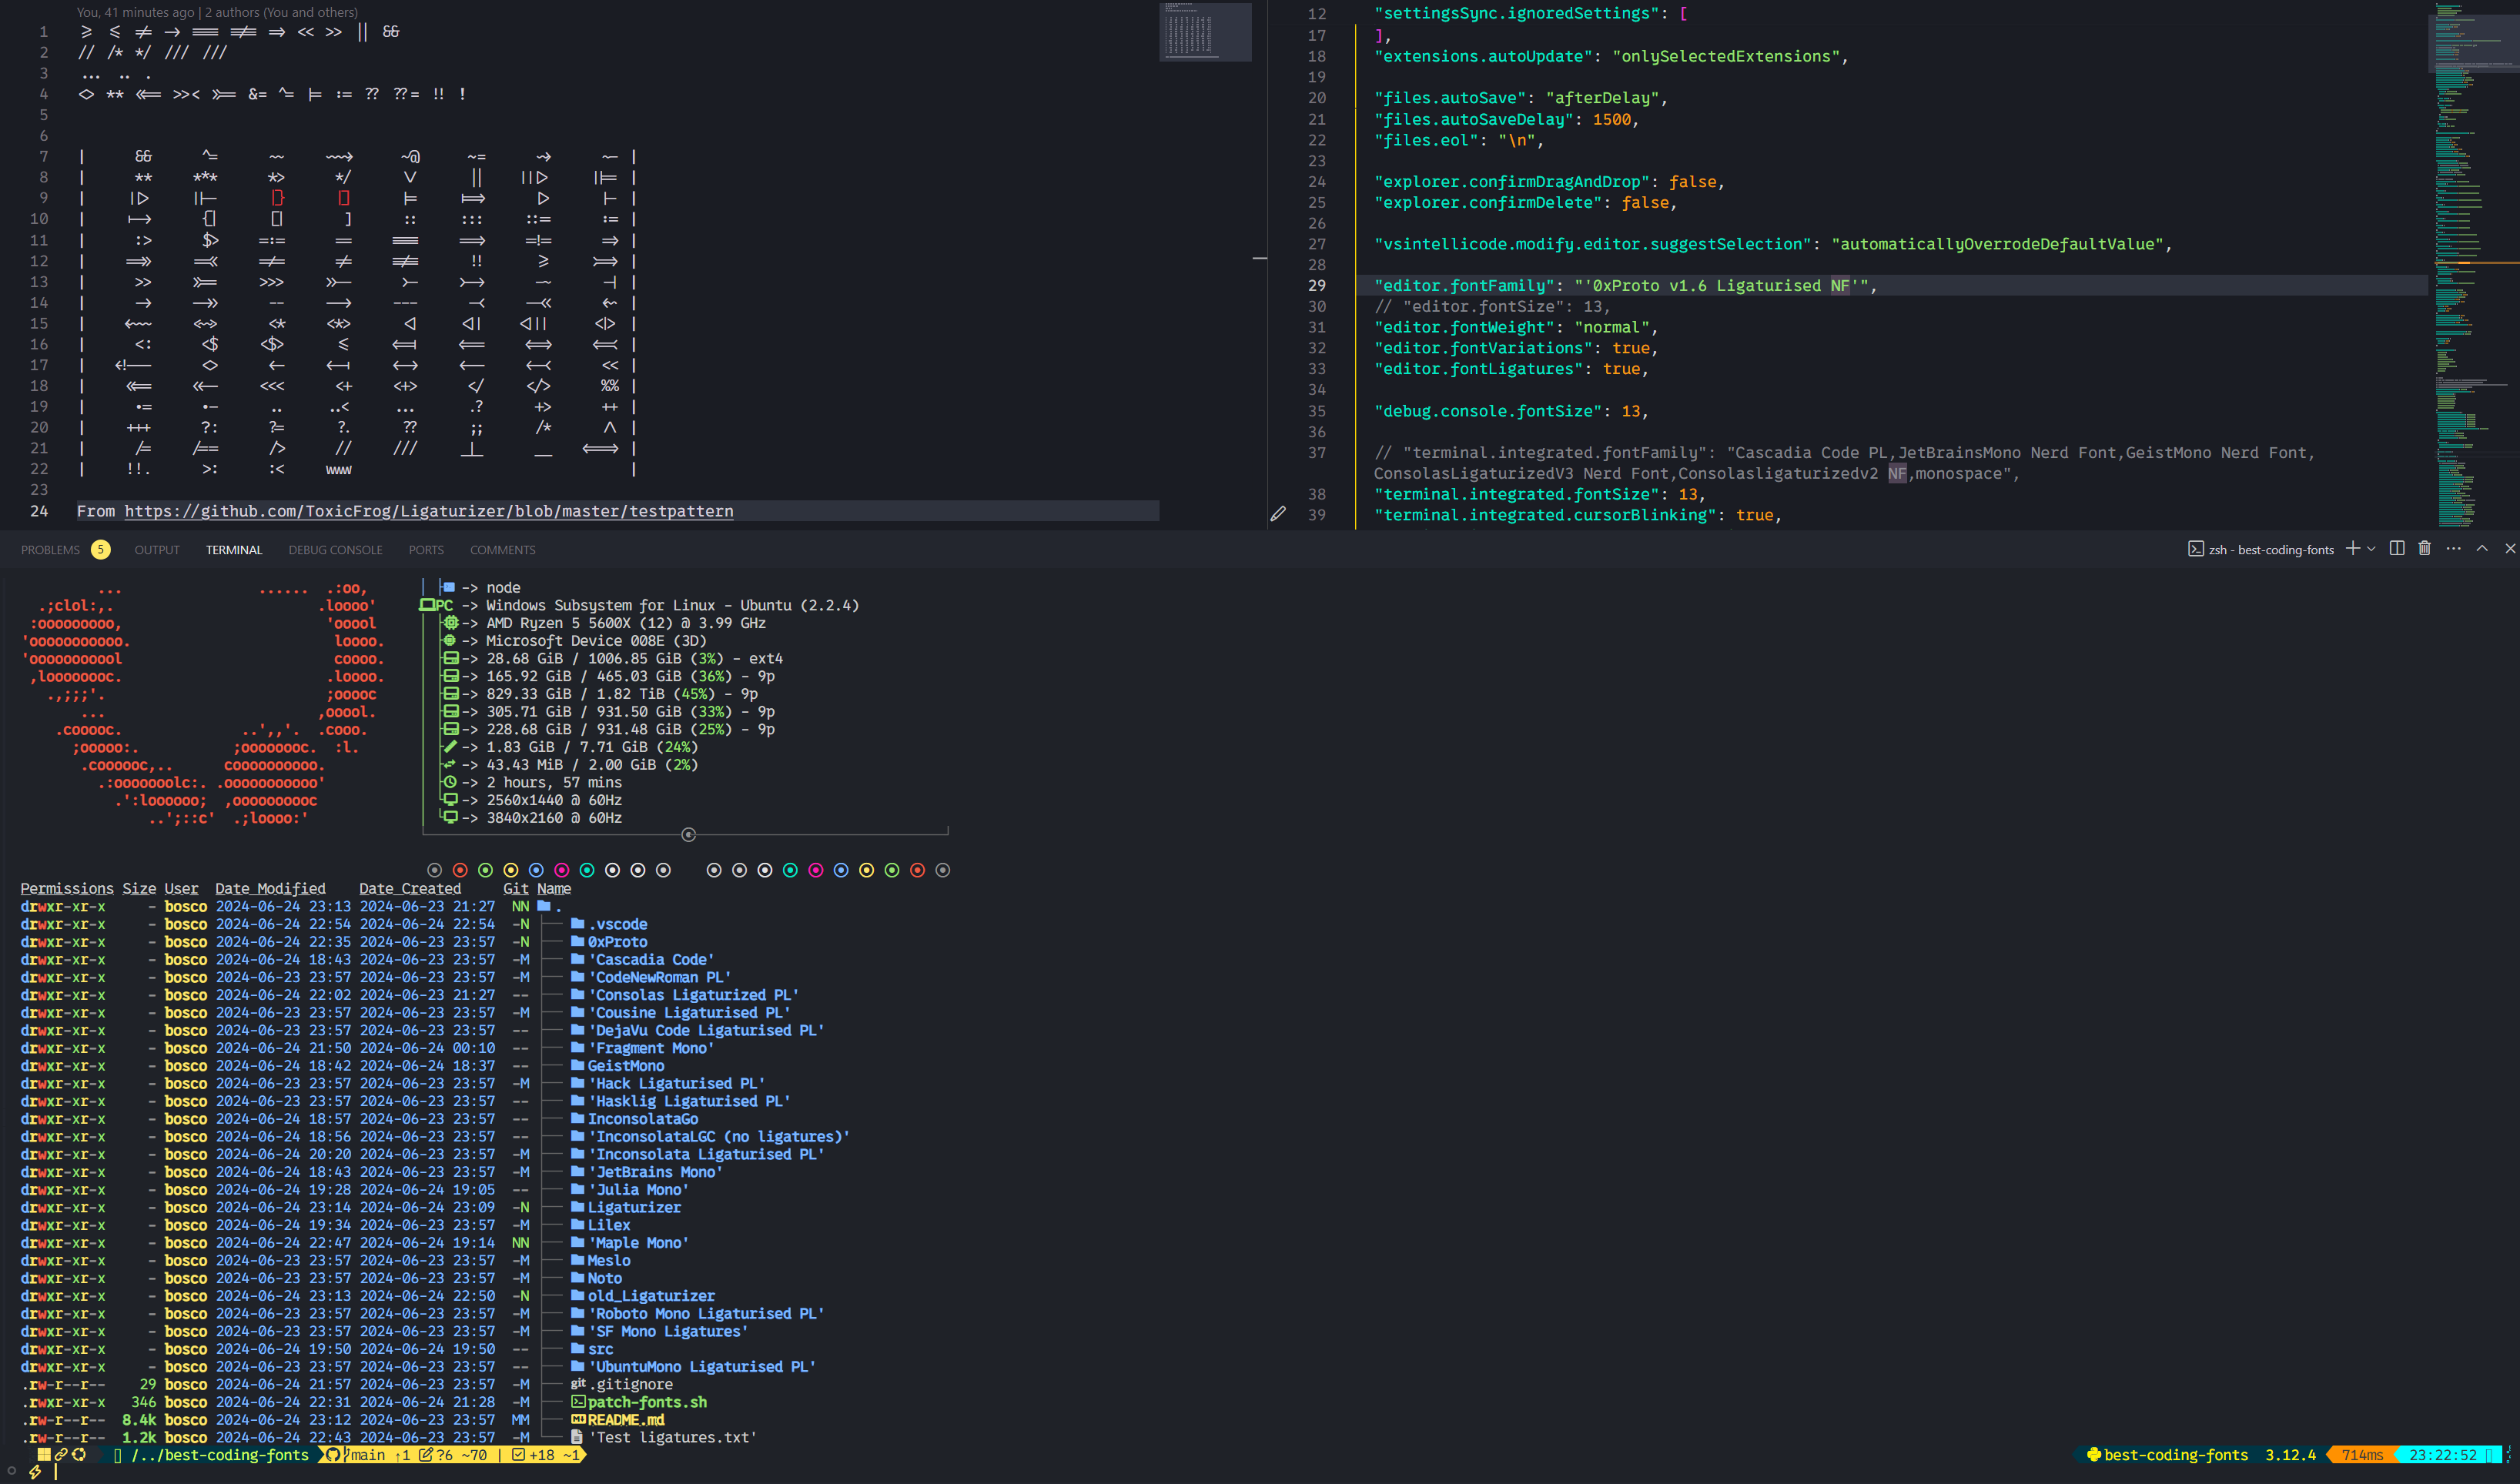 v2韧带:
v2韧带: V2书呆子字体:
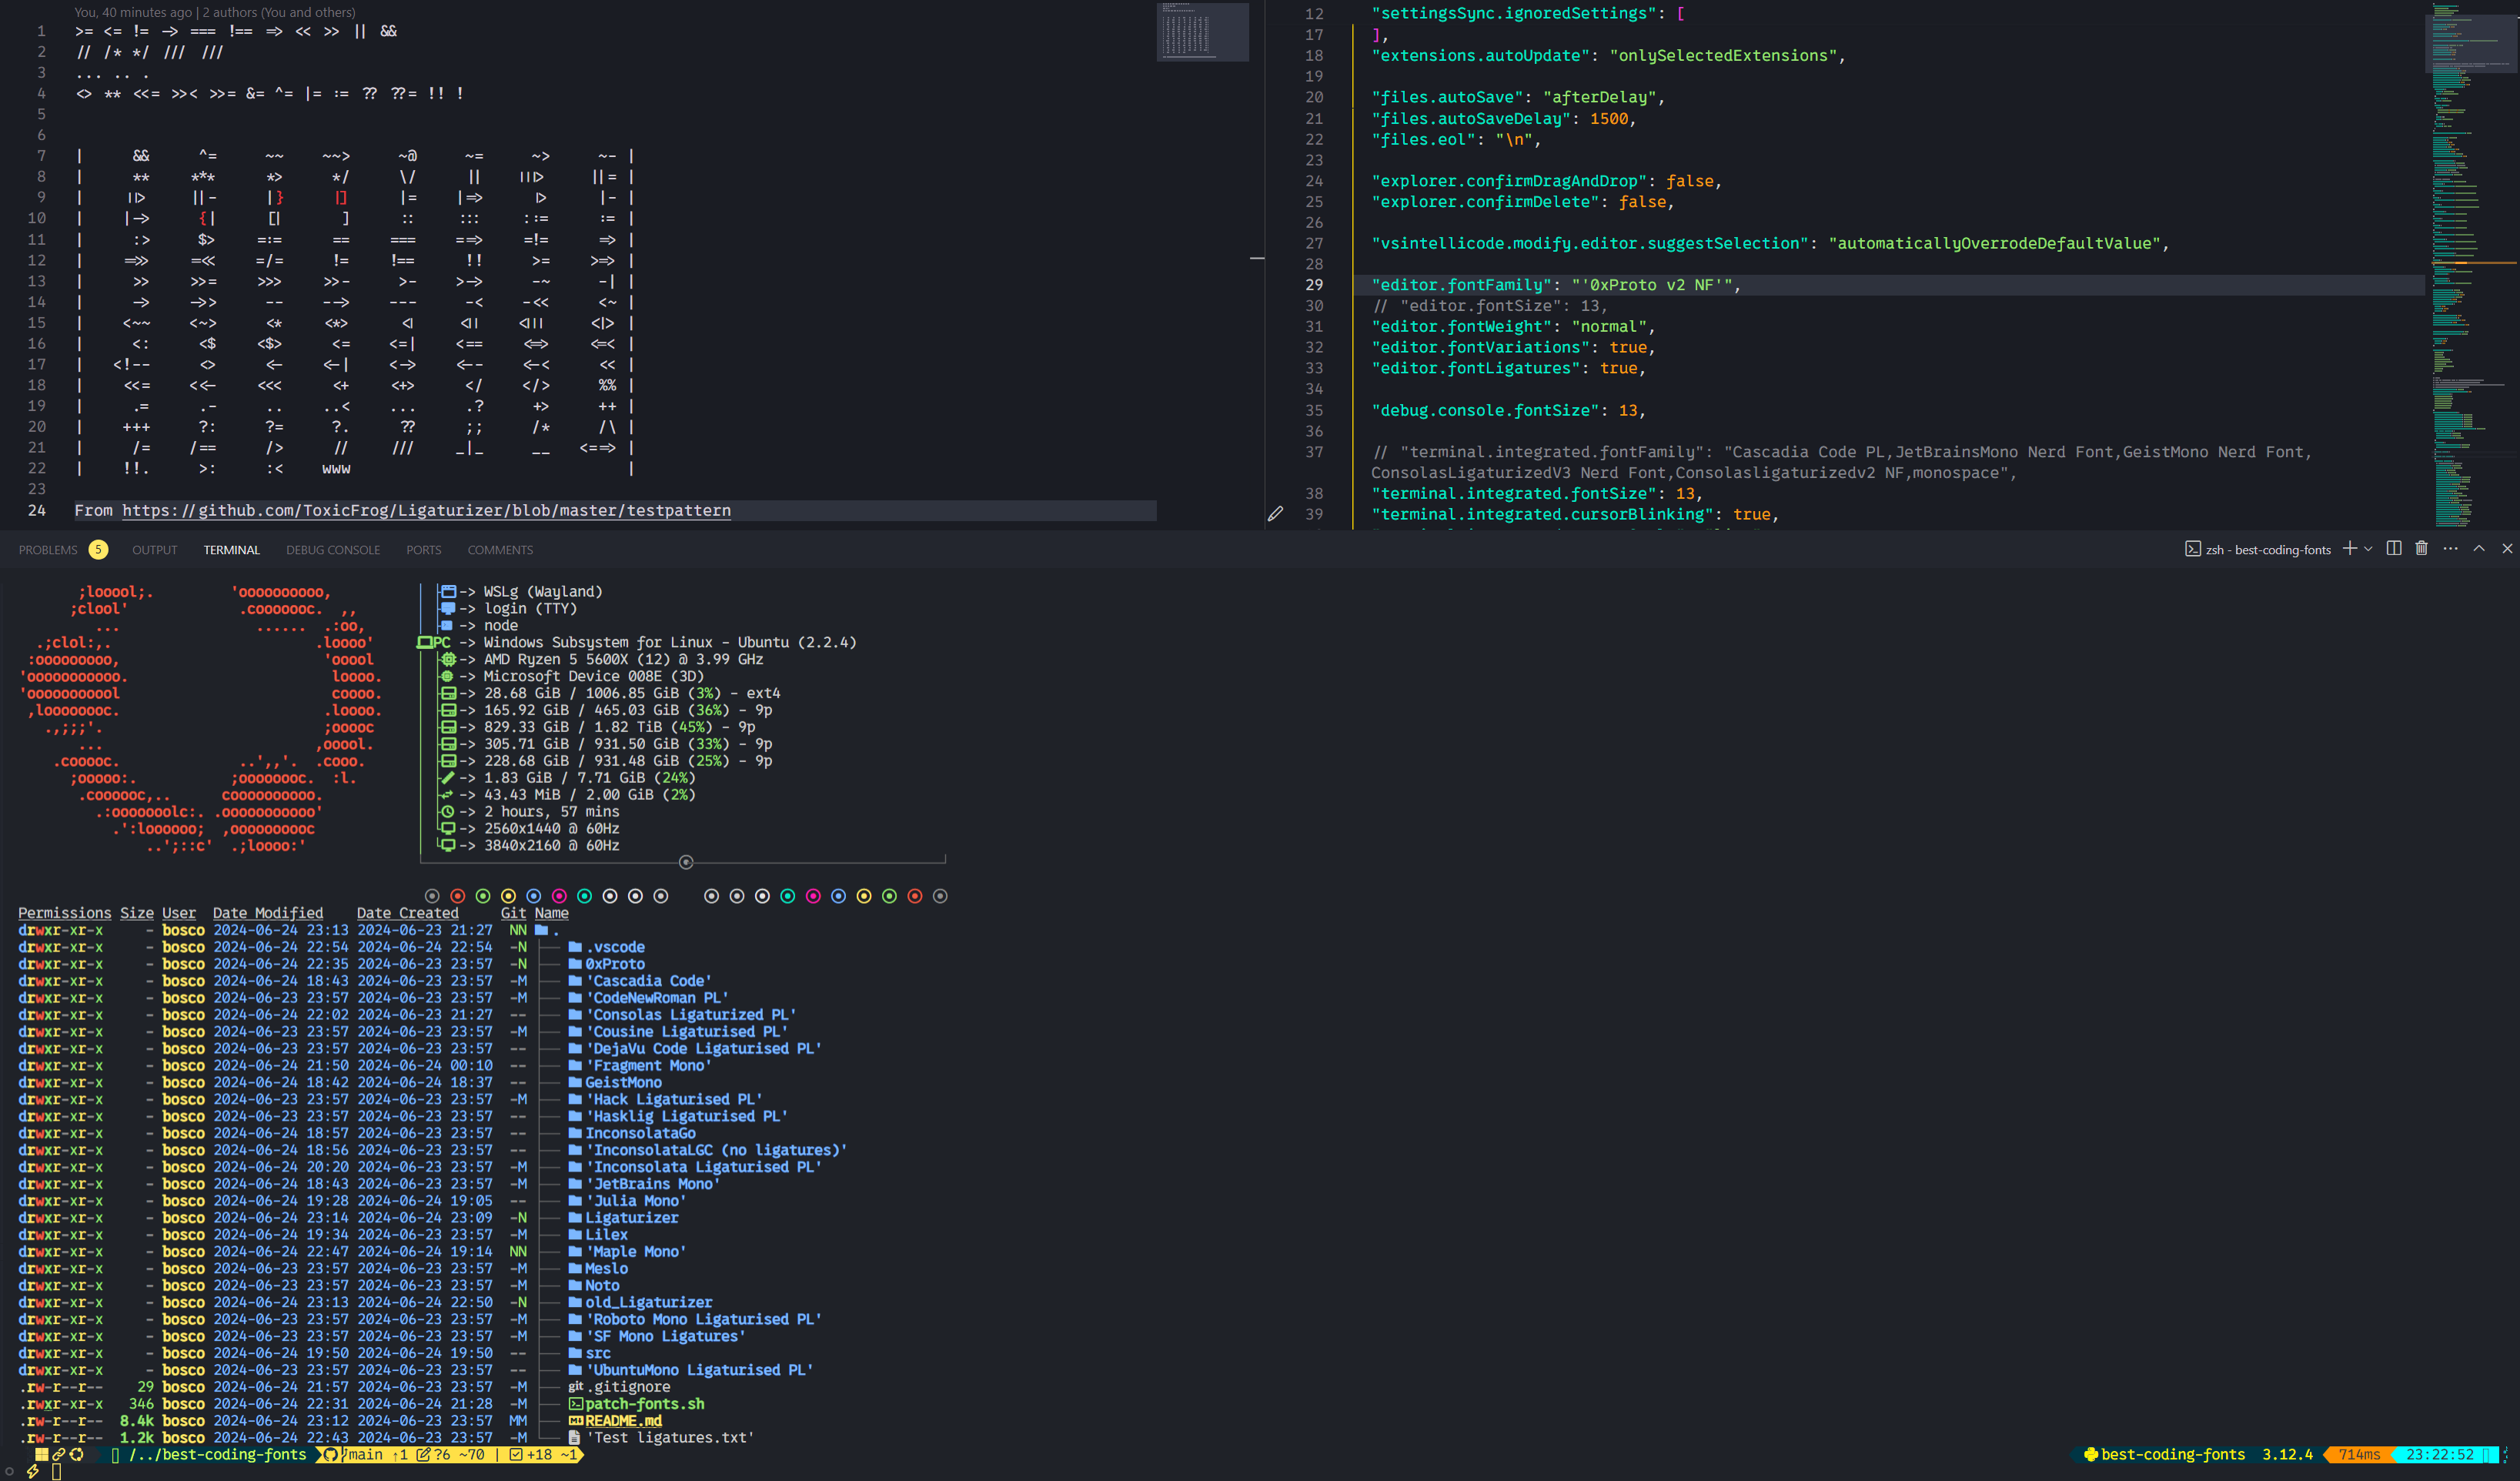
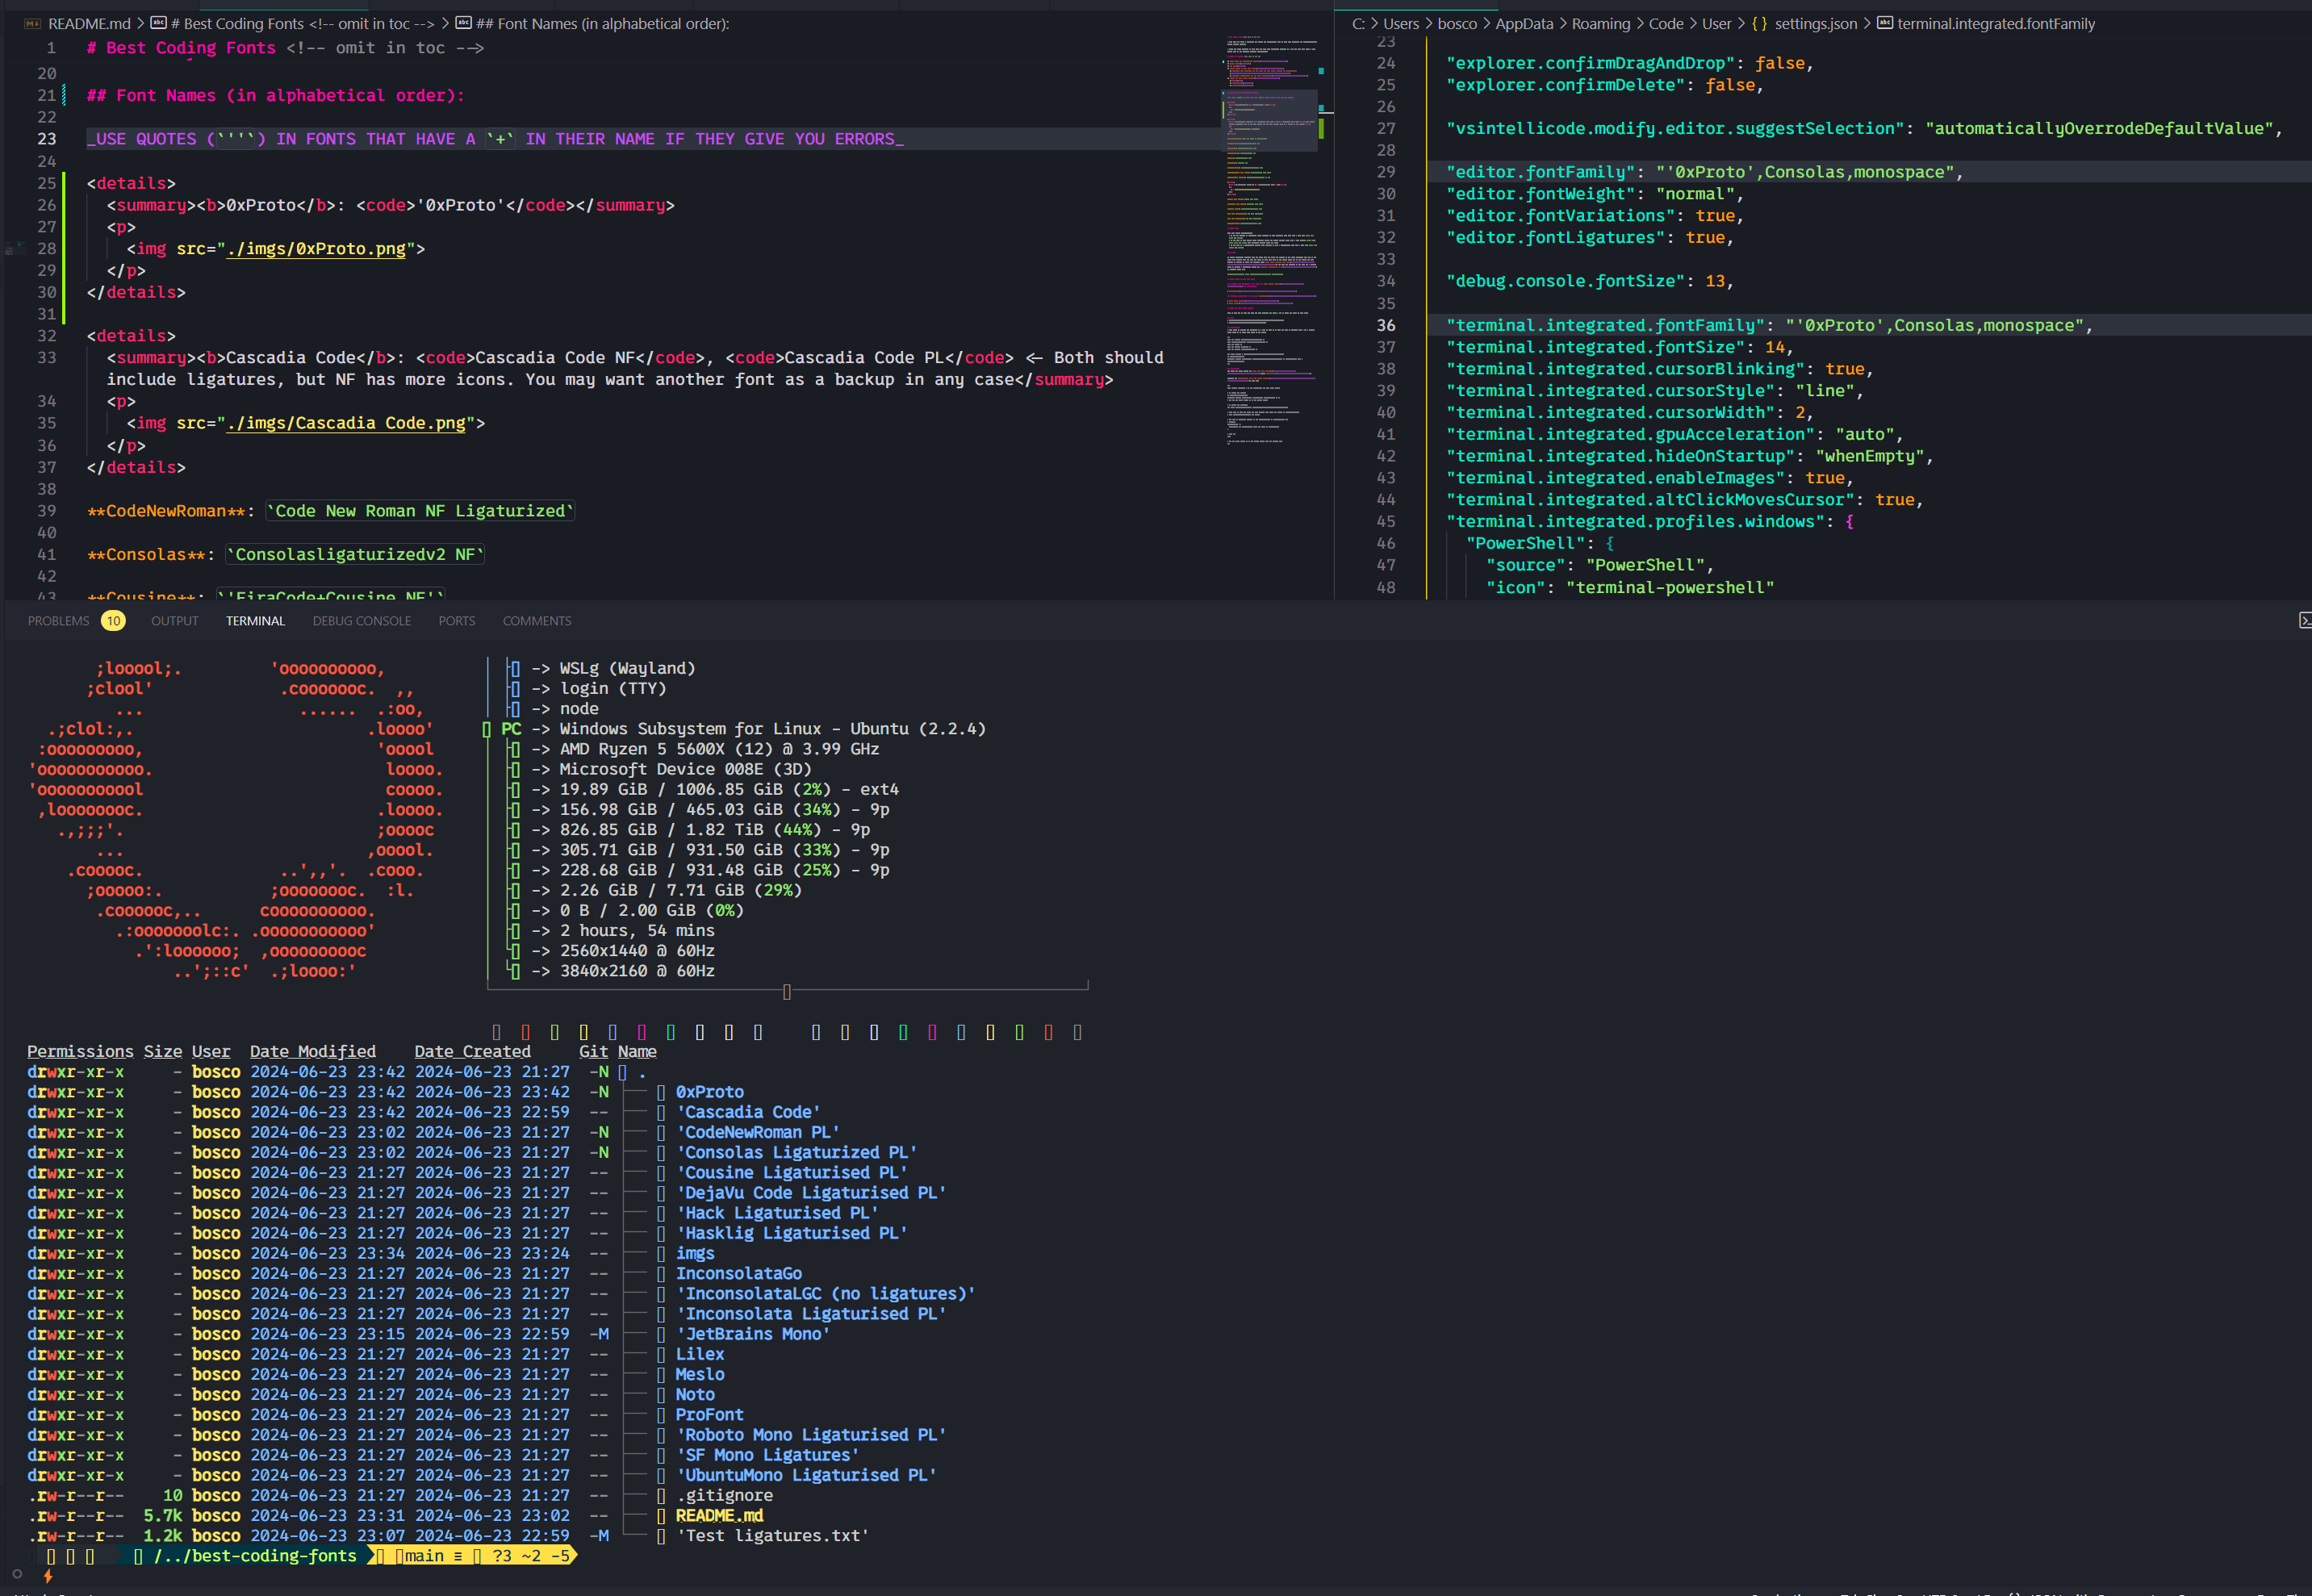
Cascadia Code NF , Cascadia Code PL < - 都应包括连接,但NF具有更多的图标。无论如何,您可能希望另一种字体作为备份
代码新罗马: Code New Roman NF Ligaturized
Consolasligaturizedv2 NF , ConsolasLigaturizedV3 Nerd Font几乎没有任何区别,所以我只拍了一个屏幕截图: 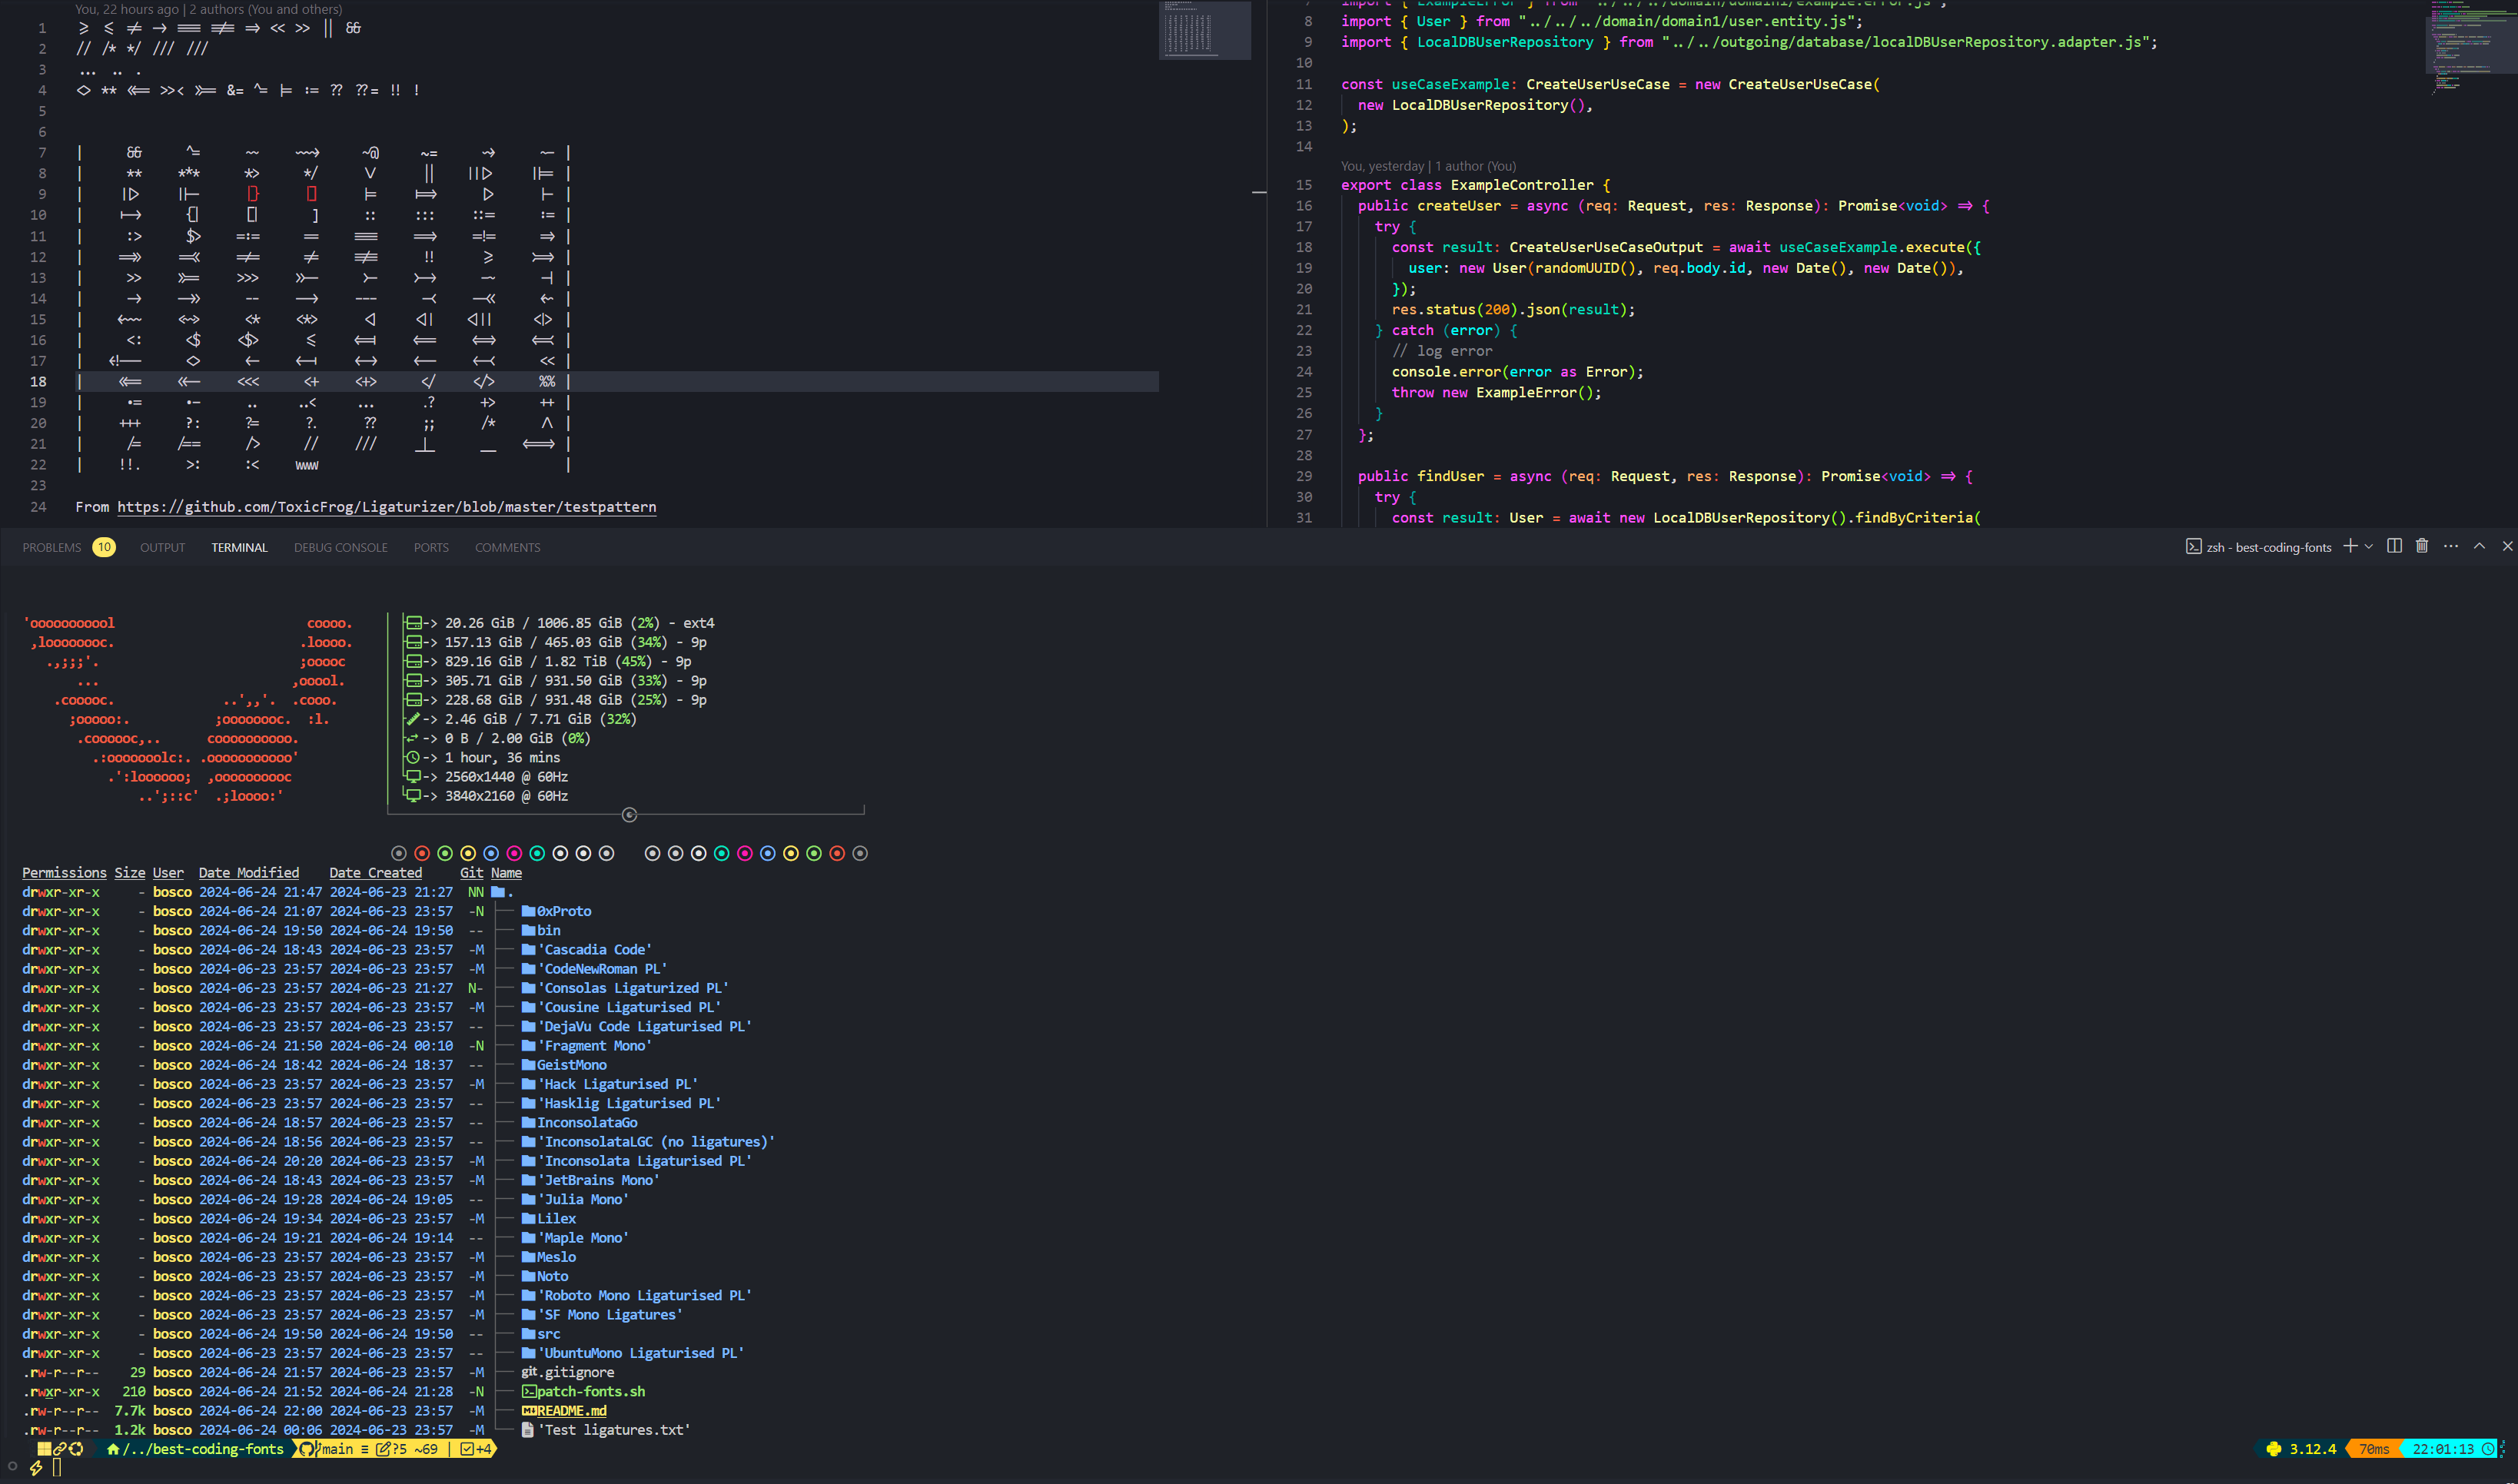
堂兄: 'FiraCode+Cousine NF'
Dejavusans : DejaVuSansCode NF
FragmentMono Nerd Font , Fragment Mono Regular 
GeistMono Nerd Font 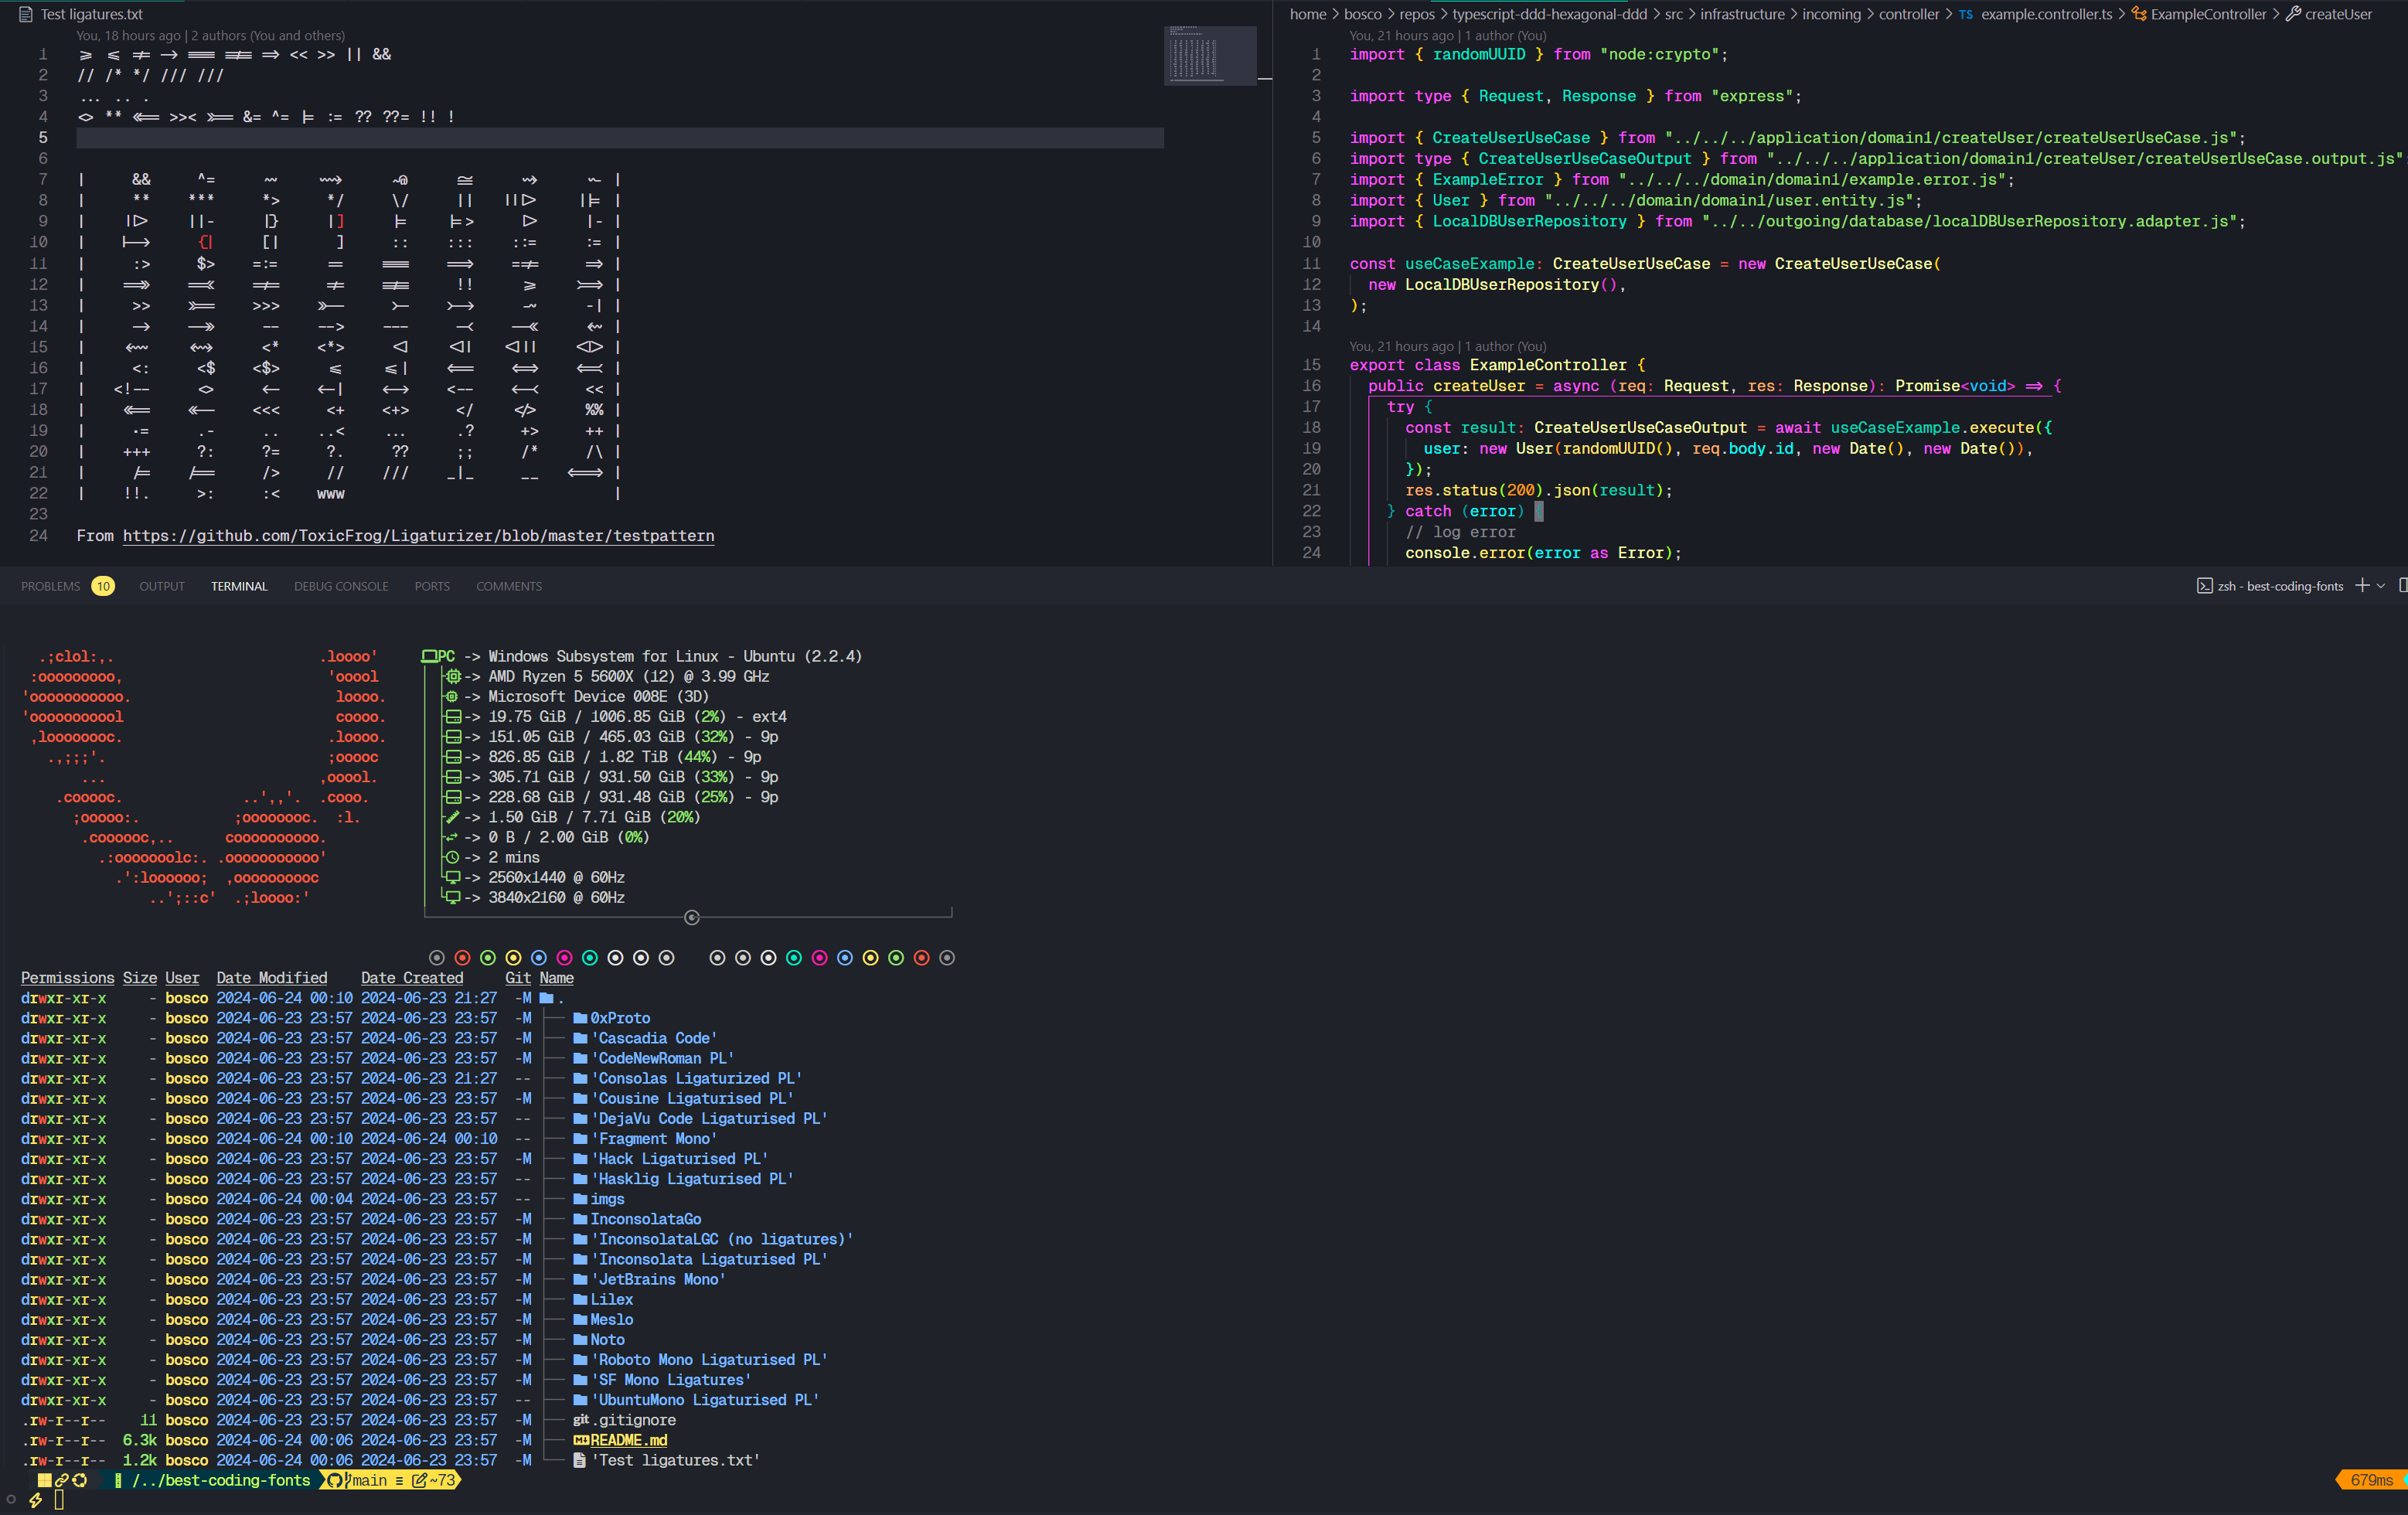
hack : 'FiraCode+Hack NF'
hasklig : Hasklug NF
'FiraCode+Inconsolata NF g' 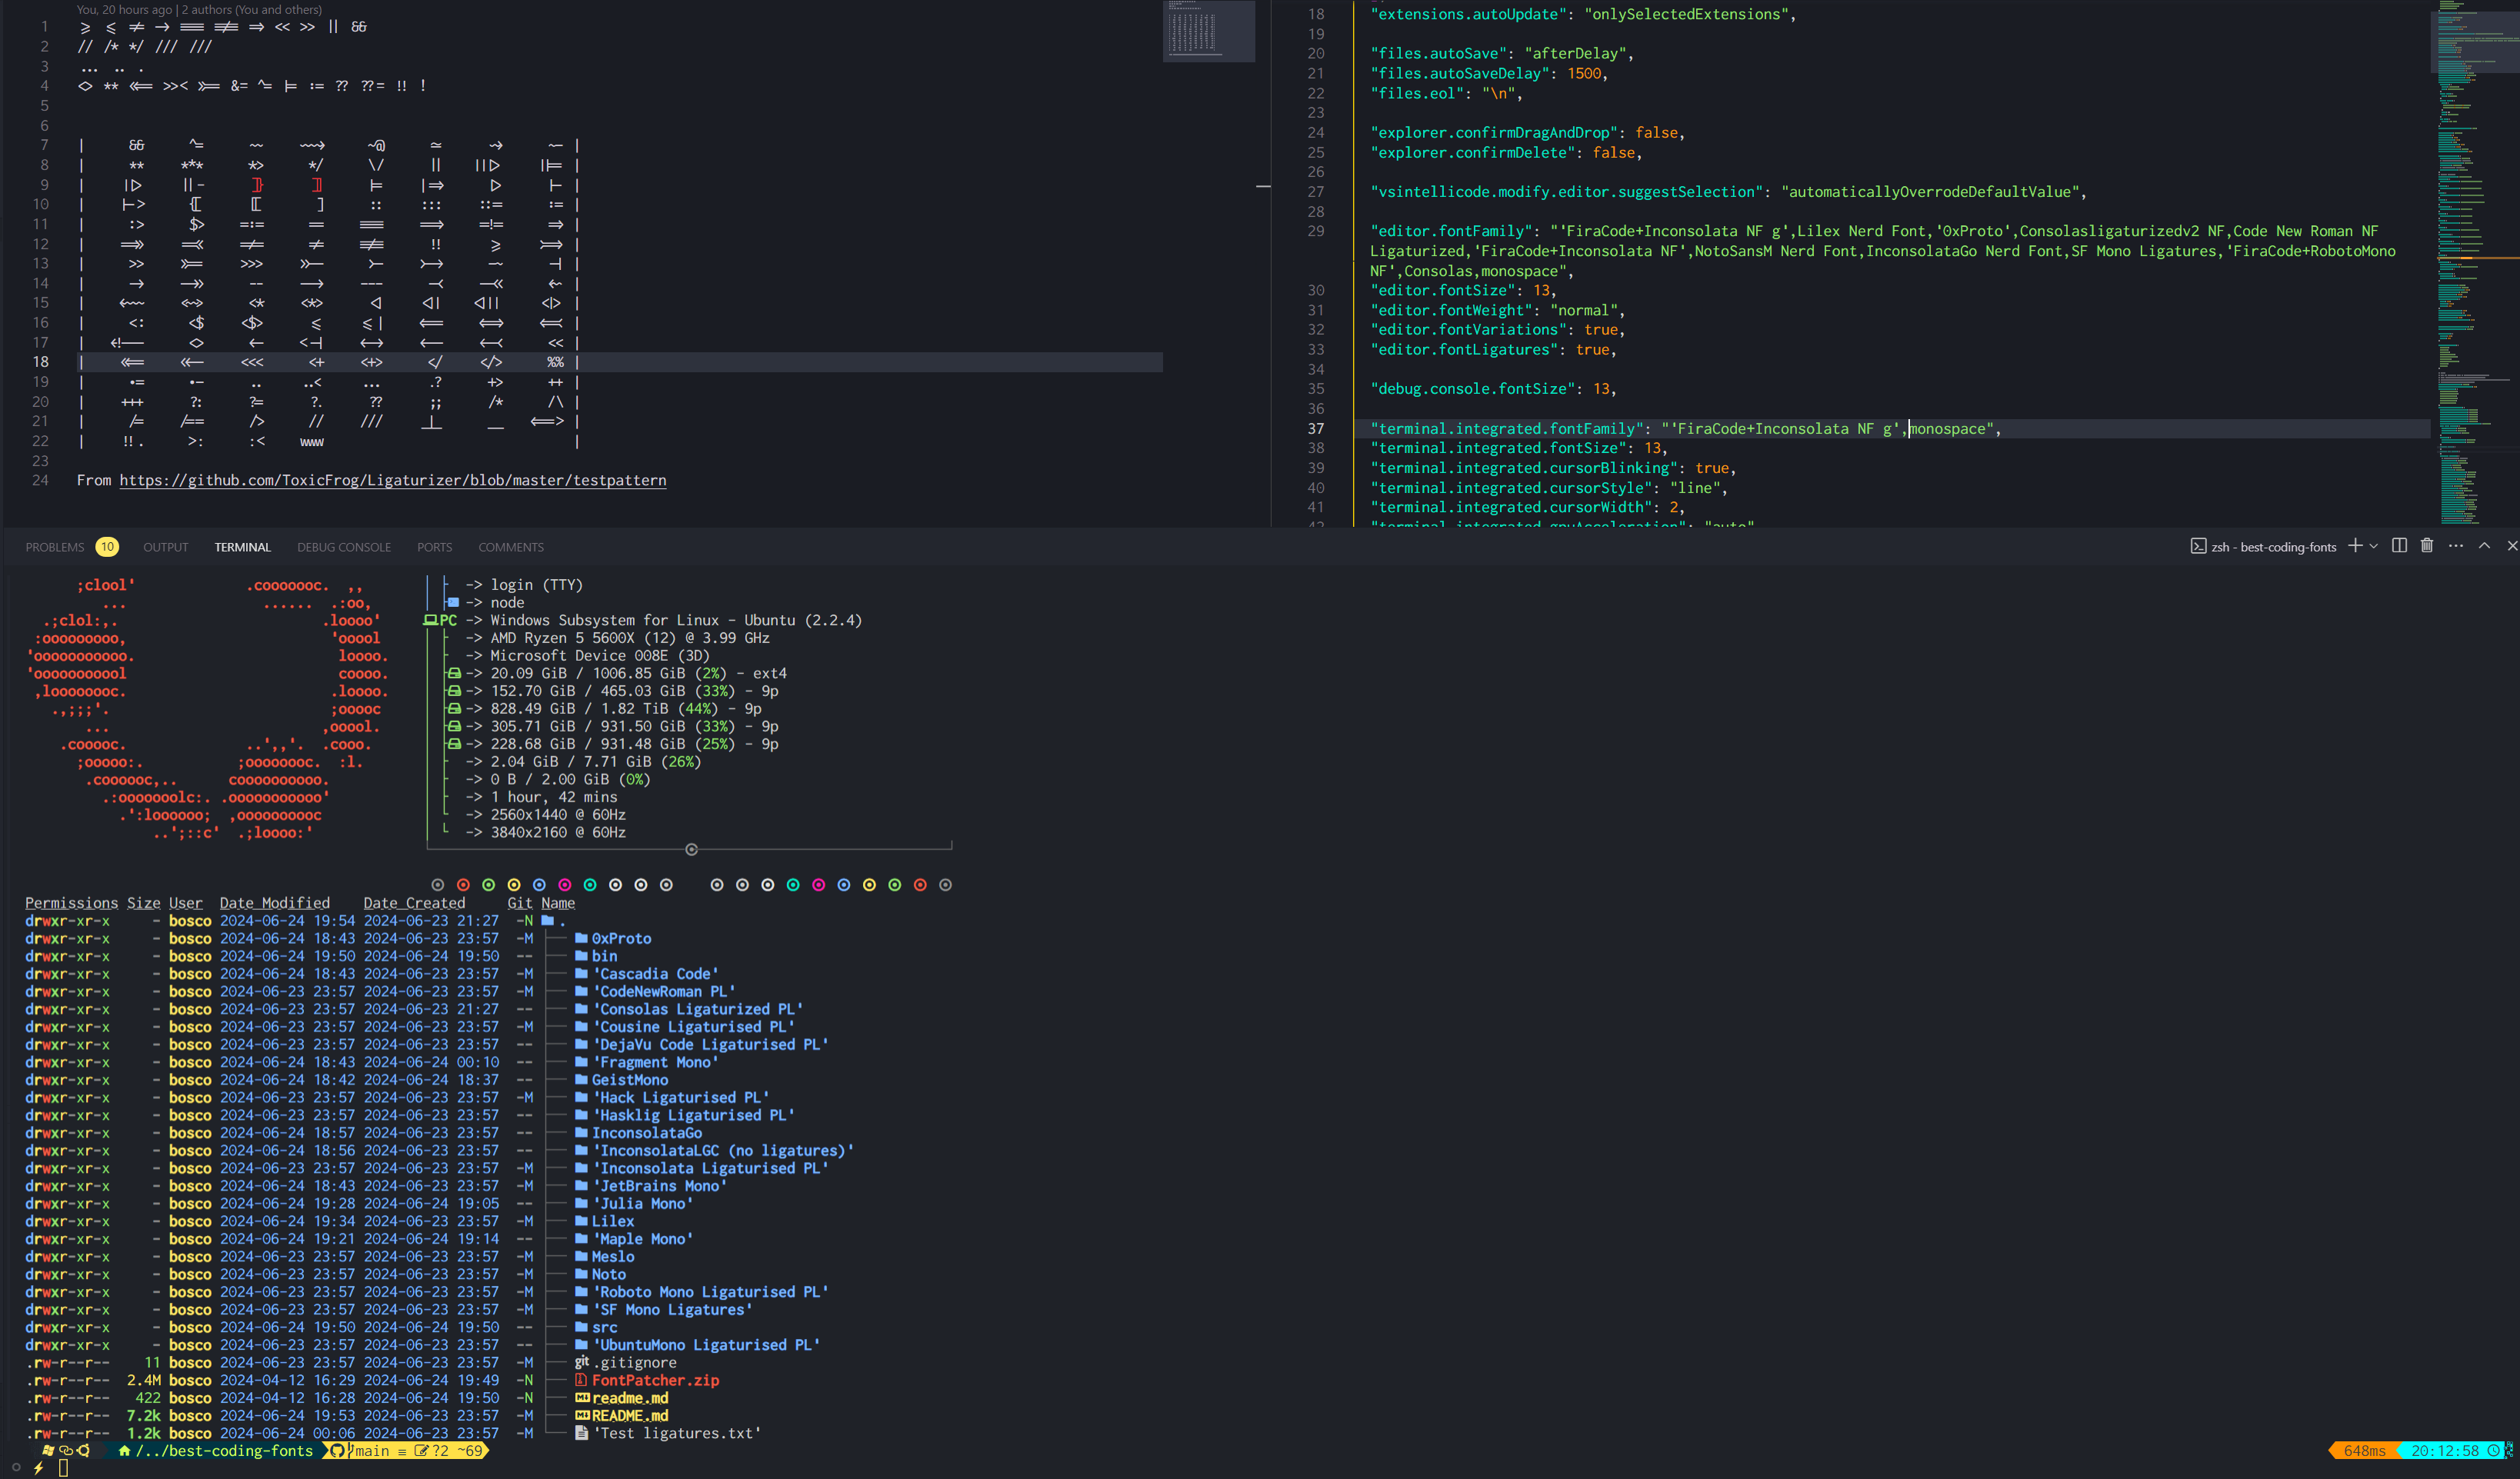
Inconsolata : 'FiraCode+Inconsolata NF'
Inconsolatago nerd字体: InconsolataGo Nerd Font
JetBrainsMono NF 
JuliaMono 
Lilex Nerd字体: Lilex Nerd Font
Maple Mono V7 NF , Maple Mono v6 Ligaturised NF , Maple Mono NF我个人使用V7,但是V6也很棒。
V6: 
 V7:
V7: 

notomono nerd字体: NotoMono Nerd Font
Roboto Mono : 'FiraCode+RobotoMono NF'
SF单链纤维化: SF Mono Ligatures
SF Mono Powerline : SF Mono Powerline
Ubuntumono : 'FiraCode+UbuntuMono NF'
来自书呆子字体的文档:
Nerd Font Mono (或NFM )选择字体。Mono的字体,即Nerd Font (或NF )。大多数终端都支持这一点,但是YMMV。Nerd Font Propo (或NFP )的字体。 VS Code的集成终端将使用您提供的字体中的图标。也就是说,如果第一字体没有您想要的图标,它将落回第二个字体,依此类推。这就是为什么至少提供一种后备字体至关重要的原因。书呆子字体提供了这样的字体,但它不包含在存储库中,我却没有发现它有用。我个人始终将consolas -ligaturized v2 nf作为我的后备字体。例如
"editor.fontFamily": "Your font,Consolasligaturizedv2 NF,monospace"
这对我来说比对您更重要,但是我包括了我用来修补此仓库字体的步骤。
我已经在Windows上尝试过,但是Fontforge是一种痛苦,因此,如果您想重新创建我建议使用Linux或至少WSL的建议,这要容易得多。
您可以选择地从书呆子字体的网站或仓库中获取它。
 # Pre-requisites
sudo add-apt-repository ppa:fontforge/fontforge -y
sudo apt update -y
sudo apt install software-properties-common python3-fontforge -y
brew install python-setuptools fontforge # or the alternative for your Linux distro

# Download and extract manually, then
cd Downloads/FontPatcher/
# Or
wget https://github.com/ryanoasis/nerd-fonts/releases/latest/download/FontPatcher.zip
unzip FontPatcher.zip -d font-patcher
cd font-patcher
# Or
git clone --depth 1 https://github.com/betaboon/nerd-fonts-patcher.git
cd nerd-fonts-patcher

# Then run:
fontforge -script ./font-patcher -l -c --careful -out /path/to/output_dir --ext otf /path/to/font
# And the new files should be in the output folder chosen

# Example (in WSL)
fontforge -script ./font-patcher -l -c --careful -out ./patched-fonts --ext otf /mnt/d/Users/Bosco/Downloads/Fonts/0xProto/0xProto-Regular.otf

# You can drop the --careful if you want to override the existing icons
您可以使用./patch-fonts.sh脚本来修补文件夹中包含的所有字体。如果您愿意,请与之一起玩。
另一个选项是使用docker,按照字体斑点的读数。这可能更容易,更快,但是我没有尝试过。
 # To obtain the ligatures
git clone --recurse-submodules https://github.com/ToxicFrog/Ligaturizer.git

# Do not remove any of the fonts in `fonts/`, they're needed for the ligaturizer to work

# Make sure to move the fonts you want changed into their own folder in Ligaturizer/fonts
# e.g. Ligaturizer/fonts/Code New Roman/

# Add them to build.py, whether on the prefixed_fonts or renamed_fonts. e.g
# build.py
renamed_fonts = {
  ' fonts/Code New Roman/*.otf ' : ' Code New Roman NF Ligaturized ' ,
}

# Then run
make

# And the files should be in the output folder with the correct name

