best coding fonts
2024-06-25
シェルとプログラミングにお勧めするフォントのあるレポは、そのほとんどが字系とPowerline/Nerdfont Glyphs(アイコン)サポートを備えています!
注:このリポジトリに含まれるフォントは、バックアップとして保持する価値があるか、バックアップとして保持する価値があります。ベースオタクフォントを使用する場合、元の著者のレポ/ウェブサイトに単純にリンクしようとします。
エラーが発生した場合に名前に+を持つフォントで引用符( '' )を使用してください
'0xProto v1.6 Ligaturised NF' 、 '0xProto v2 Ligaturised NF' 、 '0xProto v2 NF' 、 '0xProto v2 Nerd Font'結晶はありません(パッチをかけた後、スクリーンショットを撮るのを忘れました):
v1.6 ligaturised: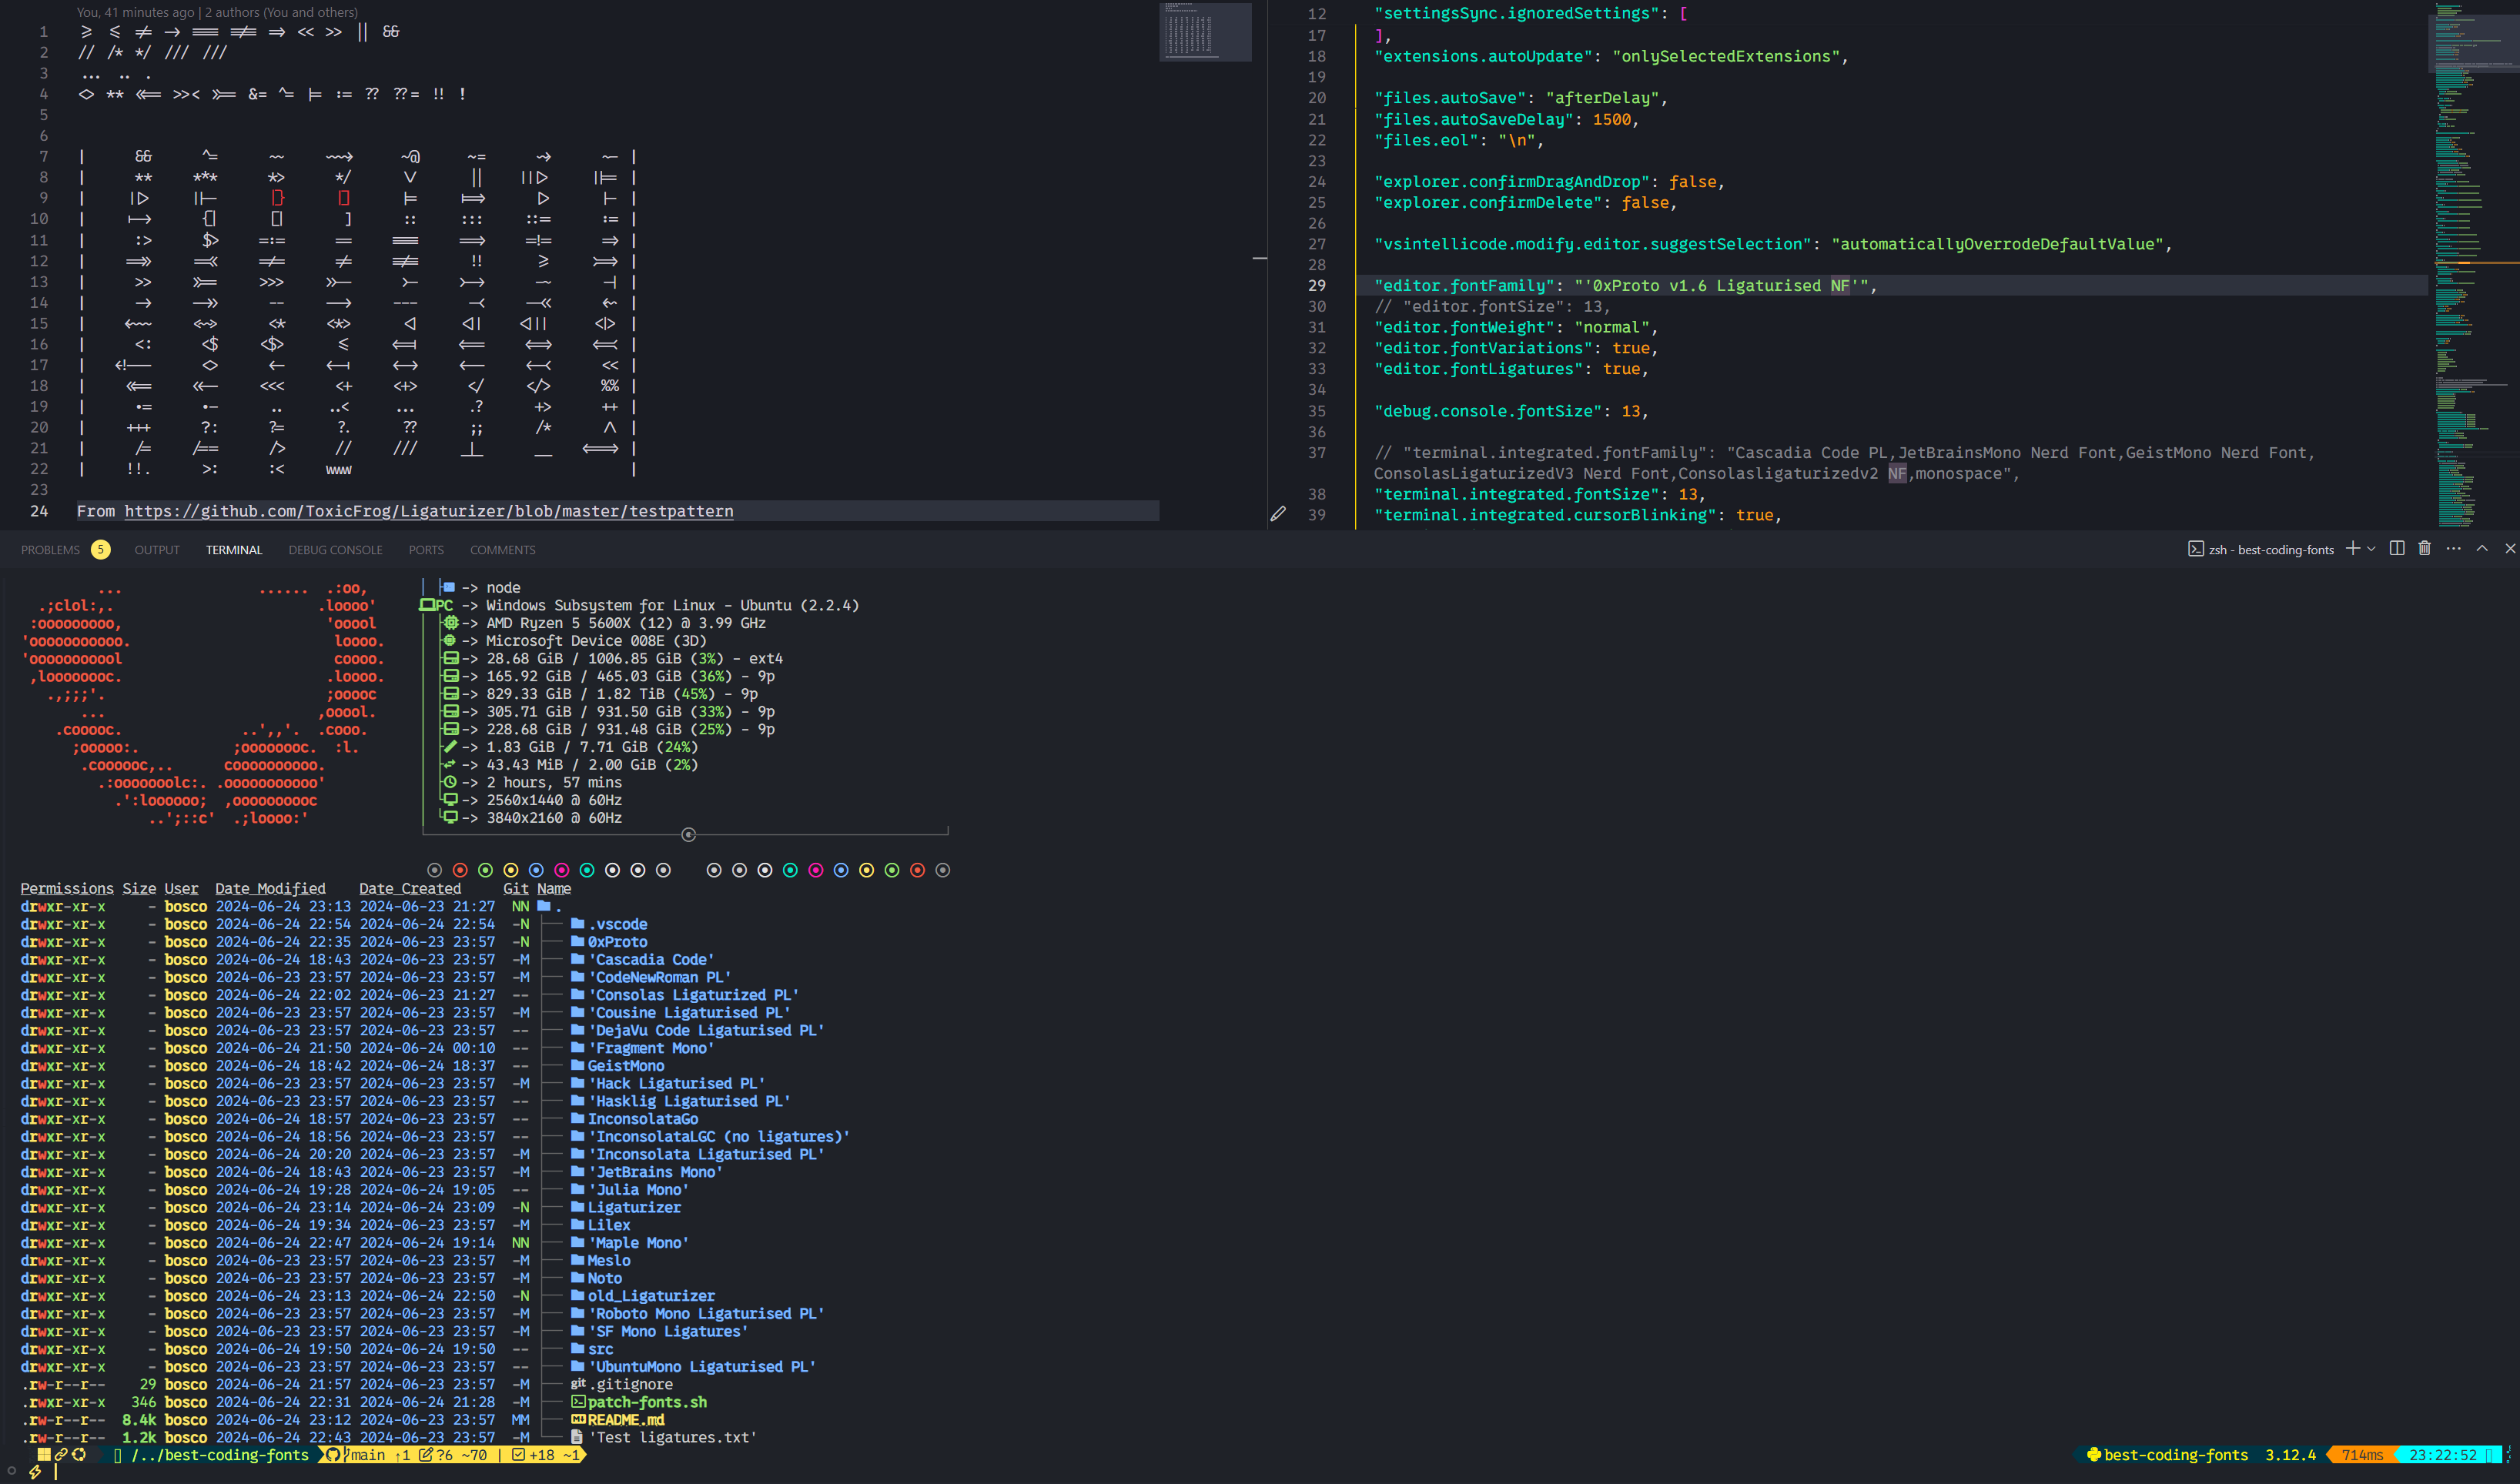 v2 ligaturised:
 V2オタクフォント:
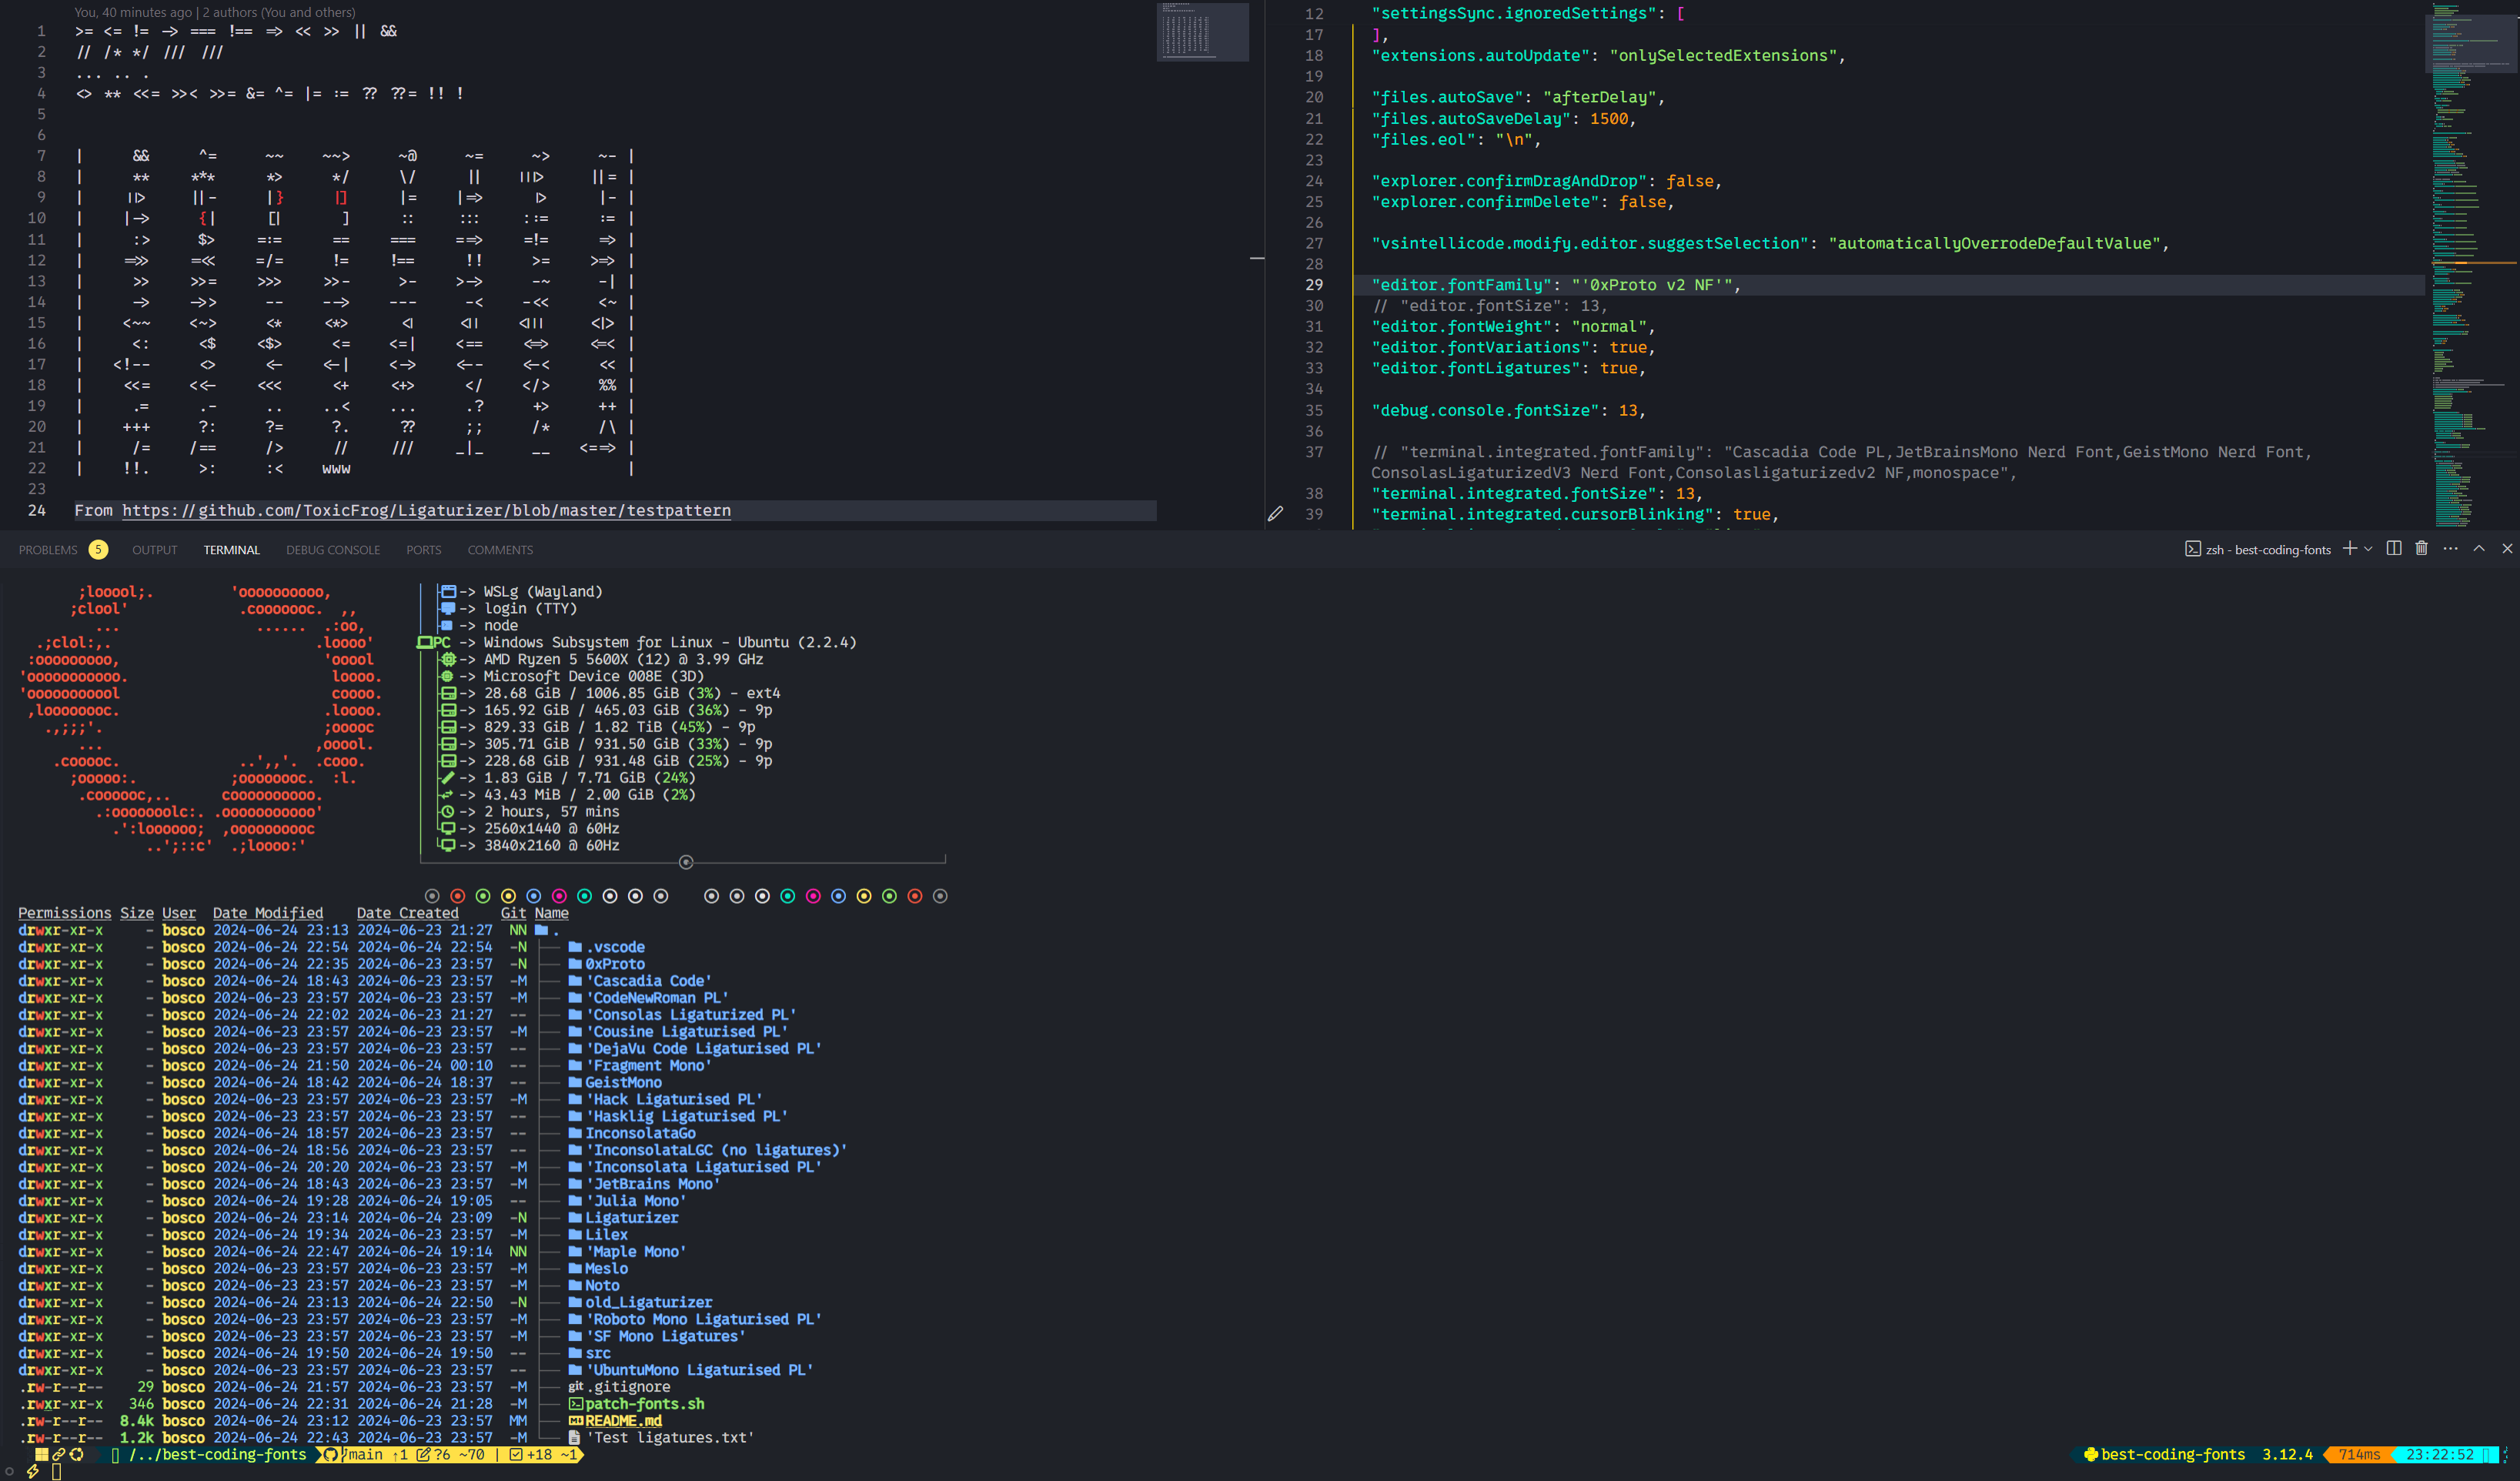
Cascadia Code NF 、 Cascadia Code PL <-どちらも字字を含める必要がありますが、NFにはより多くのアイコンがあります。いずれにせよ、バックアップとして別のフォントが必要になる場合があります
コード新しいローマ: Code New Roman NF Ligaturized
Consolasligaturizedv2 NF 、 ConsolasLigaturizedV3 Nerd Font違いはほとんどないので、スクリーンショットを1つだけ撮影しました。 
Cousine : 'FiraCode+Cousine NF'
dejavusans : DejaVuSansCode NF
FragmentMono Nerd Font 、 Fragment Mono Regular 
GeistMono Nerd Font 
ハック: 'FiraCode+Hack NF'
hasklig : Hasklug NF
'FiraCode+Inconsolata NF g' 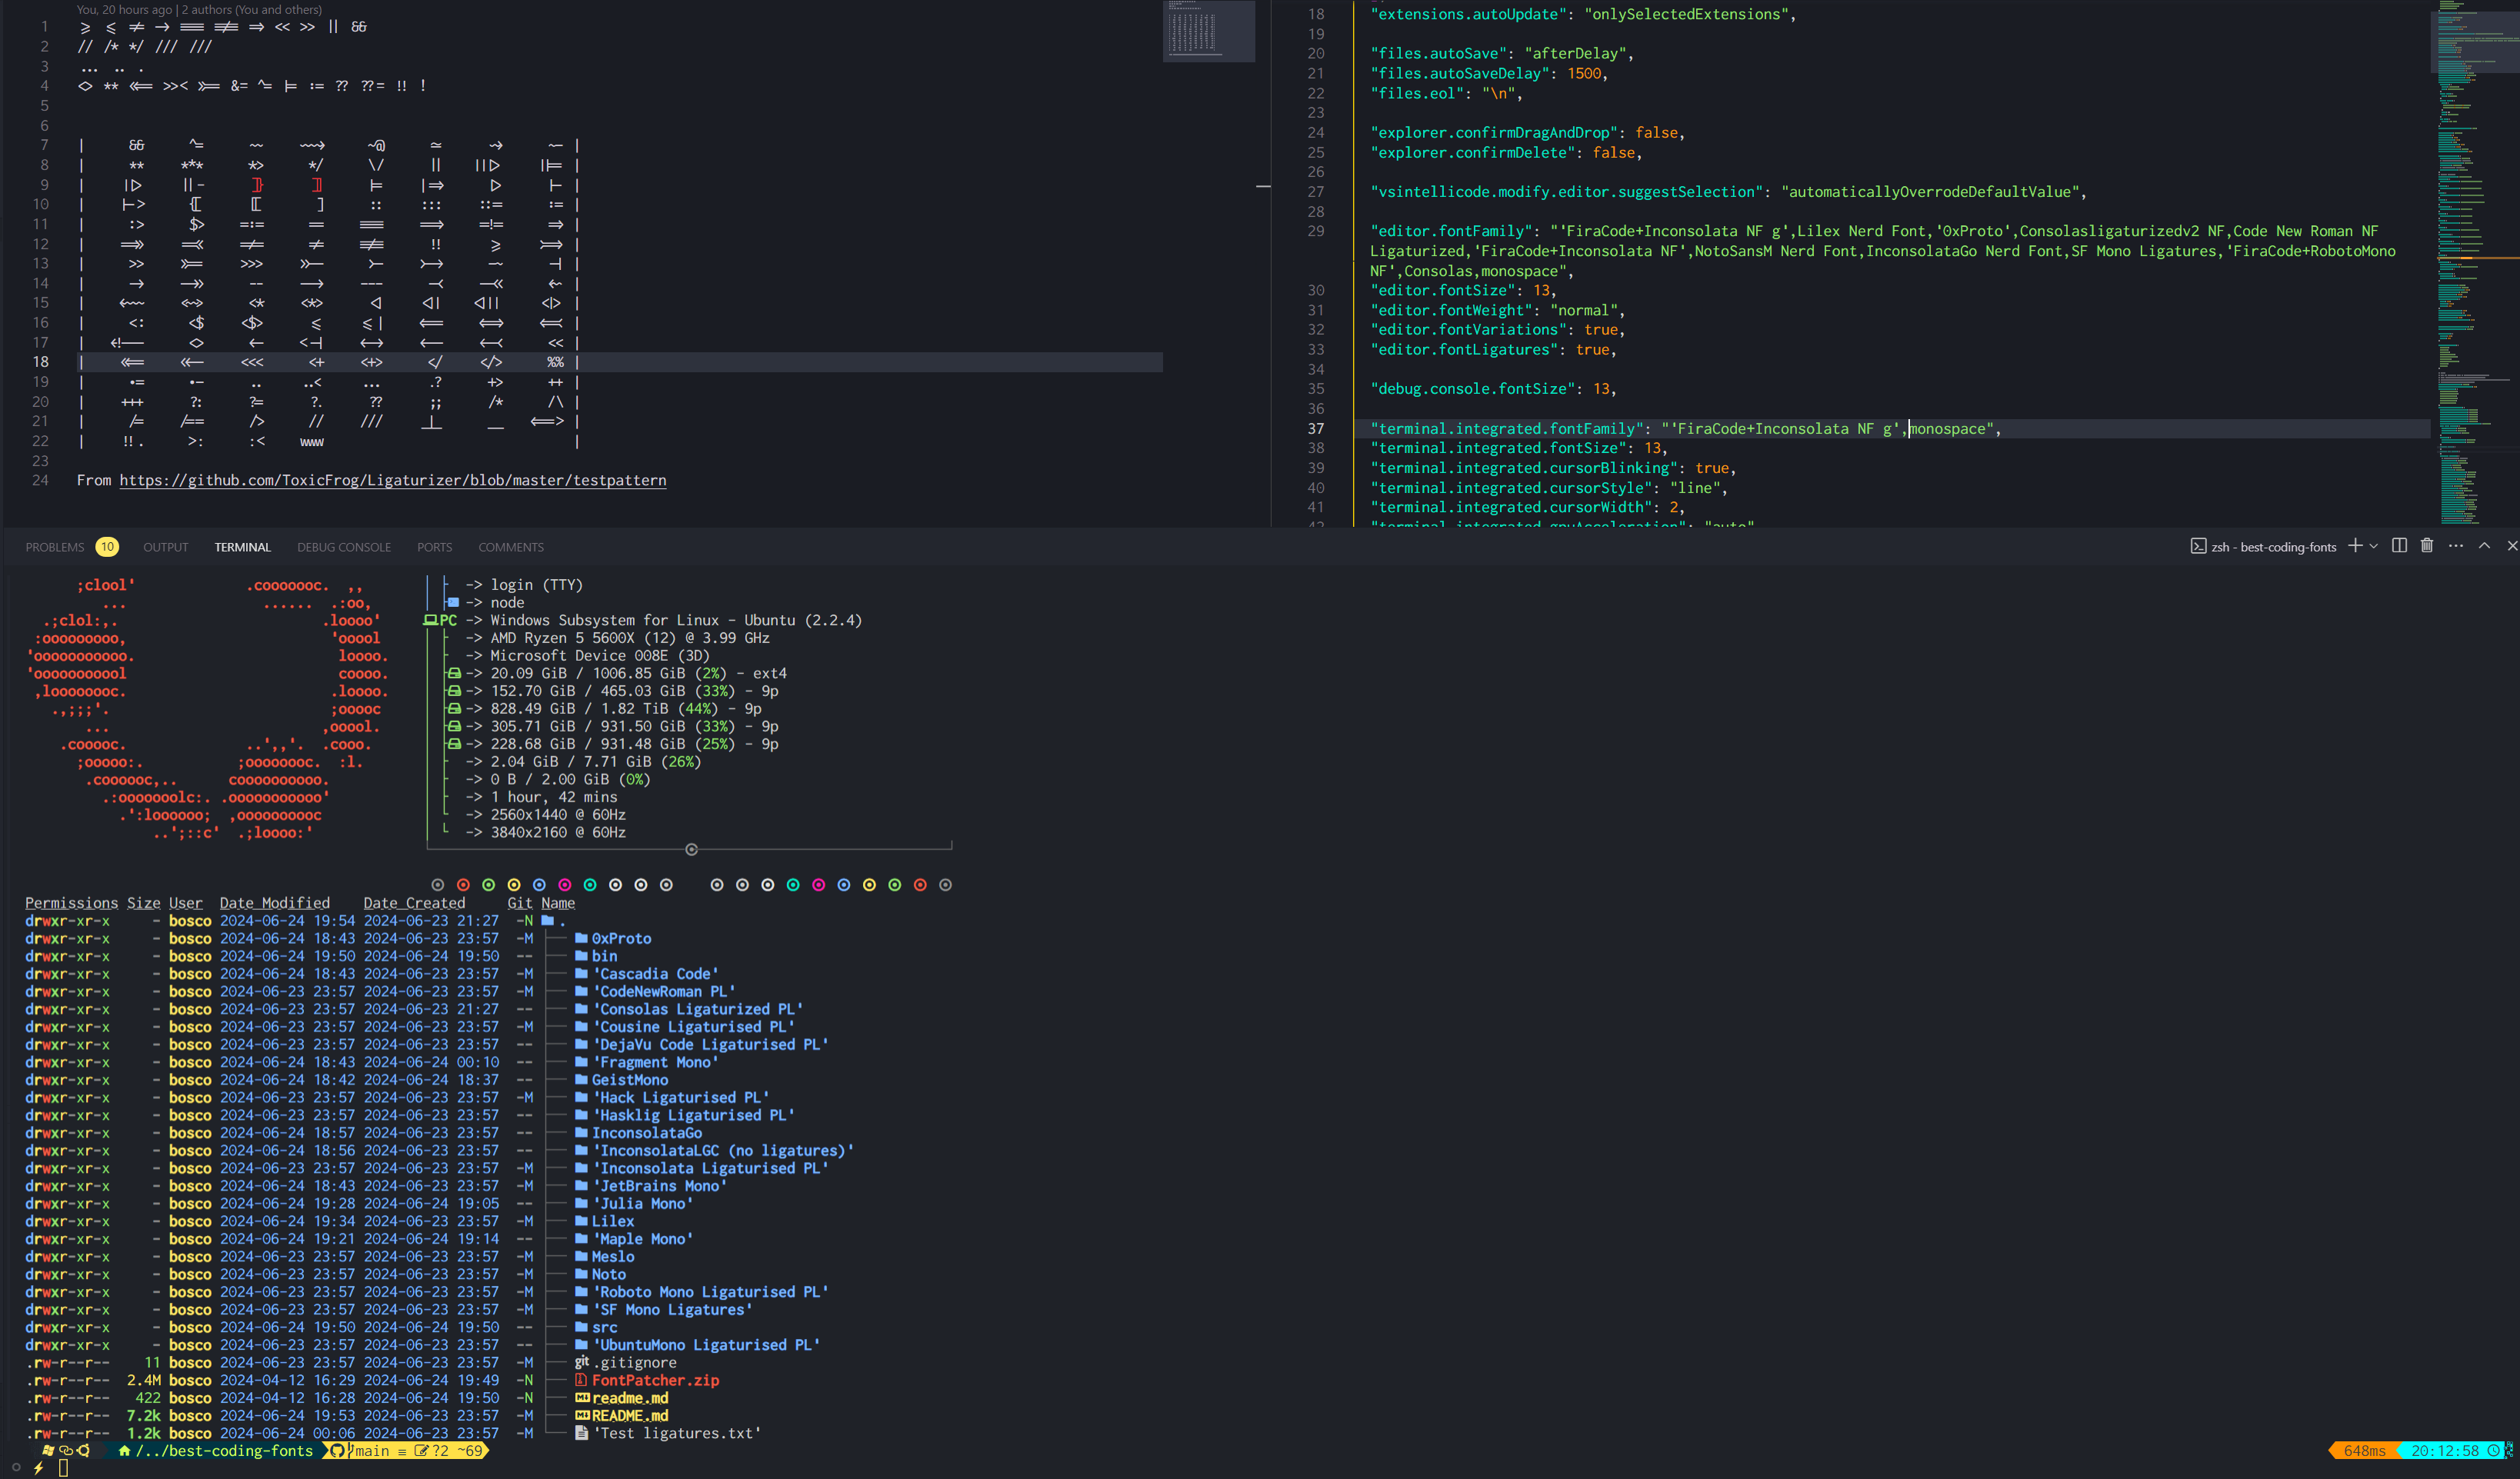
Inconsolata : 'FiraCode+Inconsolata NF'
Inconsolatago Nerd Font : InconsolataGo Nerd Font
JetBrainsMono NF 
JuliaMono 
lilex nerd font : Lilex Nerd Font
Maple Mono V7 NF 、 Maple Mono v6 Ligaturised NF 、 Maple Mono NF私は個人的にV7を使用していますが、V6も非常に素晴らしいです。
V6: 
 V7:
V7: 

Notomono Nerd Font : NotoMono Nerd Font
Roboto Mono : 'FiraCode+RobotoMono NF'
SFモノガチュア化: SF Mono Ligatures
SFモノパワーライン: SF Mono Powerline
Ubuntumono : 'FiraCode+UbuntuMono NF'
NERD FONTSのドキュメントから:
Nerd Font Mono (またはNFM )でフォントを選択します。Mono Nerd Font (またはNF )なしでフォントを選択します。ほとんどの端子はこれをサポートしていますが、ymmv。Nerd Font Propo (またはNFP )を使用してフォントを選択します。 VSコードの統合端末は、提供された注文で提供するフォントのアイコンを使用します。つまり、最初のフォントに必要なアイコンが必要な場合、2番目のフォントなどに戻ります。そのため、少なくとも1つのフォールバックフォントを提供することが重要です。オタクフォントはそのようなフォントを提供しますが、リポジトリには含まれておらず、役に立つことがわかりません。私は個人的には、コンソルの有酸化v2 NFをフォールバックフォントとして使用しています。例えば
"editor.fontFamily": "Your font,Consolasligaturizedv2 NF,monospace"
これはあなたよりも私にとってのものですが、このレポのフォントにパッチを当てるために使用する手順を含めました。
私はWindowsで試しましたが、Fontforgeは使用するのが苦痛なので、私がしたことを再現したい場合は、Linuxまたは少なくともWSLを使用することをお勧めします。これははるかに簡単です。
オプションで、Nerd FontのWebサイトまたはリポジトリから入手できます。
 # Pre-requisites
sudo add-apt-repository ppa:fontforge/fontforge -y
sudo apt update -y
sudo apt install software-properties-common python3-fontforge -y
brew install python-setuptools fontforge # or the alternative for your Linux distro

# Download and extract manually, then
cd Downloads/FontPatcher/
# Or
wget https://github.com/ryanoasis/nerd-fonts/releases/latest/download/FontPatcher.zip
unzip FontPatcher.zip -d font-patcher
cd font-patcher
# Or
git clone --depth 1 https://github.com/betaboon/nerd-fonts-patcher.git
cd nerd-fonts-patcher

# Then run:
fontforge -script ./font-patcher -l -c --careful -out /path/to/output_dir --ext otf /path/to/font
# And the new files should be in the output folder chosen

# Example (in WSL)
fontforge -script ./font-patcher -l -c --careful -out ./patched-fonts --ext otf /mnt/d/Users/Bosco/Downloads/Fonts/0xProto/0xProto-Regular.otf

# You can drop the --careful if you want to override the existing icons
./patch-fonts.shスクリプトを使用して、フォルダーに含まれるすべてのフォントにパッチを当てることができます。必要に応じて遊んでください。
もう1つのオプションは、フォントパッチャーのreadmeによると、Dockerを使用することです。これはおそらくより簡単で速いかもしれませんが、私はそれを試していません。
 # To obtain the ligatures
git clone --recurse-submodules https://github.com/ToxicFrog/Ligaturizer.git

# Do not remove any of the fonts in `fonts/`, they're needed for the ligaturizer to work

# Make sure to move the fonts you want changed into their own folder in Ligaturizer/fonts
# e.g. Ligaturizer/fonts/Code New Roman/

# Add them to build.py, whether on the prefixed_fonts or renamed_fonts. e.g
# build.py
renamed_fonts = {
  ' fonts/Code New Roman/*.otf ' : ' Code New Roman NF Ligaturized ' ,
}

# Then run
make

# And the files should be in the output folder with the correct name

