best coding fonts
2024-06-25
쉘과 프로그래밍에 권장하는 글꼴이있는 저장소, 대부분의 인대 및 파워 라인/Nerdfont Glyphs (아이콘) 지원이 포함되어 있습니다!
참고 :이 저장소에 포함 된 글꼴은 내가 패치했거나 백업으로 유지할 가치가 있습니다. 기본 괴상한 글꼴을 사용하면 원래 저자의 Repo/웹 사이트에 간단히 링크하려고합니다.
오류가 발생하면 이름에 A + 있는 글꼴로 인용문 ( '' )을 사용하십시오.
'0xProto v1.6 Ligaturised NF' , '0xProto v2 Ligaturised NF' , '0xProto v2 NF' , '0xProto v2 Nerd Font' 인대가 없음 (패치 후 스크린 샷을 찍는 것을 잊어 버렸습니다) :
V1.6 LIGATURICES : v2 Ligatureation :
 V2 대단한 글꼴 :
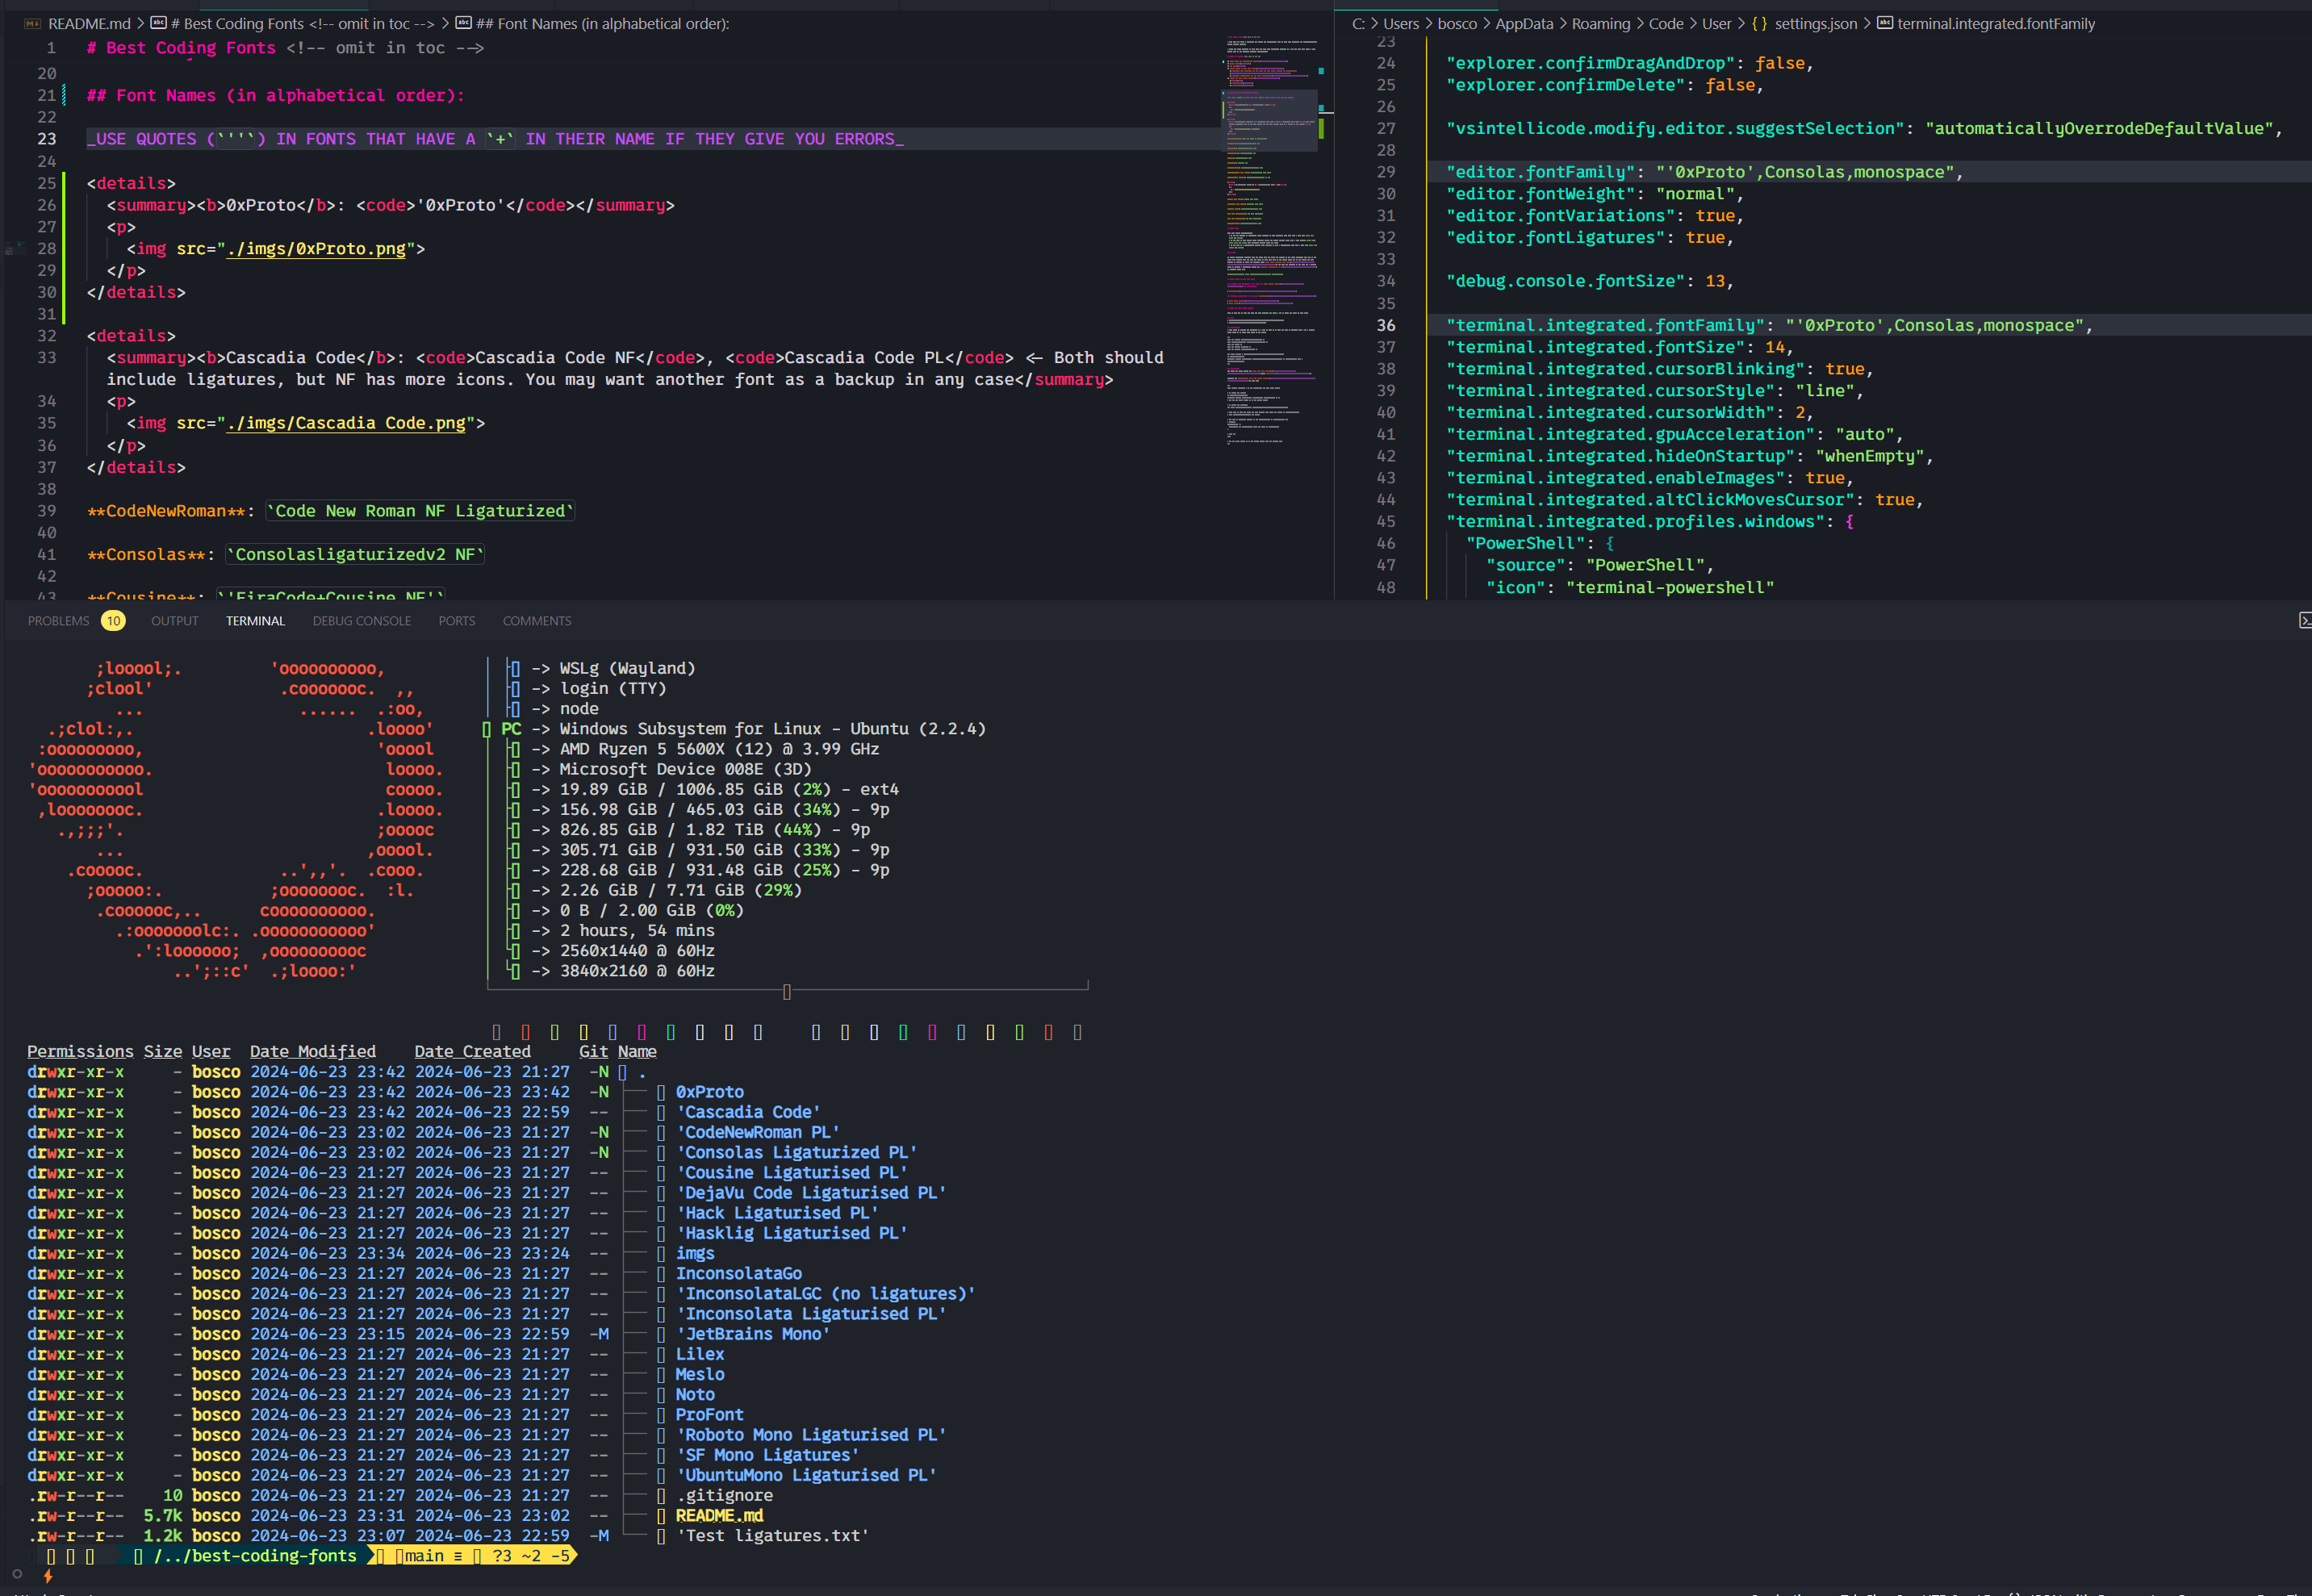
Cascadia Code NF , Cascadia Code PL <- 둘 다 인대가 포함되어야하지만 NF에는 더 많은 아이콘이 있습니다. 어쨌든 다른 글꼴을 백업으로 원할 수도 있습니다. 
코드 New Roman : Code New Roman NF Ligaturized
Consolasligaturizedv2 NF , ConsolasLigaturizedV3 Nerd Font 차이가 거의 없으므로 스크린 샷을 하나만 가져갔습니다. 
사촌 : 'FiraCode+Cousine NF'
Dejavusans : DejaVuSansCode NF
FragmentMono Nerd Font , Fragment Mono Regular 
GeistMono Nerd Font 
해킹 : 'FiraCode+Hack NF'
Hasklig : Hasklug NF
'FiraCode+Inconsolata NF g' 
Insonsolata : 'FiraCode+Inconsolata NF'
Inconsolatago Nerd Font : InconsolataGo Nerd Font
JetBrainsMono NF 
JuliaMono 
Lilex Nerd Font : Lilex Nerd Font
Maple Mono V7 NF , Maple Mono v6 Ligaturised NF , Maple Mono NF 나는 개인적으로 v7을 사용하지만 v6도 매우 훌륭합니다.
v6 : 
 v7 :
v7 : 

노토 모노 괴상한 글꼴 : NotoMono Nerd Font
로봇 모노 : 'FiraCode+RobotoMono NF'
SF 모노 리게화 : SF Mono Ligatures
SF 모노 파워 라인 : SF Mono Powerline
ubuntumono : 'FiraCode+UbuntuMono NF'
Nerd Fonts의 문서에서 :
Nerd Font Mono (또는 NFM )가있는 글꼴을 선택하십시오.Mono Nerd Font (또는 NF )없이 글꼴을 선택하십시오. 대부분의 터미널은 이것을 지원하지만 ymmv.Nerd Font Propo (또는 NFP )로 글꼴을 선택하십시오. 대 코드의 통합 터미널은 제공 한 순서대로 제공하는 글꼴의 아이콘을 사용합니다. 즉, 첫 번째 글꼴에 원하는 아이콘이 없으면 두 번째 글꼴로 돌아갑니다. 그렇기 때문에 적어도 하나의 폴백 글꼴을 제공하는 것이 중요합니다. 괴상한 글꼴은 그러한 글꼴을 제공하지만 레포에 포함되지 않아 유용하지 않다는 것을 알지 못했습니다. 나는 개인적으로 항상 Consolas ligaturized v2 nf를 내 폴백 글꼴로 사용합니다. 예를 들어
"editor.fontFamily": "Your font,Consolasligaturizedv2 NF,monospace"
이것은 당신보다 나에게 더 많은 것이지만, 나는이 repo의 글꼴을 패치하는 데 사용하는 단계를 포함시켰다.
나는 Windows에서 시도했지만 Fontforge는 사용하기 어려운 고통이므로 Linux 또는 최소한 WSL을 사용하는 것이 좋습니다. 훨씬 쉽습니다.
선택적으로 Nerd Font 웹 사이트 또는 Repo에서 얻을 수 있습니다.
 # Pre-requisites
sudo add-apt-repository ppa:fontforge/fontforge -y
sudo apt update -y
sudo apt install software-properties-common python3-fontforge -y
brew install python-setuptools fontforge # or the alternative for your Linux distro

# Download and extract manually, then
cd Downloads/FontPatcher/
# Or
wget https://github.com/ryanoasis/nerd-fonts/releases/latest/download/FontPatcher.zip
unzip FontPatcher.zip -d font-patcher
cd font-patcher
# Or
git clone --depth 1 https://github.com/betaboon/nerd-fonts-patcher.git
cd nerd-fonts-patcher

# Then run:
fontforge -script ./font-patcher -l -c --careful -out /path/to/output_dir --ext otf /path/to/font
# And the new files should be in the output folder chosen

# Example (in WSL)
fontforge -script ./font-patcher -l -c --careful -out ./patched-fonts --ext otf /mnt/d/Users/Bosco/Downloads/Fonts/0xProto/0xProto-Regular.otf

# You can drop the --careful if you want to override the existing icons
./patch-fonts.sh 스크립트를 사용하여 폴더에 포함 된 모든 글꼴을 패치 할 수 있습니다. 원한다면 그것으로 놀아라.
다른 옵션은 Font-Patcher의 readme에 따라 Docker를 사용하는 것입니다. 이것은 아마도 더 쉽고 빠를 수 있지만 시도하지 않았습니다.
 # To obtain the ligatures
git clone --recurse-submodules https://github.com/ToxicFrog/Ligaturizer.git

# Do not remove any of the fonts in `fonts/`, they're needed for the ligaturizer to work

# Make sure to move the fonts you want changed into their own folder in Ligaturizer/fonts
# e.g. Ligaturizer/fonts/Code New Roman/

# Add them to build.py, whether on the prefixed_fonts or renamed_fonts. e.g
# build.py
renamed_fonts = {
  ' fonts/Code New Roman/*.otf ' : ' Code New Roman NF Ligaturized ' ,
}

# Then run
make

# And the files should be in the output folder with the correct name

