chat21 ionic
1.0.0
한 번의 클릭만으로 서버에 Tiledesk를 설치 하시겠습니까?
Docker Compose Tiledesk 설치 안내서를 사용하십시오
Chat21은 오픈 소스 라이브 채팅 플랫폼 Tiledesk.com의 핵심입니다.
chat21-ionic을 사용하면 할 수 있습니다.
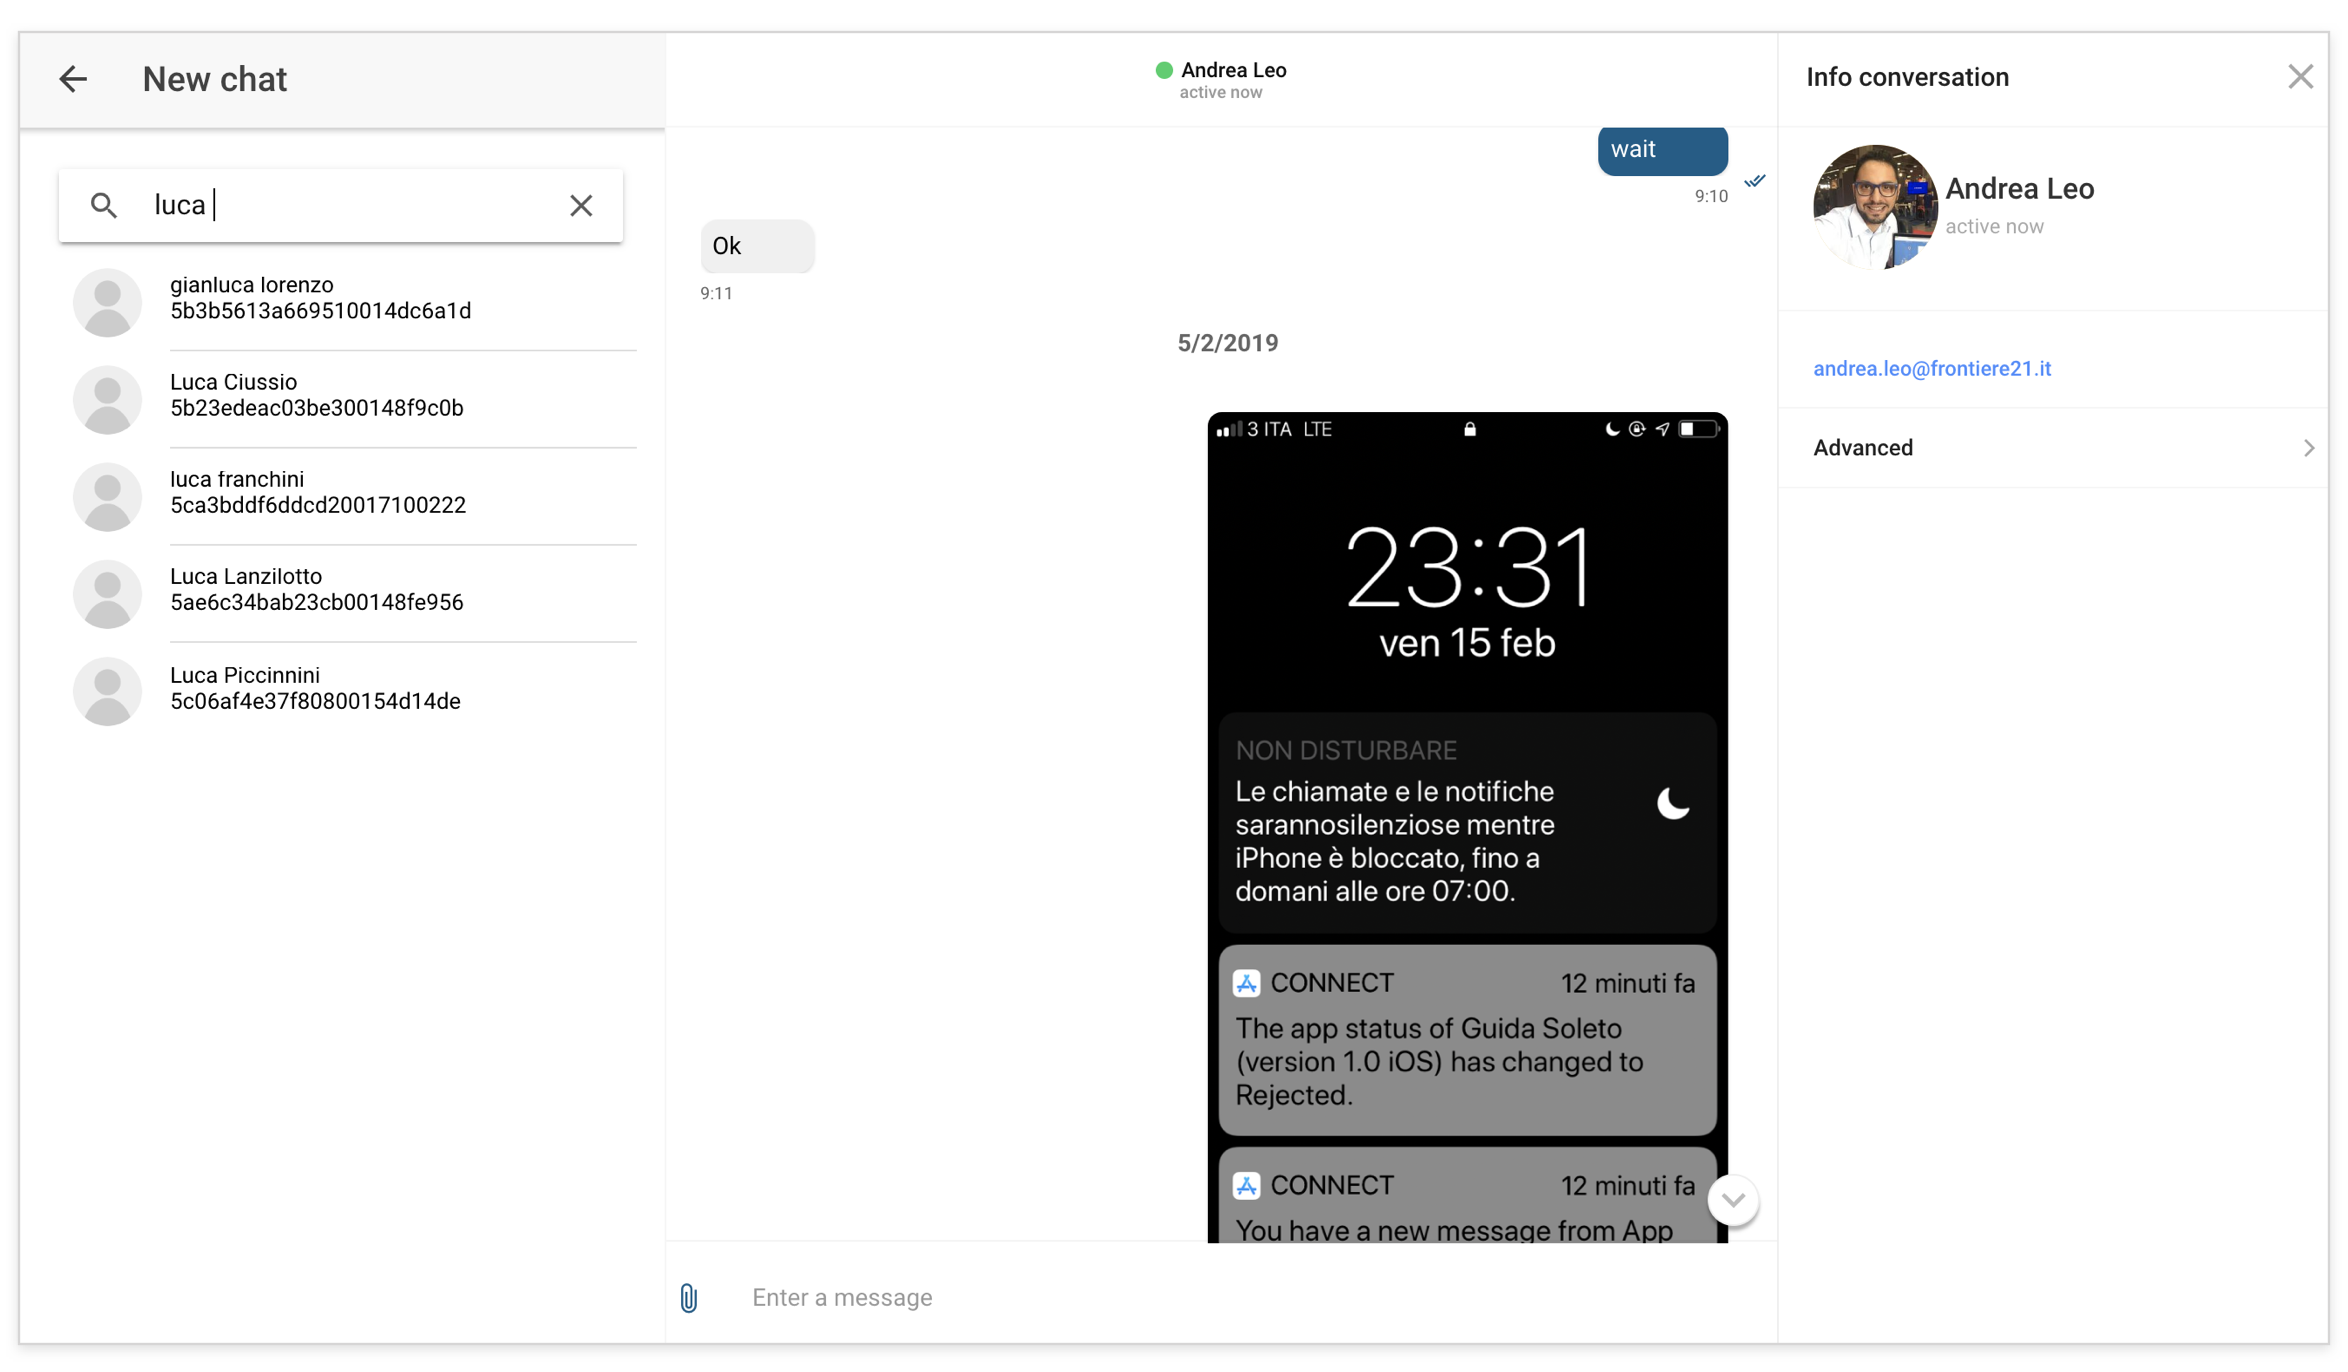
chat21-ionic의 라이브 데모를 보려면 https://web.chat21.org/를 방문하십시오.

진행중인 git
https://nodejs.org/en/download/npm install -g ionicnpm install -g [email protected] 설치하십시오https://firebase.google.com 에서 무료로 작성하십시오https://github.com/chat21/chat21-cloud-functions한 번의 클릭만으로 서버에 모든 Tiledesk 구성 요소를 설치 하시겠습니까? Docker Compose Tiledesk 설치 안내서를 사용하십시오
git clone https://github.com/frontiere21/chat21-ionic.git --branch <LATEST-RELEASE-VERSION>cd chat21-ionicnpm installsrc/환경 폴더에서 파일 환경을 구성합니다.
 export const environment = {
    supportMode: false,
    production: false,
    remoteConfig: true,
    remoteConfigUrl: '/chat-config.json',
    chatEngine: "mqtt", // OR YOUR CUSTOM CHAT ENGINE
    updloaEngine: "native", // OR YOUR CUSTOM UPLOAD ENGINE
    pushEngine:"none", // OR YOUR CUSTOM PUSH ENGINE
    fileUploadAccept:"*/*",
    logLevel":"<YOUR-PREFERRED-LOG-LEVEL>",
    supportMode: false,
    writeToButton: false,
    archivedButton: false,
    firebaseConfig: {
        tenant:"tilechat",
        apiKey: '123ABC..',
        authDomain: 'XYZ.firebaseapp.com',
        databaseURL: 'https://XYZ.firebaseio.com',
        projectId: 'XYZ',
        storageBucket: 'XYZ.appspot.com',
        messagingSenderId: '123456',
        appId: 'CHANGEIT',
        chat21ApiUrl: '<YOUR_CHAT21_CLOUD_FUNCTION_FIREBASE_ENDPOINT>'
    },
     chat21Config: {
        "appId": "tilechat",
        "MQTTendpoint": "mqtt://<YOUR-MQTT-ENPOINT>",
        "APIendpoint": "http://<YOUR-MQTT-API-ENPOINT>"
    },
    "apiUrl": "https://<YOUR-TILEDESK-API-URL>",
    "baseImageUrl": "https://<YOUR-BASE-IMAGE-URL>",
    "dashboardUrl": "https://<YOUR-DASHBOARD-URL>"
    "wsUrl": 'ws://' + window.location.hostname + '/ws/',
}
};
logLevel : Chat21-Eionic은 4 개의 로그 레벨을 지원합니다. 순서는 다음과 같습니다. Error < Warn < Info < Debug
fileUploadAccept : Chat21-ionic을 사용하면 업로드 할 수있는 파일 유형을 관리 할 수 있습니다. 기본적으로 모든 파일 유형이 허용됩니다.
wsUrl : 실시간으로 에이전트의 가용성 상태, 에이전트의 바쁜 상태 및 선택한 프로젝트에 대한 할당되지 않은 대화 수를 실시간으로 알 수 있습니다.
supportMode : true로 설정된 경우 대시 보드 및 채팅 관리가 더 똑똑하게 만드는 왼쪽 사이드 바가 표시됩니다.
writeToButton : true로 설정된 경우 연락처 목록을 볼 수있는 버튼을 만들고 직접 대화 할 수 있습니다.
archivedButton : True로 설정되면 보관 된 대화를 보는 버튼이 표시됩니다.
/src/firebase-messaging-sw.js 개방하고 MessagingSenderId를 교체하십시오 : <Your MessagingSenderId> with with with with with with with https://angularfirebase.com/send-push-notifications-in-angular-with-firebase-cloud-messaging/"gcm_sender_id": "103953800507" 입니다.ionic serve . cordova platform add browser@latestionic cordova build browser디렉토리 플랫폼/브라우저/www의 내용을 웹 서버 공개 DIR에 복사하십시오.
npm install -g firebase-toolsfirebase login (이전에 이미 완료 한 경우이 단계를 피할 수 있음)cd platforms/browser ) 및 실행 : firebase init 변경합니다.firebase deployionic cordova run androidionic cordova run android --device ionic cordova run iosionic cordova run ios --device포트 8080 실행에서 채팅 21- 이온을 실행하려면 :
curl https://raw.githubusercontent.com/chat21/chat21-ionic/master/env.sample --output .env

nano .env #configure .env file properly

docker run -p 8080:80 --env-file .env chat21/chat21-ionic
로고 및 자산을 사용자 정의하려면 Docker 볼륨을 장착하여 자산 폴더에 첨부 할 수 있습니다. 그 후에는 자산 파일을 Docker 볼륨으로 무시할 수 있습니다.
예:
docker run -p 8080:80 --env-file .env --mount source=chat21-ionic-assets-vol,destination=/usr/share/nginx/html/assets chat21/chat21-ionic
자동 로그인을 위해 JWT 토큰을 다음 예에서와 같이 채팅 URL의 쿼리 매개 변수로 전달합니다.
"http://localhost:8100/#/conversation-detail?jwt=<JWT_TOKEN>"

