PixelKit
Version 3
asyncgraphicsをご覧ください。
Pixelkit&renderkitに触発されました。
iOS、MacOS、TVOのライブグラフィック
金属を搭載したRenderKitで実行します
PixelKitは、カスタムシェーダー、メタルパフォーマンスシェーダー、コアイメージフィルター、ビジョンを組み合わせて、リアルタイムレンダリング用のツールを作成します。
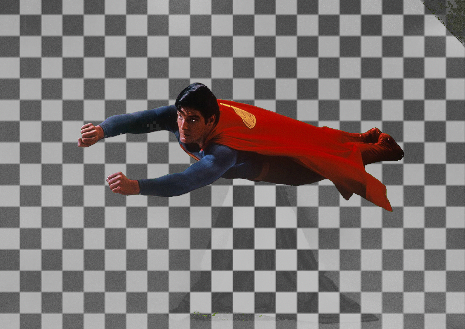
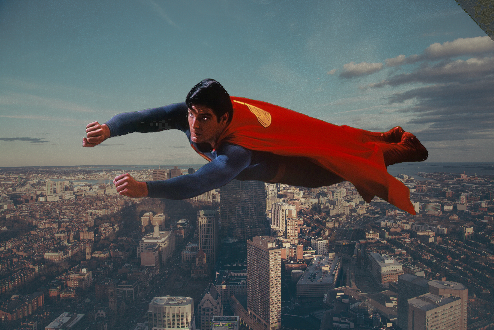
例:カメラエフェクト - 緑色の画面
情報:座標スペース - ブレンドオペレーター - 効果コンビニエンスファンク - ハイビットモード
| カメラピックス | depthcamerapix | ImagePix | VideoPix | screencapturepix | StreaminPix | Slopepix |
| ColorPix | CirclePix | rectanglepix | polygonpix | arcpix | ラインピックス | GradientPix | stackpix |
| noisepix | textpix | MetalPix | Trirpix | FeedbackPix | delaypix | SharpenPix | StreamoutPix |
| levelspix | Blurpix | EdgePix | thresholdpix | Quantizepix | transformpix | KaleIdoscopepix |
| ChannelMixPix | Chromakeypix | cornerpinpix | ColorsHiftPix | flipfloppix | rangepix | starpix |
| Sepiapix | convertpix | ReducePix | clamppix | freezepix | フレレピックス | airplaypix | RecordPix |
| blendpix | Crosspix | Lookuppix | DispacePix | Remappix | ReorderPix | ResolutionPix | Croppix |
| BlendSpix | lumalevelspix | Lumablurpix | lumatransformpix | Timemachinepix | arraypix |
. package ( url : " https://github.com/heestand-xyz/PixelKit " , from : " 3.0.0 " ) import SwiftUI
import PixelKit
struct ContentView : View {
@ StateObject var circlePix = CirclePIX ( )
@ StateObject var blurPix = BlurPIX ( )
var body : some View {
PixelView ( pix : blurPix )
. onAppear {
blurPix . input = circlePix
blurPix . radius = 0.25
}
}
}import UIKit
import PixelKit
class ViewController : UIViewController {
override func viewDidLoad ( ) {
super . viewDidLoad ( )
let circlePix = CirclePIX ( )
let blurPix = BlurPIX ( )
blurPix . input = circlePix
blurPix . radius = 0.25
let finalPix : PIX = blurPix
finalPix . view . frame = view . bounds
view . addSubview ( finalPix . view )
}
} PixelKitでは、すべてのPIXに解像度があります。一部のPIXは解像度(デフォルトで.auto )を定義し、一部のPIXは解像度を導き出しました。
.auto解像度はビューを埋め、ビューサイズに基づいて正しい解像度を取得します。ビューが100x100ポイントの場合、解像度はMacOSで200x200ピクセル、iPhoneで300x300ピクセルになります。
解像度パッケージをインポートして解像度で動作します。
import Resolution解像度を乗算し、 CGFloatまたはIntで分割できます。
._1080p & ._4Kのような定義済みの解像度があります。
 . renderedImage // UIImage or NSImage
. renderedTexture // MTLTexture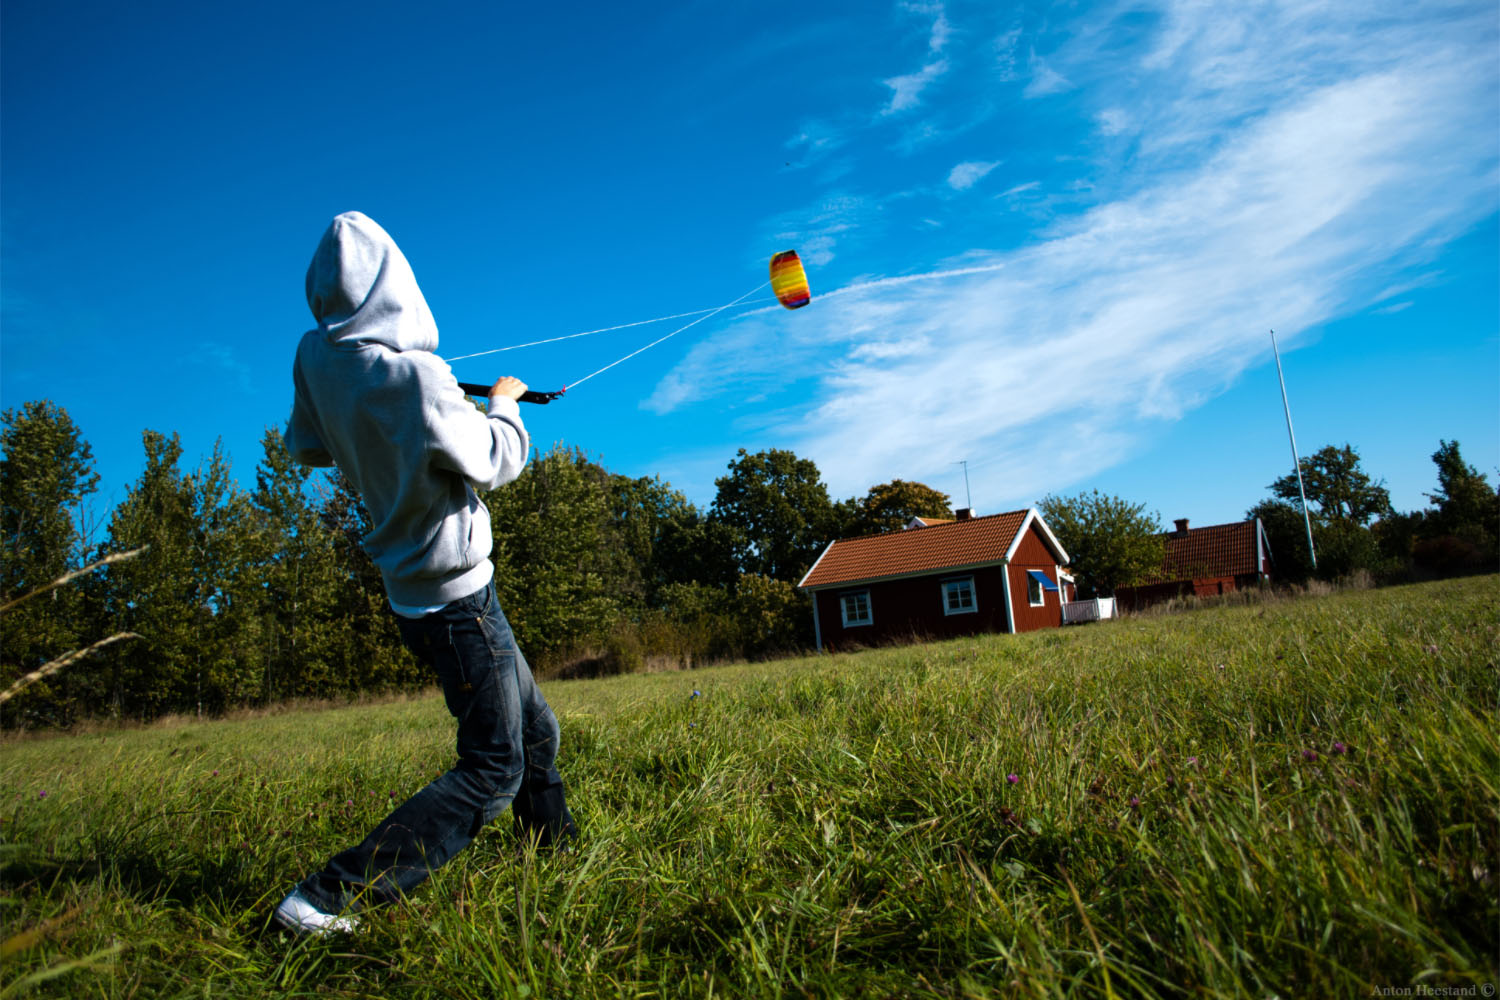 | 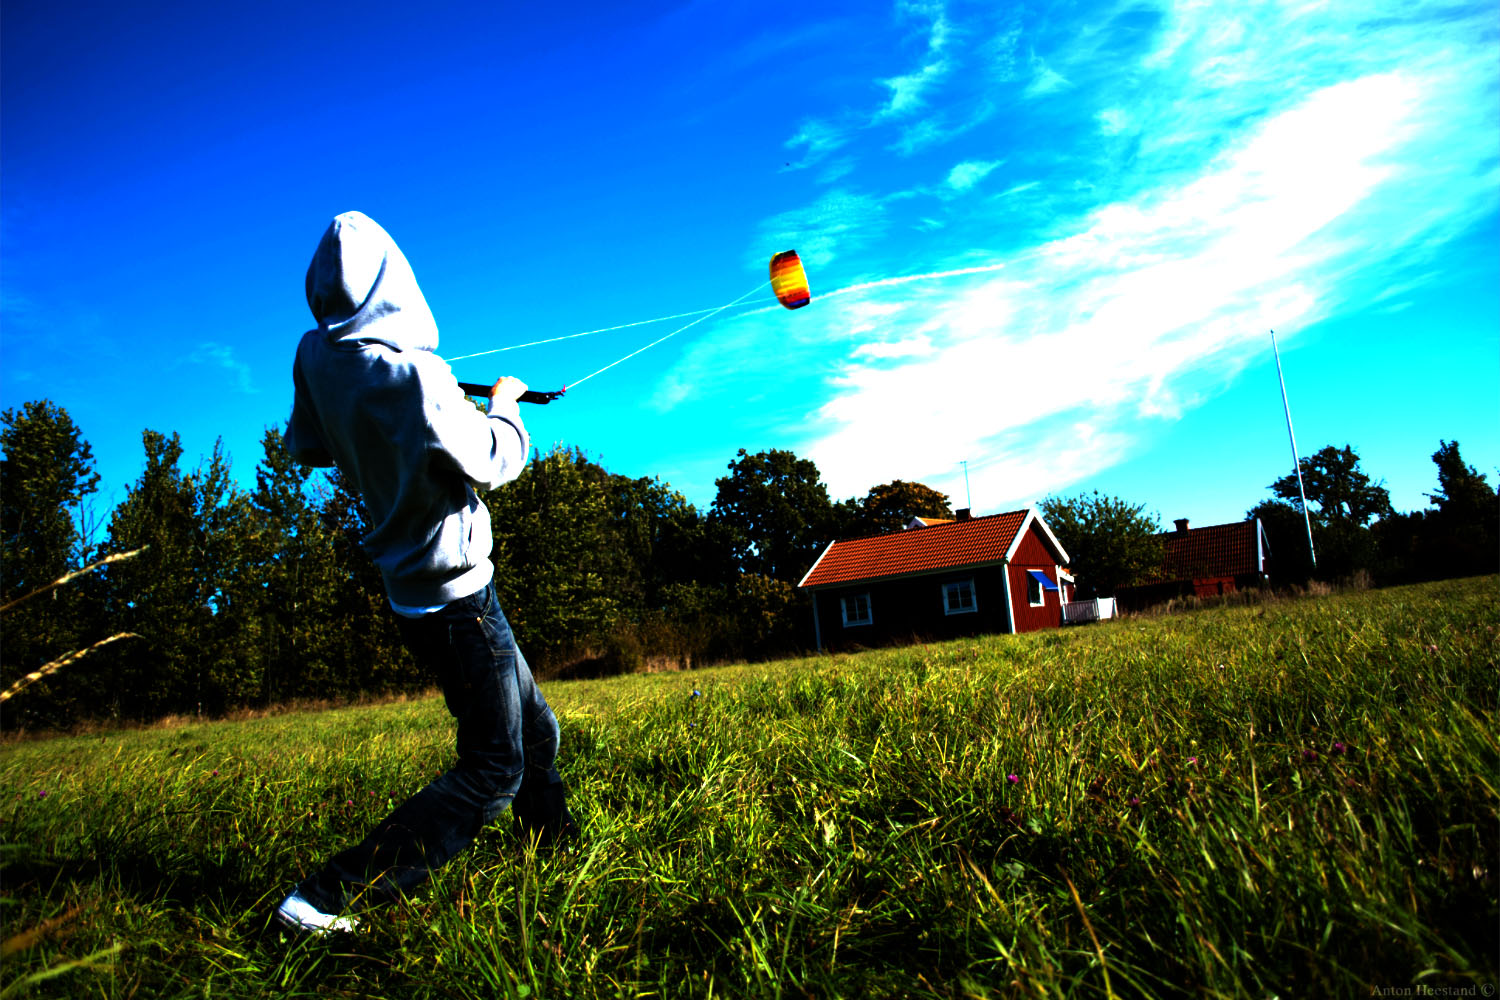 | 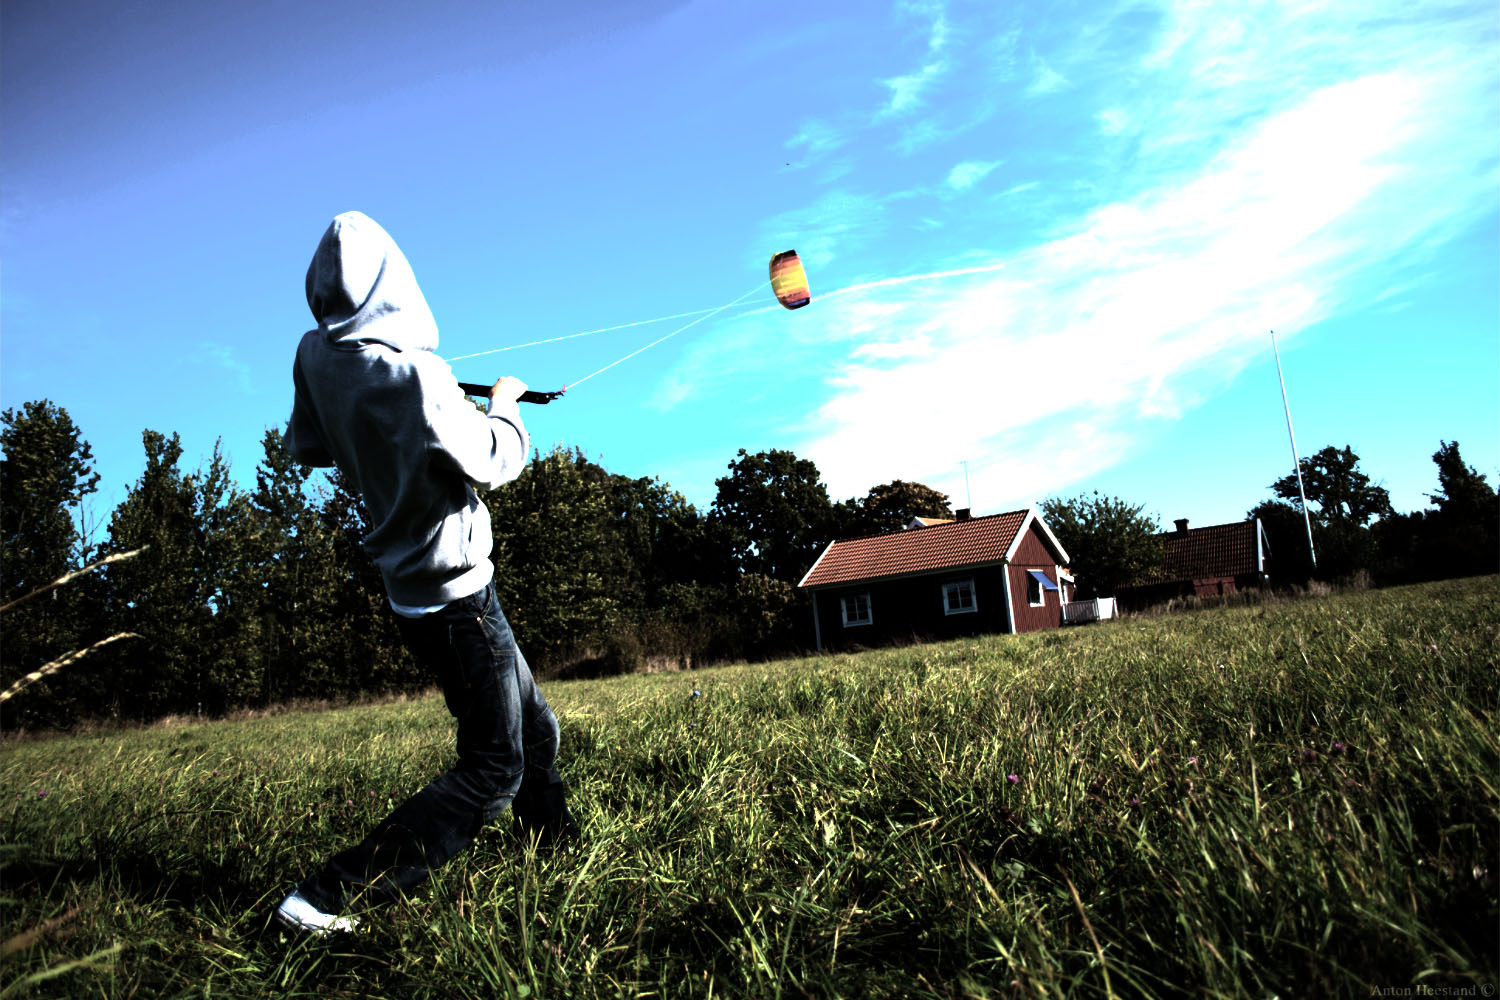 |  | 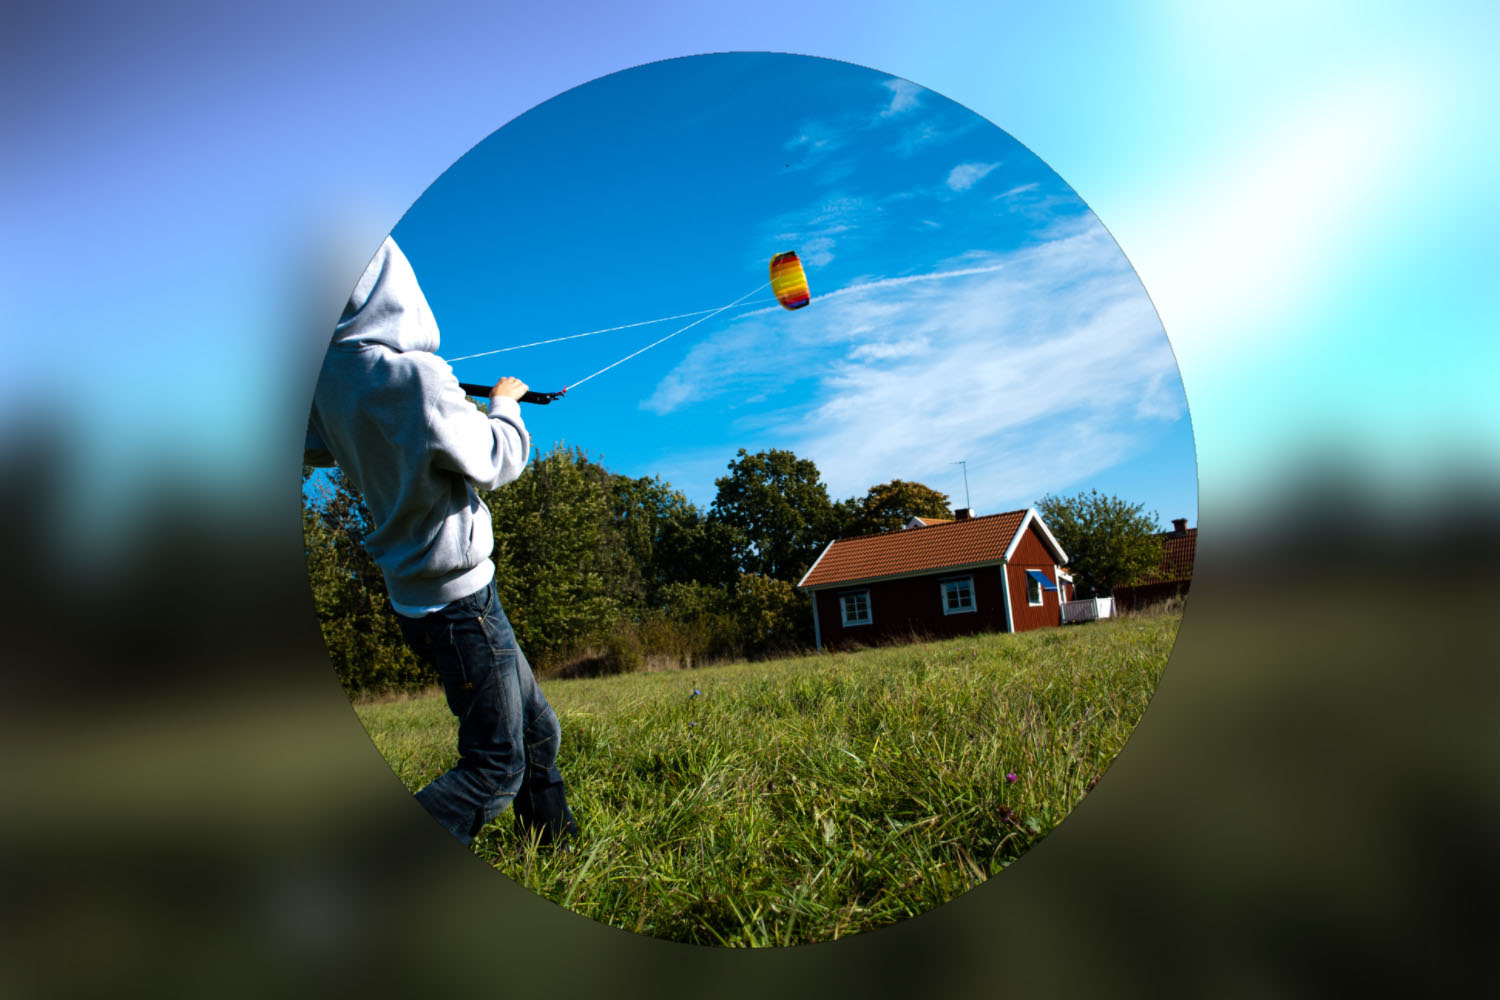 |
|---|
import SwiftUI
import PixelKit

class ViewModel : ObservableObject {

    let camera : CameraPIX
    let levels : LevelsPIX
    let colorShift : ColorShiftPIX
    let blur : BlurPIX
    let circle : CirclePIX

    let finalPix : PIX

    init ( ) {

        camera = CameraPIX ( )
        camera . cameraResolution = . _1080p

        levels = LevelsPIX ( )
        levels . input = camera
        levels . brightness = 1.5
        levels . gamma = 0.5

        colorShift = ColorShiftPIX ( )
        colorShift . input = levels
        colorShift . saturation = 0.5

        blur = BlurPIX ( )
        blur . input = colorShift
        blur . radius = 0.25

        circle = CirclePIX ( at : . square ( 1080 ) )
        circle . radius = 0.45
        circle . backgroundColor = . clear

        finalPix = blur & ( camera * circle )
    }
}

struct ContentView : View {

    @ StateObject var viewModel = ViewModel ( )

    var body : some View {
        PixelView ( pix : viewModel . finalPix )
    }
}
これは、効果のある利便性ファンでも実行できます。
let pix = CameraPIX ( ) . pixBrightness ( 1.5 ) . pixGamma ( 0.5 ) . pixSaturation ( 0.5 ) . pixBlur ( 0.25 ) NSCameraUsageDescriptionをinfo.plistに追加することを覚えておいてください
 |  |  |  |
|---|
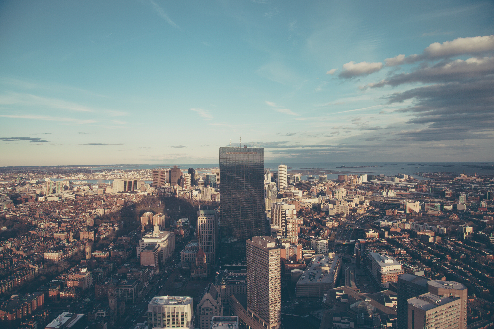
import RenderKit import PixelKit
let cityImage = ImagePIX ( )
cityImage . image = UIImage ( named : " city " )
let supermanVideo = VideoPIX ( )
supermanVideo . load ( fileNamed : " superman " , withExtension : " mov " )
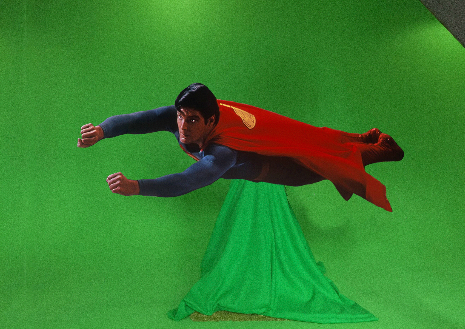
let supermanKeyed = ChromaKeyPIX ( )
supermanKeyed . input = supermanVideo
supermanKeyed . keyColor = . green
let blendPix = BlendPIX ( )
blendPix . blendingMode = . over
blendPix . inputA = cityImage
blendPix . inputB = supermanKeyed
let finalPix : PIX = blendPix
finalPix . view . frame = view . bounds
view . addSubview ( finalPix . view )これは、ブレンドオペレーターや効果の便利なファンでも行うことができます。
let pix = cityImage & supermanVideo . pixChromaKey ( . green )import RenderKit import PixelKit
 let cameraPix = CameraPIX ( )
cameraPix . camera = . front

let depthCameraPix = DepthCameraPIX . setup ( with : cameraPix )

let levelsPix = LevelsPIX ( )
levelsPix . input = depthCameraPix
levelsPix . inverted = true

let lumaBlurPix = cameraPix . pixLumaBlur ( pix : levelsPix , radius : 0.1 )

let finalPix : PIX = lumaBlurPix
finalPix . view . frame = view . bounds
view . addSubview ( finalPix . view )
DepthCameraPIX PixelKit v0.8.4に追加され、iPhone X以下が必要です。
setup(with:filter:) DepthCameraPIXの方法を使用するには注意してください。
オリエンテーション、色、 CameraPIXの深さを有効にします。
0.0および1.0の境界の大部分の深さ値へのアクセスを得るには、
このような16 bitモードを有効にする: PixelKit.main.render.bits = ._16
 let cameraPix = CameraPIX ( )
cameraPix . camera = . back

let multiCameraPix = MultiCameraPIX . setup ( with : cameraPix , camera : . front )

let movedMultiCameraPix = multiCameraPix . pixScale ( by : 0.25 ) . pixTranslate ( x : 0.375 * ( 9 / 16 ) , y : 0.375 )

let finalPix : PIX = camearPix & movedMultiCameraPix
finalPix . view . frame = view . bounds
view . addSubview ( finalPix . view )注MultiCameraPIXにはiOS 13が必要です。
Pixelkit座標空間は、中央に起源(0.0、0.0)が付いた垂直軸(高さ1.0)にノルメール化されます。
ネイティブのUikitおよびSwiftuiビューと比較して、垂直軸が反転して起源が移動することに注意してください。これは、Pixelkitのグラフィックスを操作する場合、より説得力があります。完全な回転は1.0で定義されます
中心: cgpoint(x:0、y:0)
左下: cgpoint(x:-0.5 * aspectratio、y:-0.5)
右上: cgpoint(x:0.5 * aspectratio、y:0.5)
ヒント: Resolutionには.aspectプロパティがあります。
let aspectRatio: CGFloat = Resolution._1080p.aspect
PIXをブレンドするための迅速で便利な方法
これらは、サポートされているBlendingModeオペレーターです。
& | !& | + | - | * | ** | !** | % | ~ | ° |
|---|---|---|---|---|---|---|---|---|---|
| 。以上 | 。下 | 。追加 | .subtract | .Multiply | 。力 | 。ガンマ | 。違い | 。平均 | 余弦 |
<> | >< | ++ | -- | <-> | >-< | +-+ |
|---|---|---|---|---|---|---|
| 。最小 | 。最大 | .addwithalpha | .subtractwithalpha | 内部 | 外 | 独占者 |
let blendPix = ( CameraPIX ( ) !** NoisePIX ( at : . fullHD ( . portrait ) ) ) * CirclePIX ( at : . fullHD ( . portrait ) )デフォルトのグローバルブレンドオペレーター充填モードは.fitです。このように変更してください。
PIX.blendOperators.globalPlacement = .fill
これらのFUNCは新しいPIXを作成することに注意してください。
GPUメモリの過負荷に注意してください。一部のファンはいくつかのPIXを作成します。
DispacePixやSlopepixなどのいくつかの効果は、より高いビットの深さから利益を得ることができます。
デフォルトは8ビットです。このように変更: PixelKit.main.render.bits = ._16
PIXを作成する前に、ハイビットモードを有効にします。
注リソースはまだ高ビットをサポートしていません。
現在、リソースを備えたガンマオフセットがあります。
 let metalPix = MetalPIX ( at : . _1080p , code :
    """
    pix = float4(u, v, 0.0, 1.0);
    """
)
let metalEffectPix = MetalEffectPIX ( code :
"""
float gamma = 0.25;
pix = pow(input, 1.0 / gamma);
"""
)
metalEffectPix . input = CameraPIX ( ) let metalMergerEffectPix = MetalMergerEffectPIX ( code :
"""
pix = pow(inputA, 1.0 / inputB);
"""
)
metalMergerEffectPix . inputA = CameraPIX ( )
metalMergerEffectPix . inputB = ImagePIX ( " img_name " ) let metalMultiEffectPix = MetalMultiEffectPIX ( code :
"""
float4 inPixA = inTexs.sample(s, uv, 0);
float4 inPixB = inTexs.sample(s, uv, 1);
float4 inPixC = inTexs.sample(s, uv, 2);
pix = inPixA + inPixB + inPixC;
"""
)
metalMultiEffectPix . inputs = [ ImagePIX ( " img_a " ) , ImagePIX ( " img_b " ) , ImagePIX ( " img_c " ) ] var lumUniform = MetalUniform ( name : " lum " )
let metalPix = MetalPIX ( at : . _1080p , code :
"""
pix = float4(in.lum, in.lum, in.lum, 1.0);
""" ,
uniforms : [ lumUniform ]
)
lumUniform . value = 0.5Anton Heestand XYZによって作成されたTouchDesignerに触発されました


