state driven game template
1.0.0

キックするためのテンプレートリポジトリは、Webで最新のゲーム開発を開始します。
node > = 14npm > = 6依存関係をインストールします。
npm i開発サーバーを開始します。
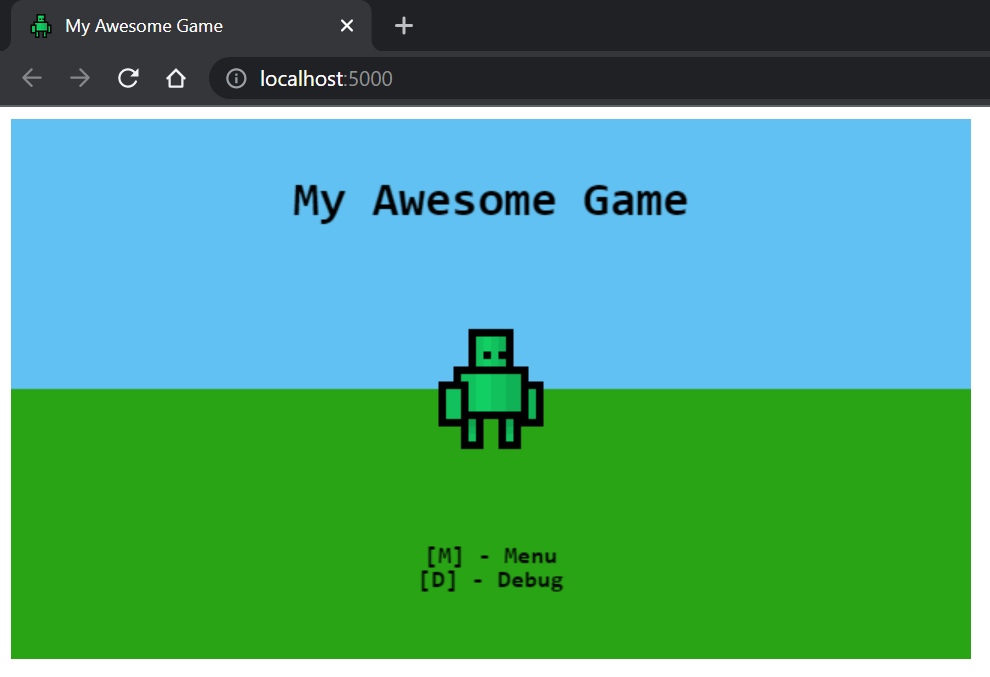
npm run start localhost:5000でブラウザを開くことで、ゲームをご覧ください。
ソースファイルに加えられた変更により、再コンパイルがトリガーされます。ブラウザを更新して変更を確認します。
プロジェクトの構築。
npm run build出力は/distに配置されます。
 dist                          [Build output]
src                           [Source root]
  /assets                     [Web assets]
  /icons                      [Web icons]
  /lib                        [Game libraries]
    /core                     [Core libraries - @core]
    /models                   [Game models - @models]
    /sprites                  [Sprite definitions - @sprites]
    /state                    [State definitions - @state]
    /utils                    [Utility libraries - @utils]
    /game.ts                  [Game entry point - @game]
  /index.html                 [Web index page]
  /main.ts                    [App entry point]
  /manifest.webmanifest       [PWA manifest]
  /service-worker.js          [PWA service worker]
dev-server.js                 [Development express server]
tsconfig.json                 [TypeScript configuration]
tslint.json                   [tslint configuration]
webpack.config.js             [Webpack configuration]
ゲームの状態は、ゲームのフレームによるフレーム機能を提供します。
 import { OnEnter , OnExit , OnRender , OnUpdate } from '@core' ;

export class MyGameState implements OnEnter , OnExit , OnRender , OnUpdate {
  enter ( ) : void {
    console . log ( 'Pushed to the stack!' ) ;
  }

  exit ( ) : void {
    console . log ( 'Popped from the stack!' ) ;
  }

  render ( ctx : CanvasRenderingContext2D ) : void {
    console . log ( 'Rendering frame!' ) ;
  }

  update ( { time , delta } ) : void {
    console . log ( 'Updating frame!' ) ;
  }
}ゲームを次の状態に進めるには、状態のインスタンスをゲームスタックにpushだけです。
 import { push } from '@core' ;

// Push a new state to the stack
push ( new MyGameState ( ) ) ;状態は、状態がpopする限り、スタックからポップすることもできます。
 import { pop } from '@core' ;

// Remove top-most state
pop ( ) ; スプライトは、 HTMLCanvasContext2Dで画像をレンダリングするオブジェクトです。
スプライトは次の方法で作成できます。
 import { Sprite } from '@core' ;

// Create and load the image to be rendered.
const image = new Image ( ) ;
image . src = 'path/to/image.png' ;

// Create a sprite using the image and parameters.
const sprite = new Sprite ( image , {
  // Source width
  w : 16 ,
  // Source height
  h : 16 ,
  // Origin x position
  ox : 0 ,
  // Origin y position
  oy : 0 ,
} ) ;
スプライトは、キャンバスコンテキストにレンダリングできます。
 sprite . render ( ctx , {
  // Rendering x position
  x : 100 ,
  // Rendering y position
  y : 50 ,
} ) ;
オプションで、スプライトは両方向にスケーリングできます。
 sprite . render ( ctx , {
  x : 100 ,
  y : 50 ,
  // Scale the sprite by 3
  scaleX : 3 ,
  scaleY : 3 ,
} ) ;SpriteSheetは、単一の画像から複数のSpriteオブジェクトを定義するために使用されます。
SpriteSheet次のように定義されています。
const sprites = new SpriteSheet ( '/path/to/image.png' ) ;スプライトシートにスプライトを直接定義して、同じ画像から複数のスプライトを構築します。
 sprites
  . define ( 'idle_1' , { w : 16 , h : 16 , ox : 0 , oy : 0 } )
  . define ( 'idle_2' , { w : 16 , h : 16 , ox : 16 , oy : 16 } ) ;
その後、スプライトをスプライトシートから取得できます。
 /**
 * Note that, the `.get` method can return undefined.
 * Accommodate for this by optionally calling render
 * when doing so.
 *
 * `sprite?.render(ctx, config)`
 * */
const sprite = sprites . get ( 'idle_1' ) ; 

