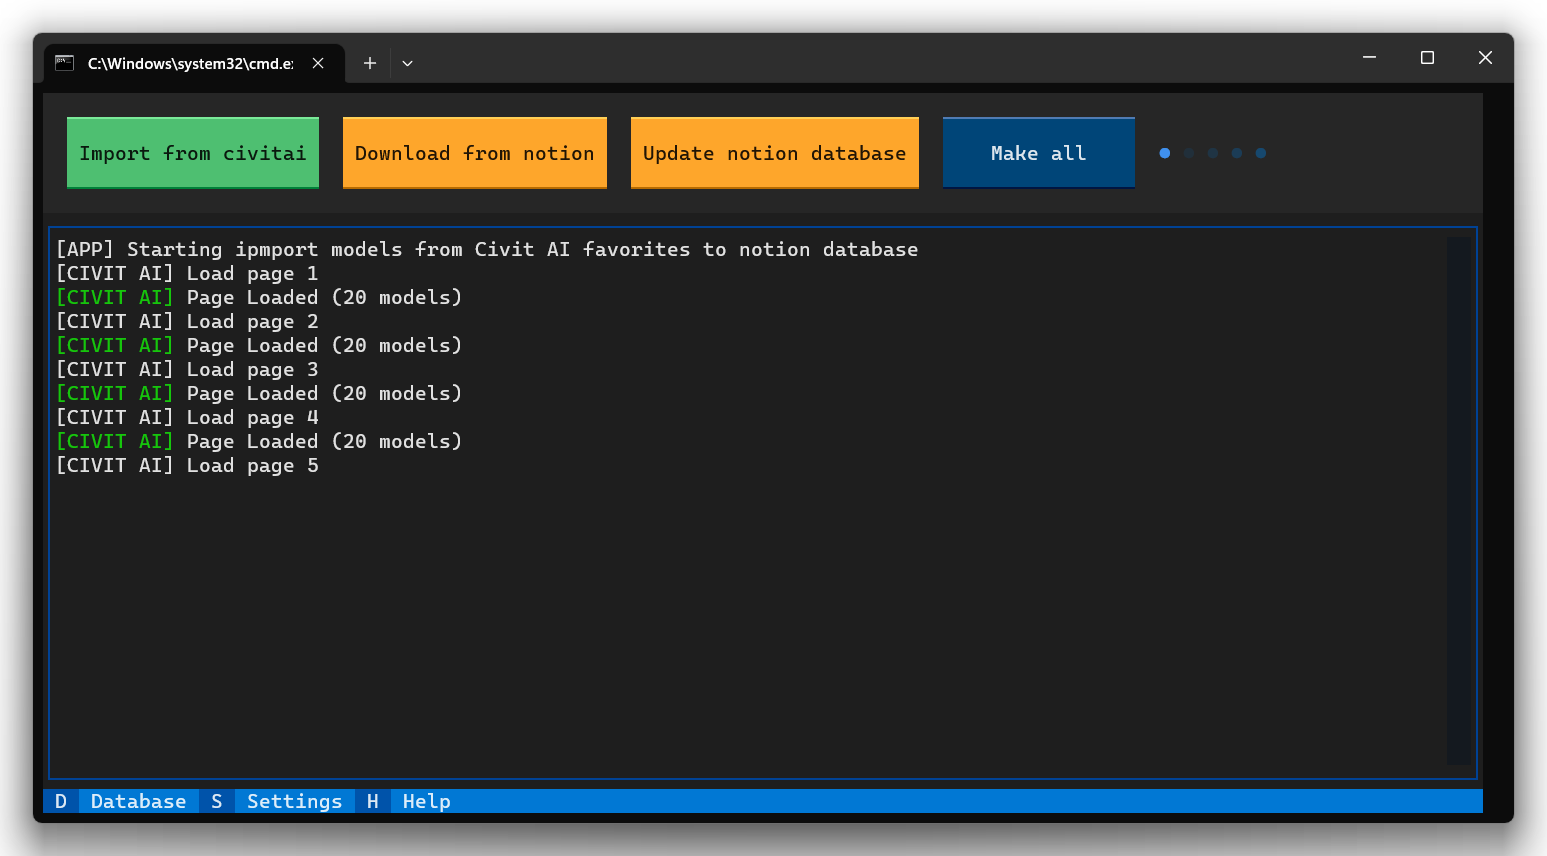
Civitai2notion
1.0.0
Synchronize your Civitai LoRA, checkpoints and embeddings bookmarks and Notion and download them automatically

You need Python 3 version
Just run start.bat if you are using Windows or start.sh for Linux, the first installation may take some time
Available utilities:
Import from civitai - Import from civitai - Add all bookmarks from Civitai to the Notion, only those models (LoRA, checkpoints or embeddings) for which you specified the database id in the settings will be added
At this stage your models has not been downloaded yet, go to your database and edit your entries as desired, for example, sometimes you can add another name/title or change the image, as well as remove duplicates (see point 2)
Download from notion - Checks the notion database for duplicates, the check takes place by the File property, since it will then be used for the names of the files that you download, if duplicates were found, then edit the entries in your notion database, for this you can use the built-in notion search bar to quickly find duplicates by name
You have the option to use the automatic duplicate conflict resolution setting, in which case the application will simply add a postfix with a digit until the file name becomes unique
Please note that this utility can also check the hash in the database with already loaded models, this is necessary to fix failed downloads as well as to update models (see point 3)
Due to the file hash calculation, it may take time if you have a slow hard drive
Update notion database - Check all models for new versions in Civitai, if new versions of models are found, the application will update the entries in the Notion database
The action updates the fields Trigger Words, Hash and Versionin the Notion database but does not download files
To update the files you need to run the Download from notion utility and select Download with hash check
This action will start checking the hash and loading models while outdated models will be updated due to a hash mismatch
Make all Runs in turn Import from civitai -> Update notion database -> Download from notionGo to the integrations and create a new integration
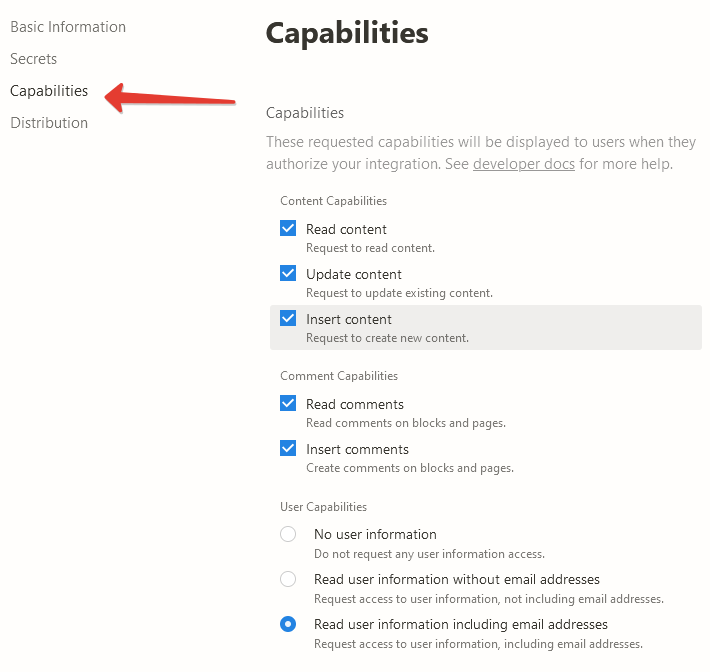
In the Capabilities menu set all permissions
Copy the API key and write it to Settings - Tokens - Notion token
Create a new notion database and name it whatever you want. Use the following properties:
Name - Type: Text
URL - Type: URL
File - Type: Text
Trigger Words - Type: Text
Tags - Type: Multi-select
SD - Type: Select
Version - Type: Text
Model ID - Type: Text
Hash - Type: Text

Create a new database in the notion
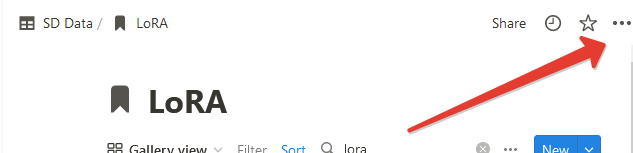
Create a connection for your database so that the script can create records, to do this, select ... from the top right and click Add connections, select your integration
Database ID while you are on the database page and write it to Settings - LoRA settings - Notion database id
Database ID can be found in the browser linehttps://www.notion.so/myworkspace/a8aec43384f447ed84390e8e42c2e089?v=...
|--------- Database ID --------|
Add at least one path to the folder to save in Settings - LoRA settings - Path to save for 1.x versions or Settings - LoRA settings - Path to save for SDXL versions. You don't have to do this and then the app will only be able to import your bookmarks, but not download them
Repeat steps 2 - 5 in order to create a database for embeddings (Settings - Notion - Notion database id for embeddings) and checkpoints (Settings - Notion - Notion database id checkpoints). You can skip this step, then the program will simply skip processing these categories
Go to the Account Settings and create a new API Key
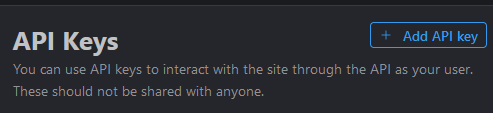
Copy the API key and write it to Settings - Tokens - Civit AI token
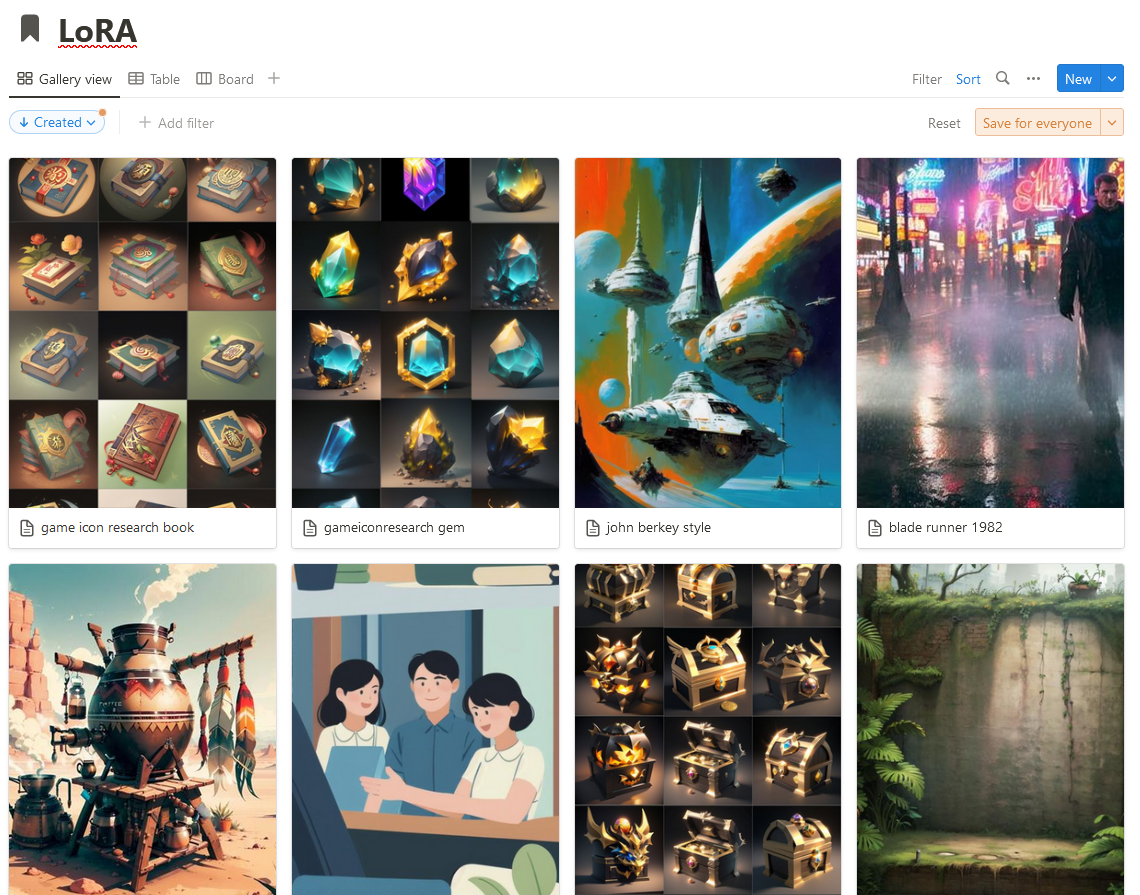
You can also use large image previews for LoRA cards in notion, for this you can use the stylish extension for your browser, add the following styles for the domain notion.so
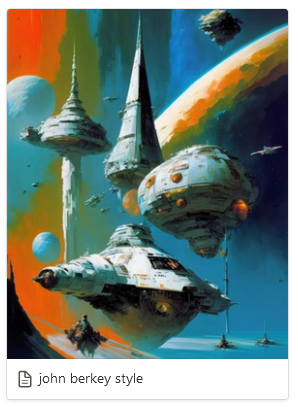
.notion-selectable.notion-page-block.notion-collection-item a > div:first-child > div:first-child > div:first-child {
  height: 350px !important;
}

.notion-selectable.notion-page-block.notion-collection-item a > div:first-child > div:first-child > div:first-child img {
  height: 350px !important;
}

