mern chart app
1.0.0
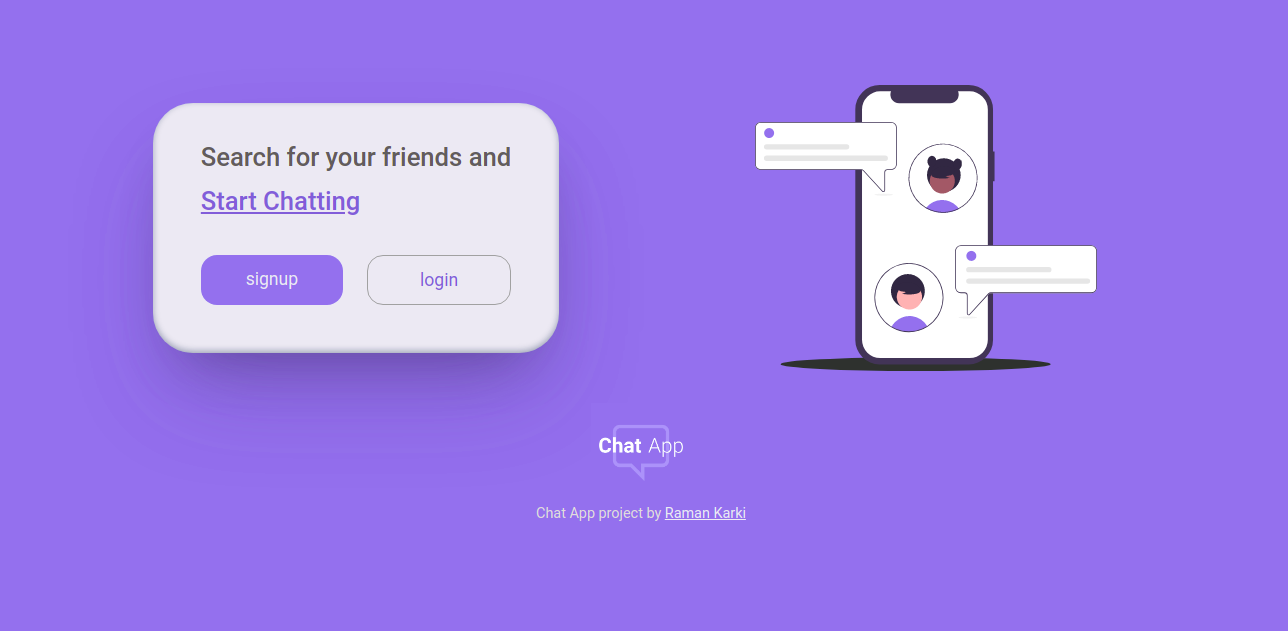
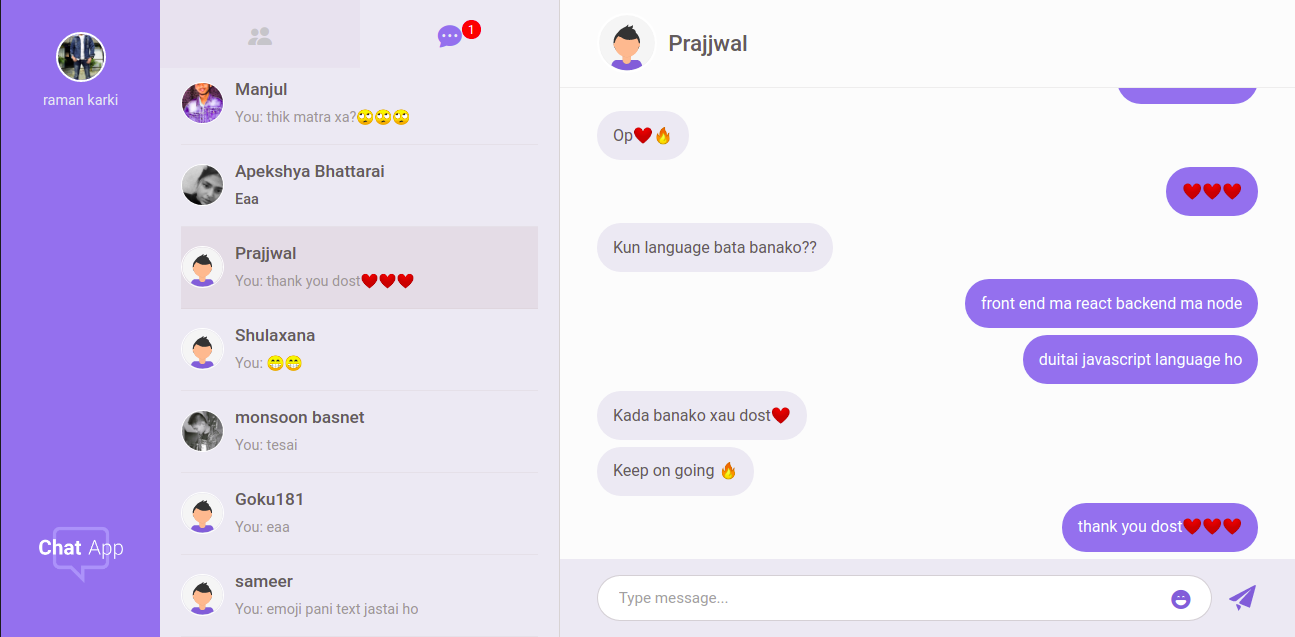
It is a normal chatting web app like any other app. Fully responsive, mobile first aproach. Build with MERN stack. Hosted with Netlify.
You can see this project live here.
These were the main technologies used in this project.
some other technologies are,
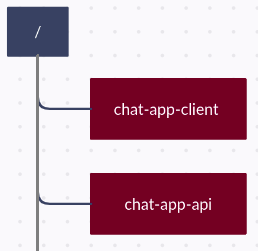
Client and server has separate repository and therefore two server will be running at the same time at different root level directory. So, keep them separately.
Install node, npm and git .
git clone https://github.com/ramankarki/chat-app-api.git

cd chat-app-api

npm install nodemon -g

npm install
Create a config.env file in root and add some env variables.
NODE_ENV=development
DB_STRING=your mongodb database string

// I have used sendgrid to send emails,
// create a sendgrid account and after your setup is done add your credentials here

SENDGRID_USERNAME=your sendgrid username
SENDGRID_PW=your sendgrid password
EMAIL_FROM=email from which you are sending mails.

JWT_SECRET=any random string you want (preferred min 32 strings)
JWT_EXPIRES_IN=expiry date for your jwt tokens
JWT_COOKIE_EXPIRES_IN=expiry date for your cookies

// I have used pusher to make this app real time
// create a pusher account and after your setup is done add your credentials here

PUSHER_APP_ID=your pusher app id
PUSHER_KEY=your pusher app key
PUSHER_SECRET_KEY=your pusher secret key
PUSHER_CLUSTER=your pusher app cluster
Now you are done and can start your development server
npm run dev
git clone https://github.com/ramankarki/chat-app-client.git

cd chat-app-client

npm install
Create a .env file in root and add an env variable, since I have used sass.
SASS_PATH=node_modules:src/*
Create a config folder inside /src folder and create dev.js file inside config folder to add some secret keys.
module.exports = {
  PUSHER_KEY: "YOUR PUSHER KEY FOR CLIENT SIDE",
  PUSHER_CLUSTER: "YOUR PUSHER CLUTER",
};
Now you are done for client side as well and can start your react development server
npm run dev