Image Super Resolution via Iterative Refinement
1.0.0
纸|项目
这是Pytorch通过迭代改进(SR3)对图像超分辨率的非正式实现。
由于缺少详细信息,因此有一些实施细节可能与本文的描述有所不同,这可能与实际的SR3结构有所不同。具体来说,我们:
DDPM 。DDPM一样。FilM结构在WaveGrad中所做的那样,并在没有仿射转化的情况下嵌入。如果您只想高档
★★★New:现在可以使用后续调色板到图像 - 图像扩散模型;在此处查看详细信息★★★
注意:我们将最大反向步骤预算设置为Nvidia 1080Ti中的模型参数,图像噪声和色相偏差偶尔出现在高分辨率图像中,导致得分较低。有很多优化的空间。欢迎我们为更广泛的实验和代码增强的任何贡献。
| 任务/指标 | SSIM(+) | psnr(+) | fid( - ) | 是(+) |
|---|---|---|---|---|
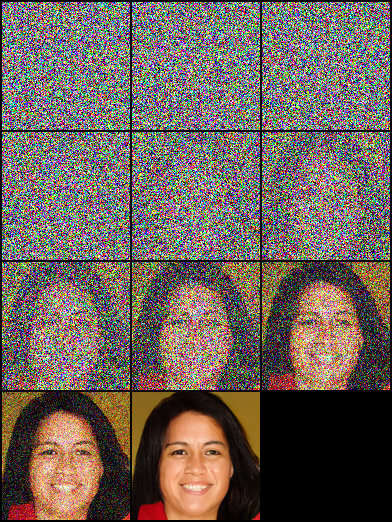
| 16×16-> 128×128 | 0.675 | 23.26 | - | - |
| 64×64-> 512×512 | 0.445 | 19.87 | - | - |
| 128×128 | - | - | ||
| 1024×1024 | - | - |
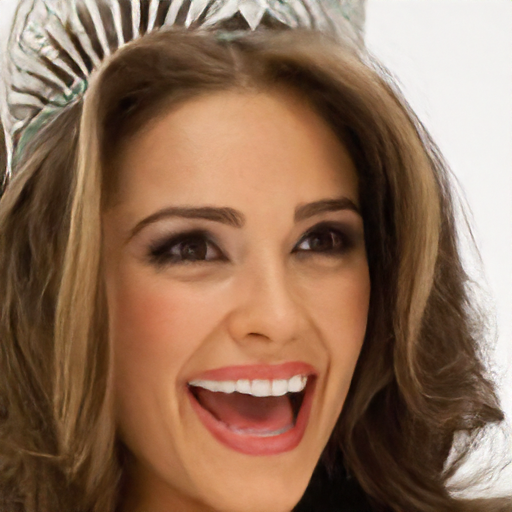
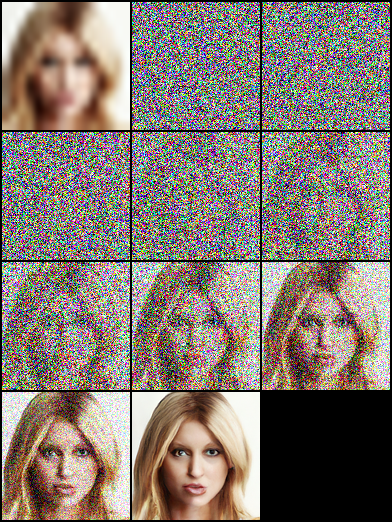 |  |  |
|---|
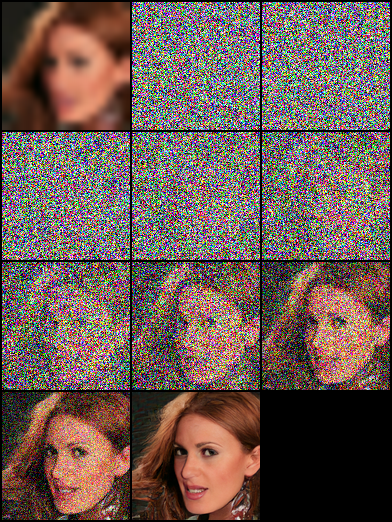
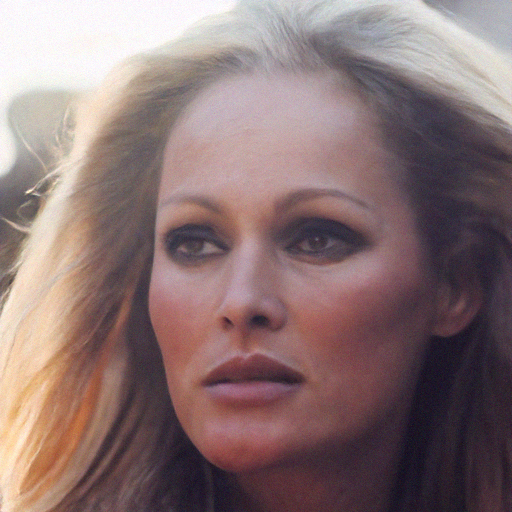
 |  |  |
|---|---|---|
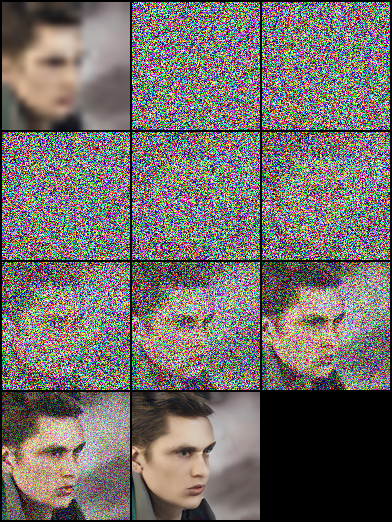
 |  | 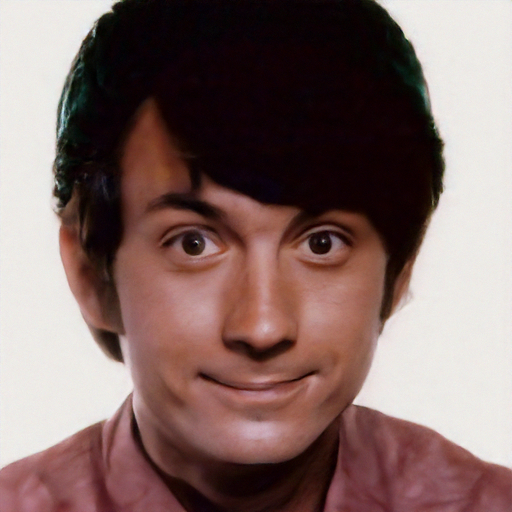 |
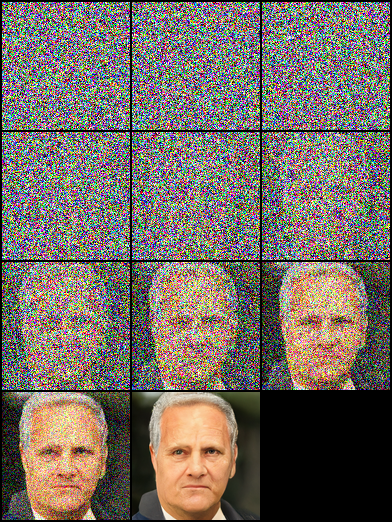 |  | 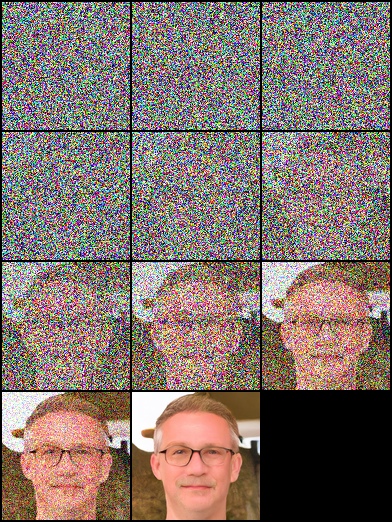 |
|---|
pip install - r requirement . txt本文基于“扩散概率模型”,我们构建了DDPM/SR3网络结构,分别使用TimeSteps/Gamma作为模型嵌入输入。在我们的实验中,SR3模型可以通过相同的反向步骤和学习率获得更好的视觉结果。您可以选择带有带注释的后缀名称的JSON文件来训练不同的型号。
| 任务 | 平台(代码:QWER) |
|---|---|
| 16×16-> 128×128在FFHQ -CELEBAHQ上 | Google Drive | Baidu Yun |
| 64×64-> 512×512在FFHQ -CELEBAHQ上 | Google Drive | Baidu Yun |
| FFHQ上的128×128面部生成 | Google Drive | Baidu Yun |
 # Download the pretrained model and edit [sr|sample]_[ddpm|sr3]_[resolution option].json about "resume_state":
"resume_state" : [ your pretrained model ' s path ]如果您没有数据,则可以通过以下步骤进行准备:
下载数据集并使用脚本以LMDB或PNG格式进行准备。
 # Resize to get 16×16 LR_IMGS and 128×128 HR_IMGS, then prepare 128×128 Fake SR_IMGS by bicubic interpolation
python data / prepare_data . py  - - path [ dataset root ]  - - out [ output root ] - - size 16 , 128 - l
然后,您需要将数据集配置更改为数据路径和图像分辨率:
 "datasets" : {
    "train" : {
        "dataroot" : " dataset/ffhq_16_128 " , // [output root] in prepare.py script
        "l_resolution" : 16 , // low resolution need to super_resolution
        "r_resolution" : 128 , // high resolution
        "datatype" : " lmdb " , //lmdb or img, path of img files
    },
    "val" : {
        "dataroot" : " dataset/celebahq_16_128 " , // [output root] in prepare.py script
    }
},您还可以通过以下步骤使用图像数据,并且我们在数据集文件夹中有一些示例。
首先,您应该像这样组织图像布局,可以通过data/prepare_data.py自动完成此步骤:
 # set the high/low resolution images, bicubic interpolation images path
dataset/celebahq_16_128/
├── hr_128 # it's same with sr_16_128 directory if you don't have ground-truth images.
├── lr_16 # vinilla low resolution images
└── sr_16_128 # images ready to super resolution
# super resolution from 16 to 128
python data / prepare_data . py - - path [ dataset root ] - - out celebahq - - size 16 , 128 - l注意:无论您是否拥有香草高分辨率图像,都可以使用上面的脚本。
然后,您需要将数据集配置更改为数据路径和图像分辨率:
 "datasets" : {
    "train|val" : { // train and validation part
        "dataroot" : " dataset/celebahq_16_128 " ,
        "l_resolution" : 16 , // low resolution need to super_resolution
        "r_resolution" : 128 , // high resolution
        "datatype" : " img " , //lmdb or img, path of img files
    }
}, # Use sr.py and sample.py to train the super resolution task and unconditional generation task, respectively.
# Edit json files to adjust network structure and hyperparameters
python sr . py - p train - c config / sr_sr3 . json # Edit json to add pretrain model path and run the evaluation
python sr . py - p val - c config / sr_sr3 . json
# Quantitative evaluation alone using SSIM/PSNR metrics on given result root
python eval . py - p [ result root ]在Own Data中设置图像路径,然后运行脚本:
 # run the script
python infer . py - c [ config file ]现在,该库支持实验跟踪,模型检查点和模型预测可视化,并具有权重和偏见。您将需要使用访问令牌安装W&B并登录。
 pip install wandb

# get your access token from wandb.ai/authorize
wandb login
W&B日志记录功能添加到sr.py , sample.py和infer.py文件中。您可以通过-enable_wandb开始记录。
-log_wandb_ckpt :将此参数与-enable_wandb一起传递,以将模型检查点作为W&B工件保存。 sr.py和sample.py均通过模型检查点启用。-log_eval :将此参数与-enable_wandb一起传递,以将评估结果保存为交互式W&B表。请注意,此功能仅启用sr.py如果您在est and模式下运行sample.py ,则生成的图像将自动记录为图像媒体面板。-log_infer :运行infer.py时,将此参数与-enable_wandb一起传递此参数,以将推理结果记录为交互式W&B表。您可以在此处找到有关使用这些功能的更多信息。
我们的工作基于以下理论著作:
此外,我们从以下项目中受益匪浅:


