foam.lite
1.0.0
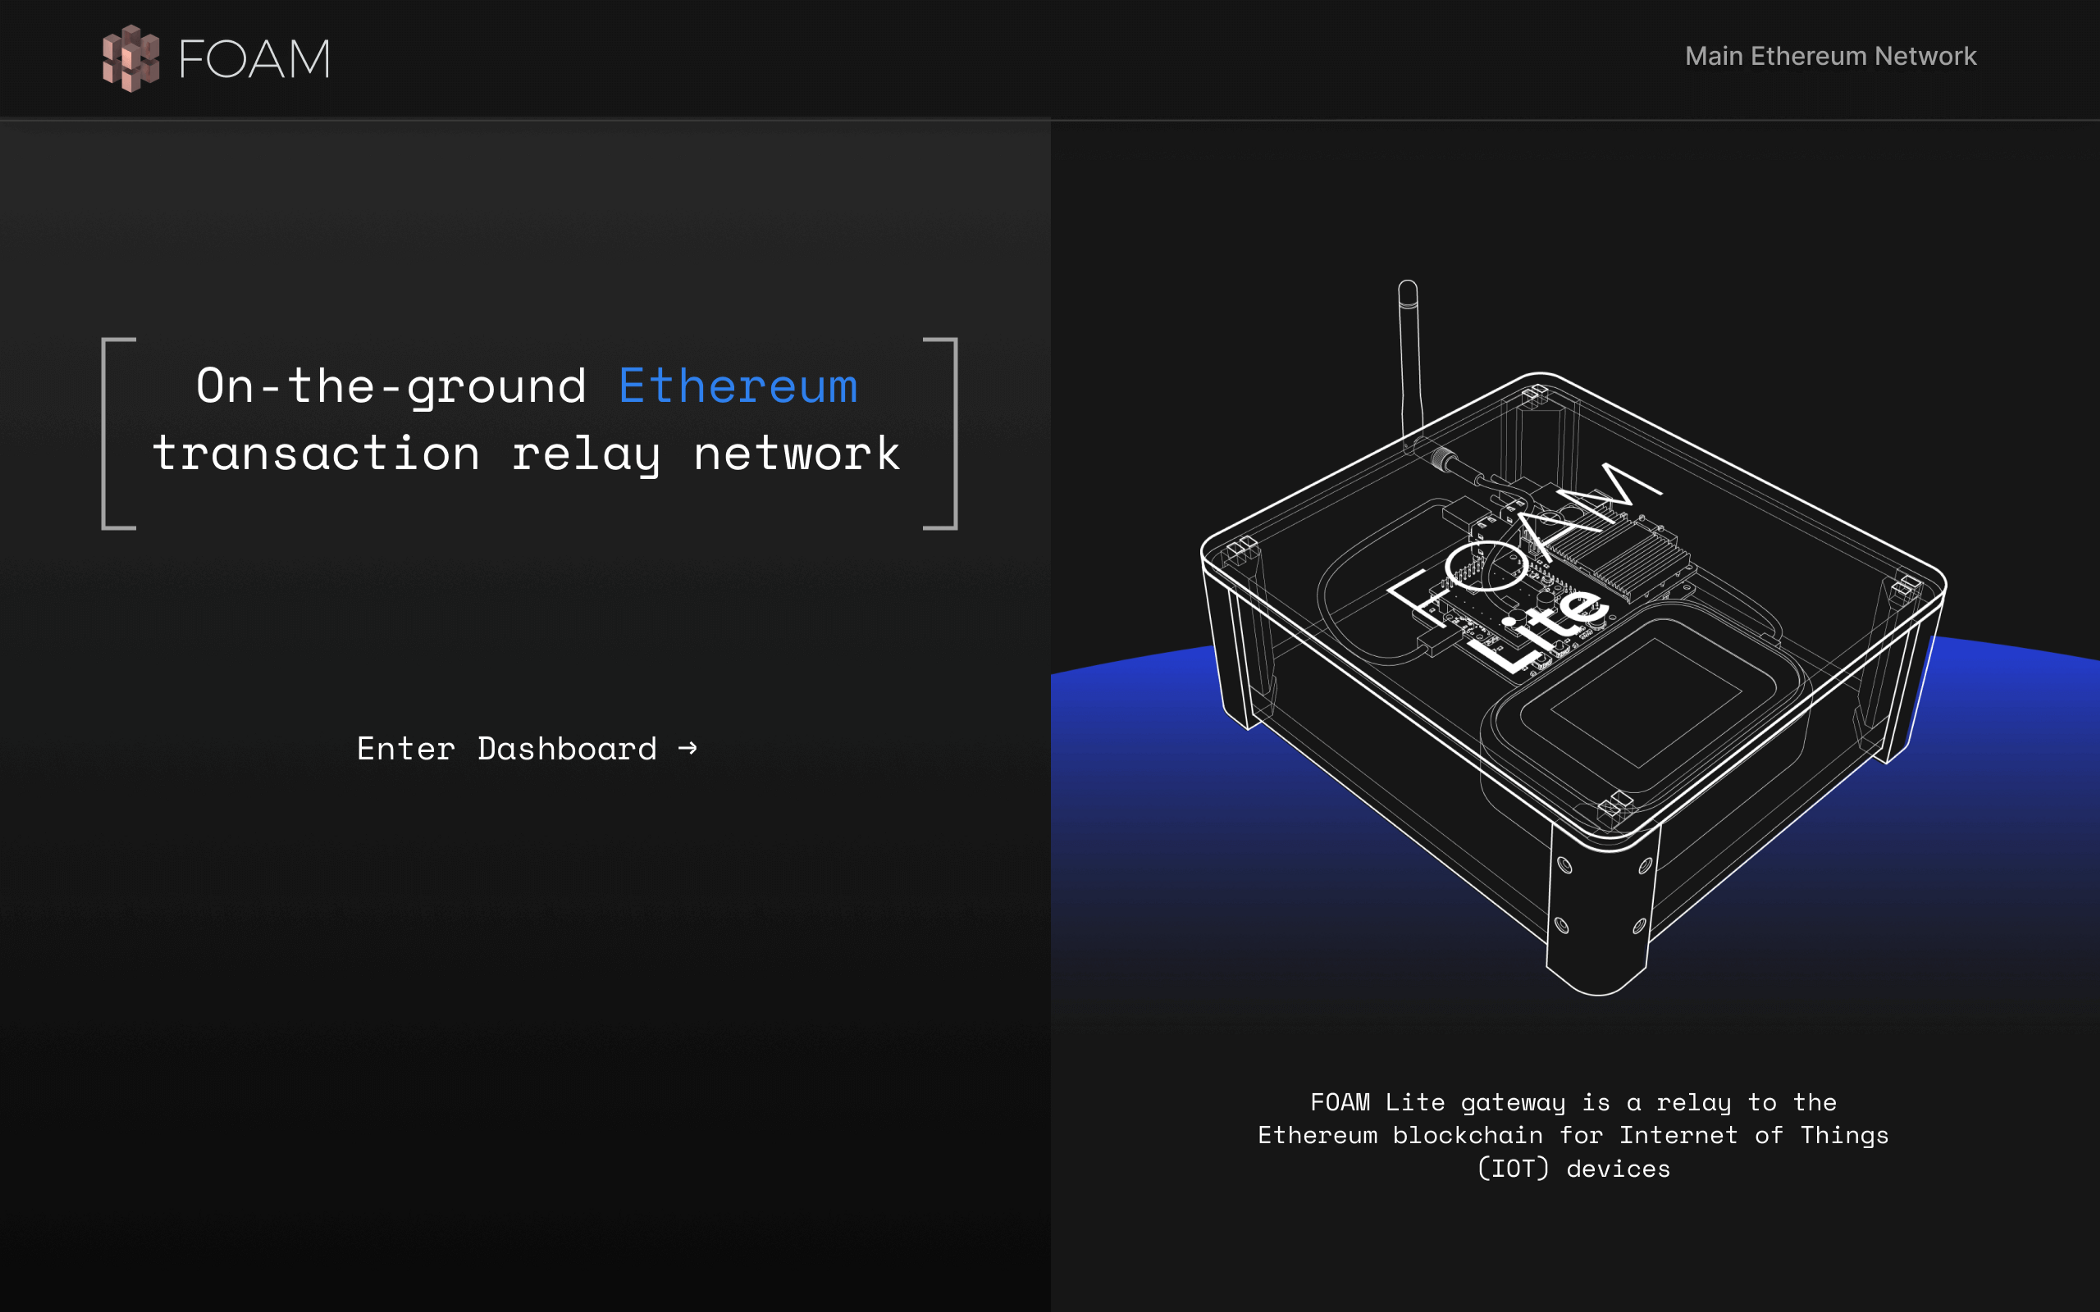
Déployé ici
La dernière documentation se trouve sur le portail du développeur de mousse.
En raison de l'étrangeté avec certaines versions de Node et Spago, vous voudriez idéalement utiliser le train v10.x du nœud. Avec NVM, c'est nvm install lts/dubnium && nvm use lts/dubnium
Pour construire l'interface utilisateur, assurez-vous que vous avez déjà construit et déployé le DAPP. Lorsque vous êtes prêt à construire et à servir l'application, faites simplement
 > npm i
> npm run bundle-app
> RELAYER_NFT= < contract adddress > npm run browserify
> npm run serve
L'adresse par défaut est localhost: 8080
 # Start a blockchain
make cliquebait-start

# Deploy the contracts
make deploy-contracts

# Bundle up the app to make it easier to pass arguments to it
# You could skip this step and run `spago -x <component>.dhall run -a "<args>"`
# instead of `node dist/<component>.js` in the future, but you'll have to do an
# `export PRIVATE_KEY=<copypaste the output>` as spago likes to add an annoying
# "[info] Build Succeeded" line to stdout sometimes. Also, because there's no way to tell
# spago that everything that follows is arguments for the app, you'll have to be
# wary of shell quoting/escaping issues in the `-a` arg to spago
make bundle

# Make an account that doesn't exist on the Ethereum node
PRIVATE_KEY= $( node dist/helper.js generate-private-key )
echo " The private key is ${PRIVATE_KEY} "

# Faucet the account with some of the FungibleToken we deployed, as well
# as some Ether to let it approve the RelayableNFT contract to spend its FungibleTokens
node dist/helper.js faucet --to-private-key ${PRIVATE_KEY} --also-ether

# Approve the RelayableNFT token to spend the account's balance (and automatically execute the approve() transaction on-chain)
node dist/helper.js approve --private-key ${PRIVATE_KEY} --submit --node-url " http://localhost:8545 "

# Double check our balances
node dist/helper.js balance --private-key ${PRIVATE_KEY}

# Start a relayer server in the background. This is what the radios use to forward messages to the blockchain
# And what we will use to simulate radio messages being sent.
# It takes a couple of seconds to start up, so wait until you see "Started listening on http://0.0.0.0:3000"
node dist/server.js &
VALIDATE_ENDPOINT= " http://localhost:3000/relay/validate "
SUBMIT_ENDPOINT= " http://localhost:3000/relay/submit "

# Check the nonce that the blockchain expects our next message to have. If we've just created this account, this will probably be 0.
# You can use the output of this command as a `--nonce` argument for the `sign-*` helpers
node dist/helper.js nonce -p ${PRIVATE_KEY}

# Make a minting message that creates an "arbitrary" hello-world message
# Using relay-nonce 0, and paying 0.1 FT to the relayer, and simulate submitting it over
# the radio to our "validate" endpoint, to double check that it got encoded/signed correctly
node dist/helper.js sign-mint --private-key ${PRIVATE_KEY} -a ' Hello World! ' --nonce $( node dist/helper.js nonce -p ${PRIVATE_KEY} ) --fee-amount 1000000000000000000 --transmit ${VALIDATE_ENDPOINT}

# The exact same command, but to the "submit" endpoint, which will actually kick off a transaction on the blockchain
node dist/helper.js sign-mint --private-key ${PRIVATE_KEY} -a ' Hello World! ' --nonce $( node dist/helper.js nonce -p ${PRIVATE_KEY} ) --fee-amount 1000000000000000000 --transmit ${SUBMIT_ENDPOINT}

# We can have some fun now. Lets make a quick loop to send the current time as a relayed message on the blockchain every minute
while true ; do
  the_message= " It is now ` date ` "
  echo " sending " ${the_message} " via relay "
  node dist/helper.js sign-mint --private-key ${PRIVATE_KEY} -a " ${the_message} " --nonce $( node dist/helper.js nonce -p ${PRIVATE_KEY} ) --fee-amount 1000000000000000000 --transmit ${SUBMIT_ENDPOINT}
  echo " waiting a minute "
  sleep 60
done

