django now ui dashboard
v1.0.3
Von AppSeed im Django Framework generiertes Admin-Dashboard. Now UI Dashboard ist ein responsives Bootstrap 4-Kit, das von Invision und Creative Tim kostenlos bereitgestellt wird. Jetzt ist UI Dashboard vollgepackt mit allen Plugins, die Sie in einem Projekt benötigen könnten, sowie einer Dokumentation für die ersten Schritte. Es ist leicht und einfach zu bedienen und außerdem sehr leistungsstark.
Merkmale
Up-to-date dependenciesSQLite Database , Django Native ORMSession-Based authentication , FormularvalidierungDeployment : Docker , Gunicorn / Nginx, HEROKU 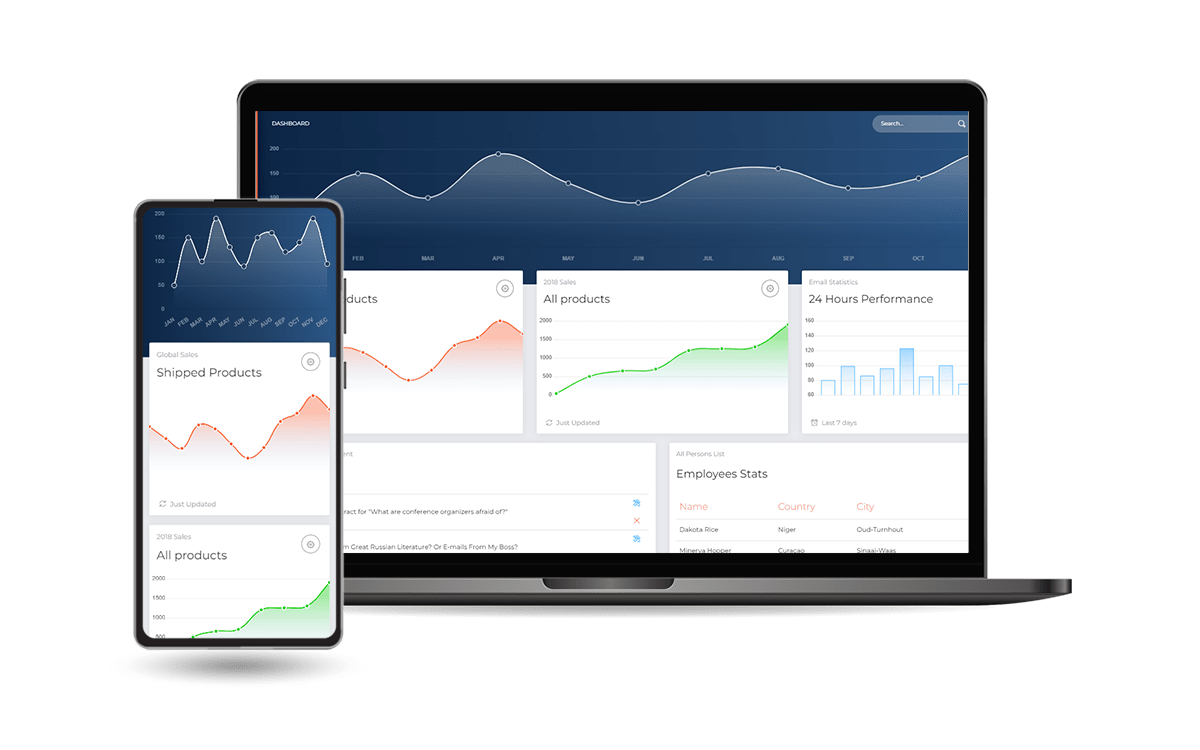
DockerHolen Sie sich den Code
$ git clone https://github.com/app-generator/django-now-ui-dashboard.git
$ cd django-now-ui-dashboard
Starten Sie die App in Docker
$ docker-compose up --build Besuchen Sie http://localhost:85 in Ihrem Browser. Die App sollte betriebsbereit sein.
$ # Get the code
$ git clone https://github.com/app-generator/django-now-ui-dashboard.git
$ cd django-now-ui-dashboard
$
$ # Virtualenv modules installation (Unix based systems)
$ virtualenv env
$ source env/bin/activate
$
$ # Virtualenv modules installation (Windows based systems)
$ # virtualenv env
$ # .envScriptsactivate
$
$ # Install modules
$ # SQLIte version
$ pip3 install -r requirements.txt
$
$ # Create tables
$ python manage.py makemigrations
$ python manage.py migrate
$
$ # Start the application (development mode)
$ python manage.py runserver # default port 8000
$
$ # Start the app - custom port
$ # python manage.py runserver 0.0.0.0:<your_port>
$
$ # Access the web app in browser: http://127.0.0.1:8000/
Hinweis: Um die App zu nutzen, rufen Sie bitte die Registrierungsseite auf und erstellen Sie einen neuen Benutzer . Nach der Authentifizierung entsperrt die App die privaten Seiten.
Das Projekt ist mit einer einfachen und intuitiven Struktur codiert, die unten dargestellt ist:
 < PROJECT ROOT >
   |
   | -- core/                               # Implements app configuration
   |    | -- settings.py                    # Defines Global Settings
   |    | -- wsgi.py                        # Start the app in production
   |    | -- urls.py                        # Define URLs served by all apps/nodes
   |
   | -- apps/
   |    |
   |    | -- home/                          # A simple app that serve HTML files
   |    |    | -- views.py                  # Serve HTML pages for authenticated users
   |    |    | -- urls.py                   # Define some super simple routes
   |    |
   |    | -- authentication/                # Handles auth routes (login and register)
   |    |    | -- urls.py                   # Define authentication routes
   |    |    | -- views.py                  # Handles login and registration
   |    |    | -- forms.py                  # Define auth forms (login and register)
   |    |
   |    | -- static/
   |    |    | -- < css, JS, images >         # CSS files, Javascripts files
   |    |
   |    | -- templates/                     # Templates used to render pages
   |         | -- includes/                 # HTML chunks and components
   |         |    | -- navigation.html      # Top menu component
   |         |    | -- sidebar.html         # Sidebar component
   |         |    | -- footer.html          # App Footer
   |         |    | -- scripts.html         # Scripts common to all pages
   |         |
   |         | -- layouts/                   # Master pages
   |         |    | -- base-fullscreen.html  # Used by Authentication pages
   |         |    | -- base.html             # Used by common pages
   |         |
   |         | -- accounts/                  # Authentication pages
   |         |    | -- login.html            # Login page
   |         |    | -- register.html         # Register page
   |         |
   |         | -- home/                      # UI Kit Pages
   |              | -- index.html            # Index page
   |              | -- 404-page.html         # 404 page
   |              | -- * .html                # All other pages
   |
   | -- requirements.txt                     # Development modules - SQLite storage
   |
   | -- .env                                 # Inject Configuration via Environment
   | -- manage.py                            # Start the app - Django default start script
   |
   | -- ************************************************************************
Der Bootstrap-Flow
manage.py verwendet core/settings.py als Hauptkonfigurationsdateicore/settings.py lädt die App-Magie aus .env DateiUm SCSS-Dateien neu zu kompilieren, befolgen Sie dieses Setup:
Schritt #1 – Tools installieren
npm install -g gulp-cli Schritt #2 – Ändern Sie das Arbeitsverzeichnis in den Ordner assets .
$ cd apps/static/assets Schritt #3 – Module installieren (dadurch wird ein klassisches node_modules Verzeichnis erstellt)
$ npm install
// OR
$ yarn
Schritt #4 – SCSS-Dateien bearbeiten und neu kompilieren
$ gulp scss Die generierte Datei wird im Verzeichnis static/assets/css gespeichert.
Die App verfügt über eine Grundkonfiguration zur Ausführung in Docker, Gunicorn und Waitress.
Die Anwendung kann einfach in einem Docker-Container ausgeführt werden. Die Schritte:
Holen Sie sich den Code
$ git clone https://github.com/app-generator/django-now-ui-dashboard.git
$ cd django-now-ui-dashboard
Starten Sie die App in Docker
$ sudo docker-compose pull && sudo docker-compose build && sudo docker-compose up -d Besuchen Sie http://localhost:85 in Ihrem Browser. Die App sollte betriebsbereit sein.
Gunicorn „Green Unicorn“ ist ein Python-WSGI-HTTP-Server für UNIX.
Mit pip installieren
$ pip install gunicornStarten Sie die App mit der Gunicorn-Binärdatei
$ gunicorn --bind=0.0.0.0:8001 core.wsgi:application
Serving on http://localhost:8001
Besuchen Sie http://localhost:8001 in Ihrem Browser. Die App sollte betriebsbereit sein.
Waitress (Gunicorn-Äquivalent für Windows) soll ein reiner Python-WSGI-Server in Produktionsqualität mit sehr akzeptabler Leistung sein. Es gibt keine Abhängigkeiten außer denen, die in der Python-Standardbibliothek vorhanden sind.
Mit pip installieren
$ pip install waitressStarten Sie die App mit waitress-serve
$ waitress-serve --port=8001 core.wsgi:application
Serving on http://localhost:8001
Besuchen Sie http://localhost:8001 in Ihrem Browser. Die App sollte betriebsbereit sein.
Django Now UI-Dashboard – bereitgestellt von App Generator .


