OpenAIKit
Patch


SWIFT ที่ได้รับการดูแลจากชุมชนสำหรับ OpenAI API
รายงานข้อผิดพลาด·คุณลักษณะการร้องขอ
Openaikit เป็น SWIFT ที่ขับเคลื่อนด้วยชุมชนที่ออกแบบมาเพื่อให้นักพัฒนา Swift มีวิธีที่ไร้รอยต่อมีประสิทธิภาพและมีประสิทธิภาพในการโต้ตอบกับจุดสิ้นสุดของ OpenAI REST เป้าหมายของเราคือการลดอุปสรรคสำหรับนักพัฒนา Swift ทำให้พวกเขาสามารถรวมพลังของ Openai เข้ากับแอพของพวกเขาโดยไม่ต้องเจาะลึกลงไปในความซับซ้อนของบริการพักผ่อน
ด้วยความต้องการที่เพิ่มขึ้นสำหรับคุณสมบัติที่ขับเคลื่อนด้วย AI ในแอพพลิเคชั่นที่ทันสมัยจึงเป็นสิ่งสำคัญสำหรับนักพัฒนาที่สามารถเข้าถึงเครื่องมือที่ทำให้กระบวนการรวมง่ายขึ้น ในขณะที่ OpenAI นำเสนอชุดความสามารถที่เหลือเชื่อ แต่ก็มีความต้องการที่ชัดเจนสำหรับ Swift SDK โดยเฉพาะที่สอดคล้องกับการปฏิบัติที่เป็นสำนวนของภาษาและความคาดหวังของชุมชนนักพัฒนา Swift
เราจินตนาการถึงเครื่องมือที่ไม่เพียง แต่ให้การเข้าถึงฟังก์ชัน OpenAI แบบดิบ แต่ยังช่วยเพิ่มประสบการณ์นักพัฒนาด้วย API ที่ชัดเจนและใช้งานง่าย เป้าหมายสูงสุดของเราคือการส่งเสริมนวัตกรรมโดยการจัดหาเครื่องมือที่เหมาะสมให้กับชุมชนที่เหมาะสมในการรวมความสามารถของ AI เข้ากับแอปพลิเคชันของพวกเขาอย่างง่ายดาย
| แพลตฟอร์ม | เวอร์ชัน Swift ขั้นต่ำ | การติดตั้ง | สถานะ |
|---|---|---|---|
| iOS 13.0+ / MacOS 10.15+ / TVOS 13.0+ / WatchOS 6.0+ / Visionos 1.0+ | 5.7 | Swift Package Manager | ทดสอบอย่างเต็มที่ |
Swift Package Manager ช่วยให้นักพัฒนาสามารถรวมแพ็คเกจเข้ากับโครงการและแพ็คเกจ XCode ได้อย่างง่ายดาย และยังรวมเข้ากับคอมไพเลอร์ swift อย่างเต็มที่
https://github.com/OpenDive/OpenAIKit.git เมื่อคุณตั้งค่าแพ็คเกจ Swift แล้วให้เพิ่มลิงค์ GIT ภายในค่า dependencies ของไฟล์ Package.swift ของคุณ
dependencies: [
    . package ( url : " https://github.com/OpenDive/OpenAIKit.git " , . upToNextMajor ( from : " 2.0.1 " ) )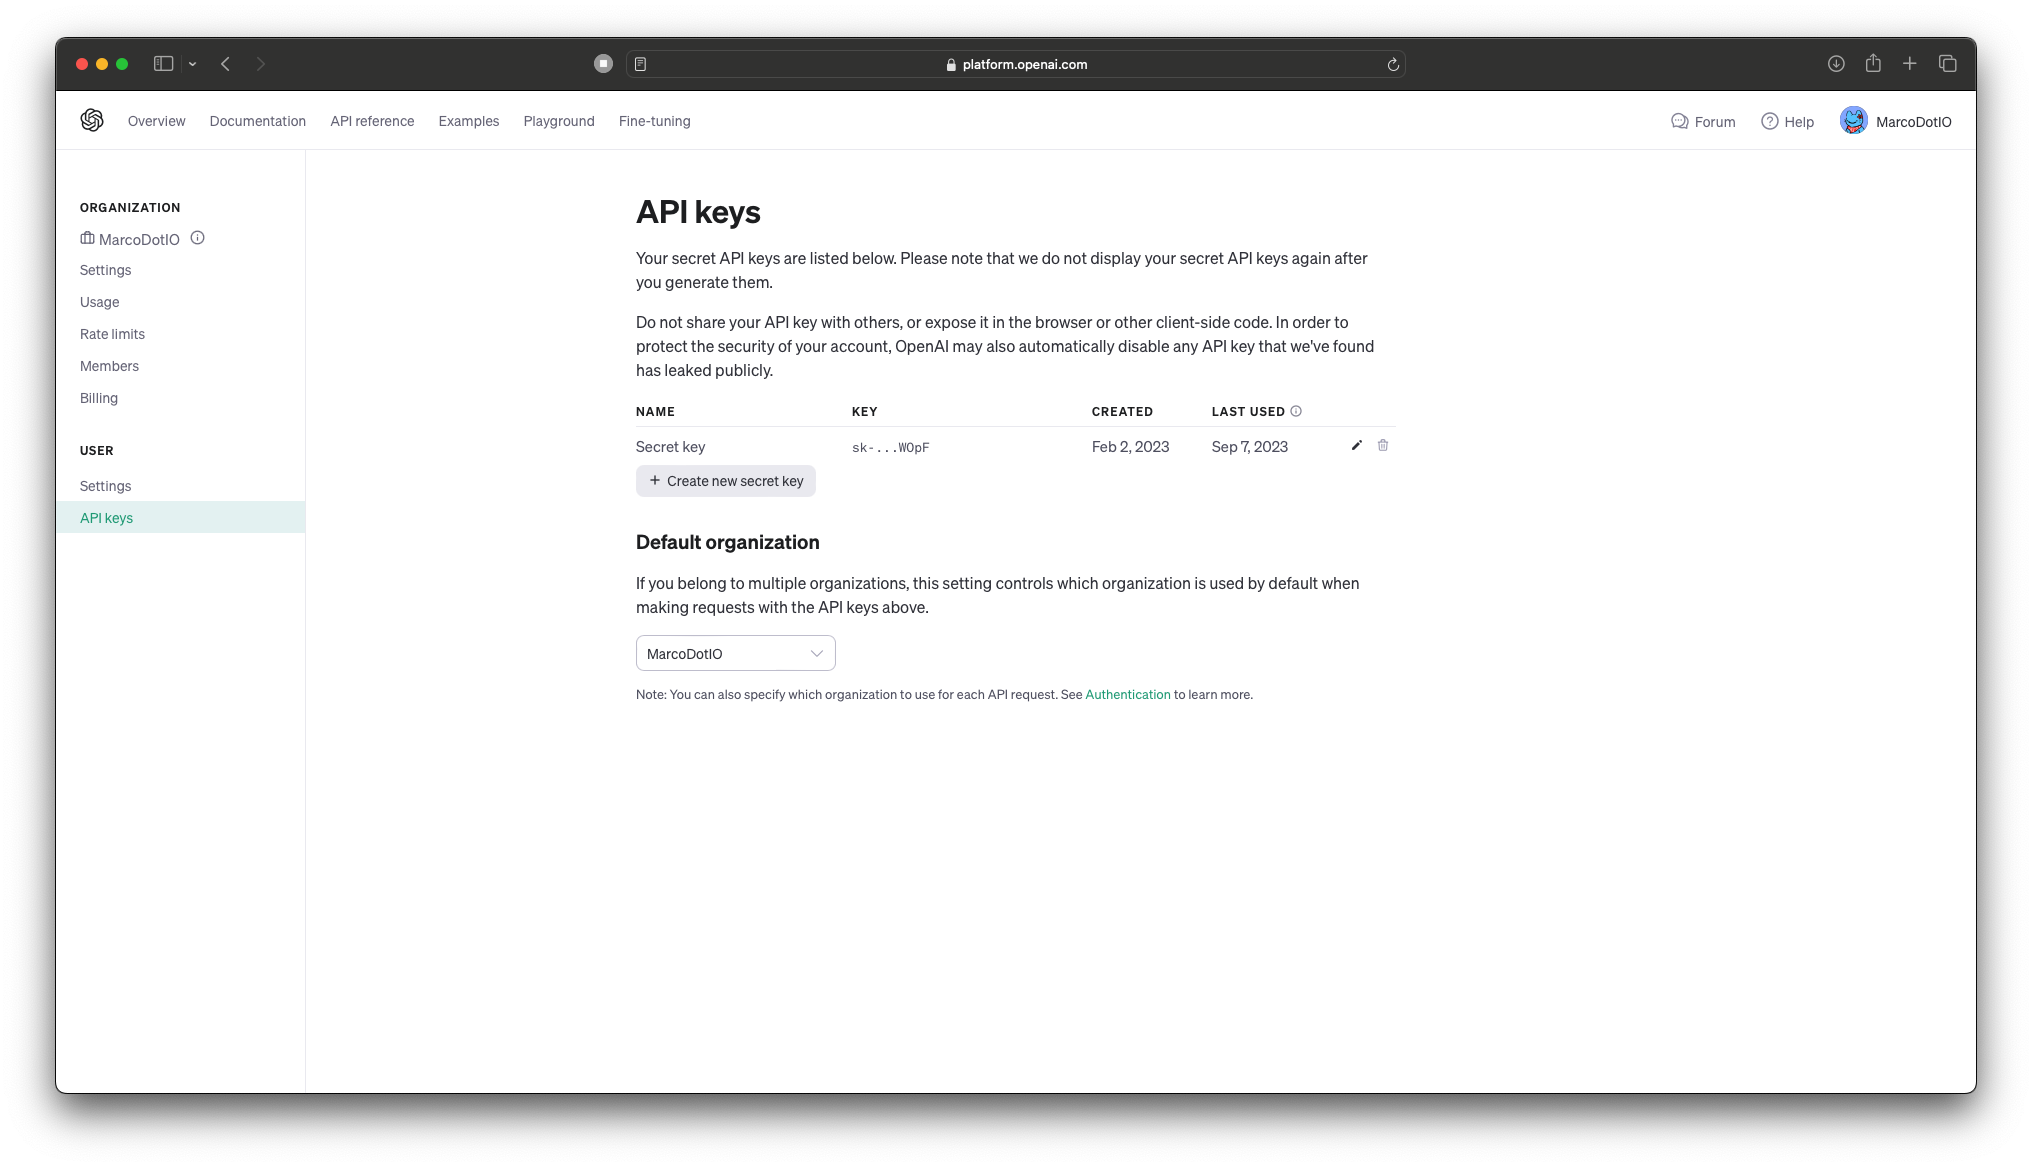
] หากต้องการรับคีย์ API ให้ไปที่หน้า API Keys ของคุณในหน้าบัญชีของคุณที่นี่
- สำคัญ: อย่าเก็บคีย์ OpenAI API โดยตรงในรหัส! - เมื่อทำงานกับ API ของ OpenAI สิ่งจำเป็นสำหรับเหตุผลด้านความปลอดภัยที่จะไม่ฝังคีย์ API ของคุณโดยตรงภายใน codebase ของแอปพลิเคชันของคุณ การฝังคีย์โดยตรงในซอร์สโค้ดของคุณสามารถเปิดเผยให้ผู้ใช้ที่ไม่ได้รับอนุญาตและนักแสดงที่เป็นอันตรายนำไปสู่การใช้ในทางที่ผิด
แนวทางปฏิบัติที่ดีที่สุด:
- ตัวแปรสภาพแวดล้อม: เก็บคีย์ API ของคุณในตัวแปรสภาพแวดล้อมและเข้าถึงได้ในรหัสของคุณ ด้วยวิธีนี้พวกเขาไม่ได้เข้ารหัสในแอปพลิเคชันของคุณและสามารถจัดการได้อย่างปลอดภัย
- การจัดการความลับ: ใช้เครื่องมือการจัดการความลับที่ปลอดภัยหรือบริการเพื่อจัดเก็บและดึงคีย์ API ของคุณ เครื่องมือเช่น AWS Secrets Manager, Hashicorp Vault, Firebase, CloudKit หรือ Azure Key Vault ได้รับการออกแบบมาเพื่อจัดเก็บจัดการและดึงข้อมูลที่ละเอียดอ่อน ด้วยวิธีนี้ผู้ใช้ไม่สามารถเข้าถึงคีย์ได้อย่างต่อเนื่อง
- .gitignore: หากคุณเก็บคีย์ API ของคุณไว้ในไฟล์การกำหนดค่าให้ตรวจสอบให้แน่ใจเสมอว่าไฟล์นี้จะถูกเพิ่มลงใน
.gitignoreหรือกลไกที่คล้ายกันเพื่อป้องกันไม่ให้มีการมุ่งมั่นในระบบควบคุมแหล่งที่มาโดยไม่ตั้งใจ- หมุนปุ่มเป็นประจำ: หมุนปุ่ม API ของคุณเป็นระยะเพื่อลดผลกระทบที่อาจเกิดขึ้นจากการรั่วไหล
โปรดจำไว้ว่าการรักษาความปลอดภัยมีความสำคัญสูงสุด จัดลำดับความสำคัญของการจัดการที่ปลอดภัยของข้อมูลที่ละเอียดอ่อนเช่นปุ่ม API!
สำหรับข้อมูลเพิ่มเติมลองดูบทความนี้เกี่ยวกับการจัดการคีย์ API สำหรับนักพัฒนา Swift
ดำดิ่งสู่วิวัฒนาการครั้งต่อไปของการสร้างภาพที่ขับเคลื่อนด้วย AI ด้วย Dall-E 2 (และเร็ว ๆ นี้ Dall-E 3) นำเสนอโดย Openai สร้างขึ้นจากมรดกของรุ่นก่อน Dall-E 2 นำเสนอความสามารถที่เพิ่มขึ้นในการสร้างภาพที่ซับซ้อนจากพรอมต์ข้อความสร้างสะพานที่ไร้รอยต่อระหว่างภาษาและภาพ นักพัฒนาสามารถควบคุมเทคโนโลยีที่ก้าวล้ำนี้เพื่อเสริมสร้างประสบการณ์ผู้ใช้เนื้อหาแบบไดนามิกและสร้างแรงบันดาลใจให้กับความคิดสร้างสรรค์ใหม่ ๆ ปฏิวัติแอปพลิเคชันและโครงการของคุณโดยการรวมพลังที่ทันสมัยของ Dall-E 2
OpenAI มีจุดสิ้นสุดสามจุดเพื่อโต้ตอบกับ Dall -E 2: - createImage เป็นจุดสิ้นสุดหลักที่อนุญาตให้สร้างภาพโดยตรงจากข้อความแจ้ง นี่คือตัวอย่างเกี่ยวกับวิธีการใช้ปลายทางพร้อมกับเอาต์พุตที่สัมพันธ์กัน:
 do {
    let imageParam = ImageParameters (
        // A text description of the desired image(s).
        prompt : " An armchair in the shape of an avocado " ,
        // The size of the generated images.
        resolution : . large ,
        // The format in which the generated images are returned.
        responseFormat : . base64Json
    )
    let result = try await openAi . createImage (
        parameters : imageParam
    )
    let b64Image = result . data [ 0 ] . image
    let image = try openAi . decodeBase64Image ( b64Image )
} catch {
    // Insert your own error handling method here.
} 
 do {
    let imageEditParam = try ImageEditParameters (
        // The image to edit.
        image : image ,
        // An additional image whose fully transparent areas indicate where image should be edited.
        mask : mask ,
        // A text description of the desired image(s).
        prompt : " The Mona Lisa wearing a beret, in the style of Leonardo DaVinci " ,
        // The size of the generated images.
        resolution : . large ,
        // The format in which the generated images are returned.
        responseFormat : . base64Json
    )

    let imageResponse = try await openAI . generateImageEdits (
        parameters : imageEditParam
    )

    let image = try openAI . decodeBase64Image ( imageResponse . data [ 0 ] . image )
} catch {
    // Insert your own error handling method here.
}  |  |  |
|---|---|---|
| ต้นฉบับ | หน้ากาก | แก้ไข |
- createImageVariation ช่วยให้นักพัฒนาสามารถสร้างรูปแบบของภาพอินพุตที่กำหนด นี่คือตัวอย่างเกี่ยวกับวิธีการใช้ปลายทางพร้อมกับเอาต์พุตที่สัมพันธ์กัน:
 do {
    let imageVariationParam = try ImageVariationParameters (
        // The image to use as the basis for the variation(s).
        image : image ,
        // The size of the generated images.
        resolution : . large ,
        // The format in which the generated images are returned.
        responseFormat : . base64Json
    )

    let variationResponse = try await openAI . generateImageVariations (
        parameters : imageVariationParam
    )

    self . image = try openAI . decodeBase64Image (
        variationResponse . data [ 0 ] . image
    )
} catch {
    // Insert your own error handling method here.
}  |  |
|---|---|
| ต้นฉบับ | การเปลี่ยนแปลง |
Chatgpt สร้างขึ้นบนสถาปัตยกรรม GPT-4 ของ OpenAi เป็นรุ่น AI การสนทนาที่ทันสมัย มันให้เครื่องมือที่มีประสิทธิภาพสำหรับนักพัฒนาซอฟต์แวร์สำหรับการรวมความสามารถในการประมวลผลภาษาธรรมชาติขั้นสูงเข้ากับแอปพลิเคชัน การใช้ CHATGPT สามารถปรับปรุงการโต้ตอบของผู้ใช้ปรับปรุงประสิทธิภาพและนำเสนอโซลูชั่นที่ขับเคลื่อนด้วย AI ในกรณีการใช้งานที่หลากหลาย รวมความแข็งแกร่งของ GPT-4 ไว้ในโครงการของคุณเพื่อผลลัพธ์ที่จับต้องได้
มีจุดสิ้นสุดเดียวสำหรับคุณลักษณะนี้อย่างไรก็ตาม SDK นี้จะแยกจุดสิ้นสุดออกเป็นสองฟังก์ชั่นที่มีคุณสมบัติสามแบบแยกกัน: - generateChatCompletion ช่วยให้นักพัฒนาสามารถสร้างการแชทได้สำเร็จโดยใช้โมเดลที่ให้มาจาก OpenAI; หรือรุ่นที่ปรับแต่งของนักพัฒนาซอฟต์แวร์ นี่คือตัวอย่างเกี่ยวกับวิธีการใช้ปลายทางพร้อมกับเอาต์พุตที่สัมพันธ์กัน:
 do {
    let chat : [ ChatMessage ] = [
        ChatMessage ( role : . system , content : " You are a helpful assistant. " ) ,
        ChatMessage ( role : . user , content : " Who won the world series in 2020? " ) ,
        ChatMessage ( role : . assistant , content : " The Los Angeles Dodgers won the World Series in 2020. " ) ,
        ChatMessage ( role : . user , content : " Where was it played? " )
    ]

    let chatParameters = ChatParameters (
        model : . gpt4 ,  // ID of the model to use.
        messages : chat  // A list of messages comprising the conversation so far.
    )

    let chatCompletion = try await openAI . generateChatCompletion (
        parameters : chatParameters
    )

    if let message = chatCompletion . choices [ 0 ] . message {
        let content = message . content
    }
} catch {
    // Insert your own error handling method here.
}
ChatResponse(
id: "chatcmpl-88eG5VruffcNHPNVGBKGVAV5HGk4j",
object: OpenAIKit.OpenAIObject.chatCompletion,
created: 1697072069,
choices: [
OpenAIKit.ChatChoice(
message: Optional(
OpenAIKit.ChatMessage(
id: "250FDA2D-2F38-4E6F-B97E-DAD74FED1FB6",
role: OpenAIKit.ChatRole.assistant,
content: Optional(
"The 2020 World Series was played at Globe Life Field in Arlington, Texas."
),
functionCall: nil
)
),
delta: nil,
index: 0,
logprobs: nil,
finishReason: Optional("stop")
)
],
usage: Optional(
OpenAIKit.Usage(
promptTokens: 53,
completionTokens: 17,
totalTokens: 70
)
)
)
นักพัฒนายังสามารถใช้การเรียกใช้ฟังก์ชั่นเพื่อเรียกใช้ฟังก์ชั่นต่าง ๆ (เช่นการดึงข้อมูลสภาพอากาศการอัปโหลดไฟล์ ฯลฯ ) นี่คือตัวอย่างเกี่ยวกับวิธีการใช้พารามิเตอร์การตอบสนองที่สอดคล้องกันและการใช้ตัวอย่างด้วยฟังก์ชั่นท้องถิ่น
 do {
    let functions : [ Function ] = [
        Function (
            name : " getCurrentWeather " ,
            description : " Get the current weather in a given location " ,
            parameters : Parameters (
                type : " object " ,
                properties : [
                    " location " : ParameterDetail (
                        type : " string " ,
                        description : " The city and state, e.g. San Francisco, CA "
                    ) ,
                    " unit " : ParameterDetail (
                        type : " string " , enumValues : [ " fahrenheit " , " celsius " ]
                    )
                ] ,
                required : [ " location " ]
            )
        )
    ]
    let messages : [ ChatMessage ] = [
        ChatMessage ( role : . user , content : " What's the weather like in Boston? " )
    ]

    let chatParameters = ChatParameters (
        model : . gpt4 ,  // ID of the model to use.
        messages : messages ,  // A list of messages comprising the conversation so far.
        functionCall : " auto " ,  // Controls how the model calls functions.
        functions : functions  // A list of functions the model may generate JSON inputs for.
    )

    let chatCompletion = try await openAI . generateChatCompletion (
        parameters : chatParameters
    )
} catch {
    // Insert your own error handling method here.
}
ChatResponse(
id: "chatcmpl-88eVjsHEPtDDiSEuCexsqO8iuhnfG",
object: OpenAIKit.OpenAIObject.chatCompletion,
created: 1697073039,
choices: [
OpenAIKit.ChatChoice(
message: Optional(
OpenAIKit.ChatMessage(
id: "DCE5EECB-9521-481D-9E75-C7FF9390E4CF",
role: OpenAIKit.ChatRole.assistant,
content: nil,
functionCall: Optional(
OpenAIKit.FunctionCall(
arguments: "{n"location": "Boston, MA"n}",
name: "getCurrentWeather"
)
)
)
),
delta: nil,
index: 0,
logprobs: nil,
finishReason: Optional("function_call")
)
],
usage: Optional(OpenAIKit.Usage(promptTokens: 81, completionTokens: 16, totalTokens: 97))
)
 func getCurrentWeather ( location : String , unit : TemperatureUnit = . fahrenheit ) -> WeatherInfo {
    return WeatherInfo ( location : location , temperature : " 72 " , unit : unit , forecast : [ " sunny " , " windy " ] )
}

if let message = chatCompletion . choices [ 0 ] . message , let functionCall = message . functionCall {
    let jsonString = functionCall . arguments
    if let data = jsonString . data ( using : . utf8 ) {
        do {
            if
                let json = try JSONSerialization . jsonObject ( with : data , options : [ ] ) as? [ String : Any ] ,
                let location = json [ " location " ] as? String
            {
                self . weatherInfo = self . getCurrentWeather ( location : location )
            }
        } catch {
            // Insert your own error handling method here.
        }
    }
}
- generateChatCompletionStreaming ช่วยให้การพัฒนาข้อมูลการแชทเสร็จสมบูรณ์จากจุดสิ้นสุด นี่คือตัวอย่างเกี่ยวกับวิธีการใช้ปลายทางพร้อมกับเอาต์พุตที่สัมพันธ์กัน:
 do {
    let chat : [ ChatMessage ] = [
        ChatMessage ( role : . system , content : " You are a helpful assistant. " ) ,
        ChatMessage ( role : . user , content : " Who won the world series in 2020? " ) ,
        ChatMessage ( role : . assistant , content : " The Los Angeles Dodgers won the World Series in 2020. " ) ,
        ChatMessage ( role : . user , content : " Where was it played? " )
    ]

    let chatParameters = ChatParameters ( model : . chatGPTTurbo , messages : chat )

    let stream = try openAI . generateChatCompletionStreaming (
        parameters : chatParameters
    )
} catch {
    // Insert your own error handling method here.
}
ChatResponse(
id: "chatcmpl-88enklY0vmc4fNkM1mJQCkzW6hcST",
object: OpenAIKit.OpenAIObject.chatCompletionChunk,
created: 1697074156,
choices: [
OpenAIKit.ChatChoice(
message: nil,
delta: Optional(
OpenAIKit.ChatDelta(
role: Optional(OpenAIKit.ChatRole.assistant),
content: Optional("")
)
),
index: 0,
logprobs: nil,
finishReason: nil
)
],
usage: nil
)
ChatResponse(
id: "chatcmpl-88enklY0vmc4fNkM1mJQCkzW6hcST",
object: OpenAIKit.OpenAIObject.chatCompletionChunk,
created: 1697074156,
choices: [
OpenAIKit.ChatChoice(
message: nil,
delta: Optional(
OpenAIKit.ChatDelta(
role: nil,
content: Optional("The")
)
),
index: 0,
logprobs: nil,
finishReason: nil
)
],
usage: nil
)
// ...
ChatResponse(
id: "chatcmpl-88enklY0vmc4fNkM1mJQCkzW6hcST",
object: OpenAIKit.OpenAIObject.chatCompletionChunk,
created: 1697074156,
choices: [
OpenAIKit.ChatChoice(
message: nil,
delta: Optional(
OpenAIKit.ChatDelta(
role: nil,
content: Optional(".")
)
),
index: 0,
logprobs: nil,
finishReason: nil
)
],
usage: nil
)
ChatResponse(
id: "chatcmpl-88enklY0vmc4fNkM1mJQCkzW6hcST",
object: OpenAIKit.OpenAIObject.chatCompletionChunk,
created: 1697074156,
choices: [
OpenAIKit.ChatChoice(
message: nil,
delta: Optional(
OpenAIKit.ChatDelta(
role: nil,
content: nil
)
),
index: 0,
logprobs: nil,
finishReason: Optional("stop")
)
],
usage: nil
)
Whisper เป็นโมเดล AI คำพูดของ OpenAI ซึ่งออกแบบมาเพื่อการถอดความเนื้อหาที่พูดได้อย่างแม่นยำ โดยการแปลงเสียงเป็นข้อความจะนำเสนอเครื่องมือที่ตรงไปตรงมาสำหรับงานเช่นบริการการถอดความคำสั่งเสียงการแปลภาษาเสียงหรือการจัดทำดัชนีเสียง การใช้งาน Whisper สามารถช่วยปรับปรุงกระบวนการทำให้แอปพลิเคชันเข้าถึงได้ง่ายขึ้นและใช้ประโยชน์จากข้อมูลเสียงได้อย่างมีประสิทธิภาพ
มีจุดสิ้นสุดหลักสองจุดที่ใช้โมเดล Whisper: - createTranscription เป็นจุดสิ้นสุดหลักที่ช่วยให้นักพัฒนาสามารถถอดเสียงพูดเสียงลงในข้อความได้ นี่คือตัวอย่างเกี่ยวกับวิธีการใช้ปลายทางและรายการที่ส่งคืนที่เกี่ยวข้อง:
 do {
    let audioParameters = TranscriptionParameters ( file : audio )

    let transcriptionCompletion = try await openAI . createTranscription ( parameters : audioParameters )
} catch {
    // Insert your own error handling method here.
} Arousing from the most profound of slumbers, we break the gossamer web of some dream. Yet in a second afterward, so frail may that web have been, we remember not that we have dreamed. In the return to life
from the swoon there are two stages, first, that of the sense of mental or spiritual, secondly, that of the sense of physical existence. It seems probable that if, upon reaching the second stage, we could
recall the impressions of the first, we should find these impressions eloquent in memories of the gulf beyond. And that gulf is what? How at least shall we distinguish its shadows from those of the tomb?
- createTranslation เป็นจุดสิ้นสุดที่สองที่ช่วยให้นักพัฒนาสามารถแปลเสียงที่ไม่ใช่ภาษาอังกฤษใด ๆ เป็นข้อความภาษาอังกฤษที่คัดลอกมา นี่คือตัวอย่างเกี่ยวกับวิธีการใช้ปลายทางและรายการที่ส่งคืนที่เกี่ยวข้อง:
 do {
    let audioParameters = TranscriptionParameters ( file : audio )

    let transcriptionCompletion = try await openAI . createTranslation ( parameters : audioParameters )
} catch {
    // Insert your own error handling method here.
} In the night, when I was out of my mind, and I, pained, numb and tired, thought about the beauty and goodness of a long-forgotten lesson, and my head began to shake, I suddenly heard something tick that scared
me out of my sleep. Who could it be in that weather? A visitor is knocking, I thought, at my room in that weather. That's all it is, and nothing more.
Embeddings ใช้โมเดล GPT ของ OpenAI เพื่อสร้างการแสดงเวกเตอร์หนาแน่นสำหรับข้อความ การฝังข้อมูลเหล่านี้จับข้อมูลความหมายทำให้นักพัฒนาสามารถทำงานได้เช่นการค้นหาความคล้ายคลึงกันการจัดกลุ่มหรือการปรับแต่งในงานที่เฉพาะเจาะจง ด้วยการรวม GPT Embeddings เข้ากับแอปพลิเคชันนักพัฒนาสามารถปรับปรุงการวิเคราะห์ข้อความและความสามารถในการดึงข้อมูลซึ่งนำไปสู่การประมวลผลข้อมูลที่มีประสิทธิภาพมากขึ้นและข้อมูลเชิงลึก
นี่คือตัวอย่างเกี่ยวกับวิธีการใช้งานและผลลัพธ์ที่คาดหวังสำหรับจุดสิ้นสุด:
 do {
    let embeddingsParam = EmbeddingsParameters ( model : " text-similarity-ada-002 " , input : input )

    self . embeddingsResponse = try await openAI . createEmbeddings ( parameters : embeddingsParam )
} catch {
    // Insert your own error handling method here.
}
OpenAIKit.EmbeddingsResponse(
object: OpenAIKit.OpenAIObject.list,
data: [
OpenAIKit.EmbeddingsData(
object: OpenAIKit.OpenAIObject.embedding,
embedding: [
0.0028667077,
0.018867997,
-0.030135695,
// ...
-0.004177677,
-0.015615467,
-0.008131327
],
index: 0
)
],
model: "text-similarity-ada:002",
usage: OpenAIKit.EmbeddingsUsage(
promptTokens: 8,
totalTokens: 8
)
)
Models Endpoint ช่วยให้นักพัฒนาสามารถดึงรุ่นที่มีอยู่ในปัจจุบันจาก OpenAI พร้อมกับรุ่นที่ปรับแต่งของตัวเอง
มีจุดสิ้นสุดสองจุดสำหรับใช้กับคุณสมบัตินี้:
listModels ดึงรายการทั้งหมดของโมเดล avaialbe ไปยังนักพัฒนา นี่คือตัวอย่างการใช้งานพร้อมกับเอาต์พุตที่สอดคล้องกัน: do {
let modelsResponse = try await openAi . listModels ( )
} catch {
// Insert your own error handling method here.
} ListModelResponse(
object: OpenAIKit.OpenAIObject.list,
data: [
OpenAIKit.Model(
id: "text-search-babbage-doc-001",
object: OpenAIKit.OpenAIObject.model,
created: 1651172509,
ownedBy: "openai-dev"
),
OpenAIKit.Model(
id: "curie-search-query",
object: OpenAIKit.OpenAIObject.model,
created: 1651172509,
ownedBy: "openai-dev"
),
OpenAIKit.Model(
id: "text-search-babbage-query-001",
object: OpenAIKit.OpenAIObject.model,
created: 1651172509,
ownedBy: "openai-dev"
),
OpenAIKit.Model(
id: "babbage",
object: OpenAIKit.OpenAIObject.model,
created: 1649358449,
ownedBy: "openai"
),
OpenAIKit.Model(
id: "gpt-3.5-turbo-instruct-0914",
object: OpenAIKit.OpenAIObject.model,
created: 1694122472,
ownedBy: "system"
)
// ...
]
)
retrieveModels ดึงข้อมูลรุ่นเดียวเนื่องจาก ID ของโมเดลอินพุต นี่คือตัวอย่างการใช้งานพร้อมกับเอาต์พุตที่สอดคล้องกัน: do {
let model = try await openAI . retrieveModel ( modelId : " text-davinci-001 " )
} catch {
// Insert your own error handling method here.
} OpenAIKit.Model(
id: "text-davinci-001",
object: OpenAIKit.OpenAIObject.model,
created: 1649364042,
ownedBy: "openai"
)
ณ วันที่ 6 กรกฎาคม 2566 Openai ได้ประกาศการเลิกจ้างรุ่นเก่าใน API ที่สมบูรณ์ซึ่งถูกตั้งค่าให้เกษียณเมื่อต้นปี 2567 ขอแนะนำให้เปลี่ยนไปใช้การแชทเสร็จสมบูรณ์ API API การแชทเสร็จสมบูรณ์ได้พิสูจน์แล้วว่าจัดการกับกรณีการใช้งานก่อนหน้านี้ส่วนใหญ่และความต้องการการสนทนาใหม่ที่มีความยืดหยุ่นและความจำเพาะที่สูงขึ้นช่วยเพิ่มประสบการณ์นักพัฒนาอย่างมีนัยสำคัญ สำหรับรายละเอียดเพิ่มเติมโปรดดูประกาศอย่างเป็นทางการ
ณ 2.x โมเดลการแชทเสร็จสมบูรณ์จะใช้ enums เพื่อติดฉลากแต่ละรุ่นที่มีอยู่สำหรับการใช้งานหลักของรุ่นเริ่มต้น นี่คือตัวอย่างเกี่ยวกับวิธีการโยกย้ายจากการใช้ตัวเริ่มต้นที่เก่ากว่าสำหรับ ChatParameter ไปยัง initializer สำหรับ 2.x:
 //  1.x implementation
let chatParameters = ChatParameters ( model : " gpt4 " , messages : chat )

// ✅ 2.x implementation
let chatParameters = ChatParameters ( model : . gpt4 , messages : chat )
หากคุณต้องการสตริงที่กำหนดเองสำหรับรุ่นที่ปรับแต่งให้ใช้พารามิเตอร์ customModel :
 // ✅ 2.x implementation for custom model IDs
let chatParameters = ChatParameters ( customModel : " INSERT-MODEL-ID " , message : chat ) (TBD)
เรายินดีต้อนรับทุกคนที่จะมีส่วนร่วมในโครงการผ่านการโพสต์ปัญหาหากพวกเขาพบข้อบกพร่อง / ข้อบกพร่องใด ๆ ในขณะที่ใช้ openaikit; และด้วยการสร้างปัญหาการดึงที่เพิ่มคุณสมบัติเพิ่มเติมใด ๆ ให้กับ openaikit
Openaikit ได้รับการปล่อยตัวภายใต้ใบอนุญาต MIT และการใช้จุดสิ้นสุดส่วนที่เหลือของ Openai จะอยู่ภายใต้นโยบายการใช้งานที่กำหนดโดยพวกเขา
 Permission is hereby granted, free of charge, to any person obtaining a copy
of this software and associated documentation files (the "Software"), to deal
in the Software without restriction, including without limitation the rights
to use, copy, modify, merge, publish, distribute, sublicense, and/or sell
copies of the Software, and to permit persons to whom the Software is
furnished to do so, subject to the following conditions:

The above copyright notice and this permission notice shall be included in
all copies or substantial portions of the Software.

THE SOFTWARE IS PROVIDED "AS IS", WITHOUT WARRANTY OF ANY KIND, EXPRESS OR
IMPLIED, INCLUDING BUT NOT LIMITED TO THE WARRANTIES OF MERCHANTABILITY,
FITNESS FOR A PARTICULAR PURPOSE AND NONINFRINGEMENT. IN NO EVENT SHALL THE
AUTHORS OR COPYRIGHT HOLDERS BE LIABLE FOR ANY CLAIM, DAMAGES OR OTHER
LIABILITY, WHETHER IN AN ACTION OF CONTRACT, TORT OR OTHERWISE, ARISING FROM,
OUT OF OR IN CONNECTION WITH THE SOFTWARE OR THE USE OR OTHER DEALINGS IN
THE SOFTWARE.


