photoholic
1.0.0
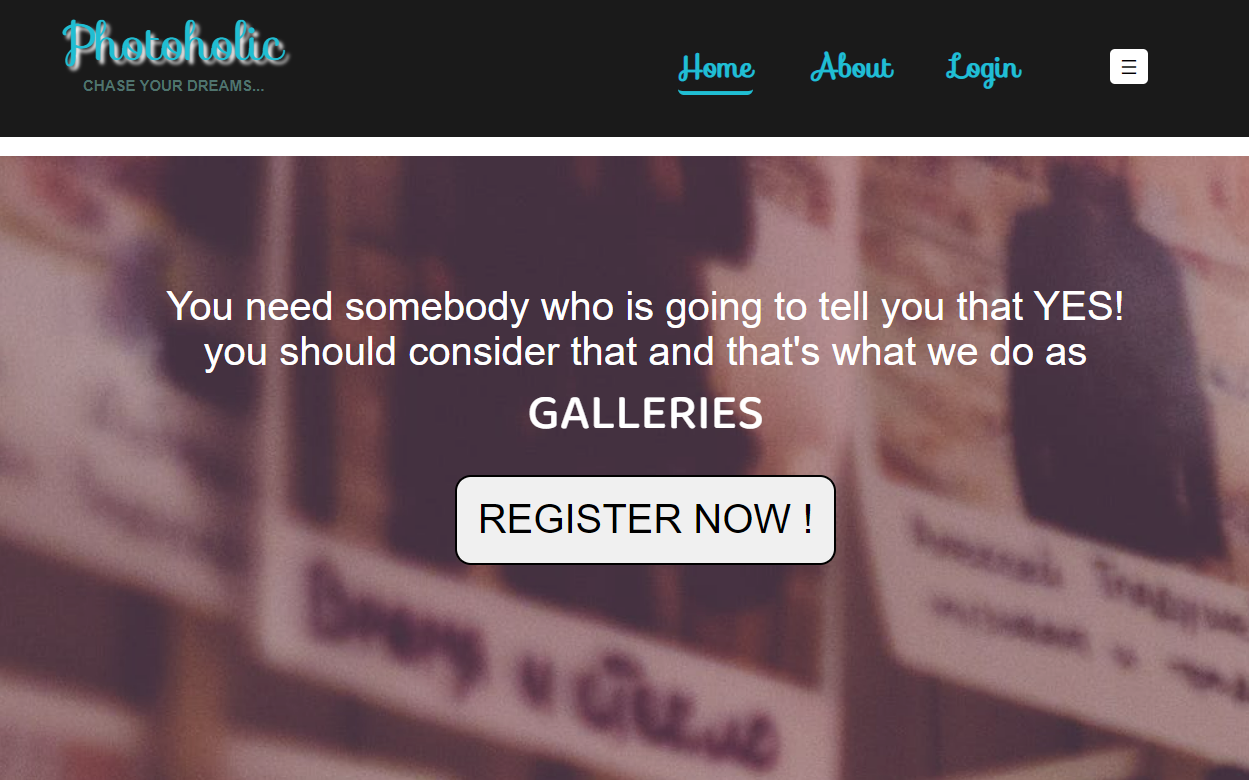
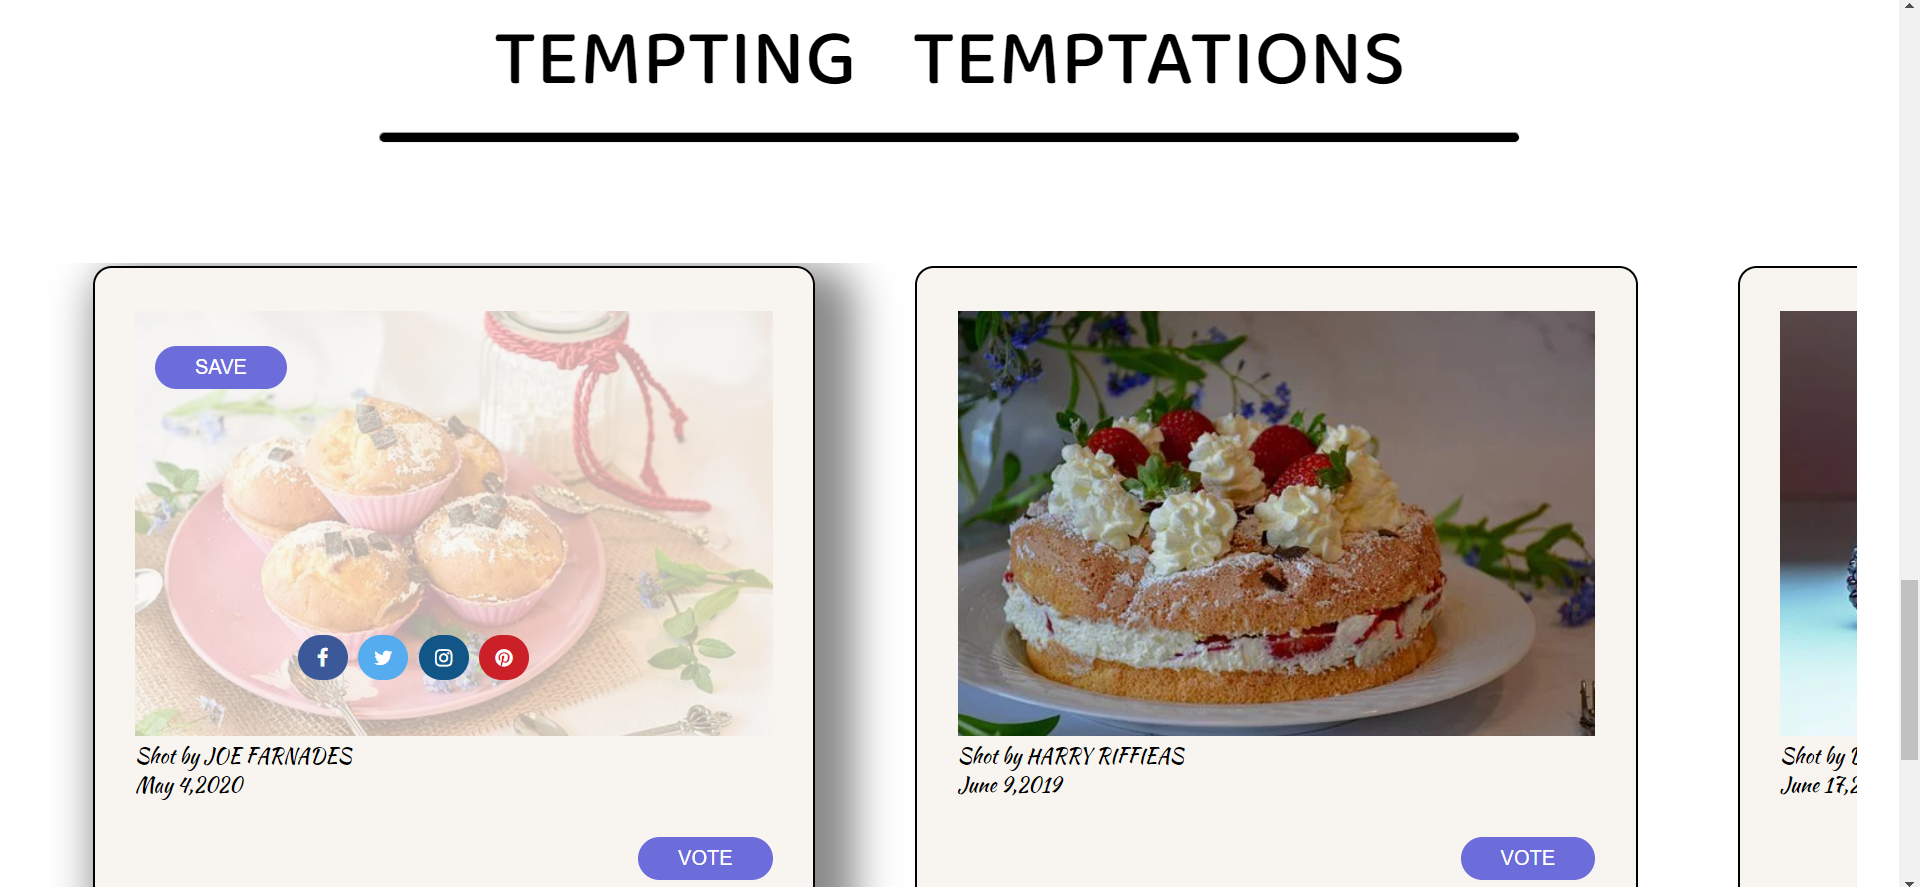
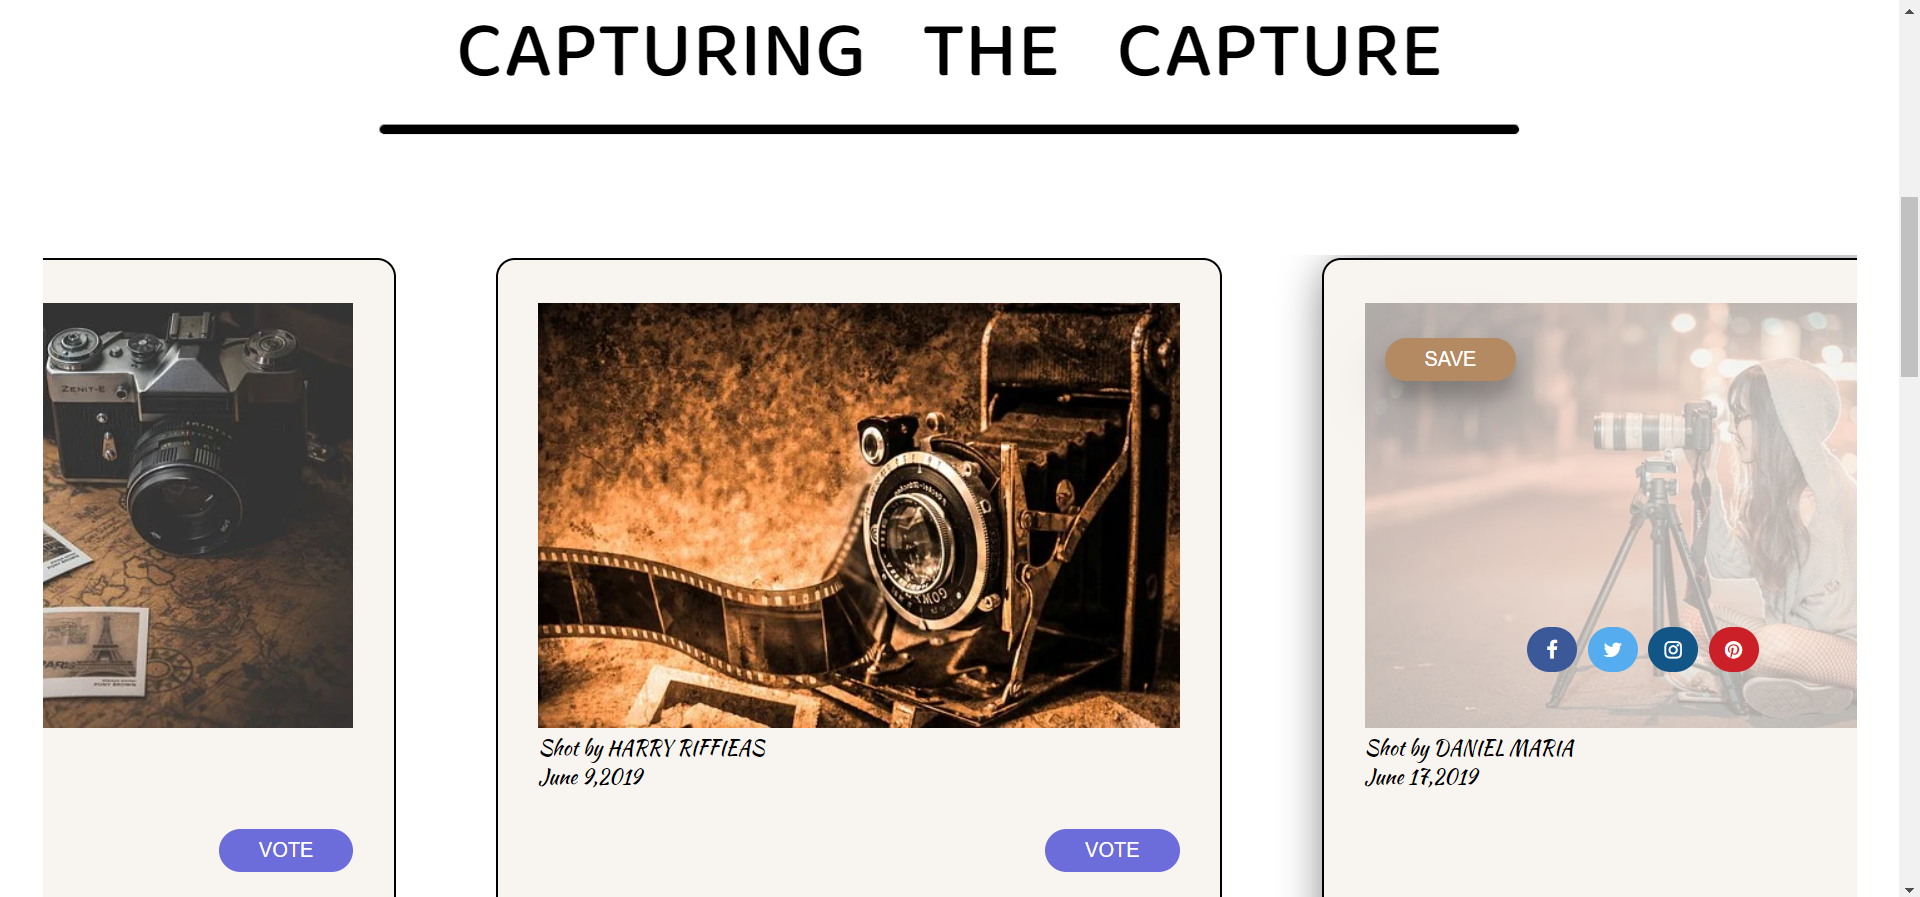
Photo Gallery 웹 사이트는 HTML 및 CSS를 사용하여 열정적 인 사진 작가가 자신의 기술 쇼케이스로 사용할 수 있습니다.
git clone https://github.com/your-username/photoholic.gitcd photoholicgit add . git commit -m "Your commit Message" git push origin branch-name1. 저장소를 포크.
2. 프로젝트의 포크 사본을 로컬 시스템으로 복제하십시오.
git clone --depth 1 https://github.com/shivani1706/photoholic.git
3. 프로젝트 디렉토리로 이동하십시오. ?
 cd photoholic

**4.** Add a reference (remote) to the original repository.
Git Remote Add https://github.com/shivani1706/photoholic.git
**5.** Check the remotes for this repository.
git remote -v
**6.** Always take a pull from the upstream repository to your master branch to keep it at par with the main project (updated repository).
Git Pull Upstream Main
**7.** Create a new branch.
GIT 체크 아웃 -B PR1
**8.** Search the "issue-finder" folder, add the modified HTML and CSS files and remove the previous ones.

**9.** Track your changes. ✔️
git 추가.
**10.** Commit your changes.
git commit -m "내 첫 번째 PR을 당겼다"
**11.** Push the committed changes in your feature branch to your remote repository.
git 푸시 -U 원점 Pr1
**12.** To create a pull request, click on `compare and pull requests`. Please ensure you compare your feature branch to the desired branch of the repository you are supposed to make a PR to.
**13.** Add appropriate title and description to your pull request explaining your changes and efforts done.
**14.** Click on `Create Pull Request`.
**15.** Voila! You have made a PR to the project. Sit back and relax while your PR is reviewed by the maintainers.
## REPOSITORY STATUS


<br><br>
## Our Contributors
<a href="https://github.com/shivani1706/photoholic/graphs/contributors">
<img src="https://contrib.rocks/image?repo=shivani1706/photoholic" />
</a>
<br>
<div align="center">
Show some ❤️ by starring this awesome repository!
</div>


