saleor-storefront repository is DEPRECATED
We've decided to build a new storefront starting from scratch, with no fancy design, focusing solely on best practices for building commerce storefronts. The new project, called react-storefront, uses Next.js as its foundation and Tailwind for the looks. You can find it here: https://github.com/saleor/react-storefront.
Saleor Storefront

Note: This project is a demonstration on how Saleor can be used. It’s not ready to be a starter but rather show how different cases can be handled and could be used as a recipe book. There will be breaking changes and the code is constantly evolving, so use at your own risk.
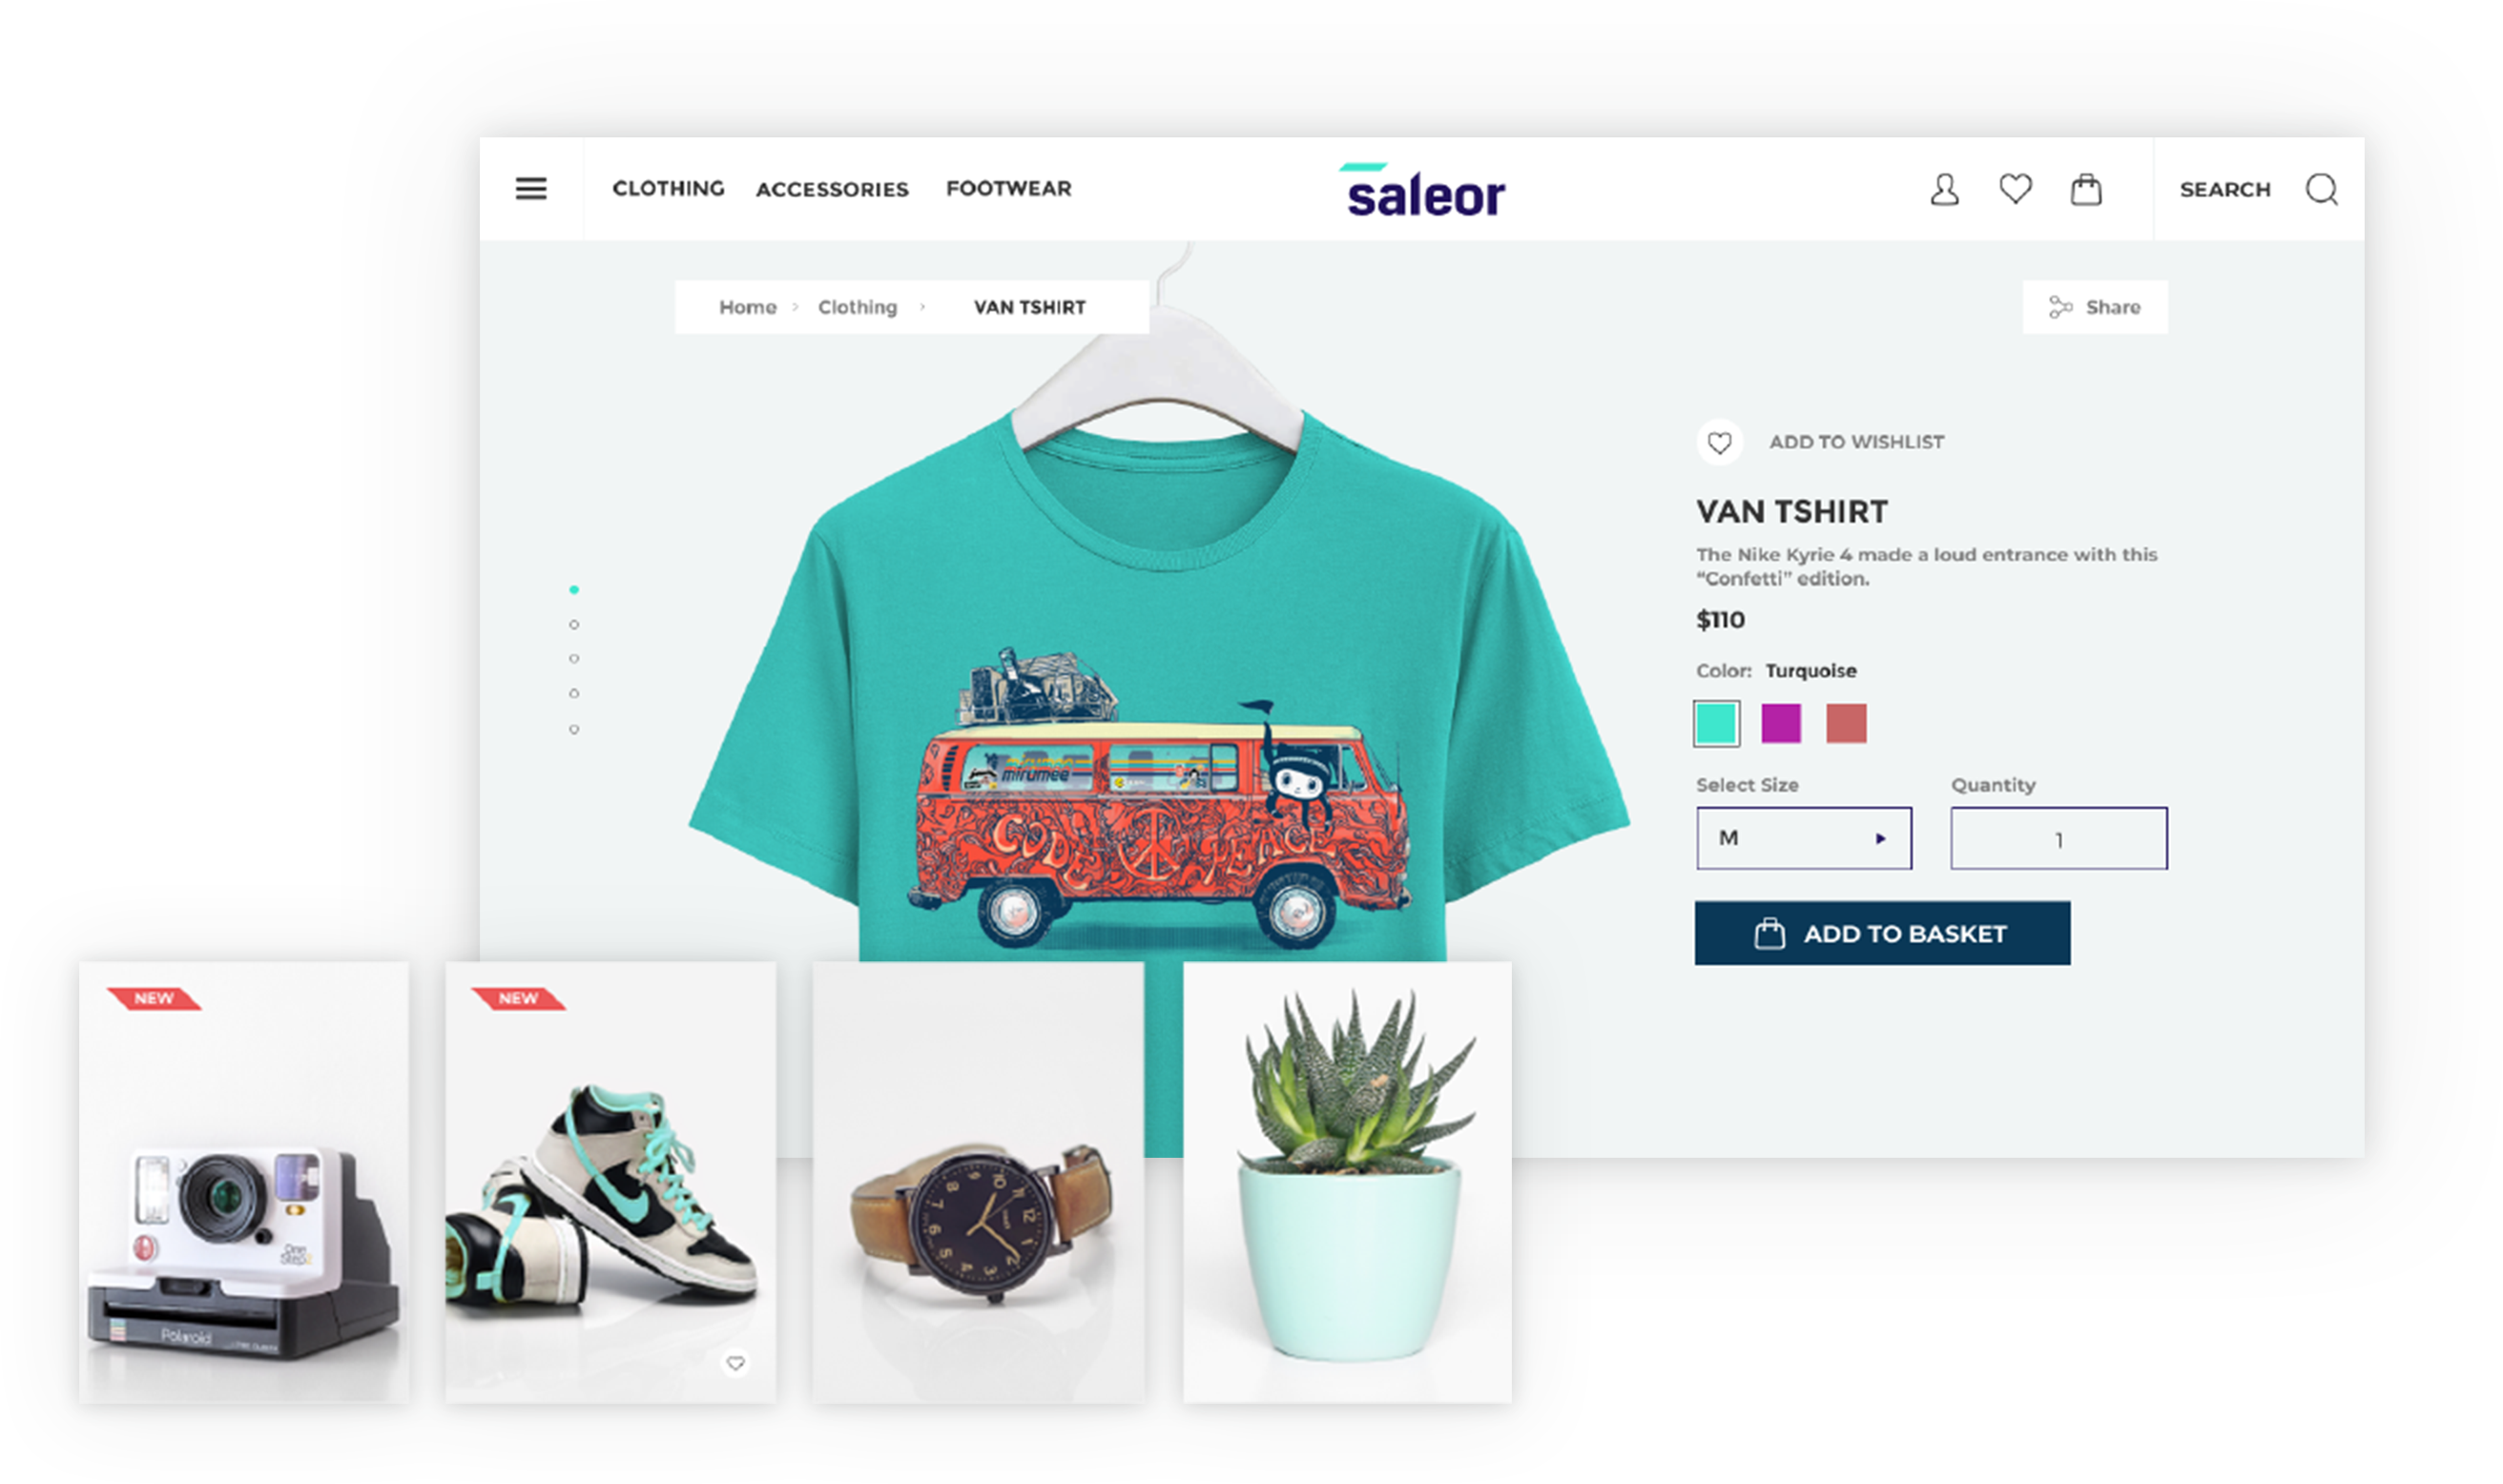
A GraphQL-powered, PWA, single-page application storefront for Saleor.
Features
- Headless ecommerce storefront built with GraphQL, Apollo Client, React, Next.js and Typescript
- Offline mode (beta)
- Saleor GraphQL API integration
- Single-page application experience
- Braintree Payment Gateway integration
Demo
See the public demo of Saleor Storefront!
Or launch the demo on a free Heroku instance.
Getting Started
These instructions will get you a copy of the project up and running on your local machine for development and testing purposes.
Prerequisites
- Node.js 14.16
- A running instance of Saleor.
To run the storefront, you have to set the NEXT_PUBLIC_API_URI environment variable to point to the Saleor GraphQL API.
If you are running Saleor locally, with the default settings, NEXT_PUBLIC_API_URI is set to: http://localhost:8000/graphql/.
To change it, either create a .env.local file and add it there or set an env variable using export command.
Installing
Clone the repository:
git clone https://github.com/mirumee/saleor-storefront.git
Enter the project directory:
Using stable release
To use the official stable release, checkout to a release tag:
See the list of all releases here: https://github.com/mirumee/saleor-storefront/releases/
Using development version
If you want to use the latest development version, checkout to the master branch:
Install NPM dependencies:
Run the development server:
Go to http://localhost:3000 to access the storefront.
Build
To compile the app run:
To compile the app and export storefront to the static HTML run:
To compile the app and run it in production mode with next server run:
In order to enable Apollo Devtools in the production version, set the environmental variable
NEXT_PUBLIC_ENABLE_APOLLO_DEVTOOLS=true
Cypress tests
If you want to run Cypress tests, make sure that all dependencies (including Cypress) are installed by running the install command.
Following environment variables are required to be set in order to be able to run tests properly:
API_URI - GraphQL API address.
STATIC_URL - static files destination url, eg. S3 bucket
CYPRESS_USER_NAME - username (email) for Storefront user.
CYPRESS_USER_PASSWORD - for the user mentioned above.
If you are running the Storefront from the perspective of Docker container, then you can run tests using following commands:
Headless mode:
Cypress UI mode:
If you want to run tests against your local development environment then use following commands:
Headless mode:
Cypress UI mode:
Creating new components
All new components should follow Atomic Design Guidelines and be placed in src/@next/components directory.
Files structure can be generated using plop:
Modifying the Storefront
From Spectrum Post
Important Files
- saleor-storefront/config/next/config.base.js - Base Next.js config file which contains webpack custom adjustments.
- Can change name of the app (displayed when installed on mobile)
- saleor-storefront/src/pages/app.tsx - Main entry point file. Render's the component, apollo-client, and others to the root div in index.html file above. Contains also head section - You can change the title of storefront here.
- saleor-storefront/src/core/config.ts - Controls number of products shown per page, support email, gateway providers, social media, and some meta.
- Can change support email
- Can change products shown per page
- Can change gateway providers
- Can change social media links that are displayed in the footer
- Can change some meta options
- saleor-storefront/src/images/ - Holds all the images for logo, cart, favicon, etc.
- Can change storefront logo, favicon, or add new images here.
- saleor-storefront/src/globalStyles/scss/variables.scss - Contains base styles like colors, font size, container width, media breakpoints and more.
- saleor-storefront/src/@next/globalStyles/ - Contains more base styles, themes, media, and constants.
- saleor-storefront/src/views/ - This folder controls the views, or what is displayed for each page. Most views have a file named "Page.tsx" that controls the layout of the page and a file named "View.tsx" that calls the query and renders the component with the data.
- Can add another view to storefront here. Requires adding a route (see routes below).
- saleor-storefront/src/@next/pages/ - Second spot for modifying/adding different pages. This is the recommended directory to add new pages.
- saleor-storefront/src/paths.ts - This folder contains all the paths. Here is where you add a new one.
- saleor-storefront/src/pages/ - This folder contains files which are translated to Next.js routing. Here is where you add a new route.
- Export a new path in paths.ts
- Inside pages, create a new file with name correnspond to your desired route (read more here about nested routes). Import your view in the created route file end export it as a default export.
- To link to your new view
import Link from "next/link" and use new path you created in paths.ts (make sure to import it)
- saleor-storefront/src/app/App.tsx - This is main component that renders the , (explained below), and a couple other components.
Adding a Payment Gateway
- saleor-storefront/src/core/config.ts - Add new gateway provider name here.
- saleor-storefront/src/@next/components/organisms/ - Create a new folder for new payment gateway component here.
- saleor-storefront/src/@next/components/organisms/PaymentGatewaysList/PaymentGatewaysList.tsx - Import new gateway component, create a new switch case to handle your gateway component.
Receiving confirmation emails
- Set EMAIL_URL environment variable for Saleor core.
- Using Docker - Add EMAIL_URL as new environment variable to both the api and worker service following the format here.
- Issues getting emails working?
- Gmail
- Check to see that "Less secure app access" is turned ON. Under "Manage your Google Account" > Go to the security tab. By default, the setting is off for security reasons.
- If using 2FA make sure to set an app password and use that in place of your normal login password.
Multichannel
- Set [SALEOR_CHANNEL_SLUG] environment variable. - Default value:
default-channel.
License
This project is licensed under the BSD-3-Clause License - see the LICENSE file for details
Crafted with ❤️ by Saleor Commerce
[email protected]