go chat
1.0.0
[TOC]
Use Go's WebSocket-based communication chat software.
Coroutines in the code repository go are very lightweight. When each client is accessed, a coroutine is enabled for each client, which can achieve greater concurrency on a stand-alone machine. At the same time, go channel can perfectly decouple client access and message forwarding and other operations.
Through go-chat, you can master the use of channel and Select, the use of ORM framework, the use of web framework Gin, configuration management, log operation, and other commonly used technologies in some projects.
Based on react, UI and basic components are used with ant design. It can be very convenient to build the front-end interface.
Selecting a single page frame on the interface makes it more convenient to write a chat interface. For example, for example, message reminders, you can receive messages in one interface for reminders, and the message acceptance will not be affected by changing pages or viewing other content. Front-end code repository: https://github.com/kone-net/go-chat-web
Voice, text, pictures, video messages 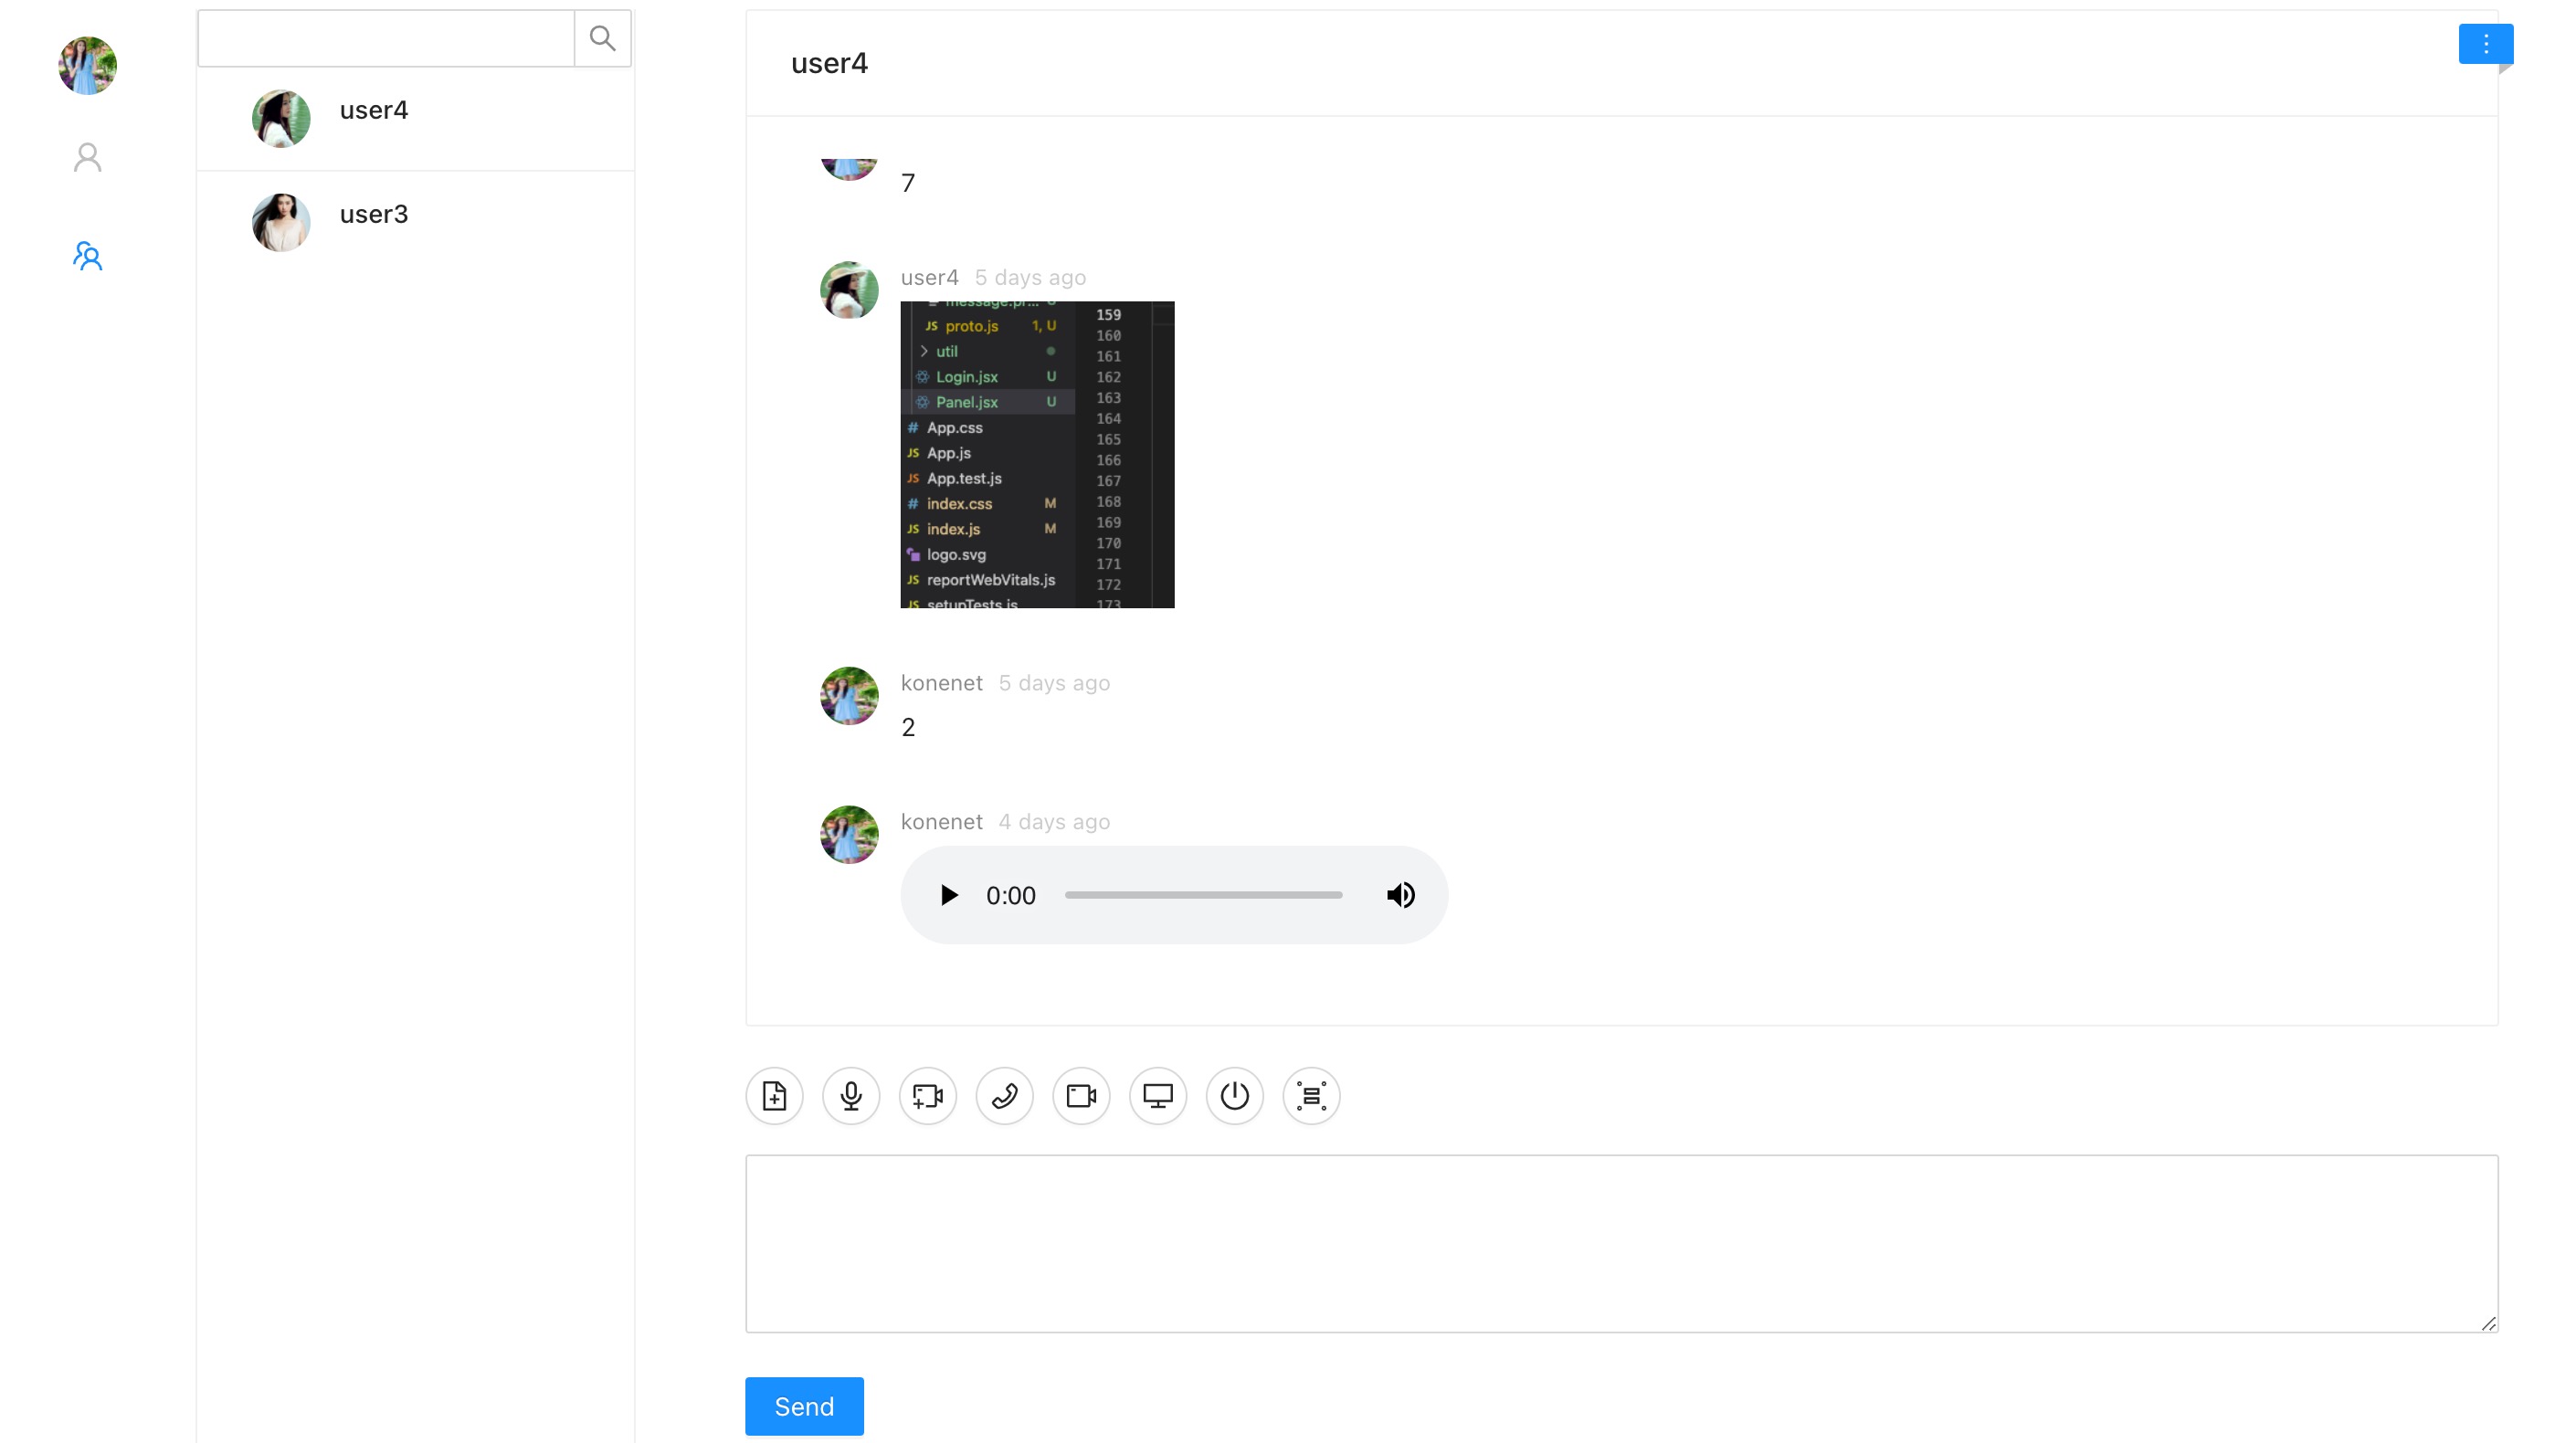
Video call 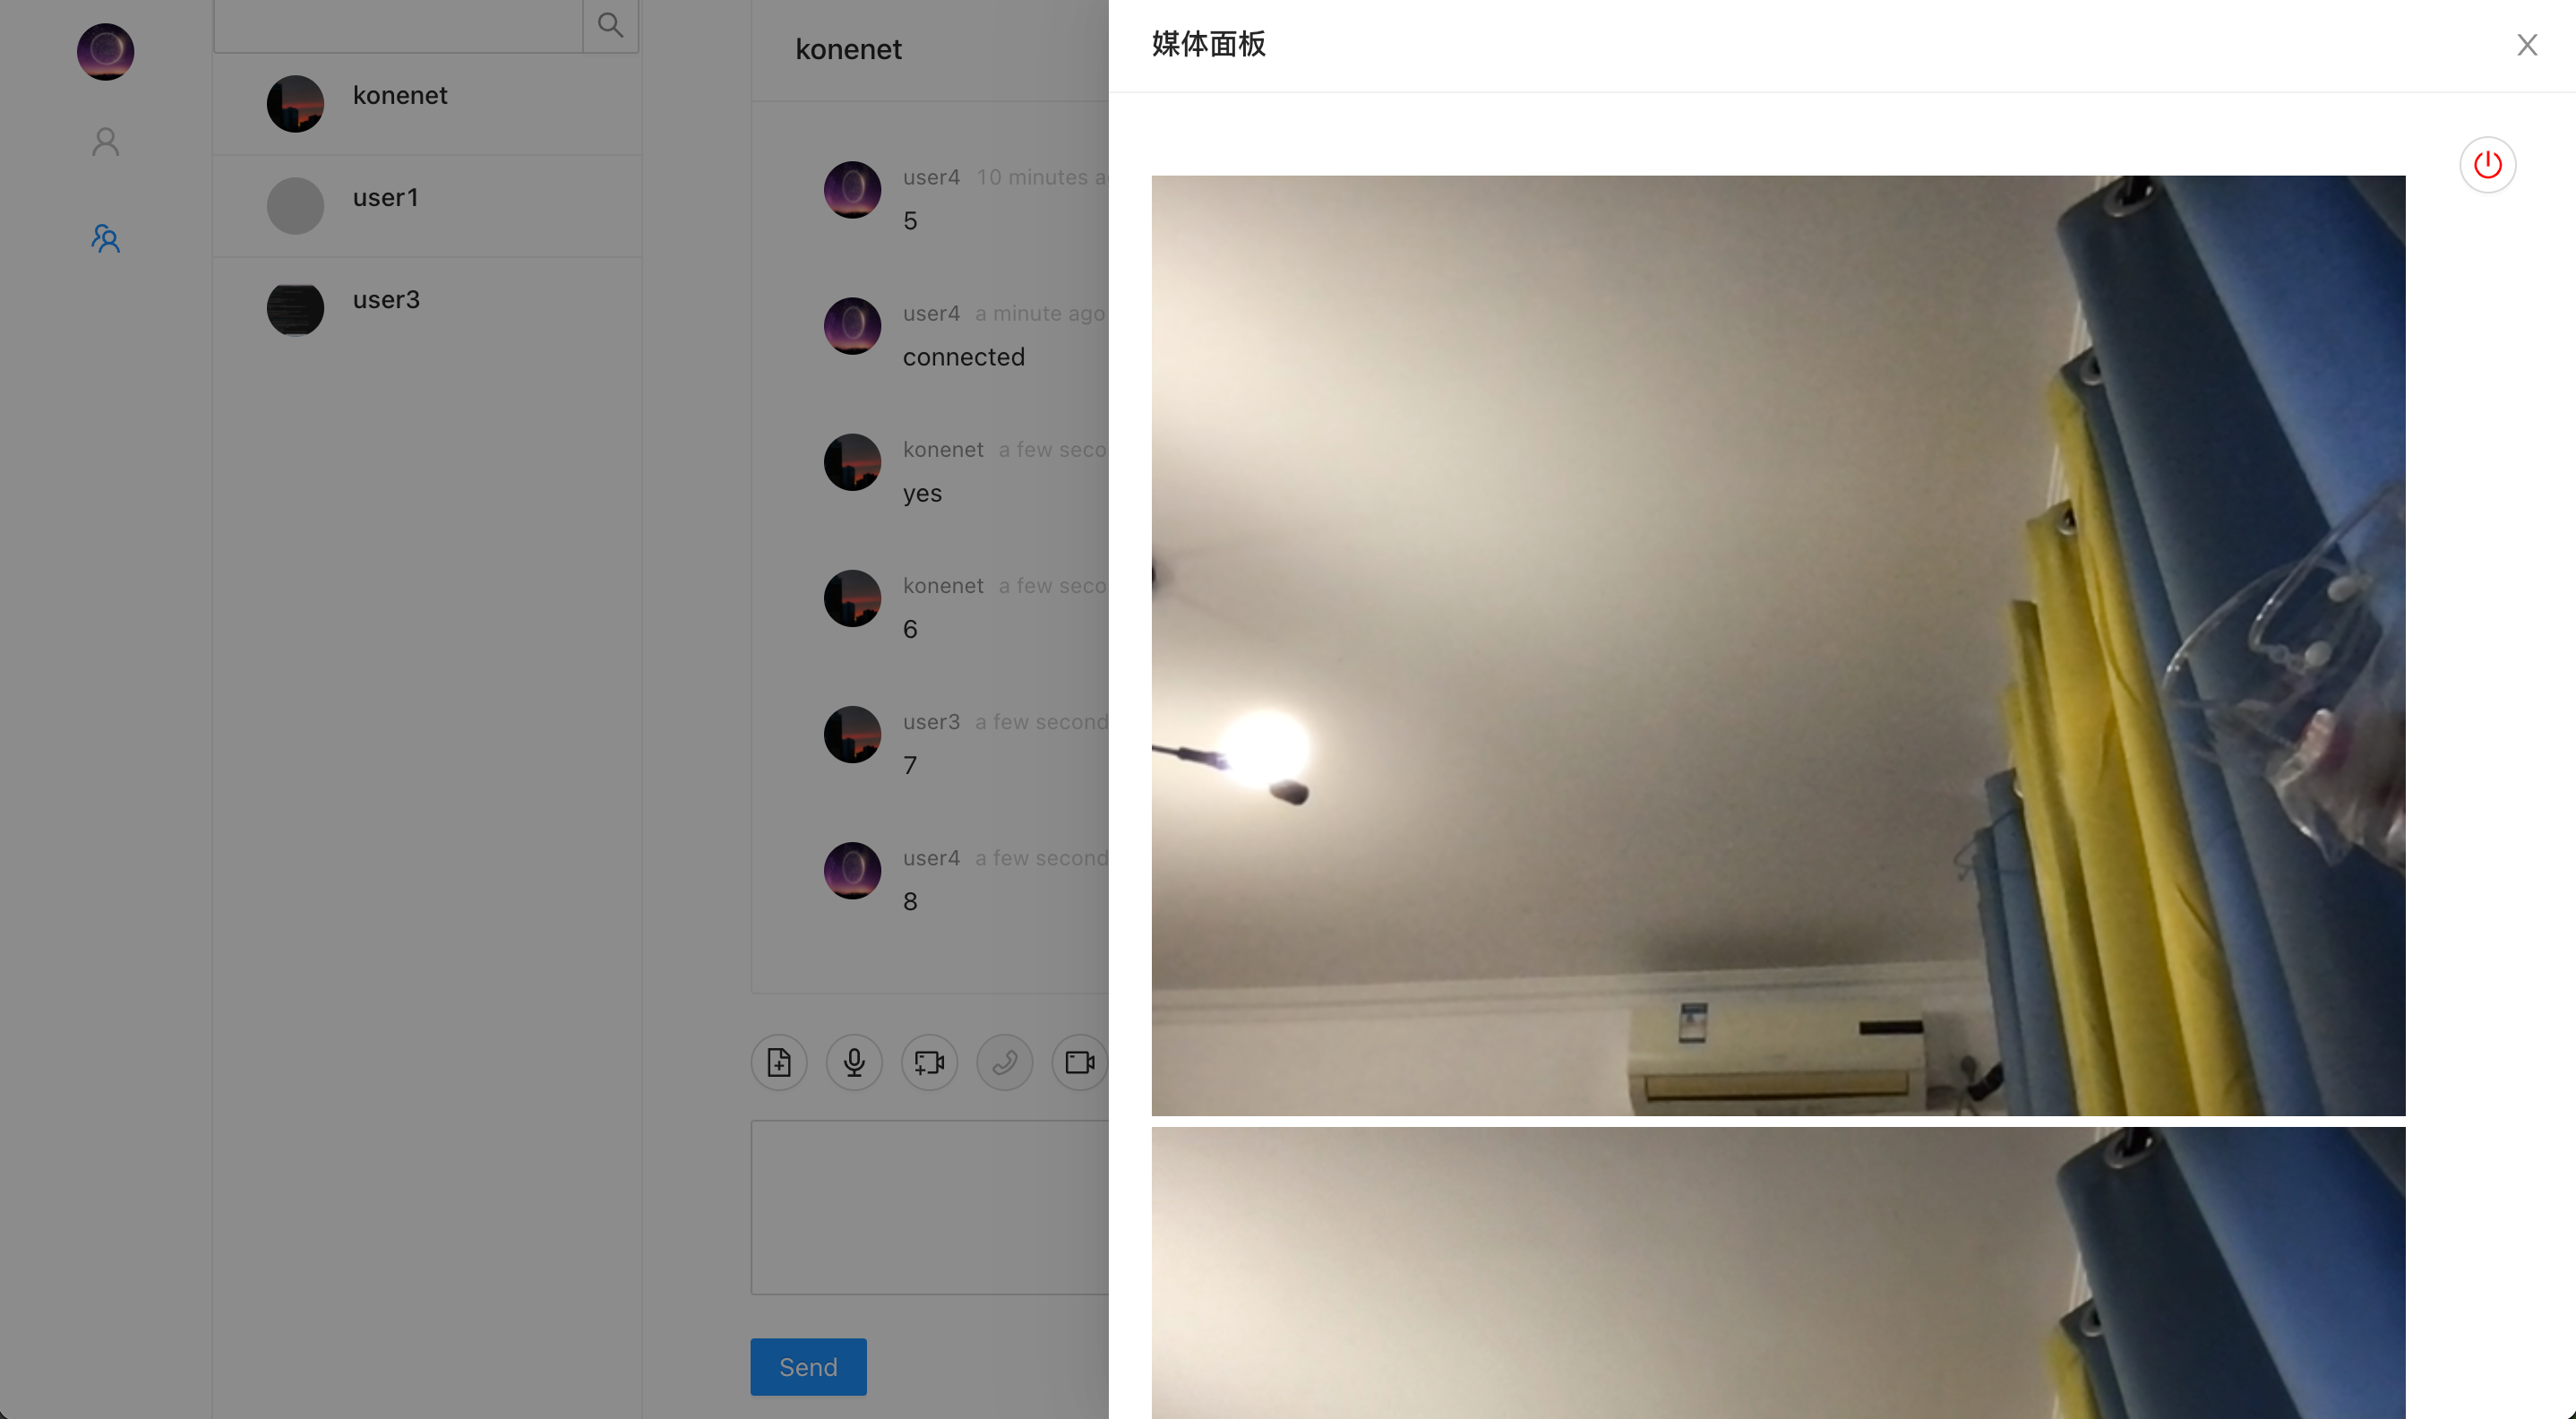
Screen Sharing 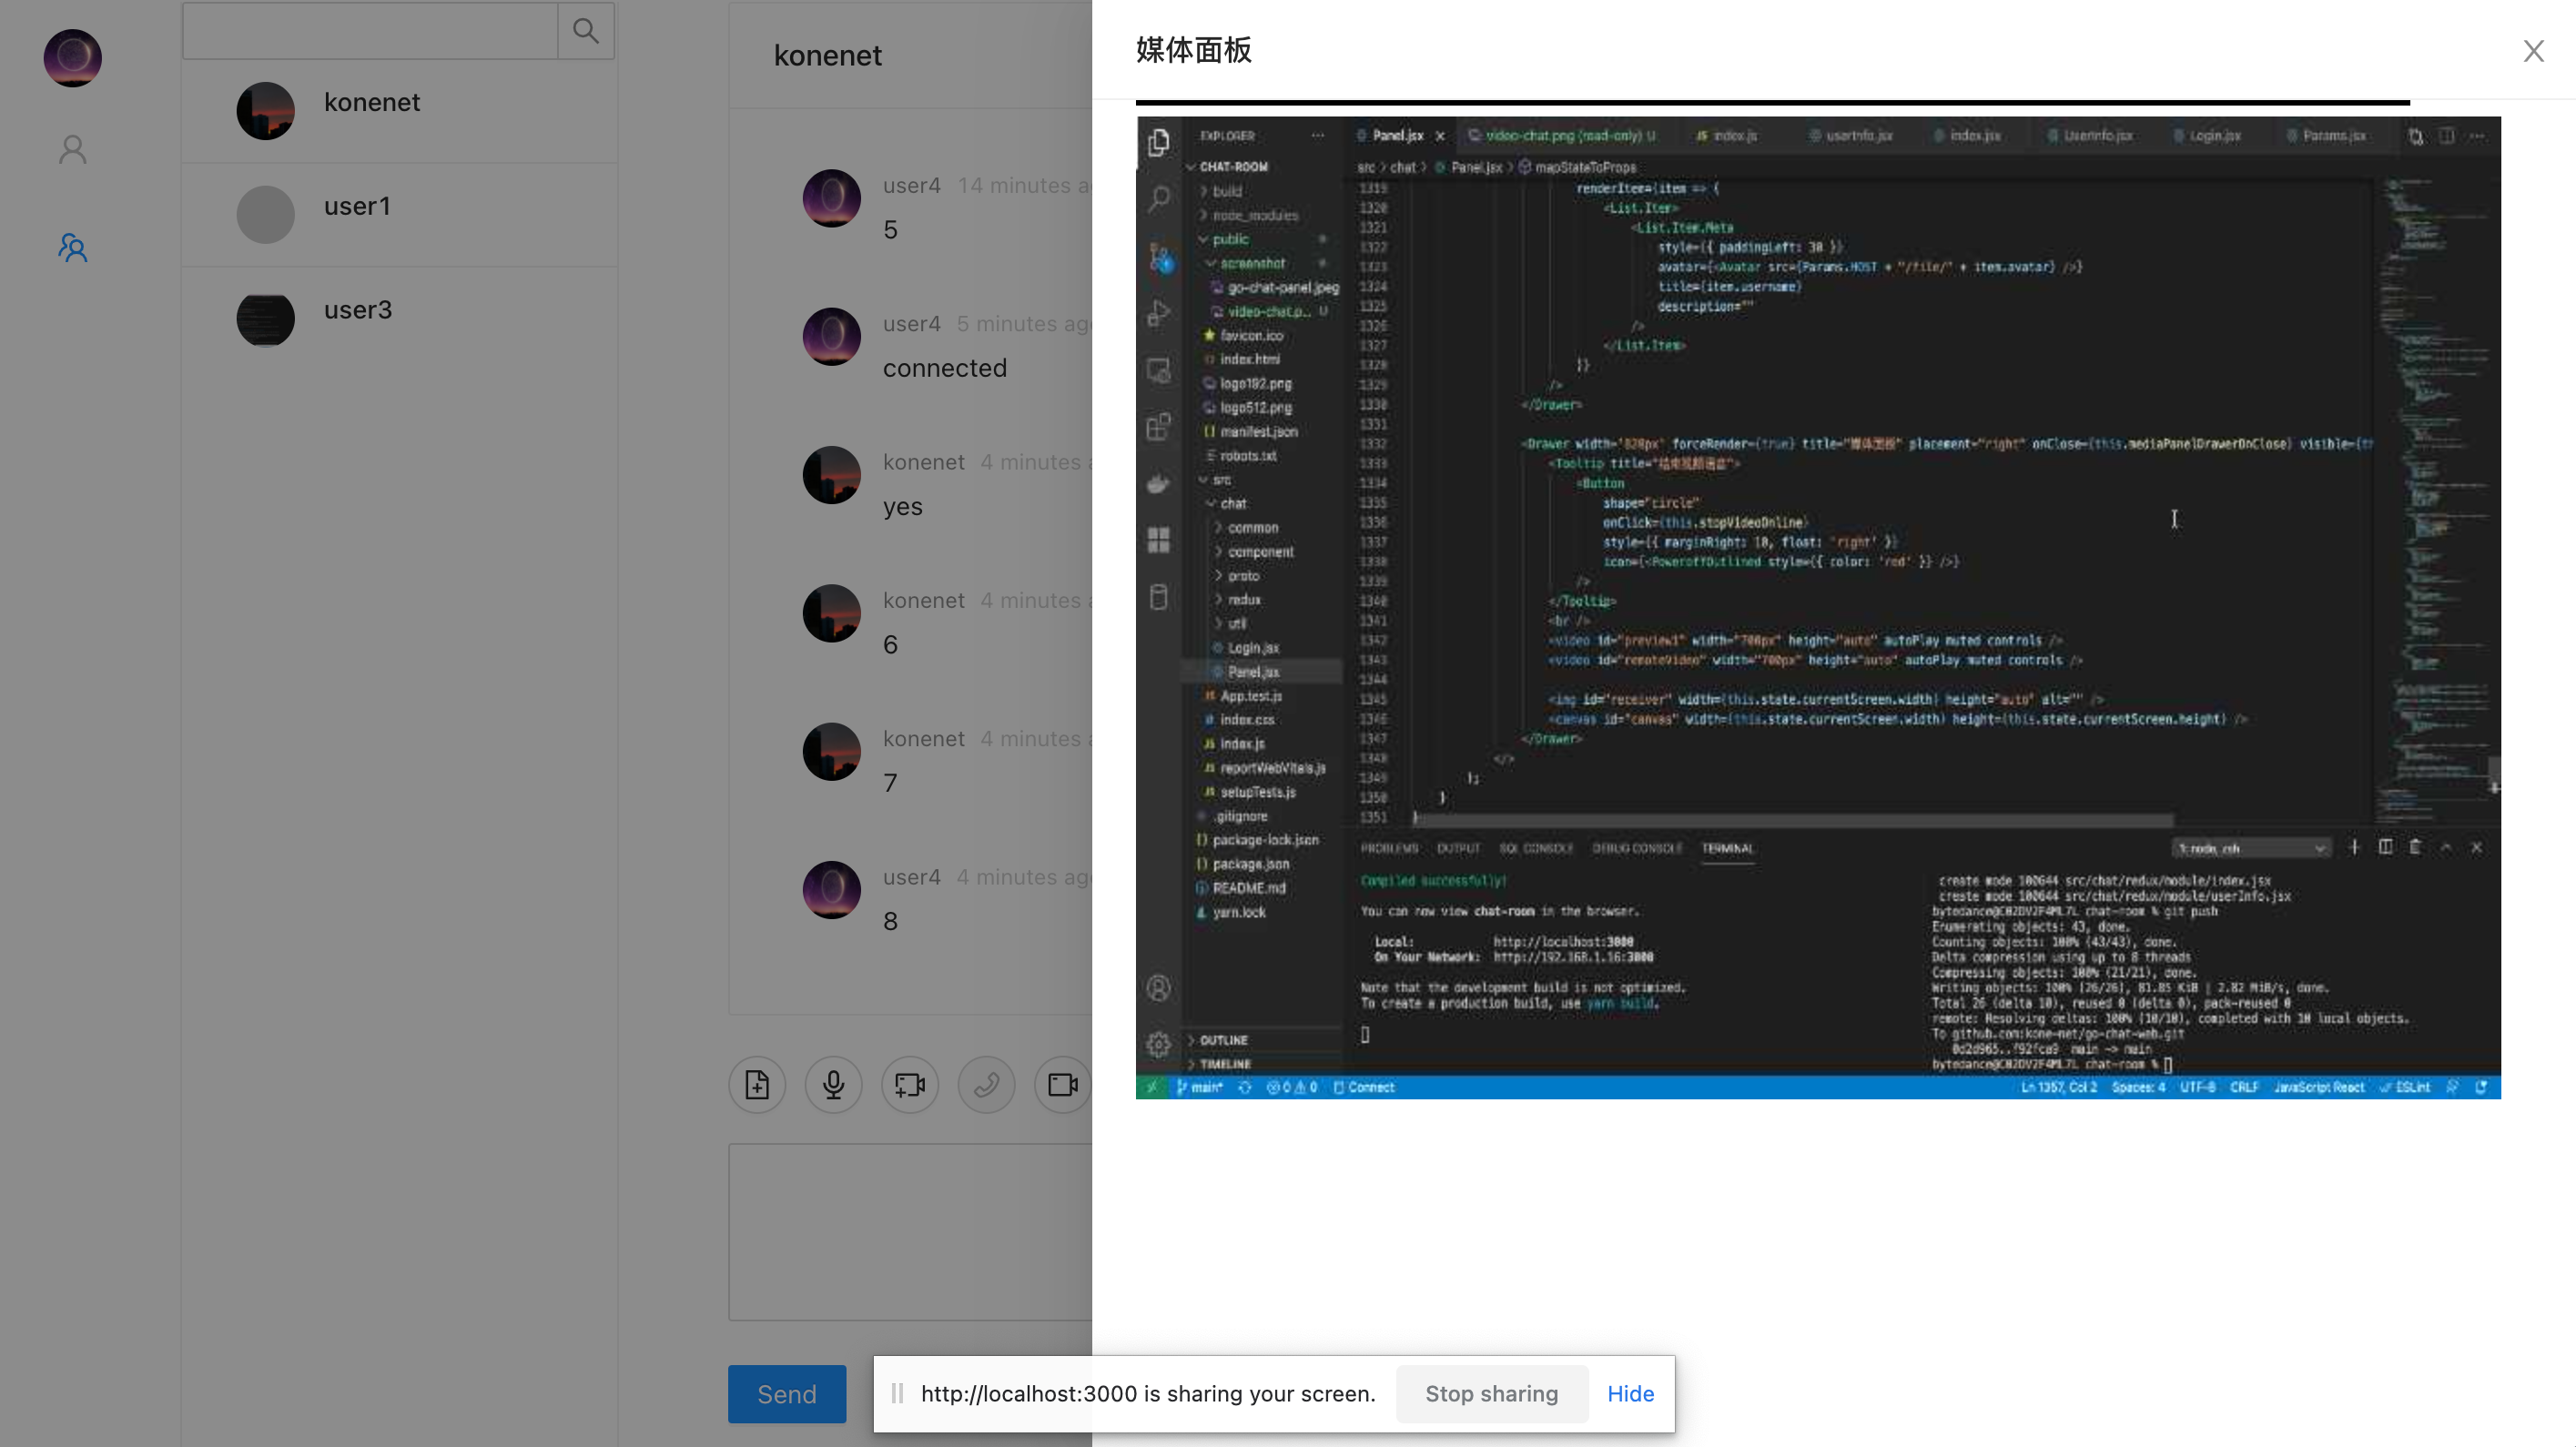
 syntax = "proto3" ;
package protocol;

message Message {
    string avatar = 1 ;       //头像
    string fromUsername = 2 ; // 发送消息用户的用户名
    string from = 3 ;         // 发送消息用户uuid
    string to = 4 ;           // 发送给对端用户的uuid
    string content = 5 ;      // 文本消息内容
    int32 contentType = 6 ;   // 消息内容类型:1.文字 2.普通文件 3.图片 4.音频 5.视频 6.语音聊天 7.视频聊天
    string type = 7 ;         // 如果是心跳消息,该内容为heatbeat
    int32 messageType = 8 ;   // 消息类型,1.单聊 2.群聊
    string url = 9 ;          // 图片,视频,语音的路径
    string fileSuffix = 10 ;  // 文件后缀,如果通过二进制头不能解析文件后缀,使用该后缀
    bytes file = 11 ;         // 如果是图片,文件,视频等的二进制
}From the message body, we can see that most messages are strings or integer types. Transmission can be performed through json. Then why choose Google's protocol buffer for transmission?
Basic configuration of go environment...
Pull backend code
git clone https://github.com/kone-net/go-chatGo to the directory
cd go-chatDependencies required for pulling the program
go mod downloadMySQL creates a database
CREATE DATABASE chat ;Modify database configuration file
vim config.toml

[mysql]
host = " 127.0.0.1 "
name = " chat "
password = " root1234 "
port = 3306
table_prefix = " "
user = " root "

修改用户名user,密码password等信息。
Create a table
将chat.sql里面的sql语句复制到控制台创建对应的表。Add initialized user in the user table
手动添加用户。Run the program
go run cmd/main.goConfigure React basic environment, such as nodejs...
Pull the code
git clone https://github.com/kone-net/go-chat-webGo to the directory
cd go-chat-webBasic dependencies for installation front-end
npm installIf the backend address or port number needs to be modified, the backend address must be modified when the server is running.
修改src/chat/common/param/Params.jsx里面的IP_PORTThe default startup port for running front-end code is 3000
npm startAccess the front-end portal
http://127.0.0.1:3000/login
docker build -t konenet/gochat:1.0 .
 appName = " chat_room "

[ mysql ]
host = " mysql8 "
name = " go-chat-message "
password = " thepswdforroot "
port = 3306
tablePrefix = " "
user = " root "

[ log ]
level = " debug "
path = " logs/chat.log "

[ staticPath ]
filePath = " web/static/file/ "

[ msgChannelType ]
channelType = " kafka "

kafkaHosts = " kafka:9092 "
kafkaTopic = " go-chat-message " docker-compose up -d
 ├── Makefile             代码编译,打包,结构化等操作
├── README.md
├── api                  controller类,对外的接口,如添加好友,查找好友等。所有http请求的入口
│   └── v1
├── assets
│   └── screenshot       系统使用到的资源,markdown用到的截图文件
├── bin                  打包的二进制文件
├── chat.sql             整个项目的SQL
├── cmd
│   └── main.go          main函数入口,程序启动
├── config
│   └── toml_config.go   系统全局的配置文件配置类
├── config.toml          配置文件
├── deployments
│   └── docker           docker构建镜像,docker-compose.yml等文件
├── go.mod
├── go.sum
├── internal
│   ├── dao              数据库
│   ├── kafka            kafka消费者和生产者
│   ├── model            数据库模型,和表一一对应
│   ├── router           gin和controller类进行绑定
│   ├── server           WebSocket中消息的接受和转发的主要逻辑
│   └── service          调用的服务类
├── logs
├── pkg
│   ├── common           常量,工具类
│   ├── errors           封装的异常类
│   ├── global           封装的日志类,使用时不会出现第三方的包依赖
│   └── protocol         protoc buffer自动生成的文件,定义的protoc buffer字段
├── test
│   └── kafka_test.go
└── web
    └── static           上传的文件等
Execute the make command mac in the root directory
make build-darwin

实际执行命令是Makefile下的
CGO_ENABLED=0 GOOS=darwin GOARCH=amd64 go build -o bin/chat cmd/main.go
Linux
make build

实际执行命令是Makefile下的
CGO_ENABLED=0 GOOS=linux GOARCH=amd64 go build -o bin/chat cmd/main.goIf message.proto is modified, you need to recompile and generate the corresponding go file. Execute in the root directory
make proto

实际执行命令是Makefile下的
protoc --gogo_out=. protocol/ * .proto
If the proto file is not installed locally, you need to install it first, otherwise the protoc command will not be found. Using gogoprotobuf
Install the protobuf library file
go get github.com/golang/protobuf/protoInstall protoc-gen-gogo
go get github.com/gogo/protobuf/protoc-gen-gogoInstall gogoprotobuf library file
go get github.com/gogo/protobuf/protoTest in the root directory:
protoc --gogo_out=. protocol/ * .protoThe front-end needs to install the protoc buffer library
npm install protobufjsGenerate protoc's js file to directory
npx pbjs -t json-module -w commonjs -o src/chat/proto/proto.js  src/chat/proto/ * .proto

src/chat/proto/proto.js 是生成的文件的目录路径及其文件名称
src/chat/proto/ * .proto 是自己写的字段等This file is a routing map of gin, which will make ordinary get requests and Upgrade to socket connection
 // router/router.go
func NewRouter () * gin. Engine {
	gin . SetMode ( gin . ReleaseMode )

	server := gin . Default ()
	server . Use ( Cors ())
	server . Use ( Recovery )

	socket := RunSocekt

	group := server . Group ( "" )
	{
        ...

		group . GET ( "/socket.io" , socket )
	}
	return server
}
This part upgrades the request to WebSocket.
 // router/socket.go
var upGrader = websocket. Upgrader {
	CheckOrigin : func ( r * http. Request ) bool {
		return true
	},
}

func RunSocekt ( c * gin. Context ) {
	user := c . Query ( "user" )
	if user == "" {
		return
	}
	log . Info ( "newUser" , zap . String ( "newUser" , user ))
	ws , err := upGrader . Upgrade ( c . Writer , c . Request , nil ) //升级协议为WebSocket
	if err != nil {
		return
	}

	client := & server. Client {
		Name : user ,
		Conn : ws ,
		Send : make ( chan [] byte ),
	}

	server . MyServer . Register <- client
	go client . Read ()
	go client . Write ()
}
These are the three channels of the Server.
 // server/server.go
func ( s * Server ) Start () {
	log . Info ( "start server" , log . Any ( "start server" , "start server..." ))
	for {
		select {
		case conn := <- s . Register :
			log . Info ( "login" , log . Any ( "login" , "new user login in" + conn . Name ))
			s . Clients [ conn . Name ] = conn
			msg := & protocol. Message {
				From :    "System" ,
				To :      conn . Name ,
				Content : "welcome!" ,
			}
			protoMsg , _ := proto . Marshal ( msg )
			conn . Send <- protoMsg

		case conn := <- s . Ungister :
			log . Info ( "loginout" , log . Any ( "loginout" , conn . Name ))
			if _ , ok := s . Clients [ conn . Name ]; ok {
				close ( conn . Send )
				delete ( s . Clients , conn . Name )
			}

		case message := <- s . Broadcast :
			msg := & protocol. Message {}
			proto . Unmarshal ( message , msg )
            ...
            ...
		}
	}
}To upload the clipboard file, first we need to obtain the clipboard file. As in the following code:
 bindParse = ( ) => {
        document . getElementById ( "messageArea" ) . addEventListener ( "paste" , ( e ) => {
            var data = e . clipboardData
            if ( ! data . items ) {
                return ;
            }
            var items = data . items

            if ( null == items || items . length <= 0 ) {
                return ;
            }

            let item = items [ 0 ]
            if ( item . kind !== 'file' ) {
                return ;
            }
            let blob = item . getAsFile ( )

            let reader = new FileReader ( )
            reader . readAsArrayBuffer ( blob )

            reader . onload = ( ( e ) => {
                let imgData = e . target . result

                // 上传文件必须将ArrayBuffer转换为Uint8Array
                let data = {
                    fromUsername : localStorage . username ,
                    from : this . state . fromUser ,
                    to : this . state . toUser ,
                    messageType : this . state . messageType ,
                    content : this . state . value ,
                    contentType : 3 ,
                    file : new Uint8Array ( imgData )
                }
                let message = protobuf . lookup ( "protocol.Message" )
                const messagePB = message . create ( data )
                socket . send ( message . encode ( messagePB ) . finish ( ) )

                this . appendImgToPanel ( imgData )
            } )

        } , false )
}The same principle of uploading voice
Special note: To obtain video, audio, and screen sharing call permissions, it must be https protocol or localhost, 127.0.0.1 local IP address. All local tests can open several browsers, or use these two local IPs to perform 2tab tests respectively.
 /**
     * 当按下按钮时录制视频
     */
    dataChunks = [ ] ;
    recorder = null ;
    startVideoRecord = ( e ) => {
        navigator . getUserMedia = navigator . getUserMedia ||
            navigator . webkitGetUserMedia ||
            navigator . mozGetUserMedia ||
            navigator . msGetUserMedia ; //获取媒体对象(这里指摄像头)

        let preview = document . getElementById ( "preview" ) ;
        this . setState ( {
            isRecord : true
        } )

        navigator . mediaDevices
            . getUserMedia ( {
                audio : true ,
                video : true ,
            } ) . then ( ( stream ) => {
                preview . srcObject = stream ;
                this . recorder = new MediaRecorder ( stream ) ;

                this . recorder . ondataavailable = ( event ) => {
                    let data = event . data ;
                    this . dataChunks . push ( data ) ;
                } ;
                this . recorder . start ( 1000 ) ;
            } ) ;
    }

    /**
     * 松开按钮发送视频到服务器
     * @param {事件} e
     */
    stopVideoRecord = ( e ) => {
        this . setState ( {
            isRecord : false
        } )

        let recordedBlob = new Blob ( this . dataChunks , { type : "video/webm" } ) ;

        let reader = new FileReader ( )
        reader . readAsArrayBuffer ( recordedBlob )

        reader . onload = ( ( e ) => {
            let fileData = e . target . result

            // 上传文件必须将ArrayBuffer转换为Uint8Array
            let data = {
                fromUsername : localStorage . username ,
                from : this . state . fromUser ,
                to : this . state . toUser ,
                messageType : this . state . messageType ,
                content : this . state . value ,
                contentType : 3 ,
                file : new Uint8Array ( fileData )
            }
            let message = protobuf . lookup ( "protocol.Message" )
            const messagePB = message . create ( data )
            socket . send ( message . encode ( messagePB ) . finish ( ) )
        } )

        this . setState ( {
            comments : [
                ... this . state . comments ,
                {
                    author : localStorage . username ,
                    avatar : this . state . user . avatar ,
                    content : < p > < video src = { URL . createObjectURL ( recordedBlob ) } controls autoPlay = { false } preload = "auto" width = '200px' /> </ p > ,
                    datetime : moment ( ) . fromNow ( ) ,
                } ,
            ] ,
        } , ( ) => {
            this . scrollToBottom ( )
        } )
        if ( this . recorder ) {
            this . recorder . stop ( )
            this . recorder = null
        }
        let preview = document . getElementById ( "preview" ) ;
        preview . srcObject . getTracks ( ) . forEach ( ( track ) => track . stop ( ) ) ;
        this . dataChunks = [ ]
    }

