react exercise
1.0.0
This exercise is intended for you to get familiar with fundamental React concepts in an interactive way, as well as for you to get comfortable developing in a modern Node.js environment. This project will be broken down into multiple parts. Each part will cover a fundamental React/frontend concept.
The React Beginner's Guide and The Beginner's Guide to React will be very beneficial to go through to get a complete understanding on React fundamentals. It will also beneficial to get comfortable diving into React Docs and Javascript Docs as part of this exercise.
Install node and npm here.
Check if you have the correct versions by running the following commands in your terminal:
node -v
npm -v
Install the React Devtools to easily debug and see what's going on in your React app.
Your text editor may not natively support the JSX syntax that is used in this project, but there may be plugins to get proper syntax highlighting. For example, Sublime Text uses the Babel plugin.
First, fork this repository. The fork button on your top right. What this does is copies this repository over to your account. Now you should have a repository with the name <yourusername>/react-exercise.
It should look like this (my username is davidachang):
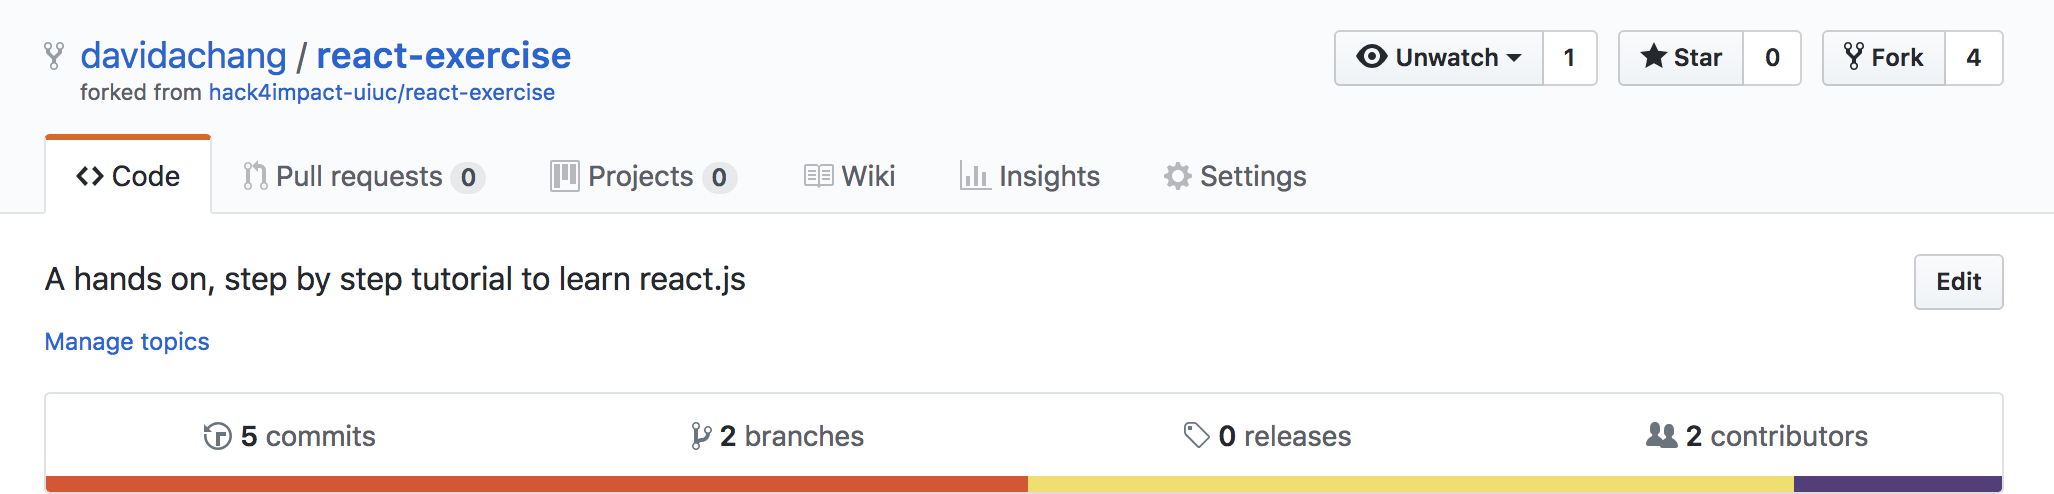
Then, clone this repository (click the green button saying "Clone or Download", choose http, and copy and paste it the location <url> ) and go into it:
$ git clone <url>
$ cd react-exercise
Install project dependencies:
npm install
After that's done, run this to start development:
npm start
This will start running the app and automatically open it at http://localhost:3000. Anytime you change and save the code, it will automatically reload! This will remain a running process in your terminal, so you will need to open a new tab or window to execute other commands.
Prettier is a tool that automatically reformats your code to follow a certain set of coding style guidelines. It is configured to run automatically before each commit. This makes sure all of our code follows the same code styles, enforcing good practices and minimizing conflicts.
It is definitely not necessary for this exercise, but there are prettier plugins you can install for your editor. See instructions here.
Goal: Get familiar with JSX syntax, component structure, and passing props
Tasks:
shouldDisplayImage prop into the Instructions component that determines whether or not to display the H4I logo HintGoal: Get familiar with rendering lists and javascript array functions
Tasks:
items prop into the Instructions component which contains a list of stringsitemsfor or while loopsGoal: Get familiar with component state
Tasks:
Counter componentcount to 0Goal: Get familiar with user input
Tasks:
App.js, make an input and a submit button that sets an initialCount stateinitialCount state as a prop into the Counter component, and use this value as the initial count in the Counter. Make sure to watch out for types when doing this, since user input is a String and we want to send in a Number.<button type="button" ...Goal: Understand state/props communication between sibling components
Tasks:
input and submit button into its own component called InitialCountForm that is a child of the App componentGoal: Get familiar with CSS/SCSS and styling
Tasks: Nothing specific, play around with styling!
Note: You can create SCSS files, and they will be automatically compiled to CSS files when you save, but you need to import the CSS file into your component.
Some styling related resources:
The React Beginner's Guide
MDN - A reintroduction to Javascript
The Beginner's Guide to React
React Docs
Airbnb's Javascript Style Guide
Airbnb's React Style Guide
Airbnb's CSS Style Guide
When you're done with all the steps, push your changes to your github repo!
Before you can submit a PR, you'll have to push your branch to a remote branch (the one that's on GitHub, not local).
Check to see that you're on your branch:
git branch
If you want to make sure all of your commits are in:
git log
Press Q to quit the git log screen.
Push your commits to your remote branch:
git push
The first time you do this, you might get an error since your remote branch doesn't exist yet. Usually it will tell you the correct command to use:
git push --set-upstream origin <YOUR_BRANCH_NAME>
Note: this only needs to be done the first time you push a new branch. You can use just git push afterwards.
Once this is done, please send an email to [email protected] with the link to your forked repository and your branch name. We will need these two things to view your submission.
H A C K 4 I M P A C T
                    H A C K 4 I M P A C T
                                        H A C K 4 I M P A C T
                                                            H A C K 4 I M P A C T
                                                                                H A C K 4 I M P A C T


