NowPlaying for Spotify
v2.1 - Mini player
This is a real-time updating Spotify Connect visualizer, which has had its base codebase made in half a day.
This project is licensed under GNU GPL-3.0 license.
Available at nowplayi.ng

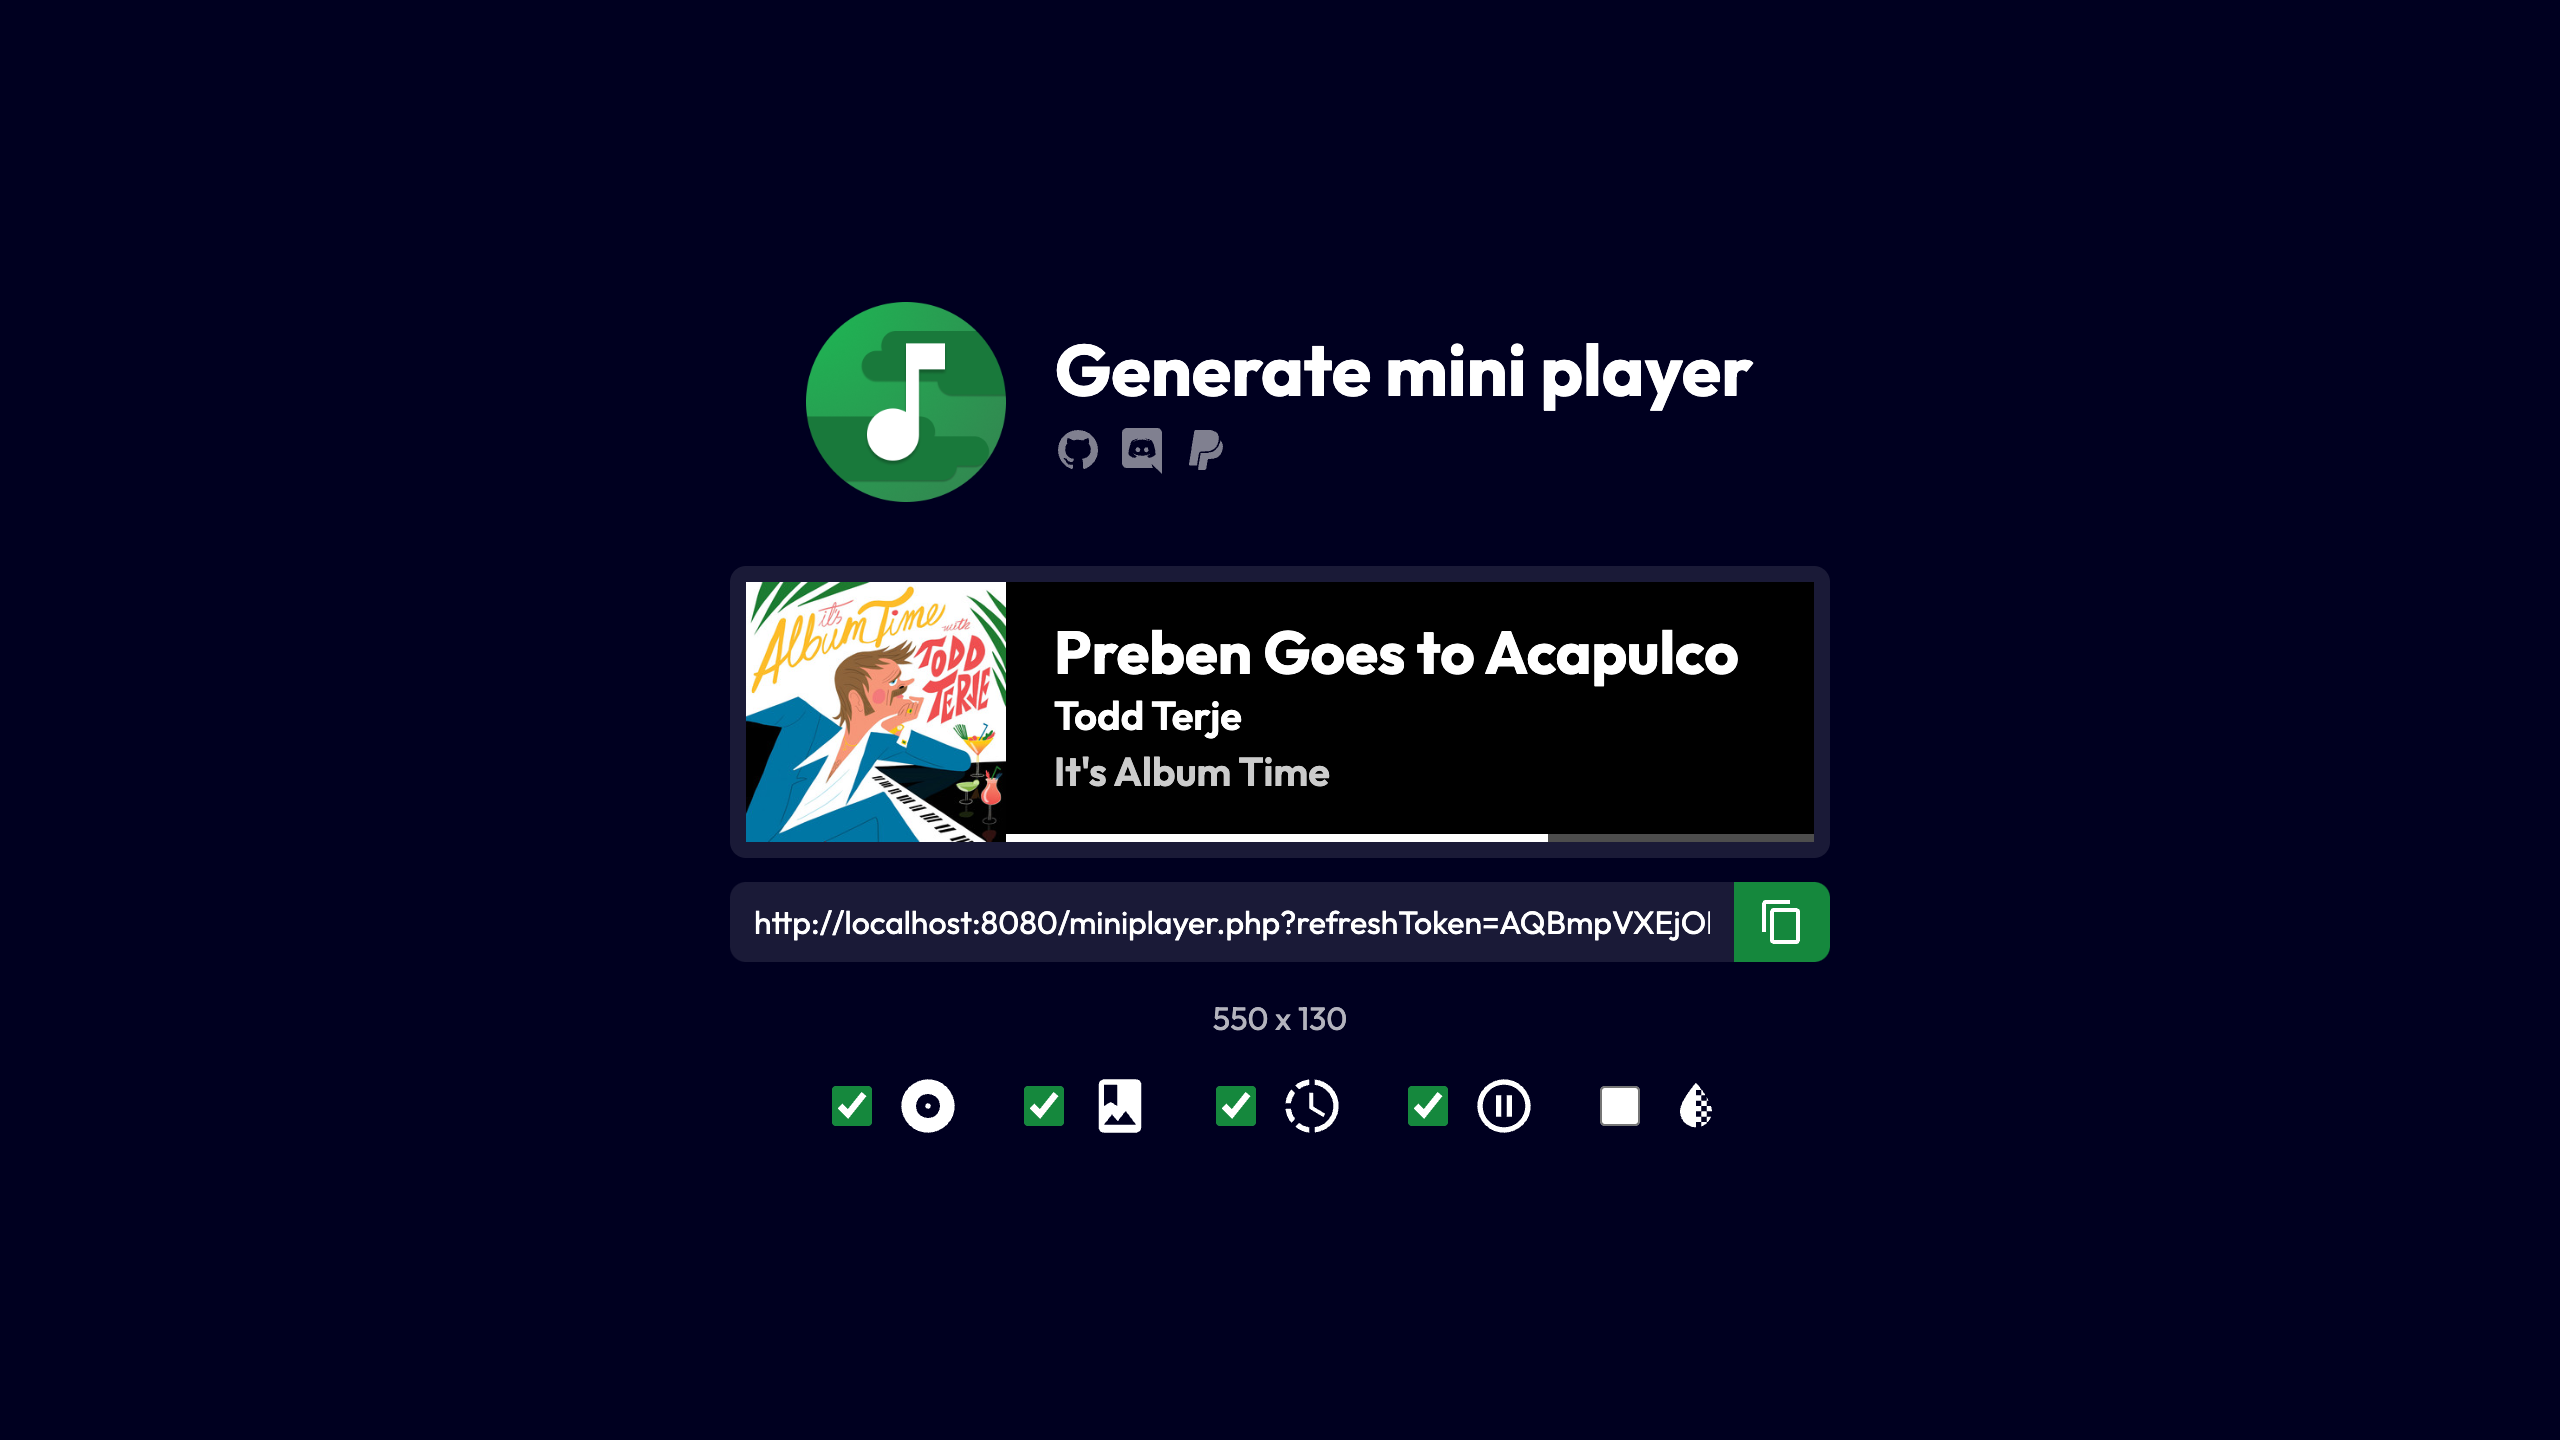 Mini player generator
Status page
v2.0.X
- Use of localStorage
- Added GNU GPL-3.0 license
- Updated Index page design
- Updated French and English sentences
- Compatibility with Dark Reader
- Better UI consistency / CSS tweaks
- More languages
- .env support (thanks @finnie2006!)
- Added playback support (Premium account should be needed)
- Added playback information
- Added pause button (#17)
- CSS improvements added for better responsive (#15 #16)
- SEO improvements (#16)
- Minor CSS improvements
- Advertisements are recognized
- Multiple artists are recognized
- Experimental theme switcher
- Now playing device name and type is showing
- Cursor is hidden after a couple of seconds
- Fullscreen button
HTML, TailwindCSS, JS / AlpineJS, PHP
Spotify Web API PHP by jwilsson to obtain the token and refresh token, Spotify Web API JS by JMPerez to retrieve and display the currently playing song
You can use XAMPP (multi-platform) or Wampserver (Windows only) but any webserver with PHP 7.0 or greater is good to use, with the php-curl module.
!!! If you are on Nginx you need to add this to your config, or else your .env will be exposed to the internet !!!
location /.env {
    allow [YourIP]; # Allow your IP if you want to, if not delete this line.
    deny all;
}
You should have a declared app in Spotify's developer dashboard to obtain a Client ID.
How to do this:
As I said, the first thing is to create a Client ID (Create a Client ID button) on Spotify's developer dashboard.
Type your app's name in the App or Hardware name text field, and its description on the App or Hardware description text field. In the What are you building ? section, indicate the platform which you are building the app for, then click on the NEXT button. Answer to the commercial integration question, and continue. If necessary, fill the form and check all the boxes at the 3rd stage and you're ready to go. Your app is declared in Spotify's developer dashboard!
Now that you have your app, you have some modifications to do in one file: .env.
(If it doesn't exist, copy example.env to .env)
Edit those values:
YOUR_CLIENT_ID by your Client ID available on your app's panel,YOUR_CLIENT_SECRET by your Client Secret available by clicking on the Show Client Secret button situated on the same webpage as your client ID,YOUR_DOMAIN by your redirect URL, in the case of a local hosting replace it by http://localhost/token.php in most cases. Basicaly, it's the accessible URL for the token.php page.Let's go back on our app's panel. You need to declare the URL where the token.php page is located, for a local hosting it would be in most cases http://localhost/token.php. Click on the green Edit settings button situated on the top of the page, then in the Redirect URIs text field, indicate yours. ATTENTION: what you typed should IMPERATIVELY be the same as what you wrote in the two precedent files! Then click on the SAVE button on the very bottom of the form. Your app is declared and ready to use!
You can include an optional analytics script, using the ANALYTICS_SCRIPT environment variable.
If set, this variable will be included in the <head> part of all pages. This variable should most likely be a string containing a <script> tag.
Flags by Freepik of the www.flaticon.com website under Creative Commons BY 3.0 license.


