miniRT
1.0.0
You can read the readme in English by clicking here
Minirt is a project that introduces you to the fascinating world of Raytracing. With this project, you will learn to render images generated by computer using basic Raytracing techniques. Discover how realistic images are created from scratch!
Here are some images render with Minirt :
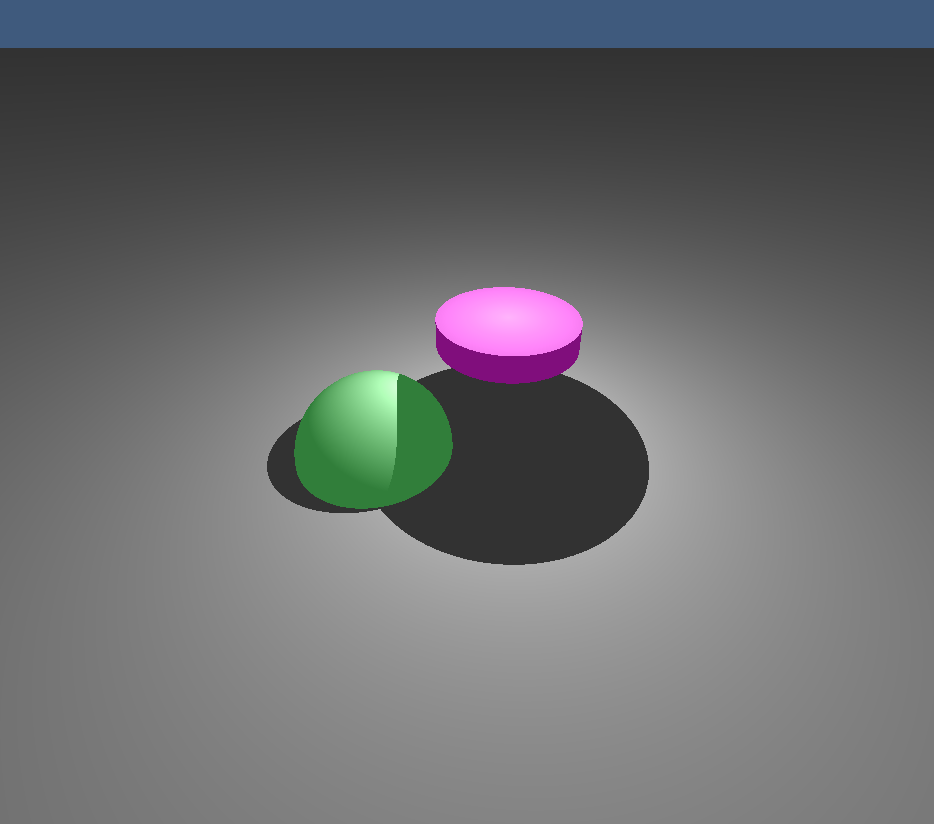 | 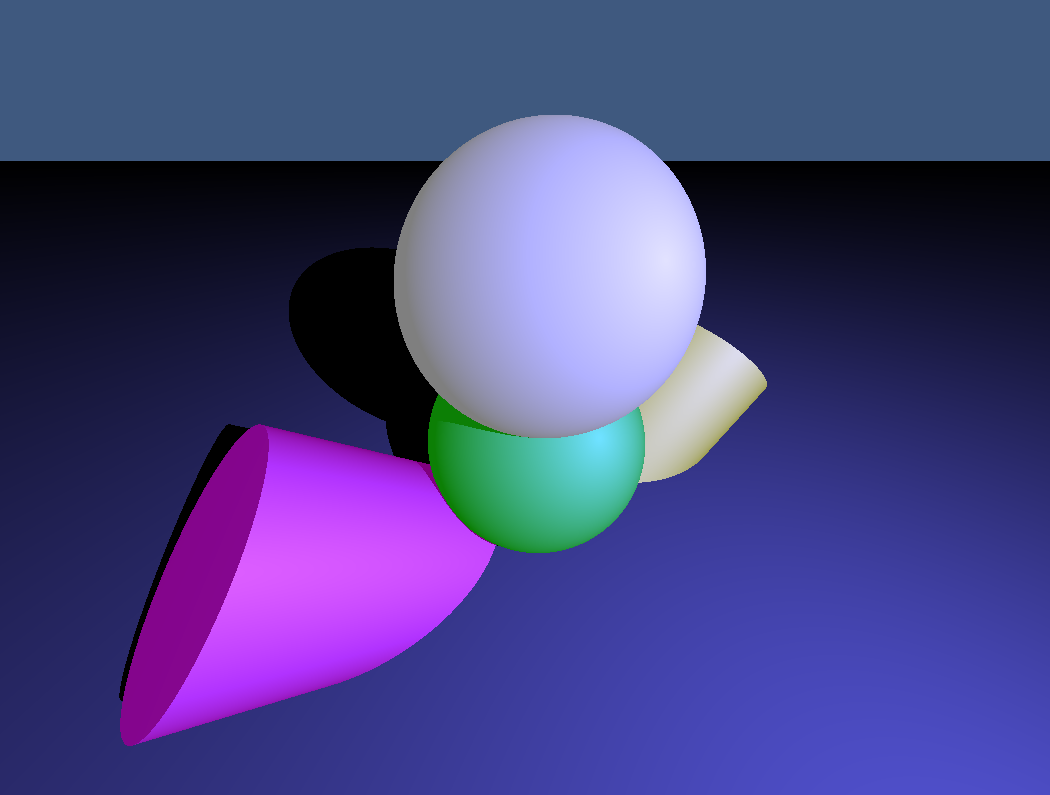 |
|---|---|
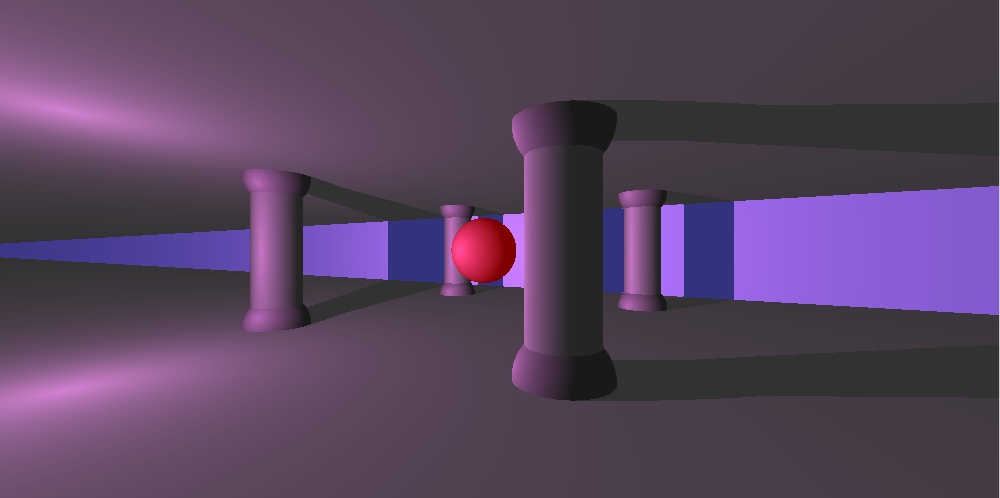 | 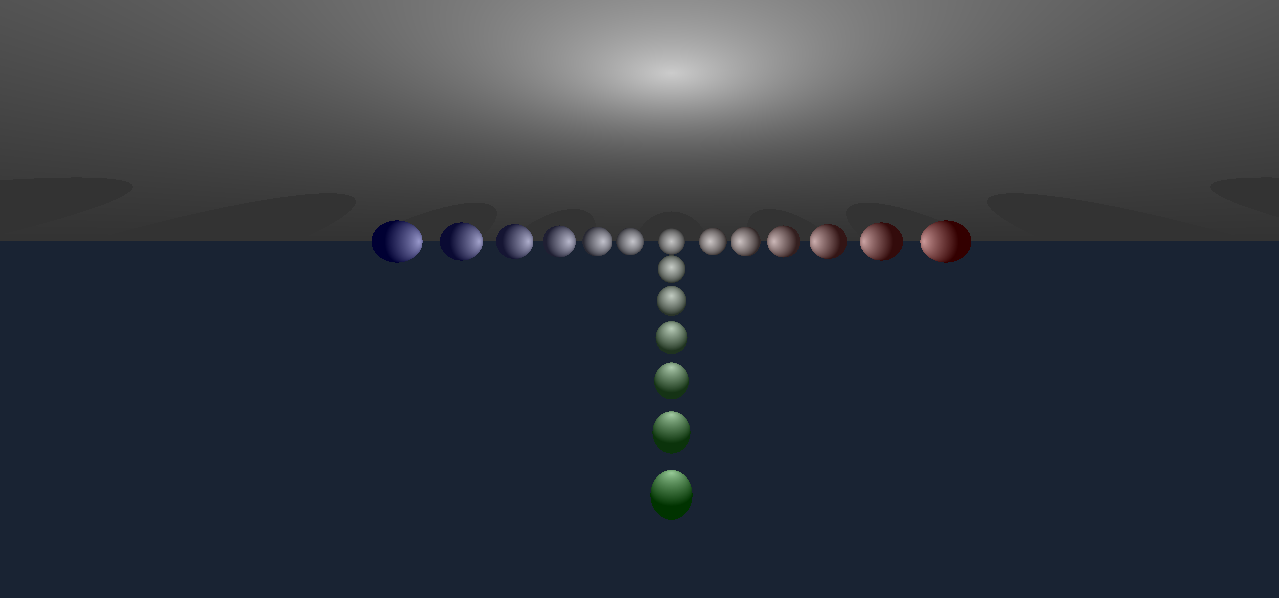 |
These images show what you can achieve with the project and give you an idea of how the final results will look!
Minirt is a Raytracing project that allows you:
Continue reading to get more details on how to configure and use Minirt , including how to define the map, intersection formulas, and how to control the camera and keyboard.
The map defines the elements that will appear in your image. Here we show you how to configure each type of element:
Here are an example of how the elements are defined on the map:
 A    0.3          255,255,255   					(Luz de ambiente: intensidad, color)
C    0,1,-10      0,0,1         70          				(Cámara: posición, vector de dirección, FOV)
L    0,10,-10     0.7           255,255,255 				(Luz: posición, intensidad, color)

pl   0,0,0        0,1,0         100,100,100 				(Plano: posición, vector normal, color)
sp   0,0,0        5             255,0,10   				(Esfera: posición, radio, color)
cy   4,0,0        1,1,0         4            6         10,0,255   	(Cilindro: posición, radio, altura, color)
Camera (c)
Environment Light (A)
Light (l)
Plan (PL)
Sphere (sp)
Cylinder (Cy)
The formula of a 3D sphere is:
[(x - h)^2 + (y - k)^2 + (z - l)^2 = r^2]
Where:
This formula describes all the points ((x, y, z)) that are at a distance (r) of the center ((h, k, l)).
Image of the sphere:
A 3D plane is represented as: [ax + by + cz + d = 0] where ((a, b, c)) is the normal vector to the plane and (d) is the distance from the origin.
Plan image: 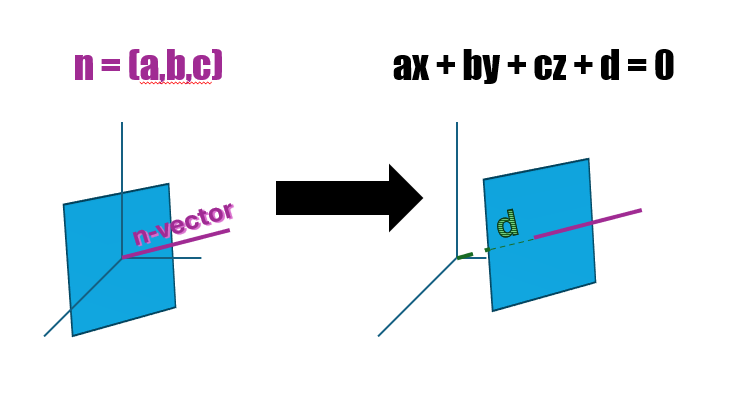
For a cylinder:
Cylinder image: cylinder
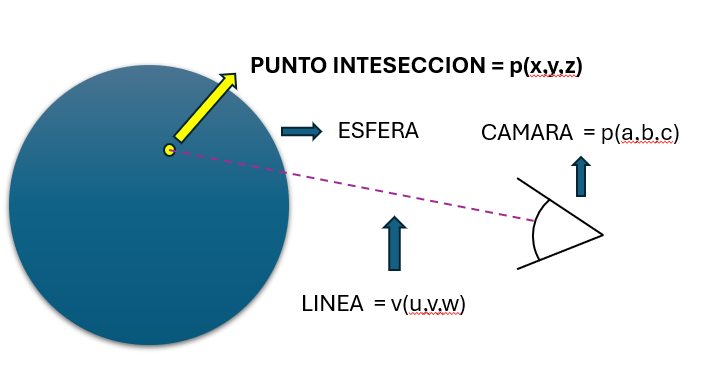
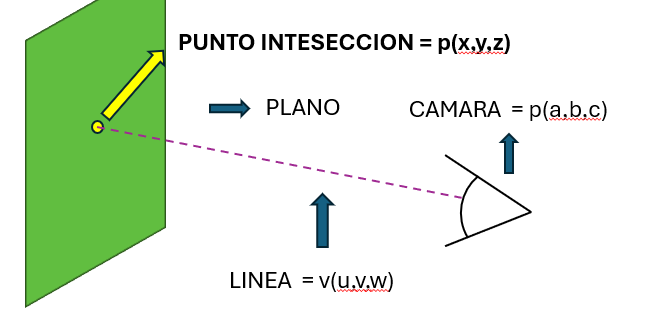
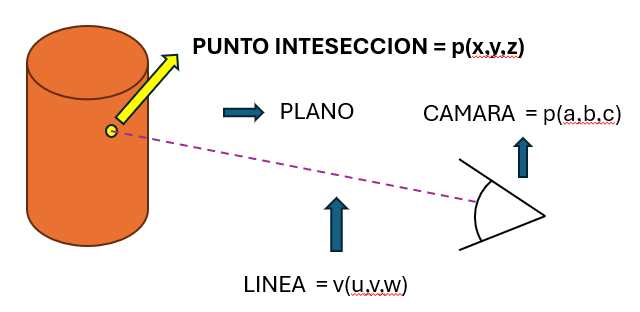
To render an image, we draw a ray from the camera through each pixel . Then we check if that intersection lightning with an object in the scene. Here we explain how it is calculated:
For a sphere:
For a 3D plane:
For a cylinder:
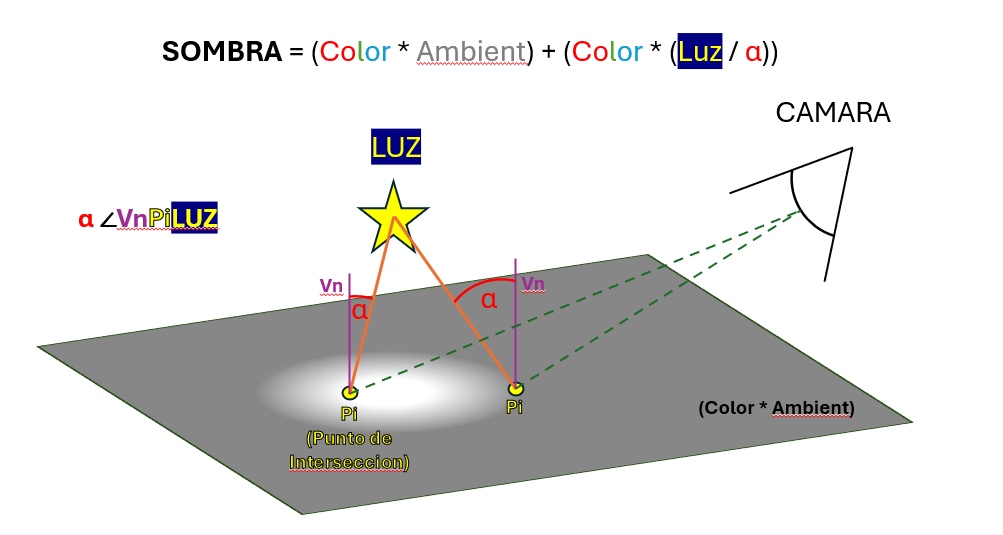
Once we find the intersection point, we calculate the final color of the pixel with these steps:
Initial color:
Calculate the light:
Shade:
Final color:
This results in a more realistic image, adjusting the brightness and color according to how light interacts with objects in the scene.
In the project, we use several data structures to handle the scene information and camera configuration. Here we explain how they organize:
t_info and t_data ) t_info : This structure keeps information about the amount of each type of element in the scene:
ambient_light : Amount of environmental lights.camera : Number of cameras.lights : quantity of lights.planes : Amount of plans.spheres : Number of spheres.cylinders : number of cylinders. t_data : This structure contains all the information about the image to be rendered:
width and height : Image dimensions (wide and tall).info : t_info structure details the amount of each type of object in the scene.line : Count the processed lines.lights , planes , spheres , cylinders : lists that contain the objects on the scene. These lists store the information of lights, plans, spheres and cylinders, respectively.camera : Information about the camera.ambient_light : Information about environmental light.t_camera )The camera is responsible for defining the perspective from which the image is rendered. Its structure includes:
fov : The field of vision (FOV) of the camera, which determines how much can be seen from the camera. A greater value means a broader field of vision.center : A vector that represents the position of the center of the camera in space.euler : A vector that contains the angles of Euler, used to guide the camera in the 3D space.q : A quaternion that is used to represent the 3D camera rotation. Quaternions are useful to avoid problems with interpolation and 3D rotation. In the project, the keyboard keys allow the camera to be controlled and adjust the view of the scene. Here is a detailed explanation of how each key works and why we use certain techniques for camera management.
W keys, A, S, D: They are used to move the camera in different directions:
These keys modify the center of the camera, which is the point from which the camera is watching the scene. Moving the center of the camera changes the position of the camera in space without rotating it.
SPACE key: Elevate the camera up.
Shift key: lower the camera down.
Arrow keys above (UP_K) and below (Down_K): They adjust the vertical inclination of the camera:
Left arrow keys (Left_k) and right (right_k): They adjust the horizontal rotation of the camera:
These keys modify Euler's angles of the camera, which are the angles that determine how the camera is oriented in space. Euler's angles are used to adjust the inclination and rotation of the camera in a simple way.
Euler angles
This project is designed to be compatible with both Linux and Macos , and specific configurations have been implemented to ensure that it works without problems in both operating systems.
In the projects that handle graphics and entries of the user, such as keys, it is common for the codes associated with each key to vary according to the operating system. To handle these differences:
For example:
The project uses Minilibx (MLX) , which is a light library for 2D graphics programming, specially designed for UNIX environments such as Linux and Macos. However, due to the differences between the operating systems, it is necessary to properly configure the libraries and the routes of these so that the project is compile correctly in both systems.
Detection of the operating system :
Library configuration :
Adaptive compilation :
This approach ensures that the project is not only portable between different operating systems, but also remains optimized and compatible with the particularities of each environment.
To illustrate how the project works in practice, we have prepared a series of videos that show different aspects and functionalities of the program in Action. These videos cover:
The videos are x4 at a resolution of 800x400
These clips will provide you with a clear vision of how to use the program and what you can expect in terms of performance and visualization.
If you want to contribute to the project:
HERE
HERE
◦ Email FFORNES-: [email protected]
◦ Email gmacias-: [email protected]


