Raspy
0.4.0

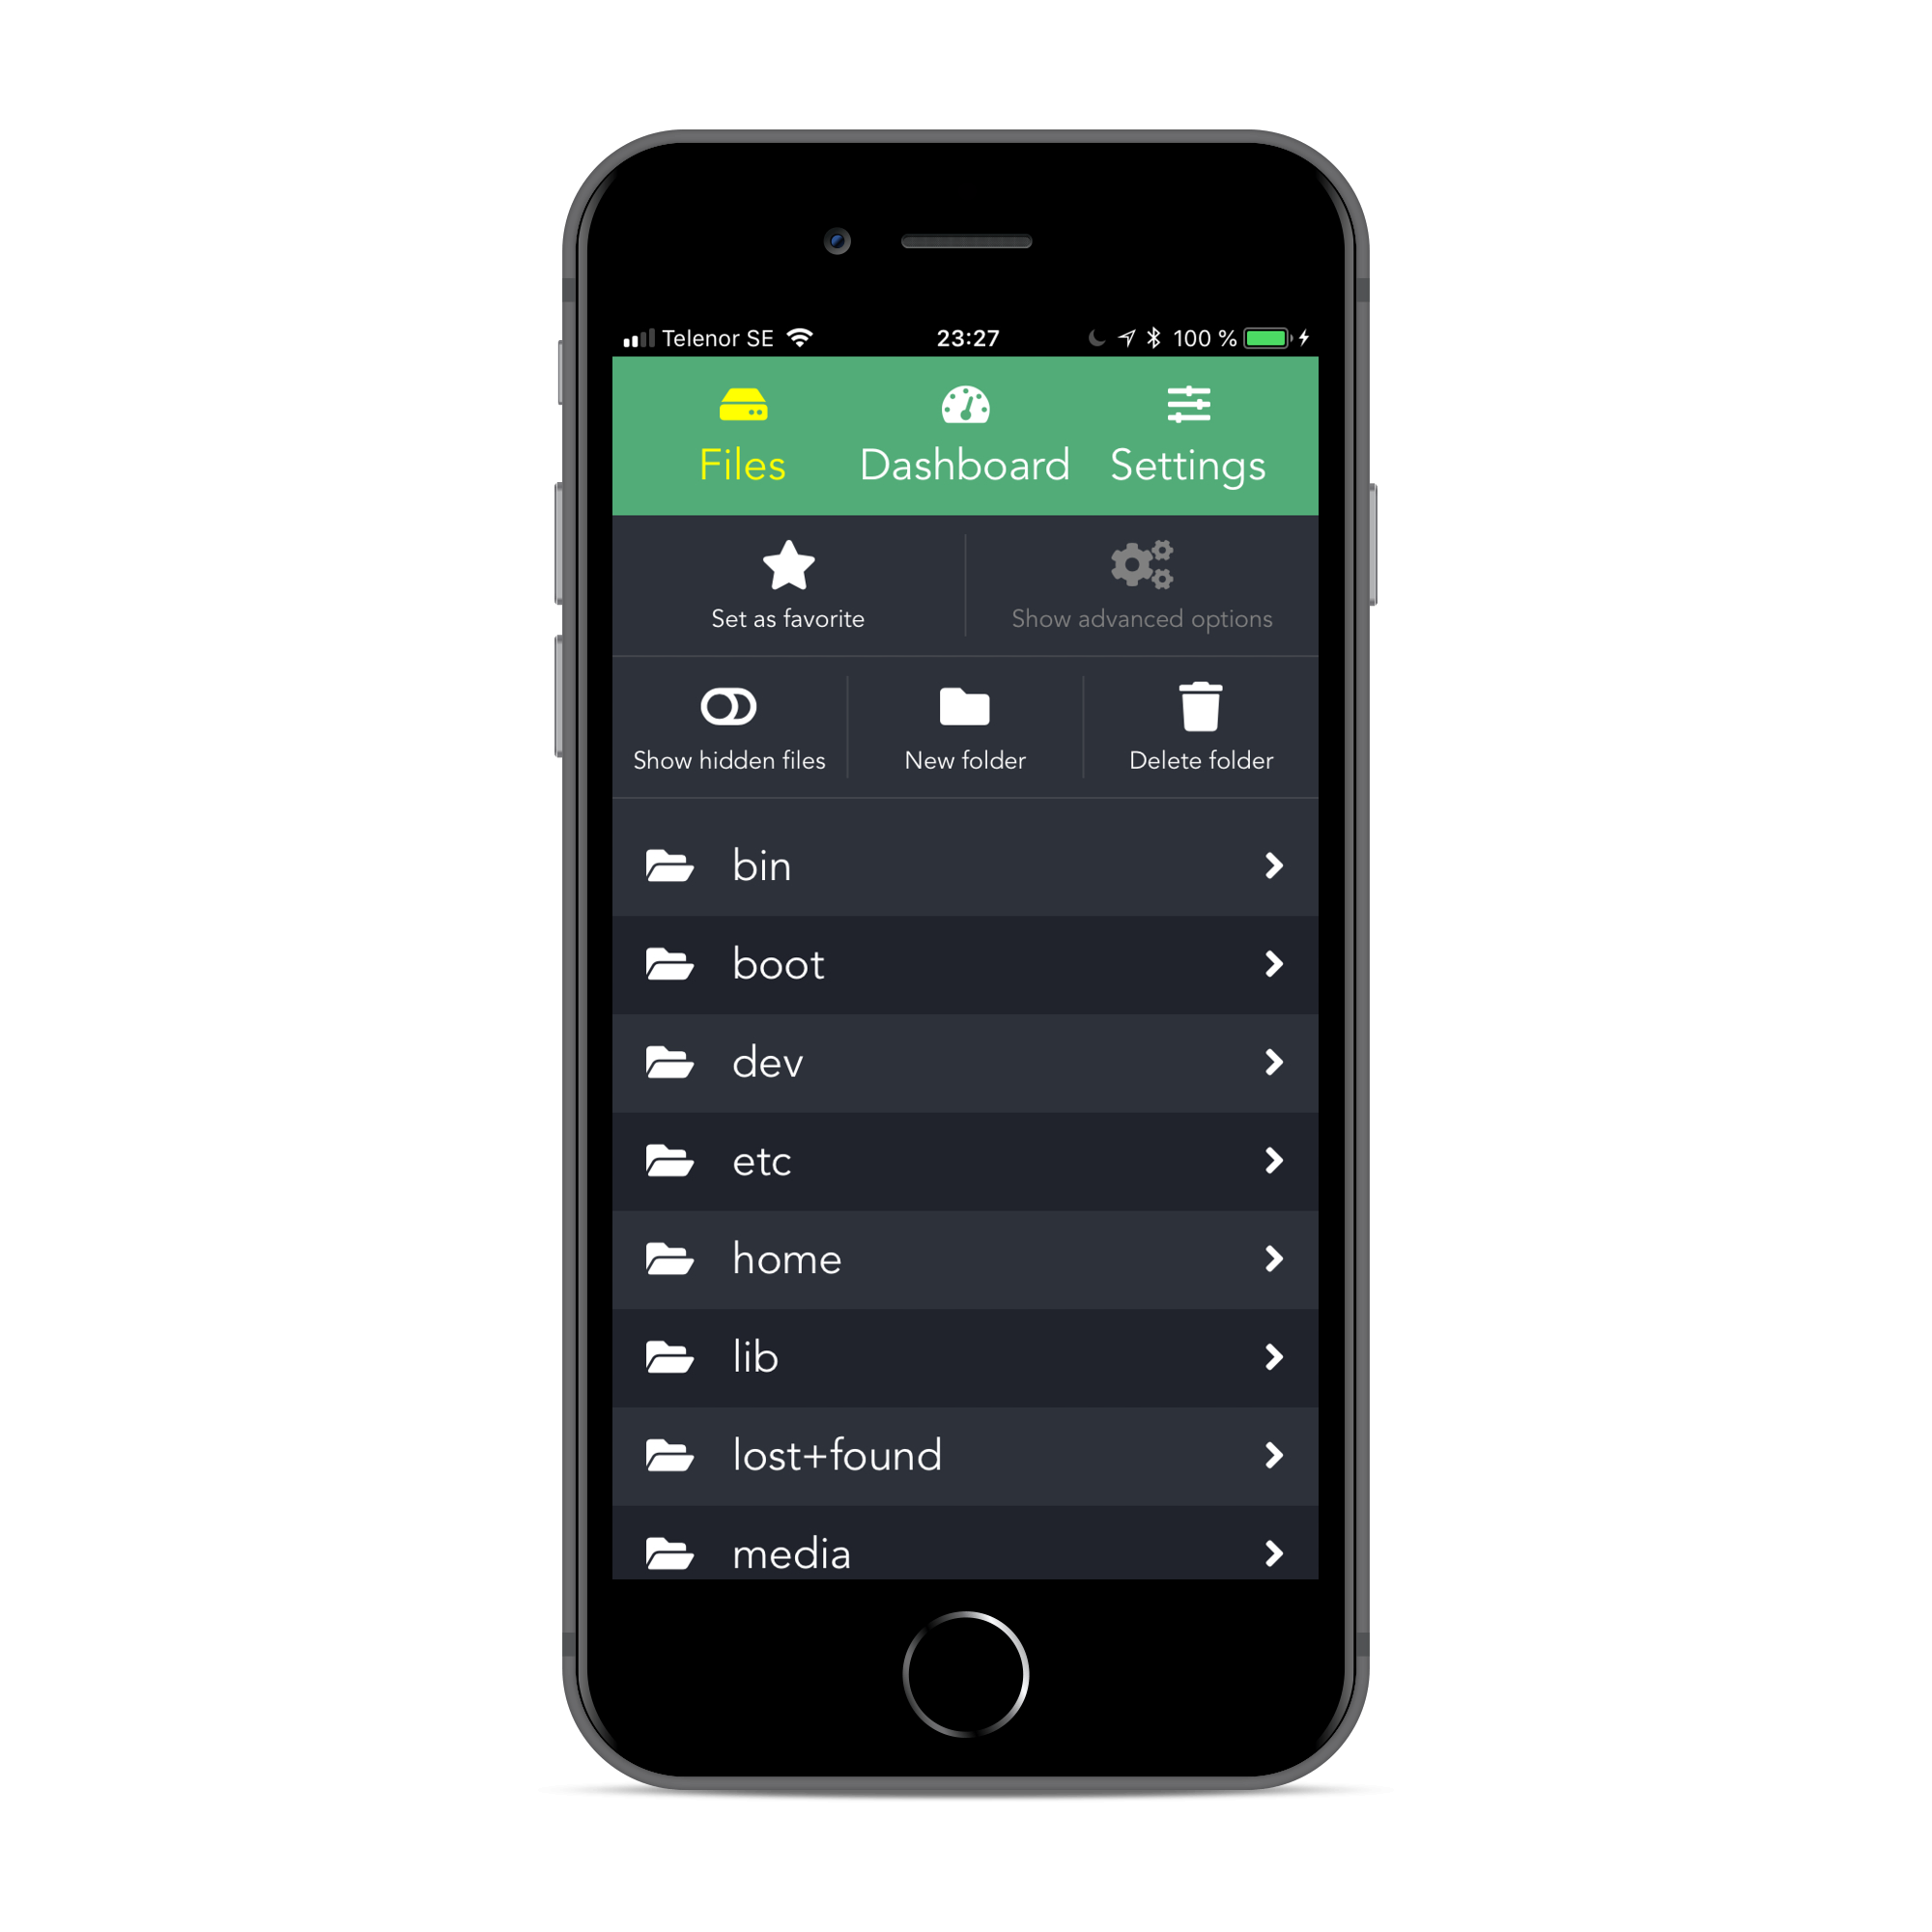
Raspbot is a lightweight REST API server, designed for the Raspberry Pi, as well as a client web application that let's you control your device with ease.
Built with NodeJS & Express 4 and Vue 2 & Webpack.
Raspbot is still a work in progress.
Features:
Check out a demo here (sign in with username admin and password secret).
Optional(-ish):
Clone this repository on your Raspberry Pi:
$ git clone https://github.com/pkrll/RaspyAnd run make install in the project root folder to install and set up the server:
$ cd Raspy
$ make installThe folder dist inside ./raspbot already contains the latest build of the client. Running the server will use the files there. You can also manually build the client app, by typing make build in the root folder. This might take a while, so grab a snack and wait for the installation and build processes to finish.
After installing all dependencies and setting up the server, you can run the server with make server in the root folder.
It is, though, recommended to use a process manager to run the server.
To daemonize the application, you can use PM2, which is a process manager for NodeJS applications. If you do not have PM2 already, install it:
$ sudo npm install -g pm2Use make start to run the server in the background. The NODE_ENV will automatically be set to "production" when using the start rule.
$ make start

[PM2] Applying action restartProcessId on app [server](ids: 0)
[PM2] [server](0) ✓
[PM2] Process successfully started
┌──────────┬────┬──────┬───────┬────────┬─────────┬────────┬─────┬───────────┬───────┬──────────┐
│ App name │ id │ mode │ pid   │ status │ restart │ uptime │ cpu │ mem       │ user  │ watching │
├──────────┼────┼──────┼───────┼────────┼─────────┼────────┼─────┼───────────┼───────┼──────────┤
│ Raspbot  │ 0  │ fork │ 13141 │ online │ 0       │ 0s     │ 66% │ 13.9 MB   │ pkrll │ disabled │
└──────────┴────┴──────┴───────┴────────┴─────────┴────────┴─────┴───────────┴───────┴──────────┘
 Use `pm2 show <id|name>` to get more details about an app
Use make stop to stop the server.
Follow these steps to make PM2 run on startup.
make start (if not already running).pm2 save.pm2 startup systemd and copy and paste the command produced by the script.Example
$ make start

$ pm2 save
[PM2] Saving current process list...
[PM2] Successfully saved in /home/pkrll/.pm2/dump.pm2

$ pm2 startup systemd
[PM2] Init System found: systemd
[PM2] To setup the Startup Script, copy/paste the following command:
sudo env PATH=$PATH:[...] startup systemd -u USER --hp /home/USER

$ sudo env PATH=$PATH:[...] startup systemd -u USER --hp /home/USER
For more information on how to use PM2, check out the official documentation or this quickstart guide.
By default, Raspbot runs on port 5000 and can be accessed by http://ip-to-your-pi:5000. The default username is admin with the password secret. Be sure to change this.
The configuration options can be found in the file index.js inside the ./raspbot/config directory:
| Option | Description |
|---|---|
oauth.id |
Github OAuth key for making authenticated requests when checking for updates (optional) |
oauth.secret |
Github OAuth secret for making authenticated requests when checking for updates (optional) |
port |
The server port (default: 5000) |
httpsPort |
The port to use for HTTPs (default: 5443) |
databasePath |
Path to user credentials database (default: config/db.json) |
httpsOpts.cert |
Path to SSL certificate (default: config/.sslcert/fullchain.pem) |
httpsOpts.key |
Path to SSL certificate key (default: config/.sslcert/privkey.pem) |
Note: The httpsOpts options are used when enabling HTTPs (See Enabling HTTPs below).
To serve Raspbot over HTTPs, you need to put your SSL certificate files (fullchain.pem and privkey.pem) in the folder config/.sslcert.
Below follows a guide on how to generate certificates using Certbot and Let's encrypt. For more information see this article.
First make sure you have Certbot and Let's encrypt installed, and the ports 80 and 443 forwarded to 5000 and 5443 (or, if overridden, the custom ports you've used).
Navigate to the folder raspbot in the project directory and run the following command (NOTE: Remember to change example.com to your URL):
$ certbot certonly --webroot -w ./dist -d example.com --config-dir ~/.certbot/config --logs-dir ~/.certbot/logs --work-dir ~/.certbot/workFollow the instructions, and wait for it finish.
If you're using the default configurations, you can now symlink the certificate to the folder config/.sslcert in the folder raspbot/raspbot (NOTE: Remember to change example.com to your URL):
$ cd /path/to/raspbot
$ ln -s ~/.certbot/config/live/example.com/fullchain.pem raspbot/config/.sslcert/fullchain.pem
$ ln -s ~/.certbot/config/live/example.com/privkey.pem raspbot/config/.sslcert/privkey.pem
Restart the server.
Raspbot enables you to remotely shutdown or reboot your device and mount/unmount devices connected to the Raspberry Pi, but for these commands to work the user running the server must have permission to execute sudo /sbin/reboot and sudo /sbin/shutdown, (defined in the Makefile), as well as sudo mount and sudo umount.
This can be done by adding the line
USERNAME ALL=NOPASSWD: /sbin/reboot,/sbin/shutdown,/bin/mount,/bin/umountto /etc/sudoers using sudo visudo, where USERNAME should be replaced with the username of the user running the server. Make sure to add it after any previous configurations for that user.
Raspbot was created by Ardalan Samimi. The robot icon was created by FontAwesome and is licensed under the CC by 4.0 license.


